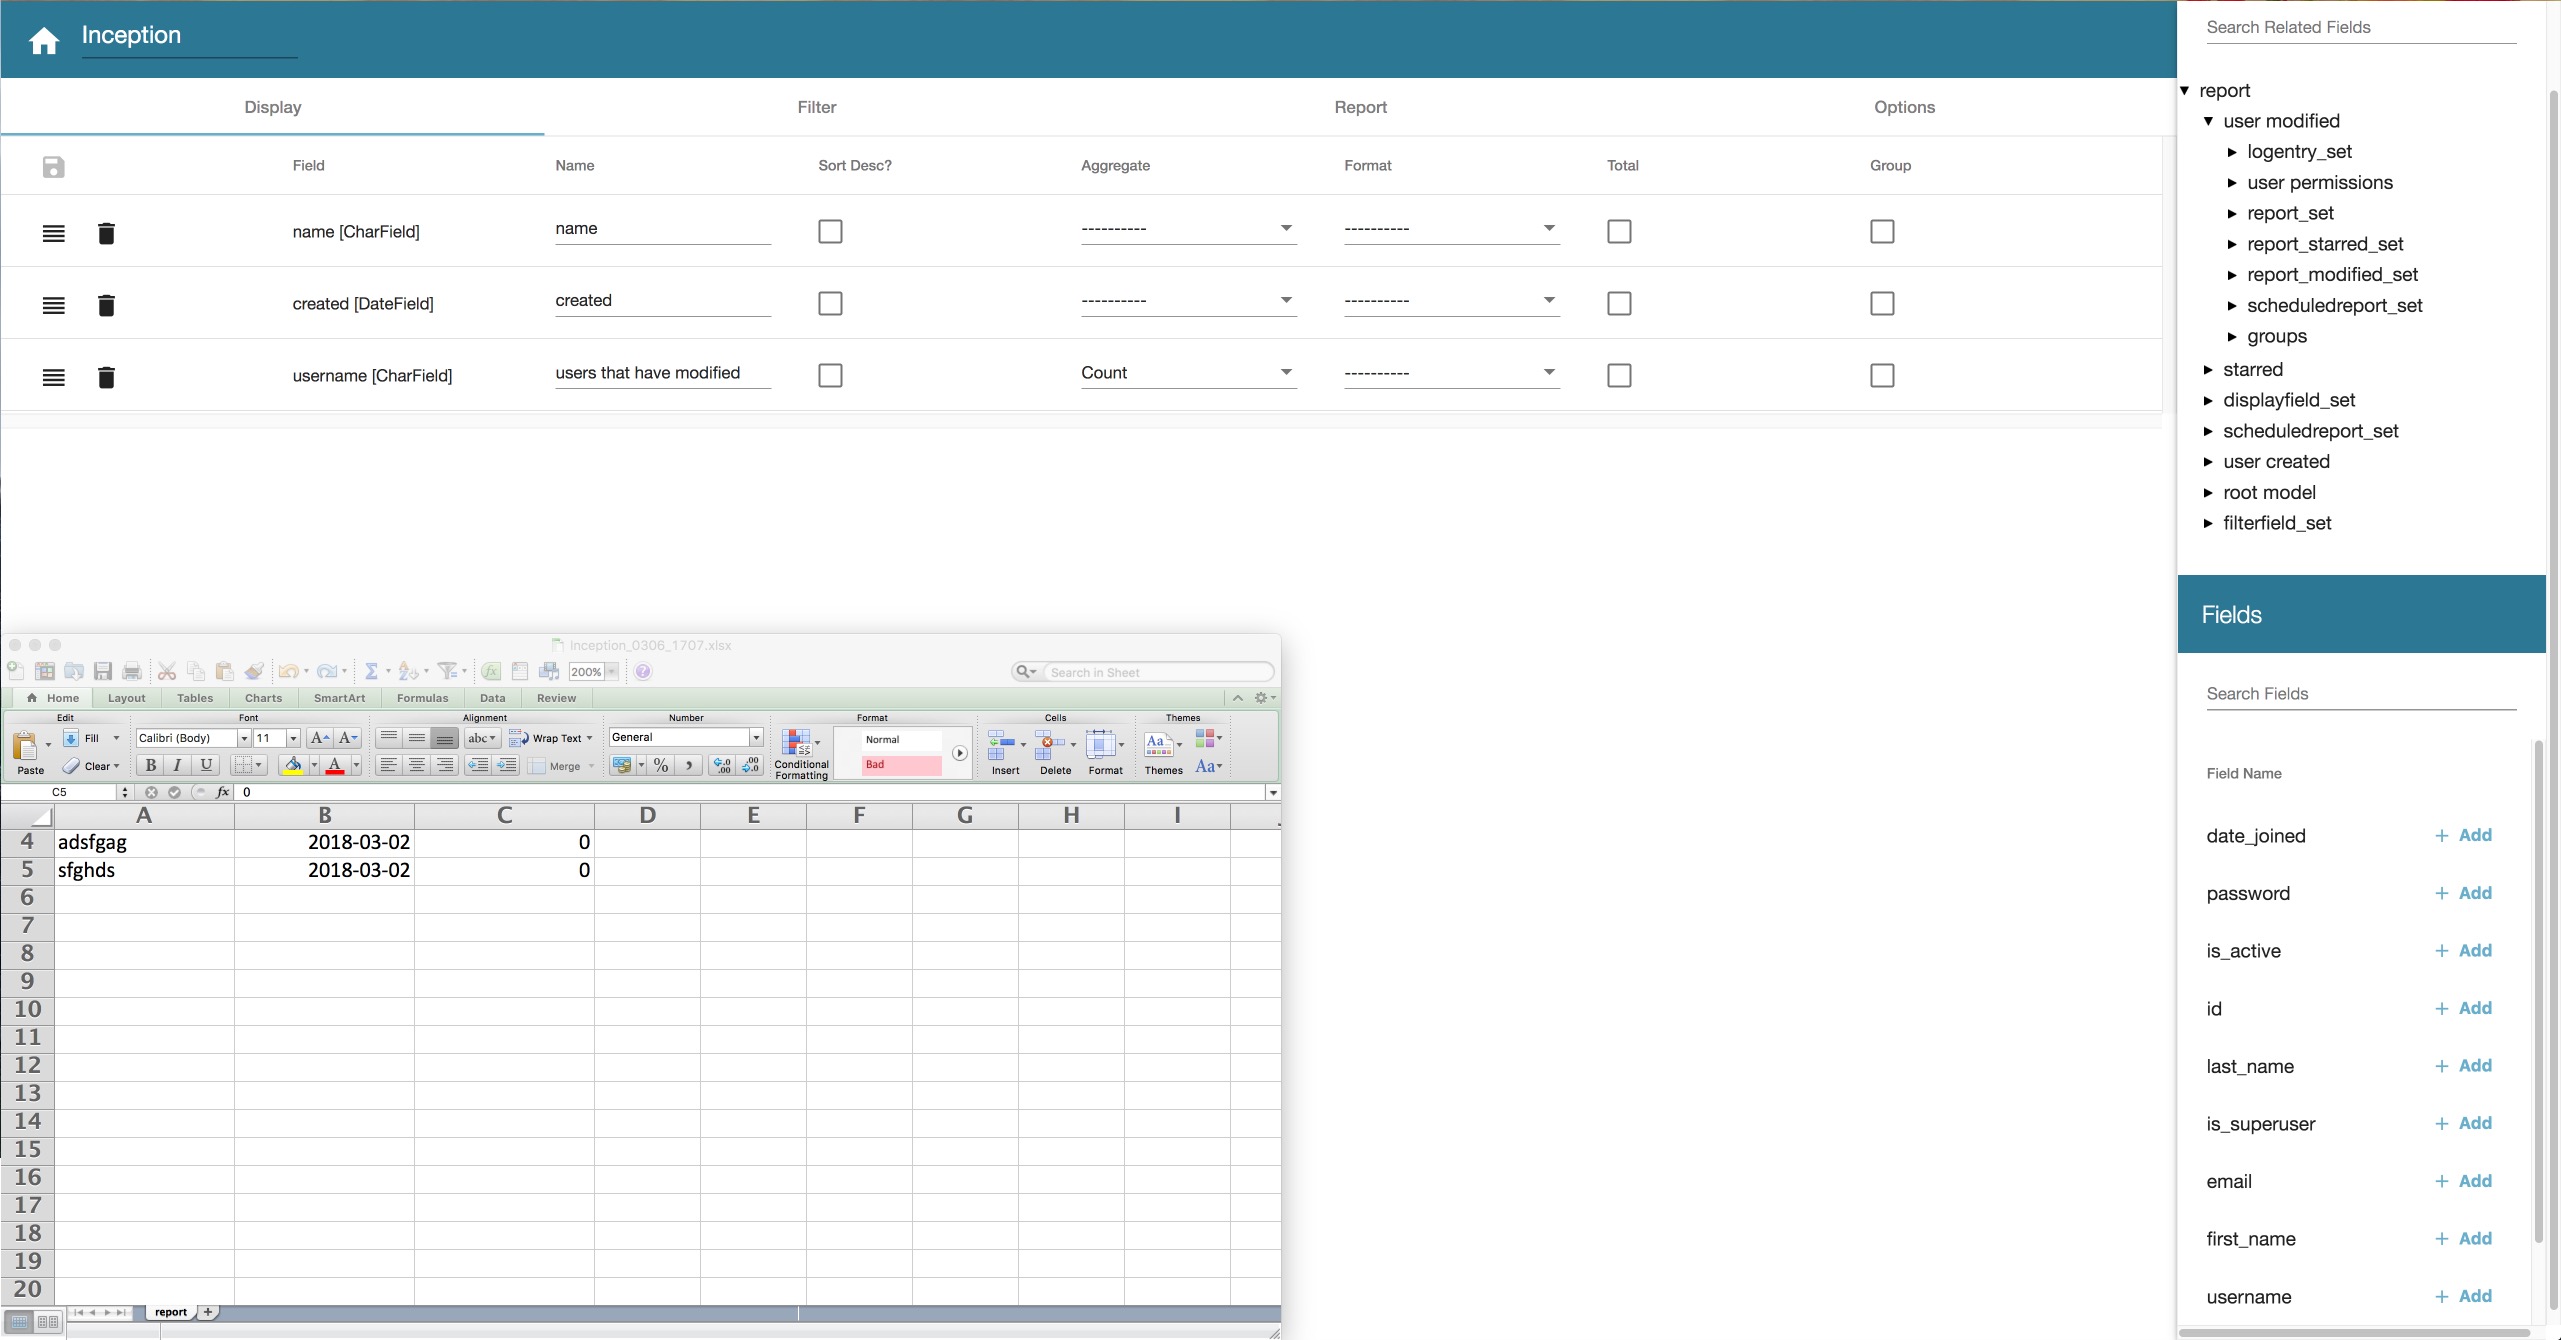
A GUI for Django ORM. Build custom queries and display results. Targets sys admins and capable end users who might not be able to program or gain direct interactive shell access.
- Remove mis-import
- Fix dynamically static-file path generating
- Remove redundant code
- Remove six dependency
- Replace deprecated openpyxl save_virtual_workbook func. (Cherry-picked from @tmszi's fork)
- Create AutoField to BigAutoField convertion migration
- Fix "Router with basename "report" is already registered" error
- Make compatible for Django >4. Project's GitLab Repo merged into this fork and Django 4 compatibility changes were made.
View more on the CHANGELOG.
- Add filters
- Add display fields
- Preview and create xlsx reports
- Uses Django permissions models - Staff users must have "change" or "view" permission to view
reports. Unprivileged users can still build reports and see database schema.
- Report builder is intended for generally trusted staff users and requires is_staff to be set.
- Export to Report global admin action
- Scheduled reports can generate and send to users on cron like schedule
- Optional asynchronous report generation
http://django-report-builder.readthedocs.org/
This package uses Django in Docker and Angular CLI for development purposes.
- Start docker
docker-compose up - Migrate and create an admin user
docker-compose run --rm web ./manage.py migrate - Start the Angular CLI server. Ensure Node is installed.
cd js,yarn,yarn start - Django runs on port 8000 by default. Go to localhost:8000/admin and log in.
- Angular runs on port 4200. Now that you are logged in, go to localhost:4200
More detailed instructions are at here
