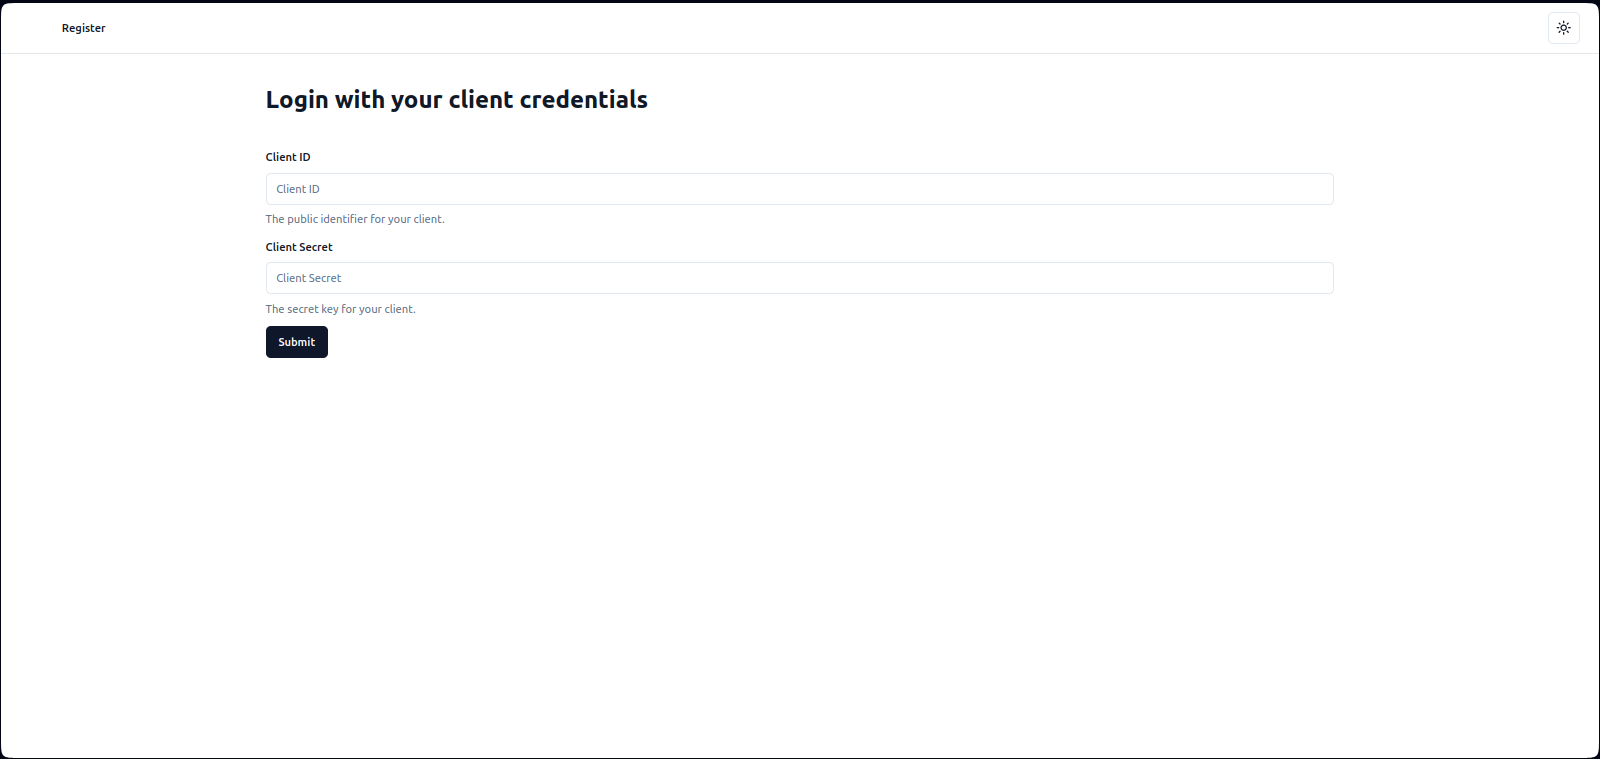
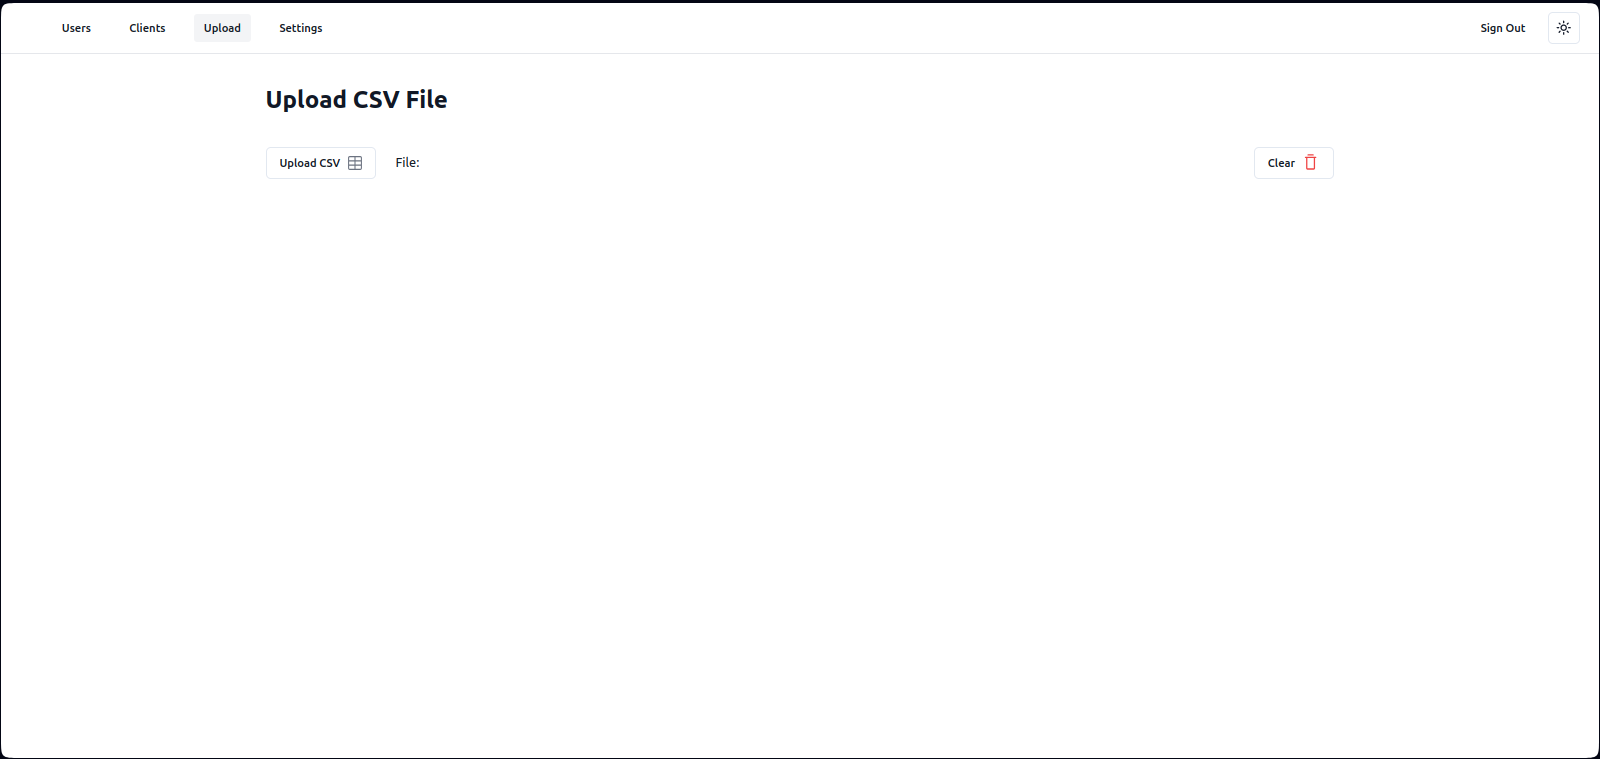
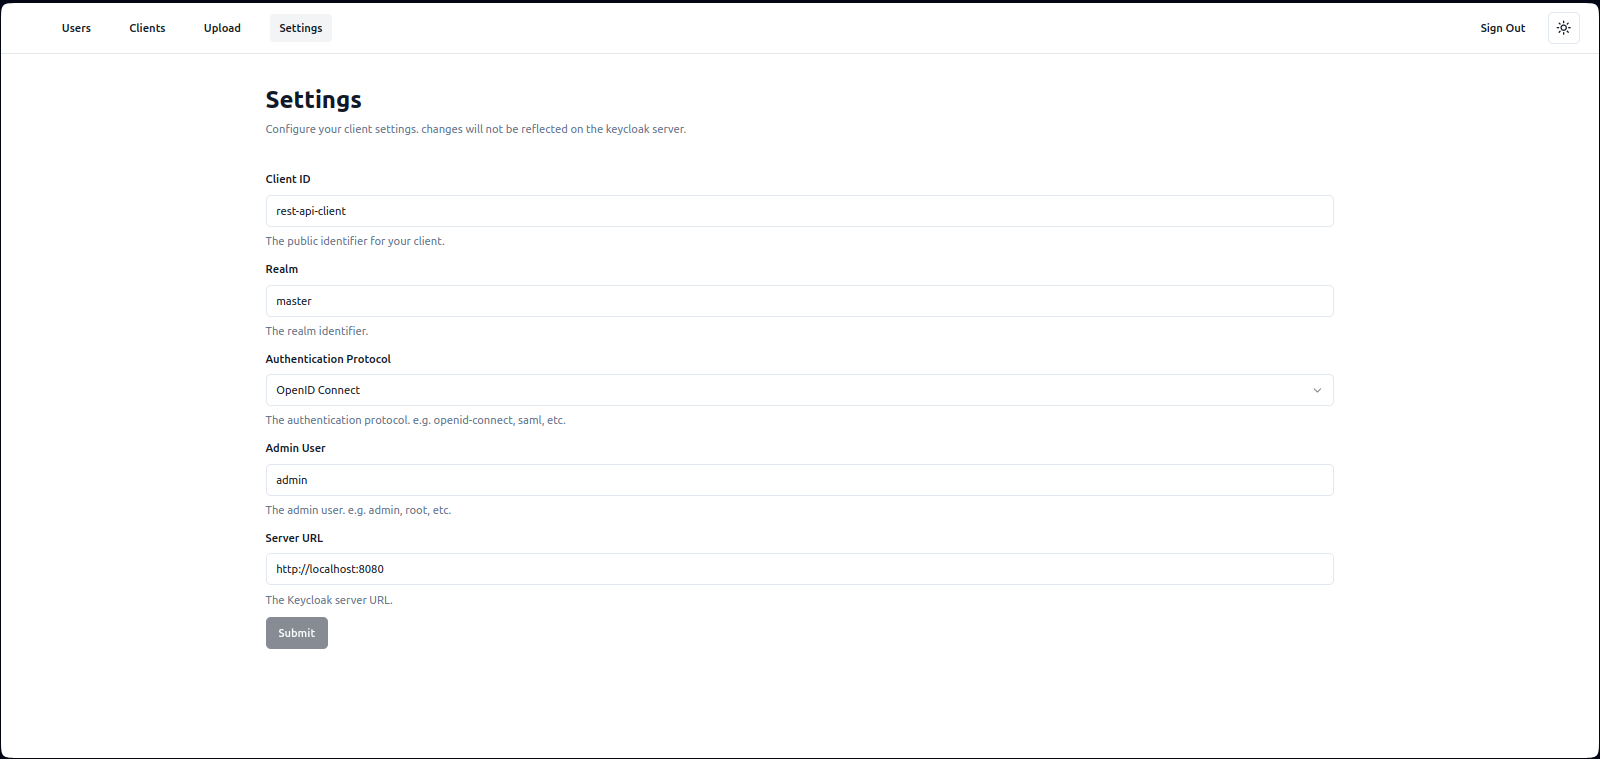
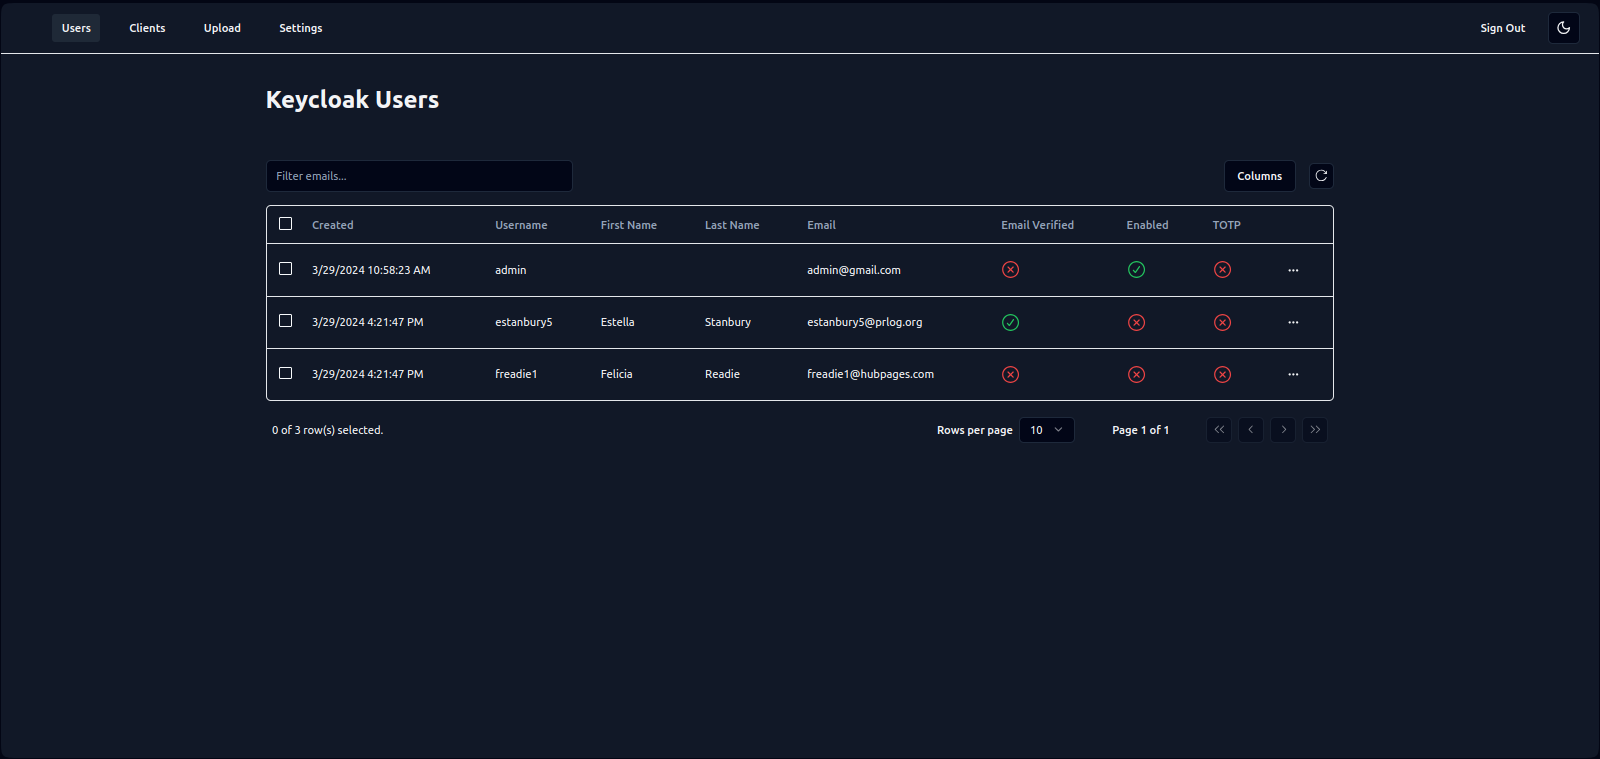
This is a simple project to manage users in a Keycloak server. It uses the Keycloak Admin REST API to manage users. the admin can leverage this system to mass create, update, and delete users through a simple interface and a csv file.
- Next.js
- React
- Tailwind CSS
- Keycloak Admin REST API
- Axios
- TypeScript
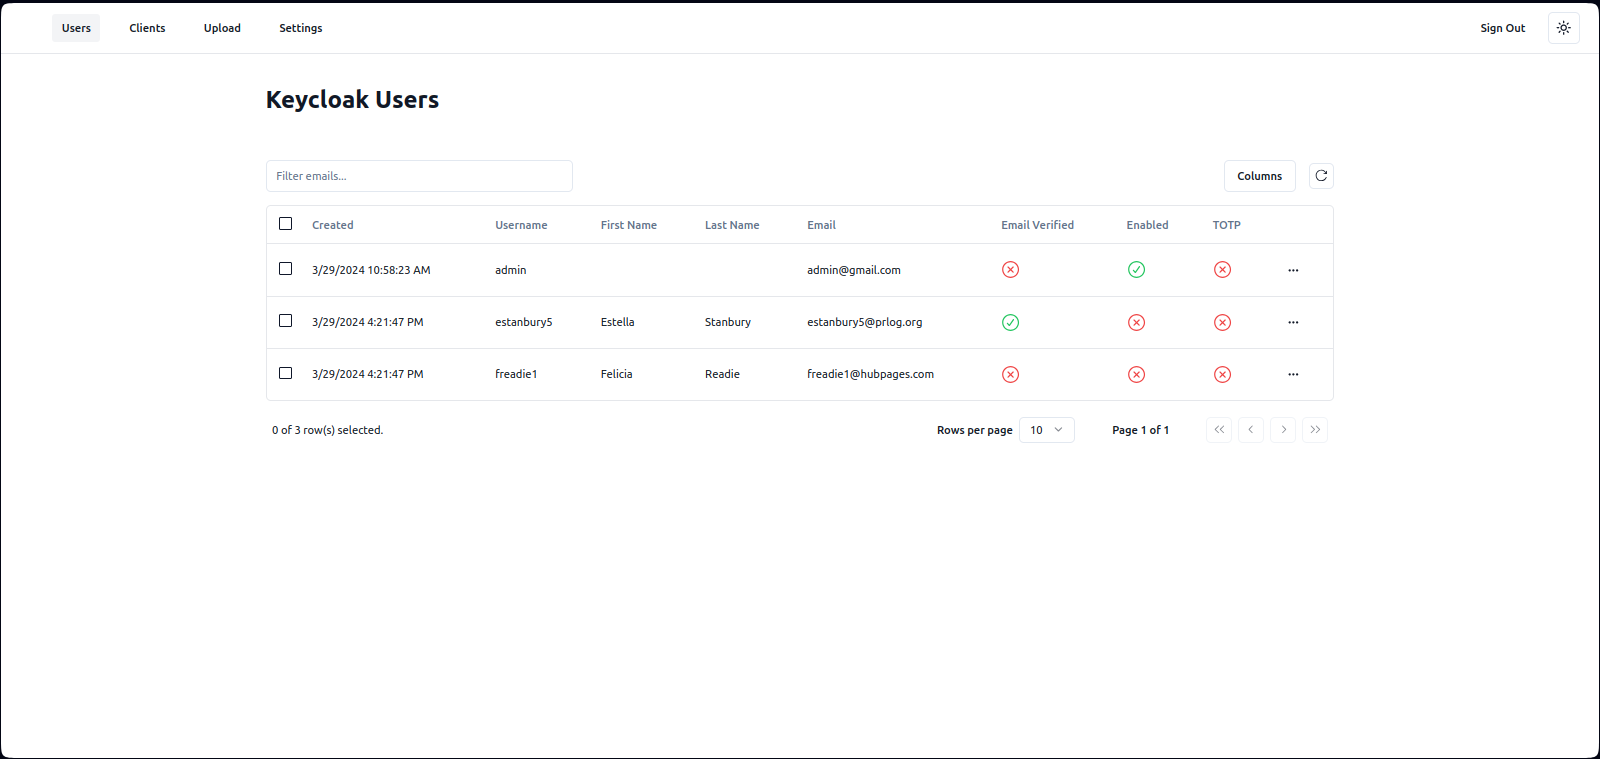
- List users
- Create user
- Create multiple users from a csv file
- Update user
- Delete user
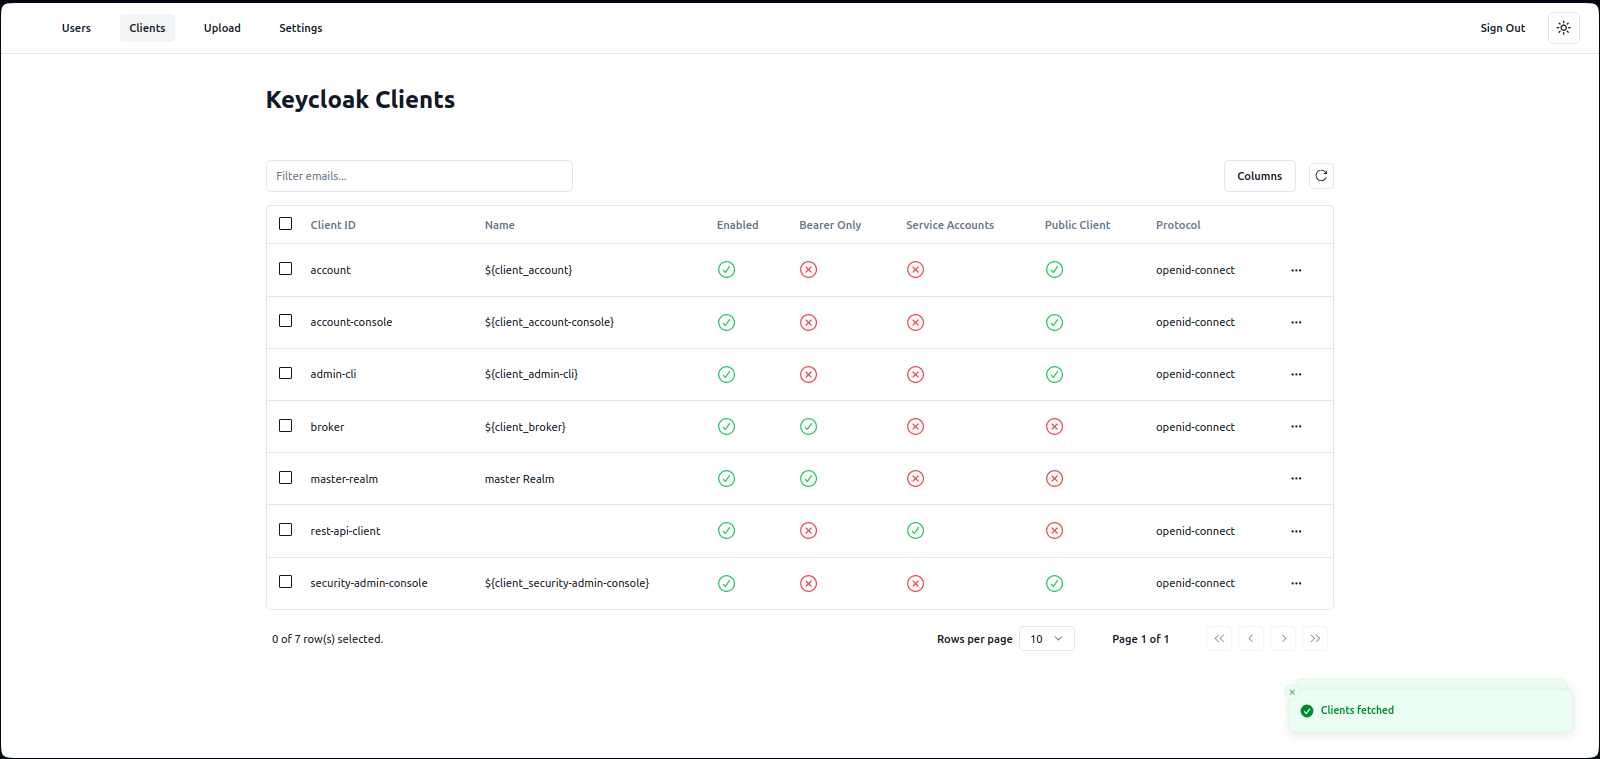
- List clients
- Delete client
First, run the keycloak server in a docker container in development mode:
docker run --name mykeycloak -p 8080:8080 \
                                        -e KEYCLOAK_ADMIN=admin -e KEYCLOAK_ADMIN_PASSWORD=admin \
                                        quay.io/keycloak/keycloak:latest \
                                        start-dev
and open http://localhost:8080 with your browser to see the keycloak server.
then, create a client in the keycloak server with the following settings:
- Client ID:
rest-api-client - Enable:
Client authentication, and select theService accounts rolesoptions - In Web Origins, add
http://localhost:3000andhttp://localhost:3000/*to the list of allowed origins
After that, go to the client Credentials tab, copy the secret key, and paste it in the .env.local file in the root of the project:
NEXT_PUBLIC_KEYCLOAK_CLIENT_SECRET=YOUR_SECRETThen go to Service accounts roles tab, and add the following roles:
- view-users
- manage-users
- query-users
- query-clients
- manage-clients
- view-clients
Second, run the development server:
npm run dev
# or
yarn dev
# or
pnpm dev
# or
bun devFinally, after running the development server, don't forget to commit the keycloak server container:
docker commit <container_id> keycloak-devthen, when you are done, you can stop the keycloak server container:
docker stop <container_id>and next time you can run the keycloak server with the following command:
docker run -p 8080:8080 keycloak-devOpen http://localhost:3000 with your browser to see the result.
- Go to the
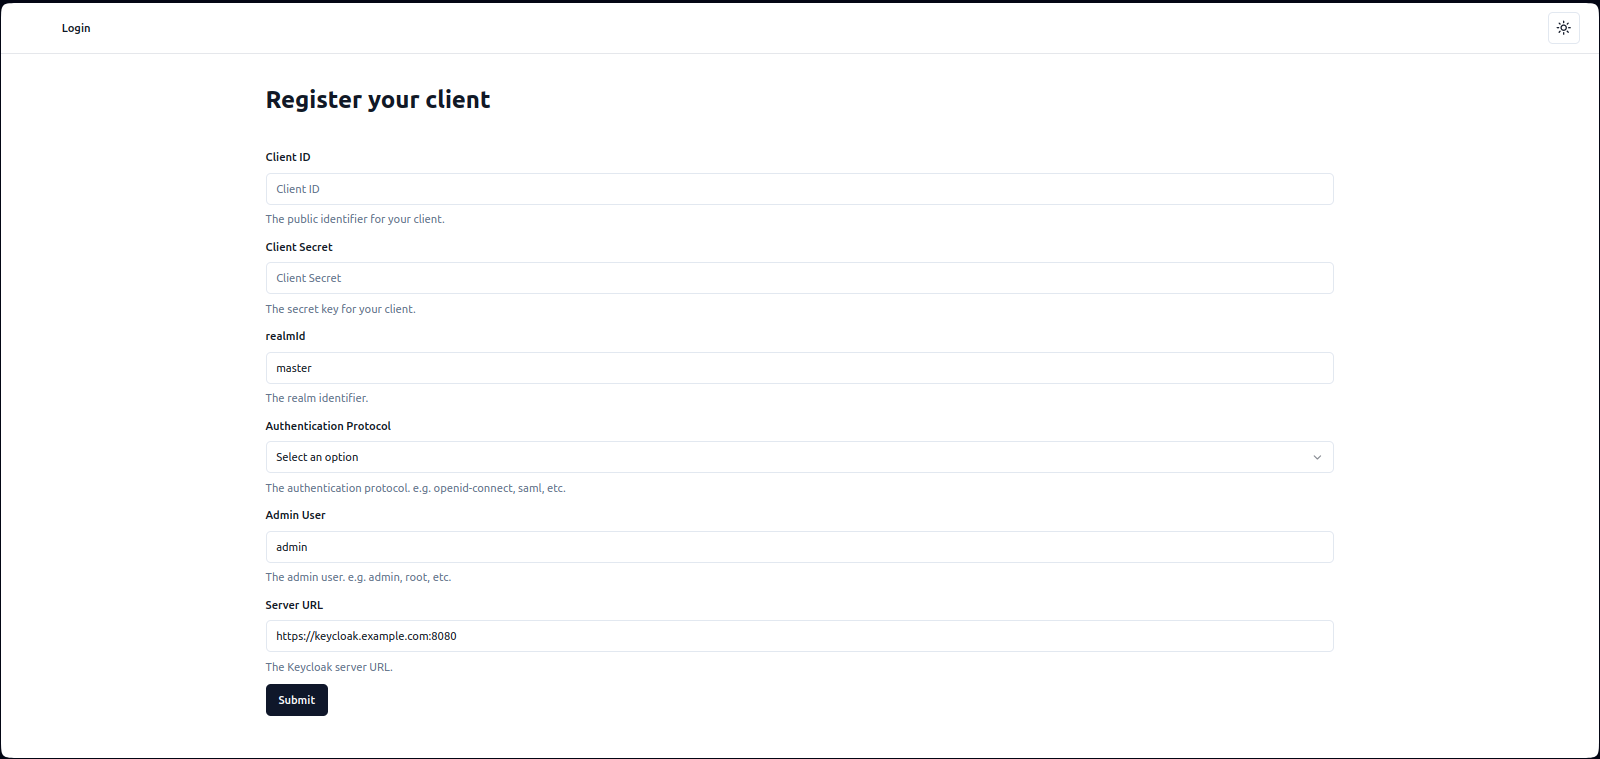
/registerpage - Register a new keycloak client with the following settings:
- Client ID:
rest-api-client - Client Secret:
YOUR_SECRET - Realm:
master(default) - Authentication Protocol:
openid-connect(default) - Keycloak Admin Username:
admin - Keycloak Server URL:
http://localhost:8080
- Client ID:
- Go to the
/page and use the MOCK_DATA.csv file to upload users to the keycloak server - Go to the
/userspage to see the list of users - Go to the
/clientspage to see the list of clients - Go to the
/settingspage to change the settings entered in the registration page
