This project provides a set of PowerShell scripts for executing Atomic Red Team tests, managing exclusions in various security products, and handling setup and dependencies for smooth execution.
The project includes the following components:
- Setup Script
AtomicSetup.ps1: Ensures the necessary tools and scripts are downloaded and set up. - Atomic Base Script
AtomicBase.ps1: A GUI-based script that acts as the main interface to launch all other scripts. - Precision Execution Script
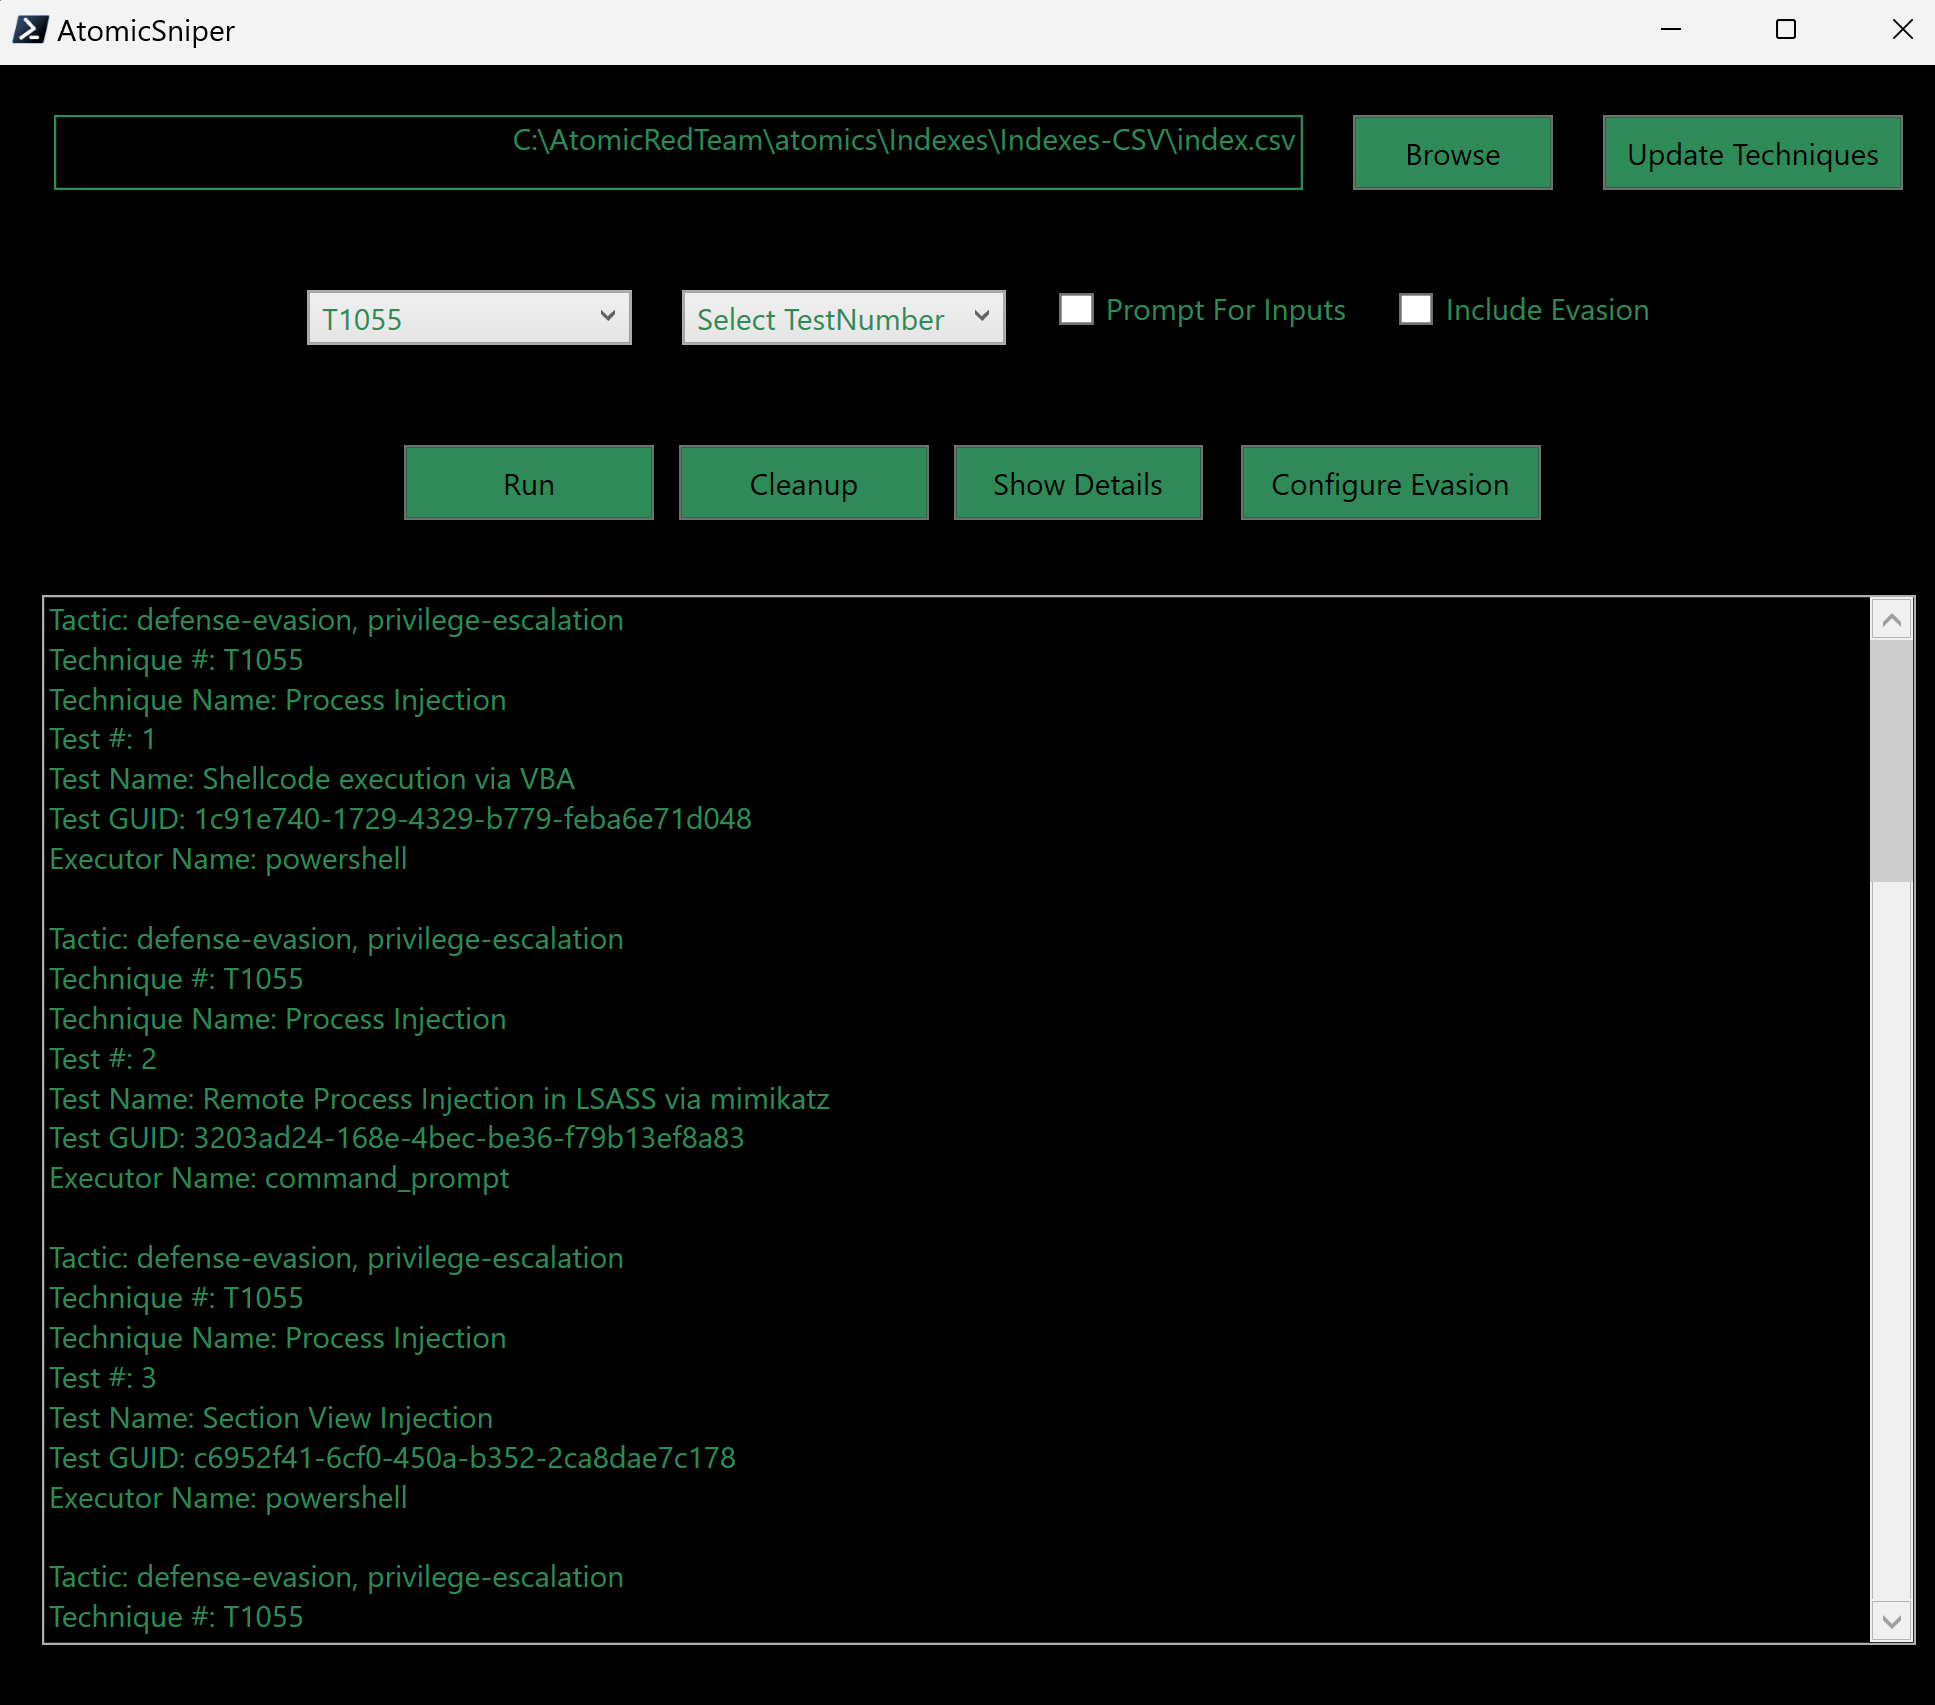
AtomicSniper.ps1: A GUI-based script for executing AtomicRedTeam tests, managing ProcMon, and logging results. - Campaign Runner Script
AtomicCampaignRunner.ps1: A GUI-based script for running multiple Atomic Red Team tests in sequence with extensive logging and state persistence. - Campaign Builder Script
AtomicCampaignBuilder.ps1: A GUI-based script for selecting and building a custom list of Atomic Red Team tests to run in a campaign. - Campaign Viewer GUI: A new feature within the
AtomicCampaignBuilder.ps1script that allows users to view and manage the current campaign CSV, including the ability to delete selected rows.
- PowerShell 5 or later
- Internet connection to download necessary tools and scripts
- Administrative privileges to run certain commands
- Save the script file to your local machine with a
.ps1extension, e.g.,AtomicSetup.ps1. - Open PowerShell with administrative privileges.
- Change directory to the location of the saved script.
- Execute the script.
- Setup AtomicFootball
- This will build the AtomicFootball directory from the repository.
- You can specify the directory location in the text box. The default location is
C:\. - Click the Setup AtomicFootball button to download and extract the AtomicFootball repository into the specified directory.
- The Exclusion Helper script will run automatically to provide insights into where you will need to add exclusions for the atomics. I recommend creating the directory you intend to exclude in your AV and adding the exclusion before installing the atomics.
-
Configure Atomic Red Team Installation Options and Arguments
- This section allows you to install the Invoke-AtomicRedTeam framework with various optional arguments.
- Include Atomics: Includes the Atomics folder containing test definitions. Necessary for running tests.
- Force Install: Forces the installation even if the module is already installed. Use this to update or reinstall.
- No Payloads: Installs the atomics directory with only the test definition YAML files and no payloads.
- Install Path: Specify the installation path for Invoke-AtomicRedTeam. Default is
C:\AtomicRedTeam. - Repo Owner: Specifies the GitHub repository owner. Default is
redcanaryco. - Branch: Specifies the branch to use from the repository. Default is
master.
-
Install Atomic Red Team
- Click the Install Atomic Red Team button to install the Invoke-AtomicRedTeam framework with the specified options.
-
Install Powershell Modules
- Installs the required PowerShell modules (
invoke-atomicredteamandpowershell-yaml) from the PowerShell Gallery. - Click the Install Powershell Modules button to install the modules.
- Installs the required PowerShell modules (
- Setup Procmon
- This will configure Procmon (Process Monitor) and direct the output to the AtomicFootball directory.
- Click the Setup Procmon button to download and extract Process Monitor, which is launched to ensure you have accepted the EULA before attempting your first test. You should exit Procmon before proceeding.
- Invoke-AtomicRedTeam Wiki
- Click the hyperlink to open the Invoke-AtomicRedTeam Wiki in your default web browser for more information and detailed documentation.
- Launch the form by running
.\AtomicSetup.ps1as an administrator. - Specify the desired directory for AtomicFootball or use the default.
- Click Setup AtomicFootball to download and set up the directory.
- Adjust any options for the Invoke-AtomicRedTeam installation.
- Click Install Powershell Modules to install the required PowerShell modules.
- Click Install Atomic Red Team to install the framework.
- Click Setup Procmon to configure Process Monitor.
For support and further information, refer to the Invoke-AtomicRedTeam Wiki.
After the setup script has been run, use the AtomicBase.ps1 script to launch the main interface for accessing all other scripts. This script provides a unified GUI for managing and running the various components of the project.
To run the Atomic Base script:
.\AtomicBase.ps1This script provides a GUI for executing AtomicRedTeam tests and managing ProcMon and logs.
To run the execution script:
.\AtomicSniper.ps1Snipe like a pro: load your atomic campaign csv in place of the full index to retest a curated list from your campaign.
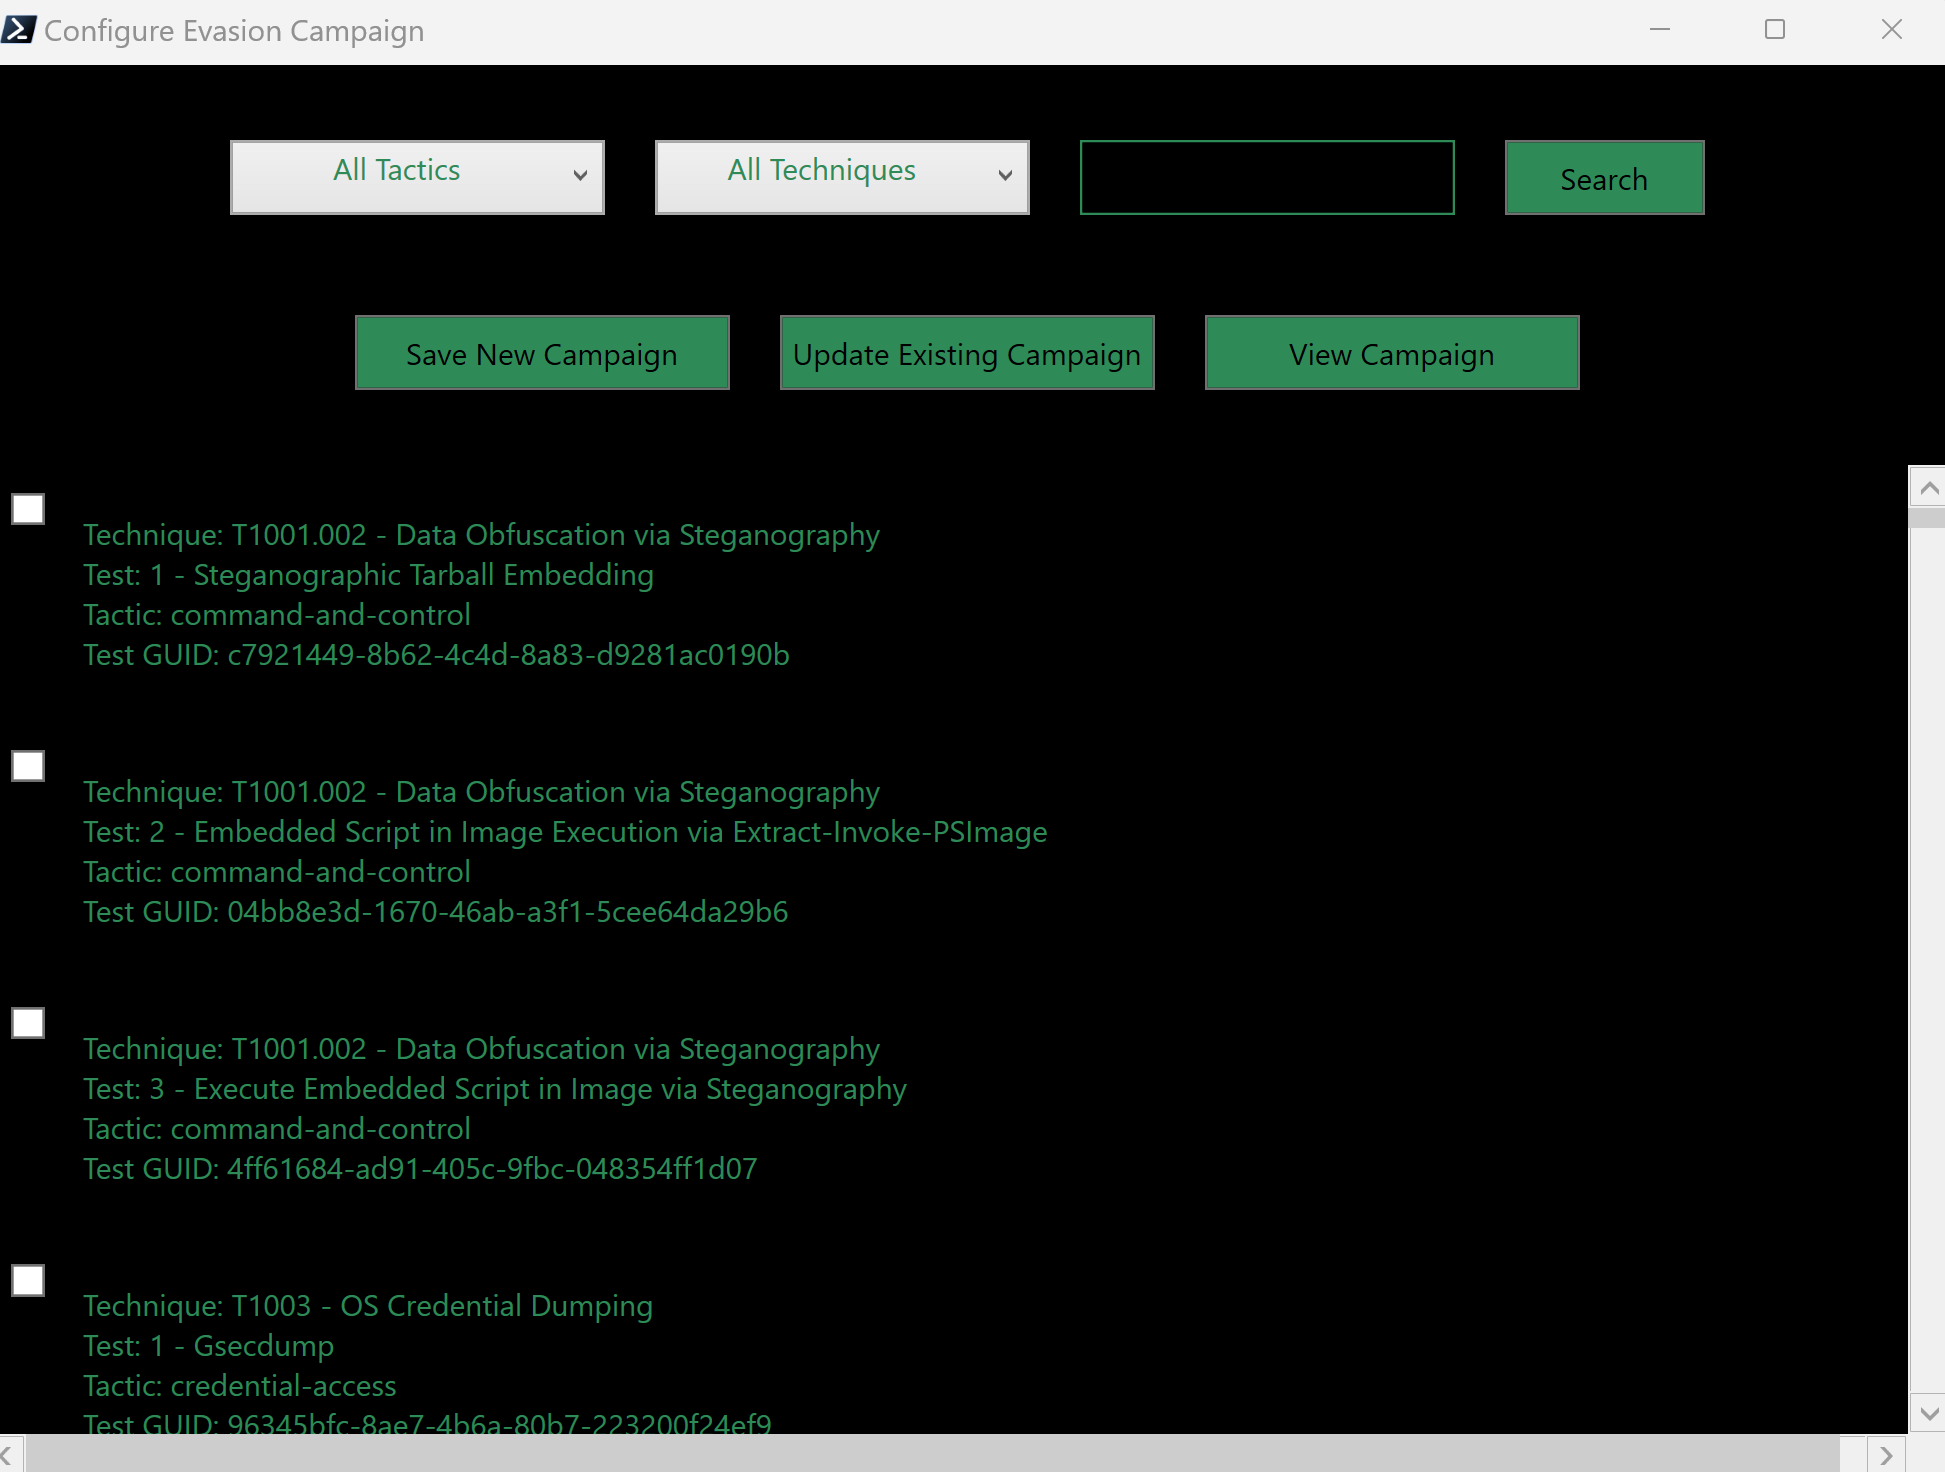
The Configure Evasion button in the AtomicSniper.ps1 script opens a new popup window that allows users to select and configure evasion techniques to run before the main test. This popup includes:
- Filters: ComboBoxes for filtering techniques by Tactic and Technique, and a TextBox for keyword filtering.
- Technique List: Displays the list of techniques based on the selected filters, each with a checkbox for selection.
- Save Evasion Techniques Button: Saves the selected techniques to a new evasion CSV, overwriting any existing file.
- Update Evasion Techniques Button: Updates the existing evasion CSV with the selected techniques.
- View Evasion CSV Button: Opens a new window to view and manage the evasion CSV, including deleting selected rows.
To configure evasion techniques:
.\AtomicSniper.ps1This script provides a GUI for running multiple AtomicRedTeam tests in sequence with extensive logging and state persistence.
To run the campaign runner script:
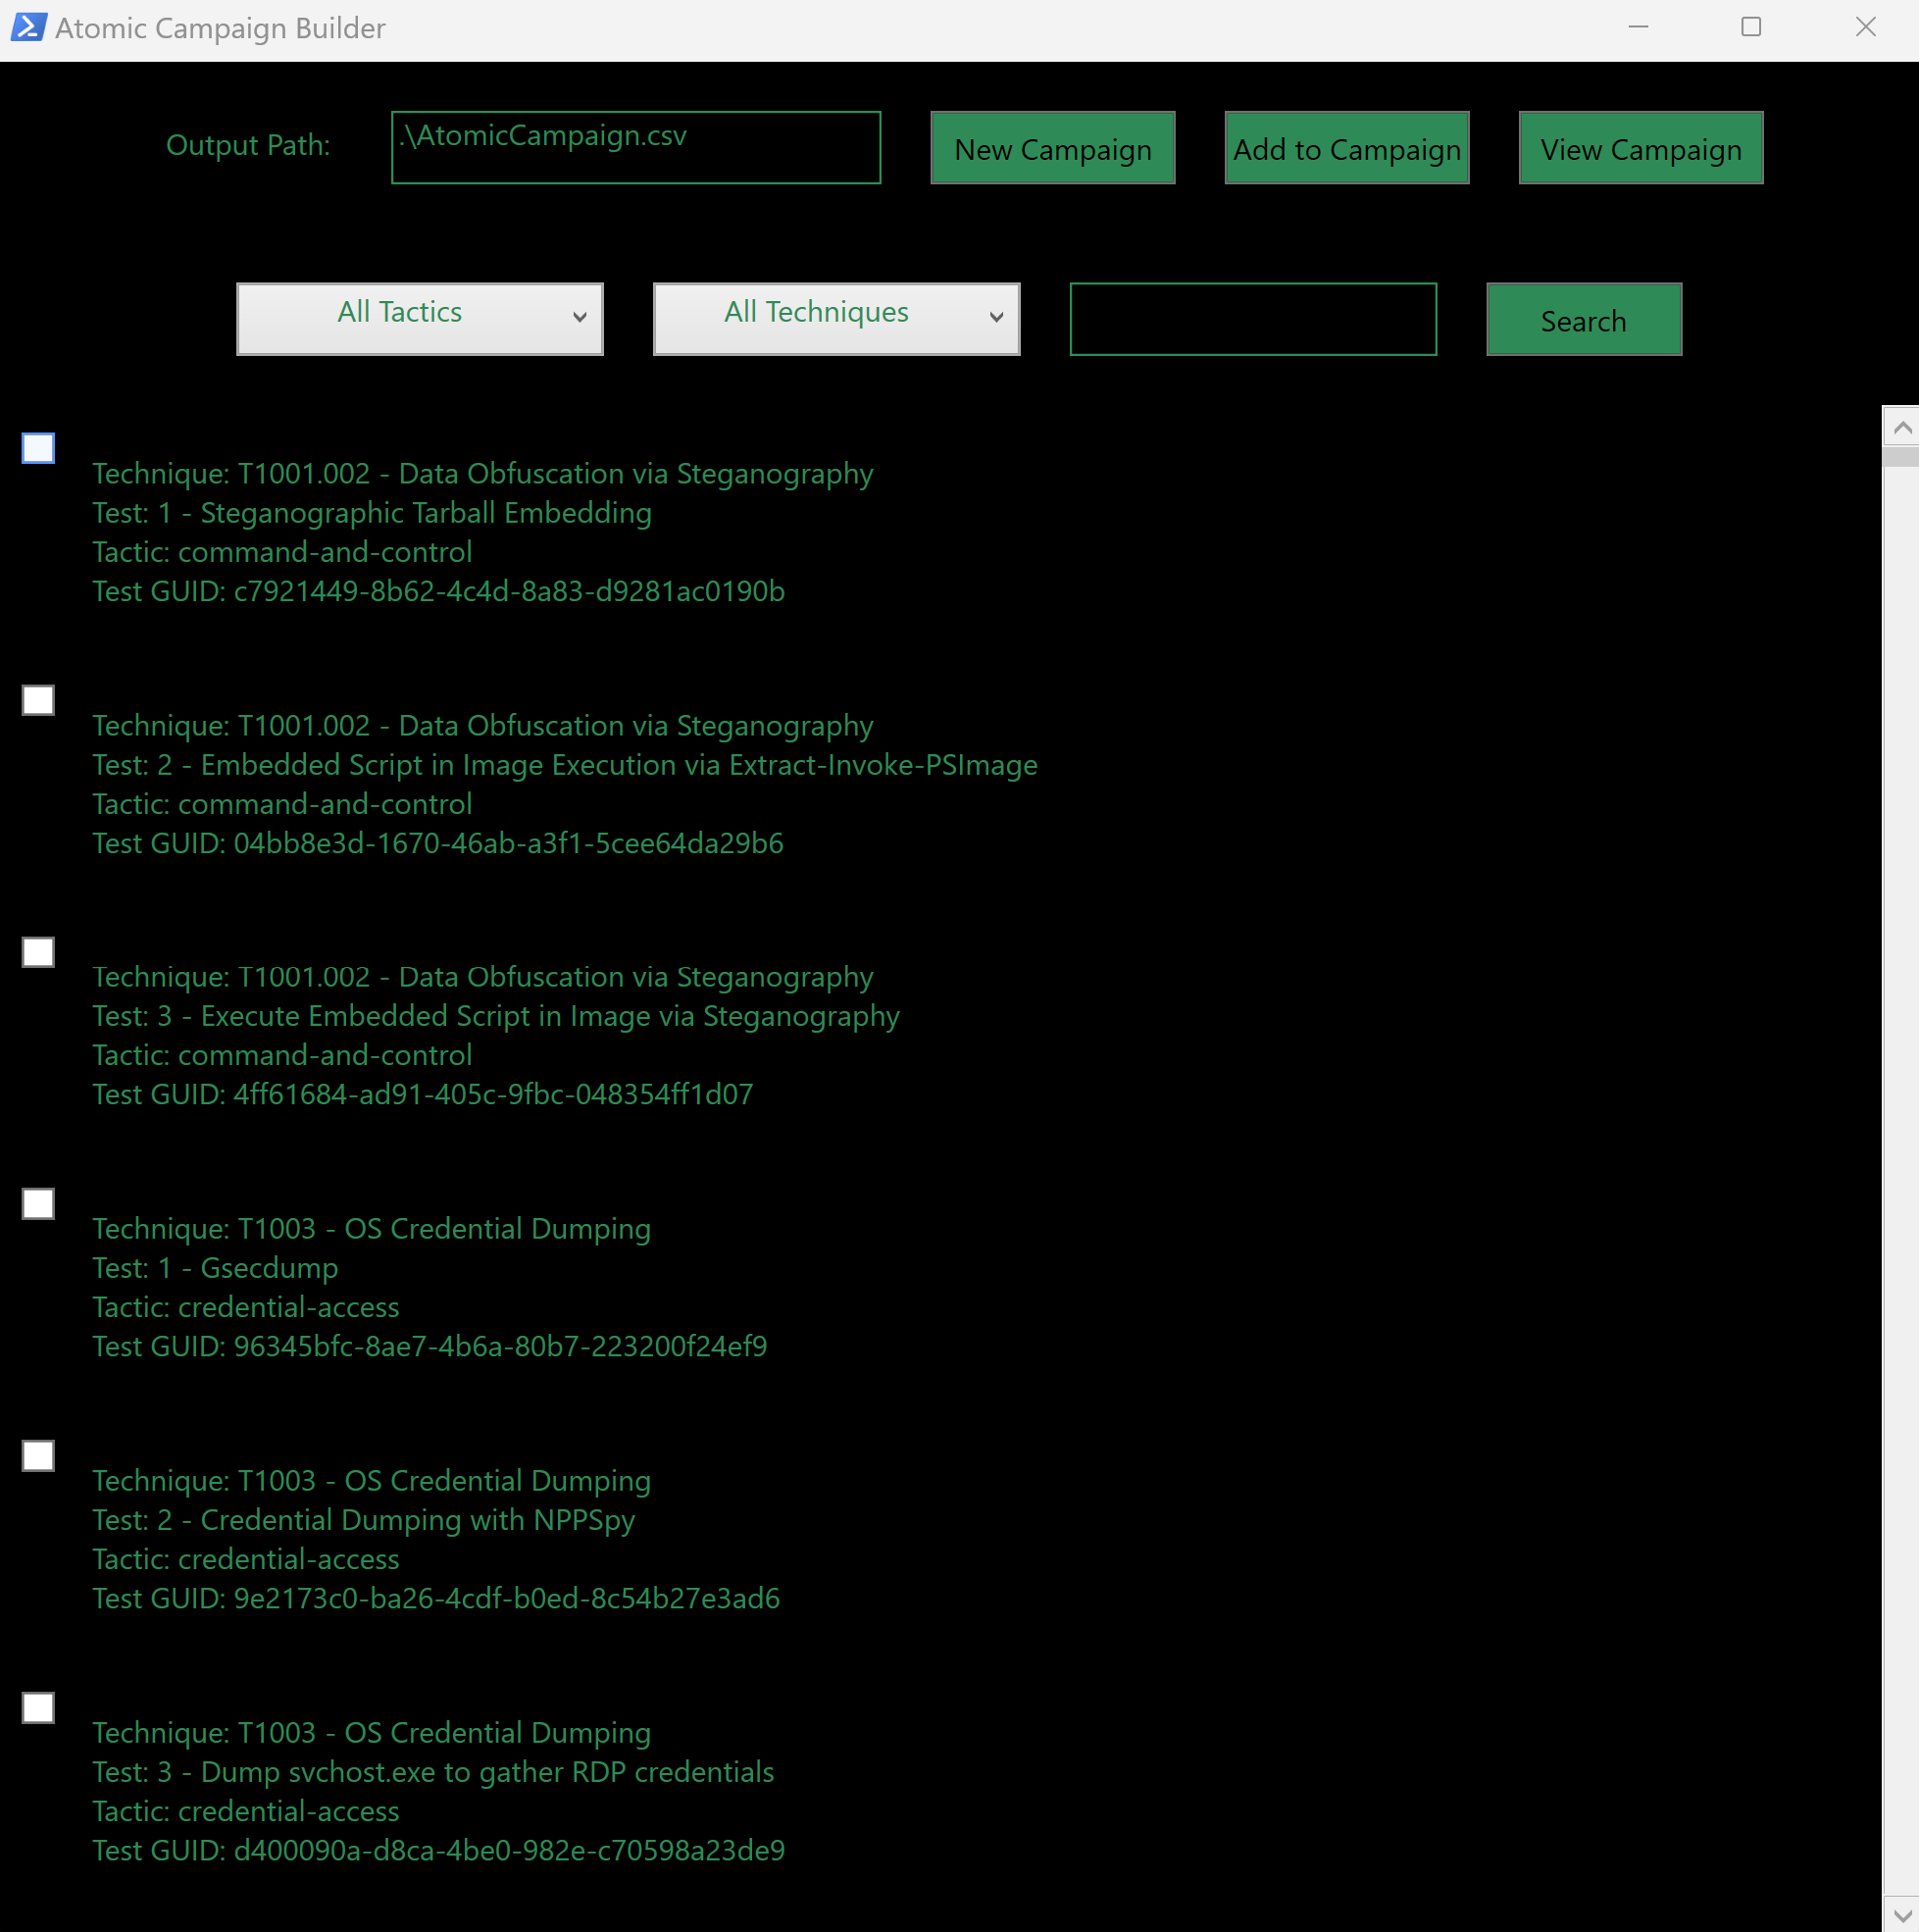
.\AtomicCampaignRunner.ps1This script provides a GUI for selecting and building a custom list of AtomicRedTeam tests to run in a campaign. It includes filters for tactics, techniques, and keywords, allowing for precise selection of tests.
- Output Path: TextBox to specify the output path for the CSV file.
- New Campaign Button: Creates a new campaign CSV, overwriting any existing file at the specified output path.
- Add to Campaign Button: Adds selected techniques to the existing campaign CSV.
- View Campaign Button: Opens a new window to view and manage the current campaign CSV, including deleting selected rows.
- Filters: ComboBoxes for filtering techniques by Tactic and Technique, and a TextBox for keyword filtering.
- Technique List: Displays the list of techniques based on the selected filters, each with a checkbox for selection.
To run the campaign builder script:
.\AtomicCampaignBuilder.ps1The View Evasion CSV button in the evasion configuration popup opens a new window that displays the current evasion CSV. Users can delete selected rows from the CSV:
- Delete Selected Rows Button: Deletes the selected rows from the current evasion CSV and updates the file.
Please feel free to contribute by submitting issues or pull requests to enhance the functionality of this project.
This project is licensed under the GNU General Public License v3.0 - see the LICENSE file for details.


