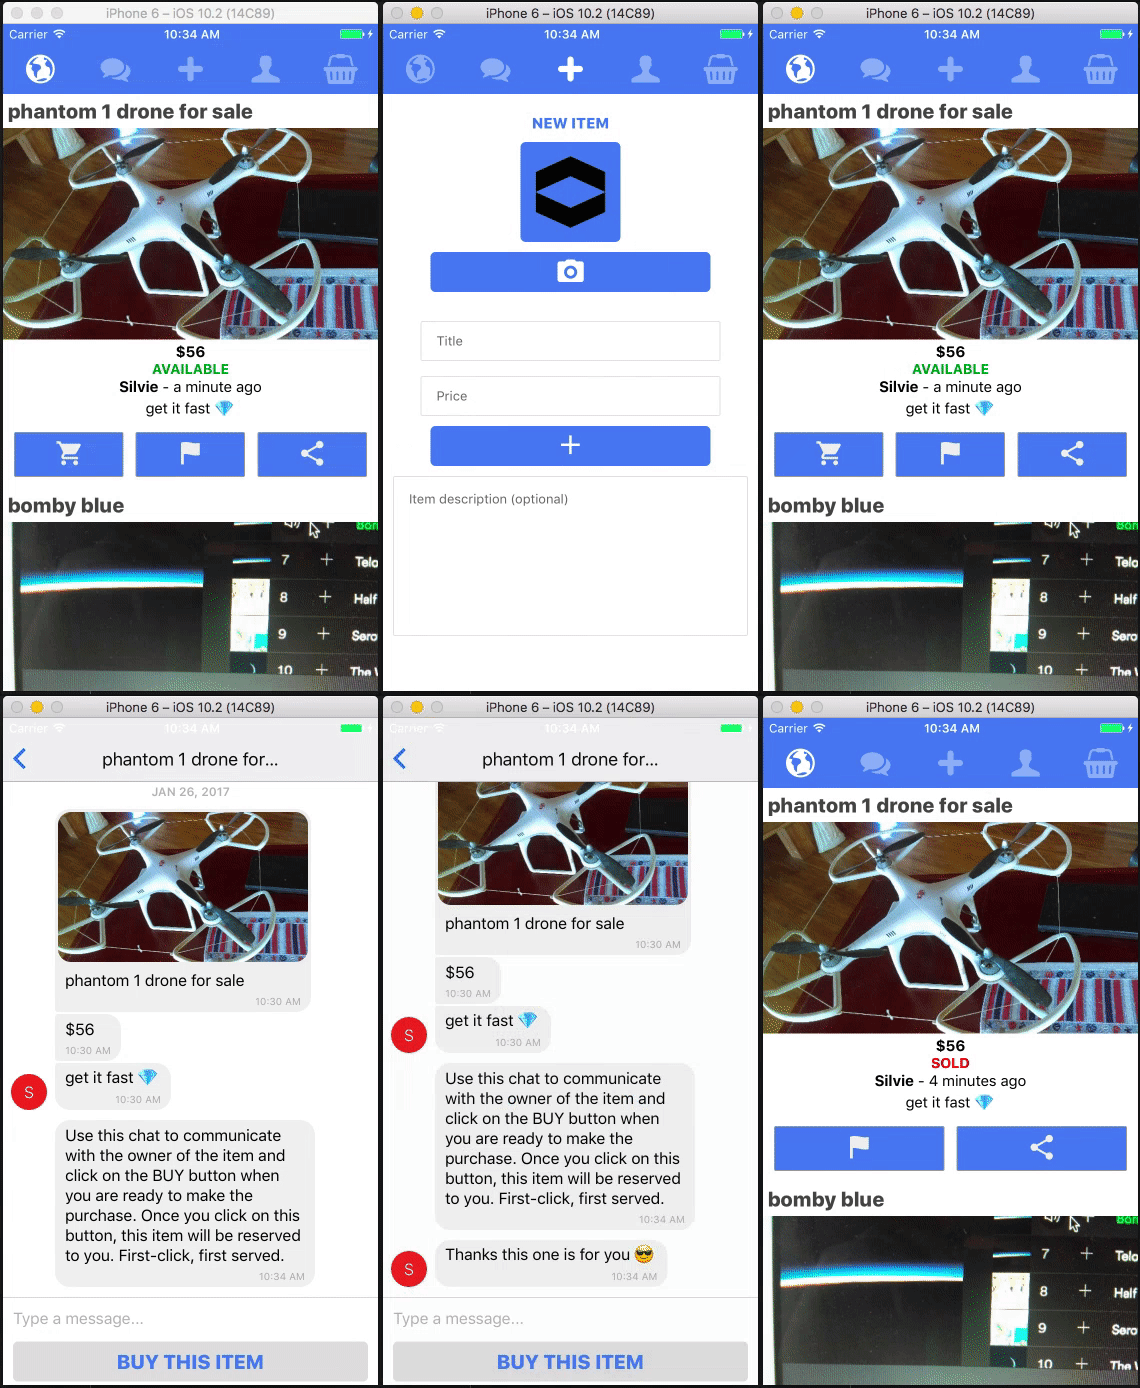
Build your own Instagram + WhatsApp + chat marketplace mobile app clone with push notifications and code deployment integrated
- React Native : One language, JavaScript, one source code.
- MobX : Simple, scalable state management (easier than Redux)
- Firebase : Cloud based database and storage service
- CodePush : Push code updates to your apps, instantly
- OneSignal : Unlimited push notifications
To create your own copy of this application, here are the prerequisites:
- Yarn installed on your system or simply use npm if you prefer.
- React Native installed on your system.
- Android SDK installed to run the app on android devices.
- Xcode installed to test the app on iOS devices or simulator.
Clone the repository:
git clone https://github.com/jsappme/react-native-firebase-starter.git NewApp
cd NewApp
Let's install all the dependencies:
yarn
In order to run the app you have to setup Firebase (CodePush and OneSignal are optional).
After Login or Register at https://firebase.google.com/
Go to your Firebase console: https://console.firebase.google.com/
Create a new project and click on Add Firebase to your web app.
Open the Firebase config file using your favorite editor (in my case Atom) and Copy/Paste your Firebase variables:
atom src/firebase.js
Next setup the Firebase Auth by enabling Email/Password Signup method: https://console.firebase.google.com/project/newapp/authentication/providers
Copy and Paste your Firebase rules at: https://console.firebase.google.com/project/newapp/database/rules
{
  "rules": {
    ".read": "auth != null",
    ".write": "auth != null",
    "usernameList" : {
      ".read": true
    },
    "posts": {
        ".indexOn": "createdAt",
        ".read": true
    },
    "user_posts": {
      "$uid": {
        "posts": {
          ".indexOn": "createdAt"
        },
      },
    },
    "user_orders": {
      "$uid": {
        "posts": {
          ".indexOn": "createdAt"
        },
      },
    },
    "user_chats": {
      "$uid": {
        "posts": {
          ".indexOn": "updatedAt"
        },
      },
    },
  }
}
That's it for Firebase!
Make sure all the packages are linked to React Native:
react-native link
###We are now ready to lunch the app on an android device.
react-native run-android
To see the logs:
react-native log-android
###To open the app on Xcode:
yarn run ios
You might need to add a Signing Team for MyApp and MyApptest to build it.
###To run the app on an iOS simulator:
react-native run-ios
To see the logs:
react-native log-ios
With the help from this great article by Spencer Carli: https://medium.com/differential/react-native-push-notifications-with-onesignal-9db6a7d75e1e#.dwpff7u2z
If you want to enable Push Notification, you will need to choose an Explicit App ID (a.k.a Product Bundle Identifier in iOS) for your app. The App Id of this demo app is me.jsapp.myapp. In order to change it, you need to find and replace all the instances of myapp and MyApp with your new App Id in the file names and in the content of all the files in the NewApp folder while respecting the case sensitivity. Example: myapp to newapp and MyApp to NewApp. If you change the prefix of the App ID me.jsapp to something else, you need to change the folder structure in android/app/src/main/java.
Login or Register at https://onesignal.com
Add new app and select the Android platform first
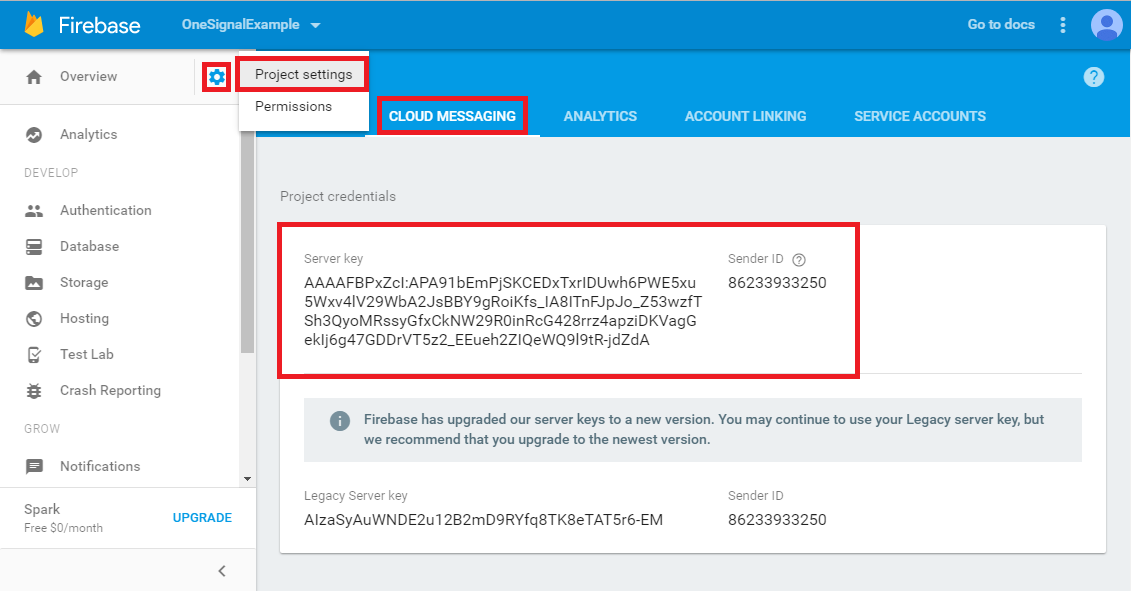
Open a new tab and go to your Firebase app Settings > CLOUD MESSAGING: https://console.firebase.google.com/project/newapp/settings/cloudmessaging
Save the two values listed:
- Server key, a.k.a the Google Server API key
- Sender ID, a.k.a the Google Project Number a.k.a my_onesignal_google_project_number (you will need it later)*
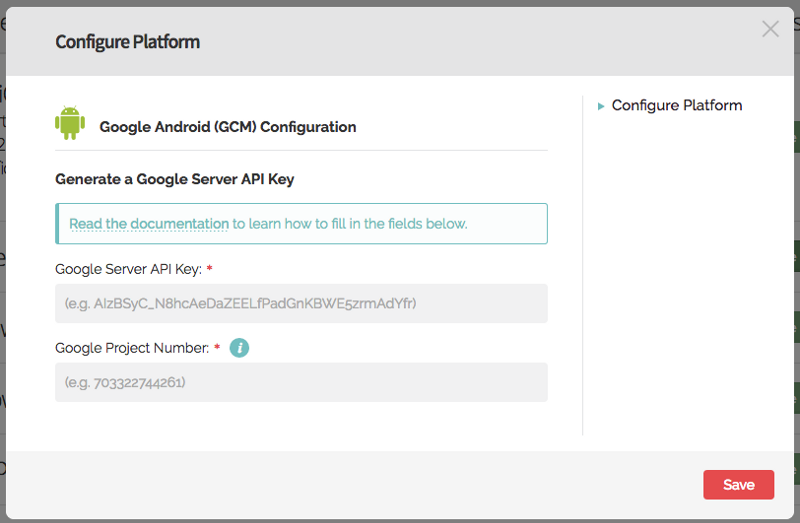
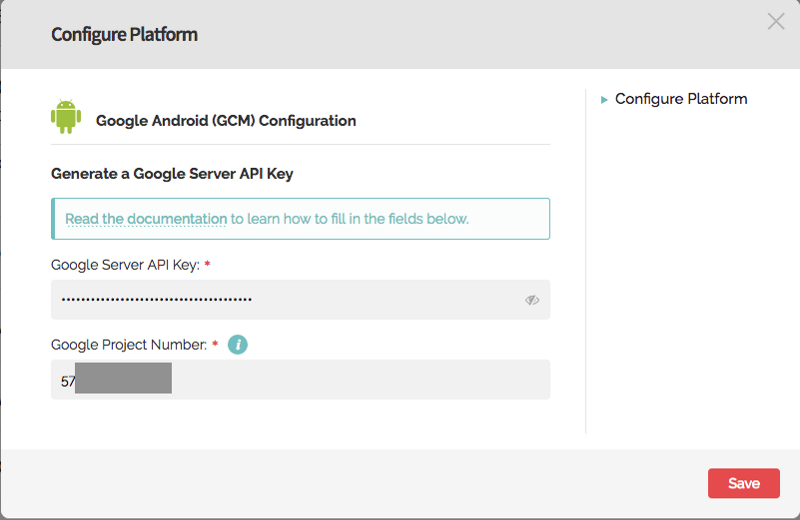
Copy/Paste those two values on the first tab: OneSignal > Google Android (GCM) Configuration and Save it
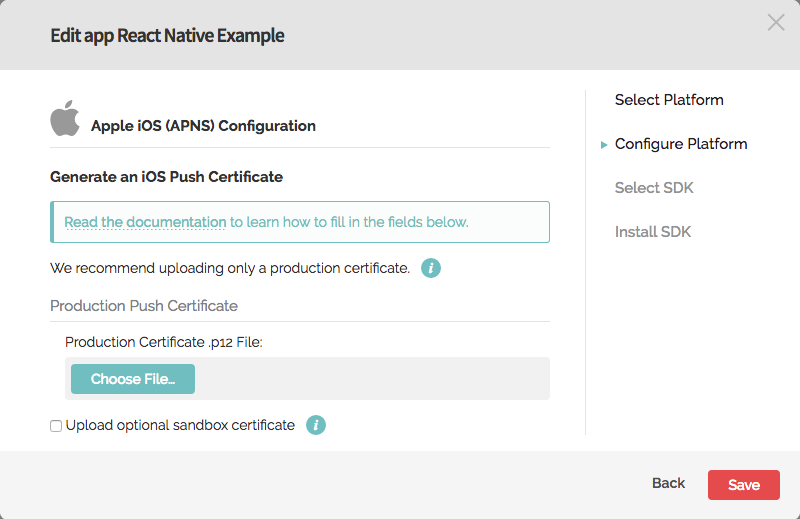
Let's configure the iOS platform by clicking on Configure next to Apple iOS in NewApp > App Settings
Open a new tab and create our app within the Apple Developer portal
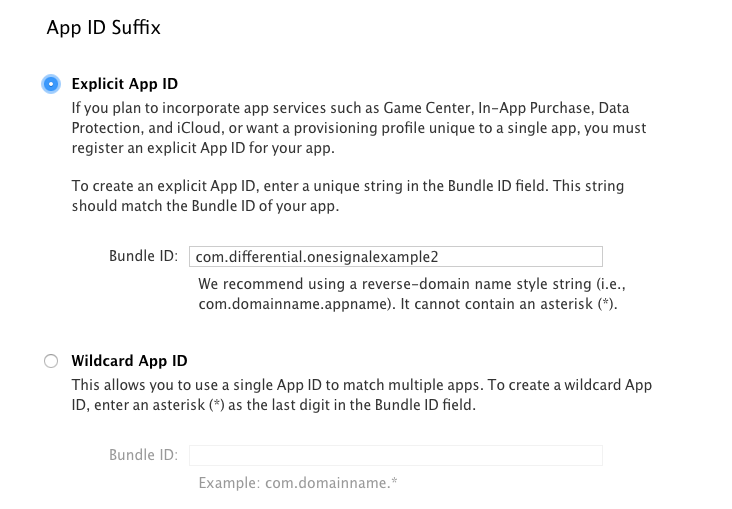
Enter the Explicit App ID of the app, in this case, me.jsapp.newapp.
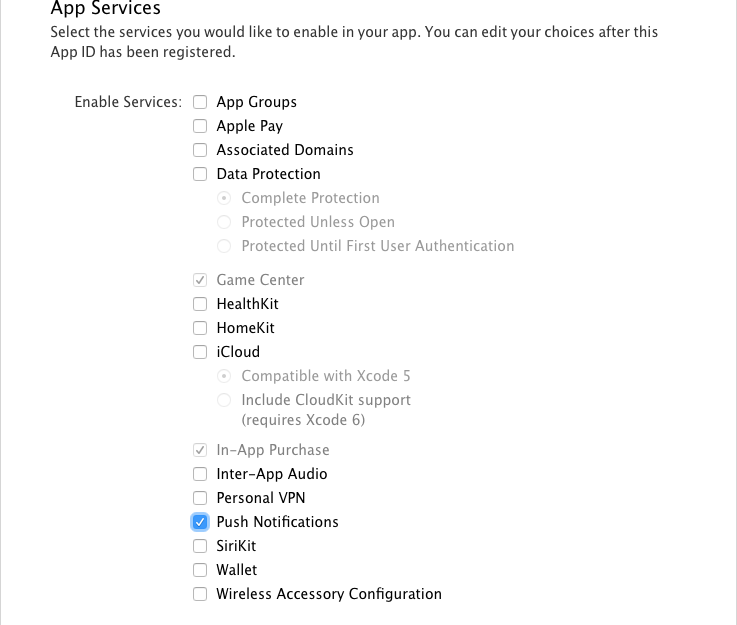
Next enable Push Notifications for the app.
Now let's create the provisioning profile. OneSignal has a tool called The Provisionator that will help with this process.
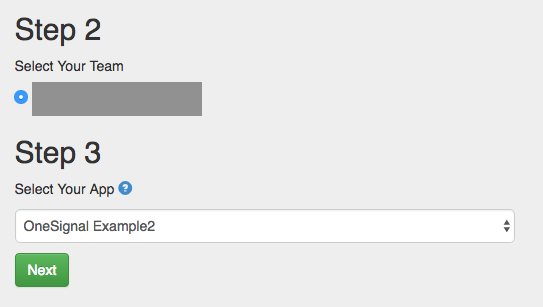
Sign into your account and make sure you choose the proper team
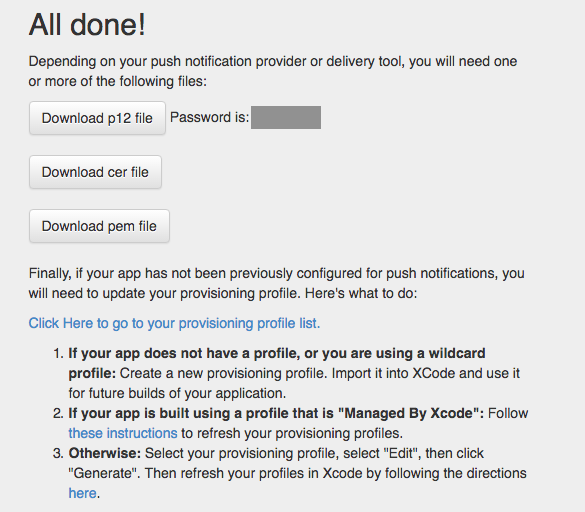
After pressing Next, you’ll see something like this
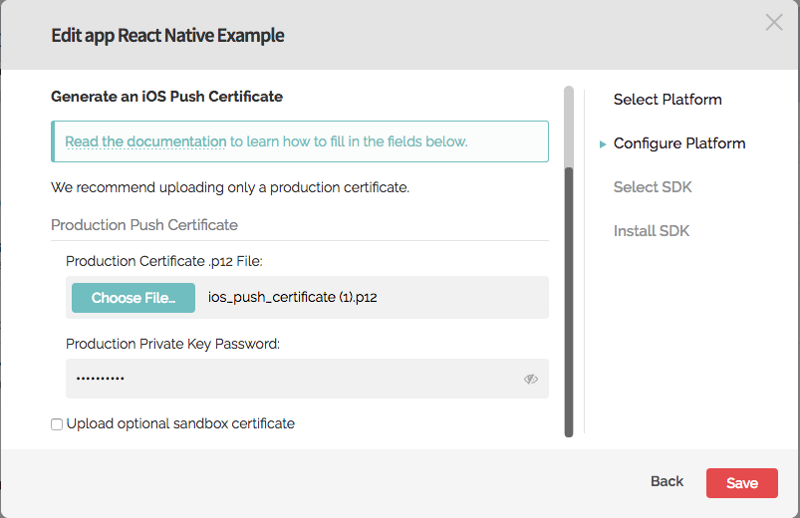
Download those files and remember the password for the p12 file. Then head back to OneSignal tab, upload the file, enter your password and Save
####Your Push Notification platforms are now set up. Now we can actually work on integrating this with our app.
On your browser, go to OneSignal > NewApp > App Settings > Keys & IDs and copy the two values:
- OneSignal App ID a.k.a. my_onesignal_app_id
- REST API Key a.k.a. my_onesignal_api_key
Edit, Find and Replace these strings by their values into the following files:
- my_onesignal_google_project_number in:
atom android/app/build.gradle
- my_onesignal_app_id in:
atom android/app/build.gradle
atom ios/NewApp/AppDelegate.m
atom src/store/AppStore.js
- my_onesignal_api_key in:
atom src/store/AppStore.js
That's it for the push notification configuration.
Why CodePush? I am a CodePusher and I love it. Thanks MS and not M$ anymore
Install the CodePush CLI https://microsoft.github.io/code-push/index.html#getting_started
npm install -g code-push-cli
Create a CodePush account or Login if you have one already.
code-push register
or
code-push login
Register your app with the service, create one for each platform.
code-push app add newapp-and
code-push app add newapp-ios
Copy/Paste these Staging deployment keys to their respective platform files:
my_codepush_android_key in
atom android/app/src/main/res/values/strings.xml
my_codepush_ios_key in
atom ios/NewApp/Info.plist
Edit the Google Analytics Tracker variable:
atom src/store/AppStore.js
This app is only a starter. Now it's time for some customizations and improvements.
##License MIT License. Do whatever you want to do.
All the credits goes to all library creators and contributors to the open source repositories and libraries that I am using. I'm very grateful to all of them. Here are some of them:
- React Native CodePush
- React Native Gifted Chat
- React Native OneSignal
- React Native Fetch Blob
- React Native Keyboard Aware Scroll View
- React Native Image Picker
- Mister Poster
- React Native
- React Native Animatable
- React Native Scrollable Tab View
- React Native Vector Icons
- MobX
- MobX React
- React Native MobX
- Firebase
- Moment JS
- Lodash
I really appreciate any suggestions, feedback, PRs and issues.
Made with ♥ by JSapp.me
