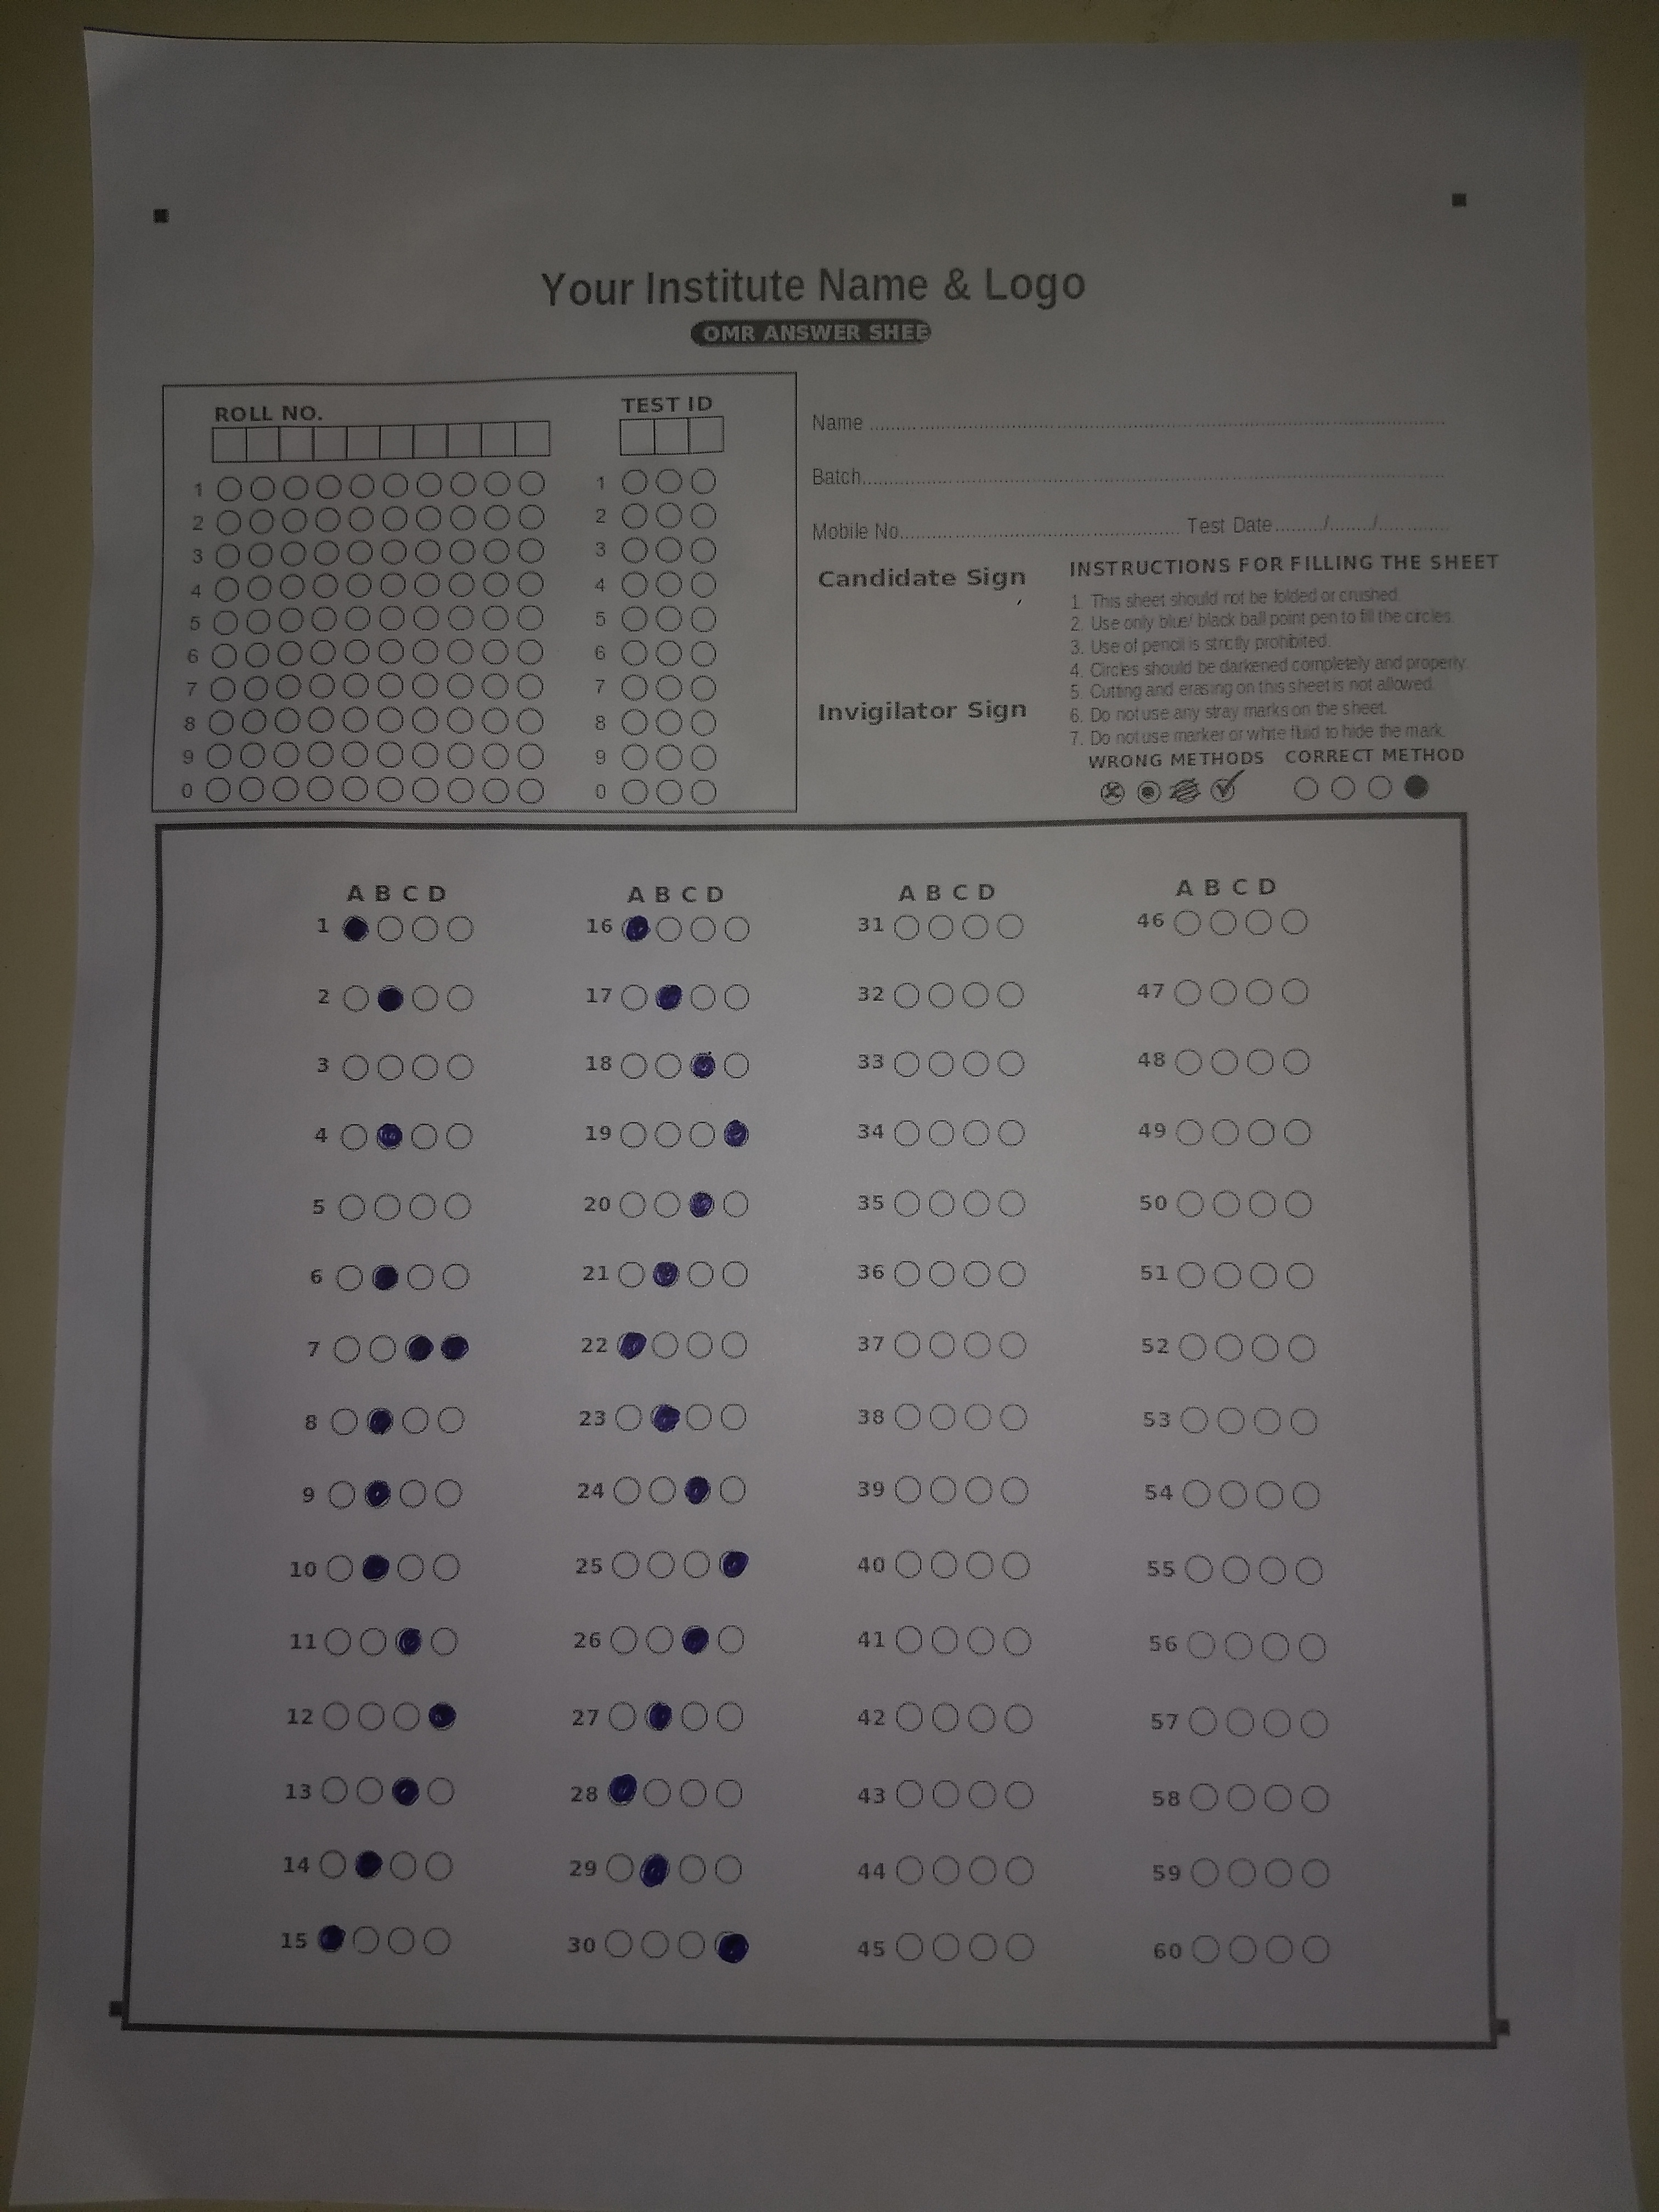
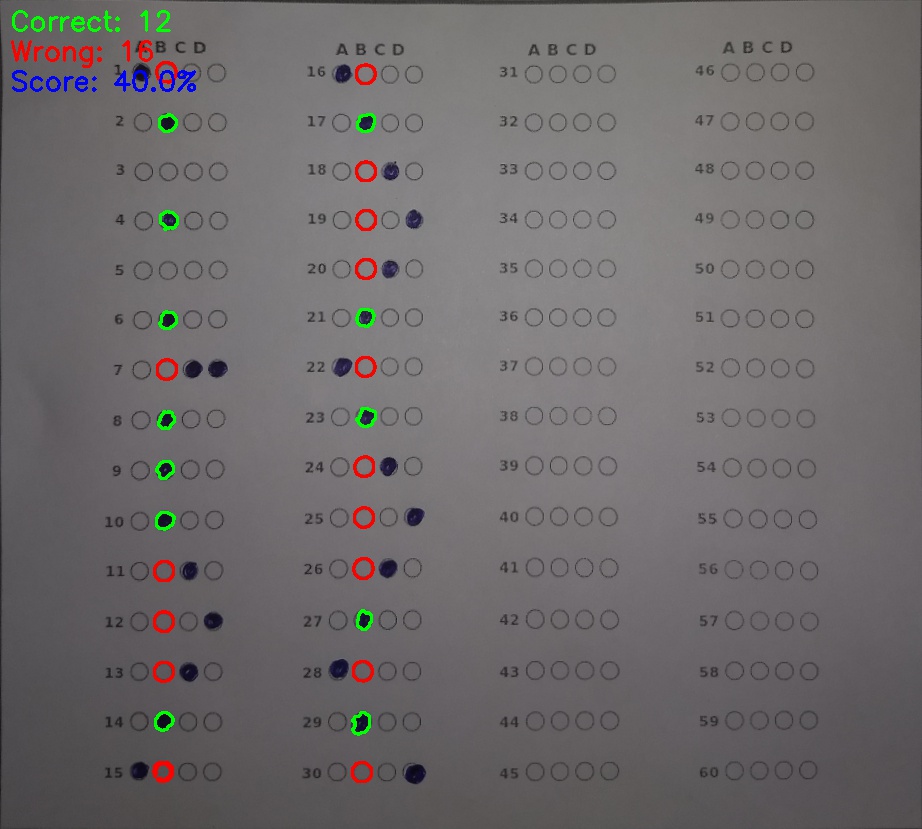
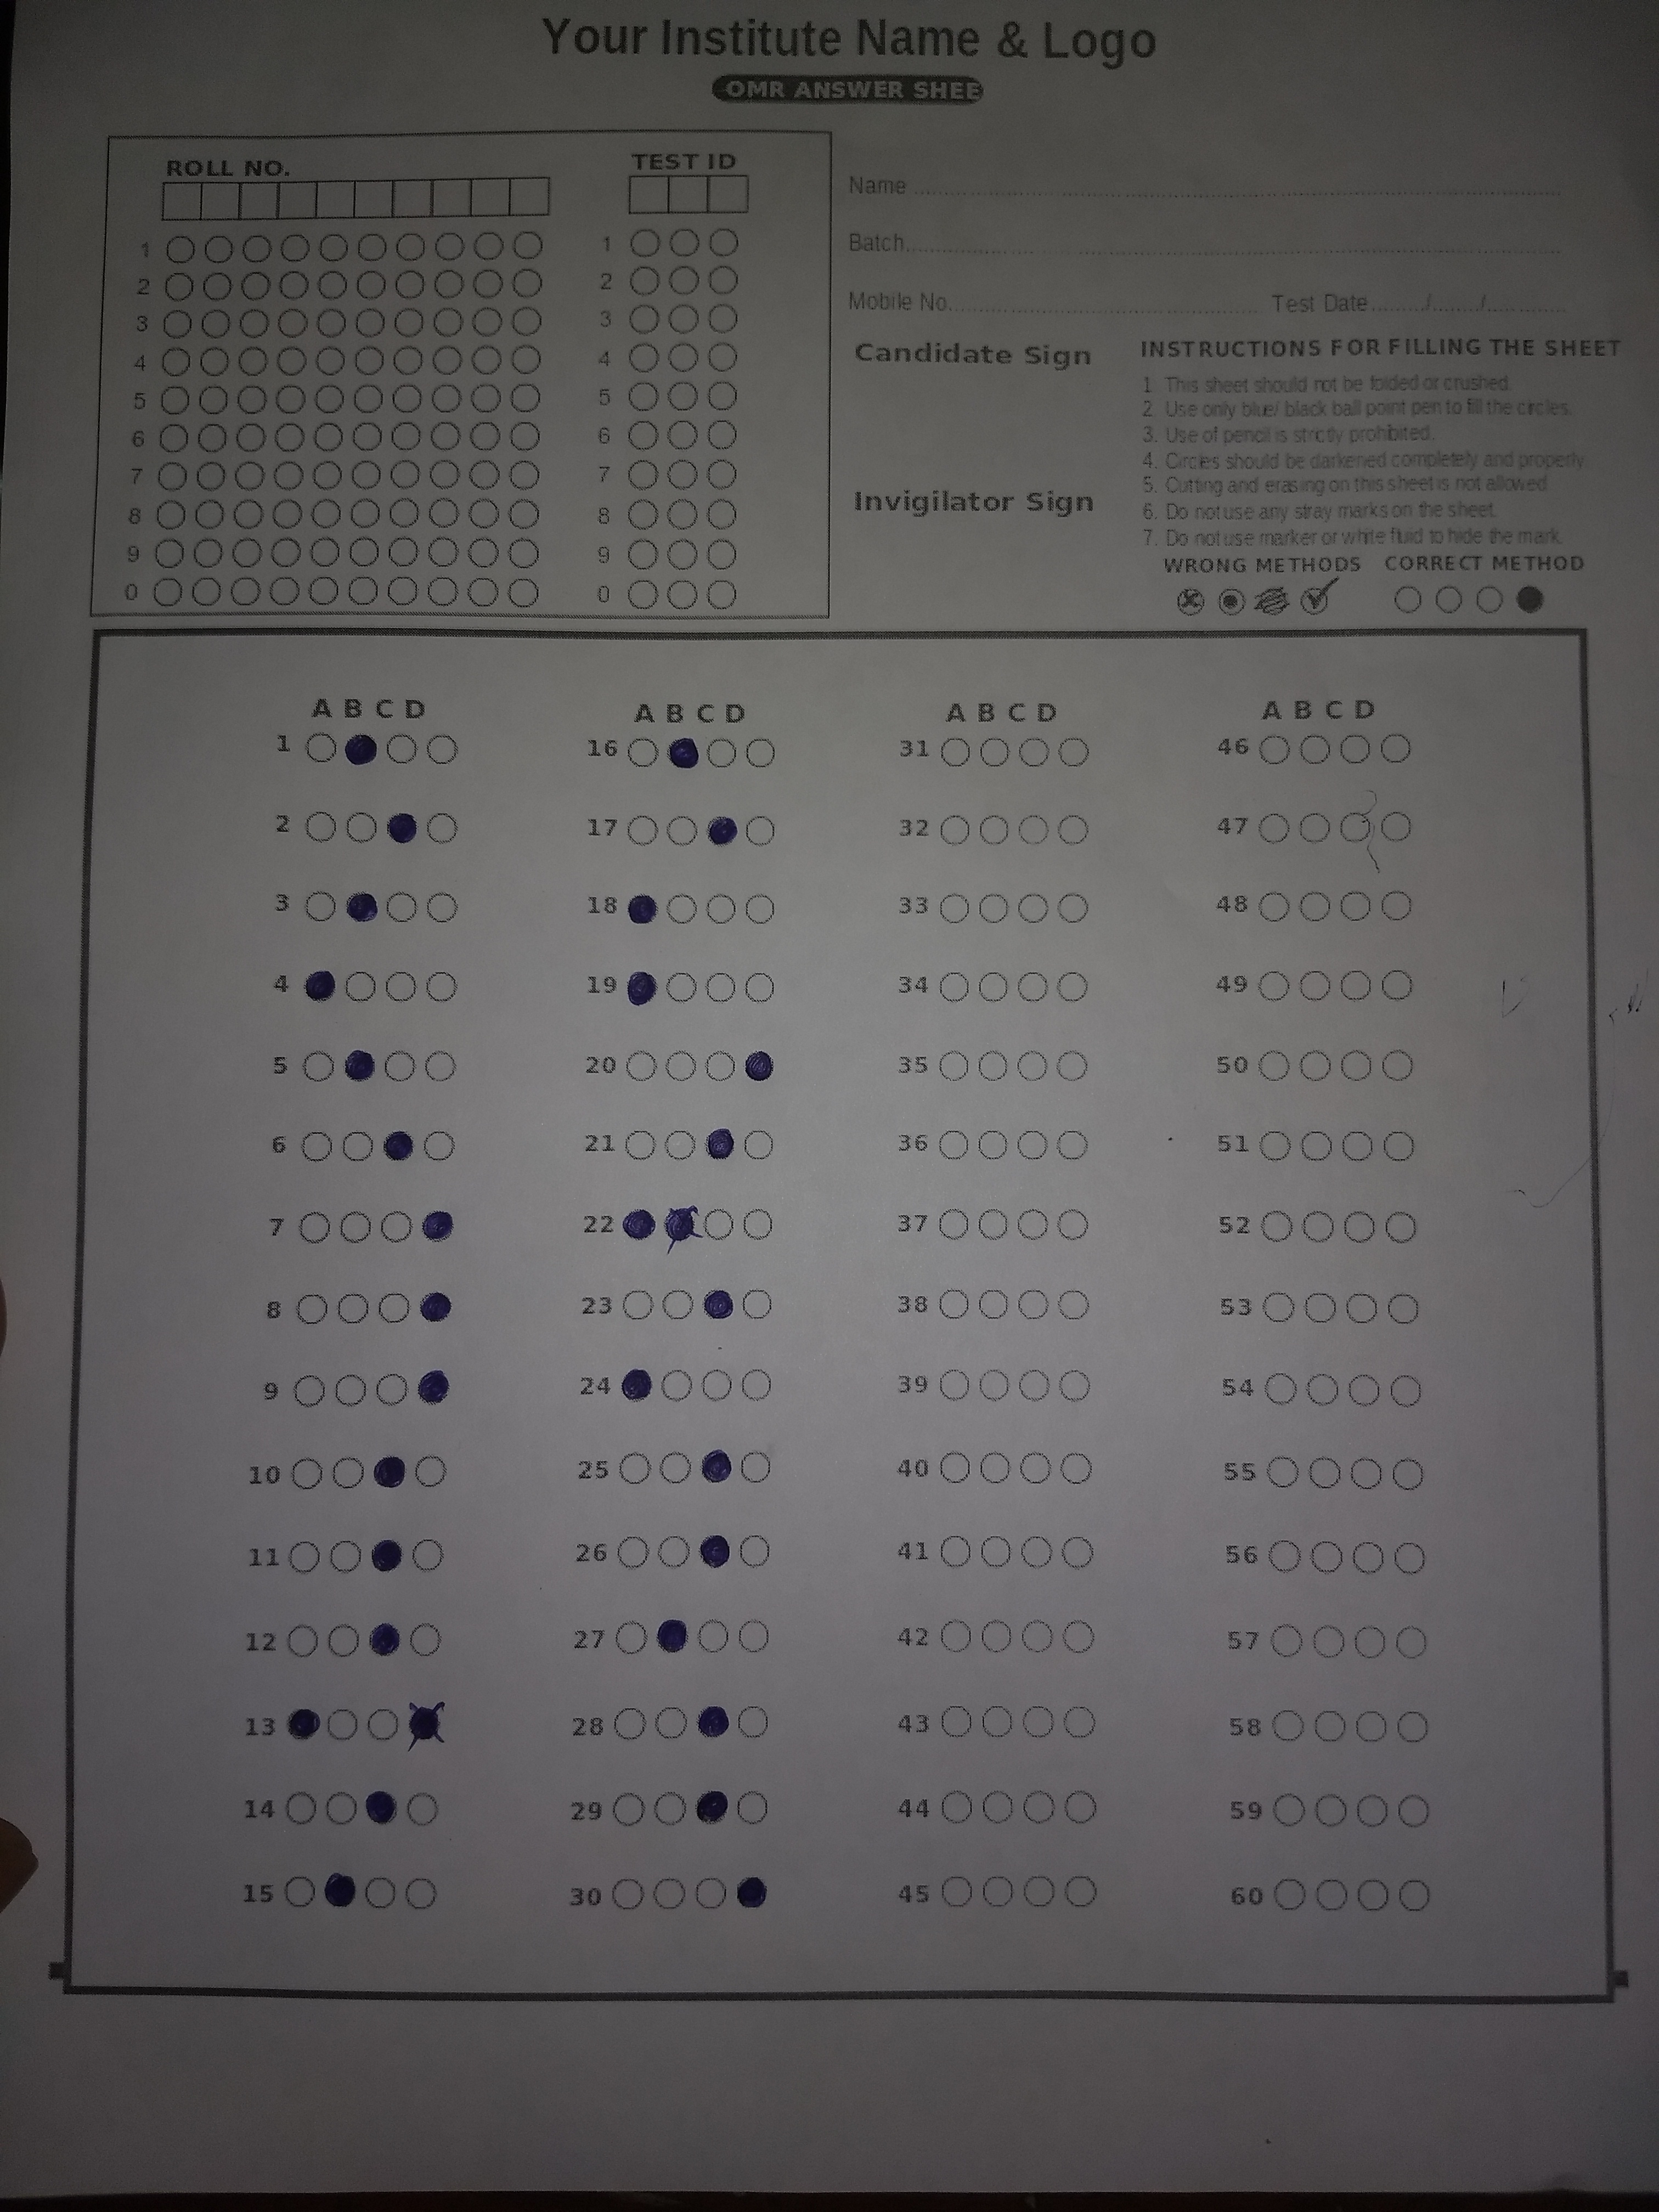
This is a project that will be using some image processing techniques to evaluate the OMR Sheet.
I will try to explain as effectively as possible.
This has mainly 4 steps:
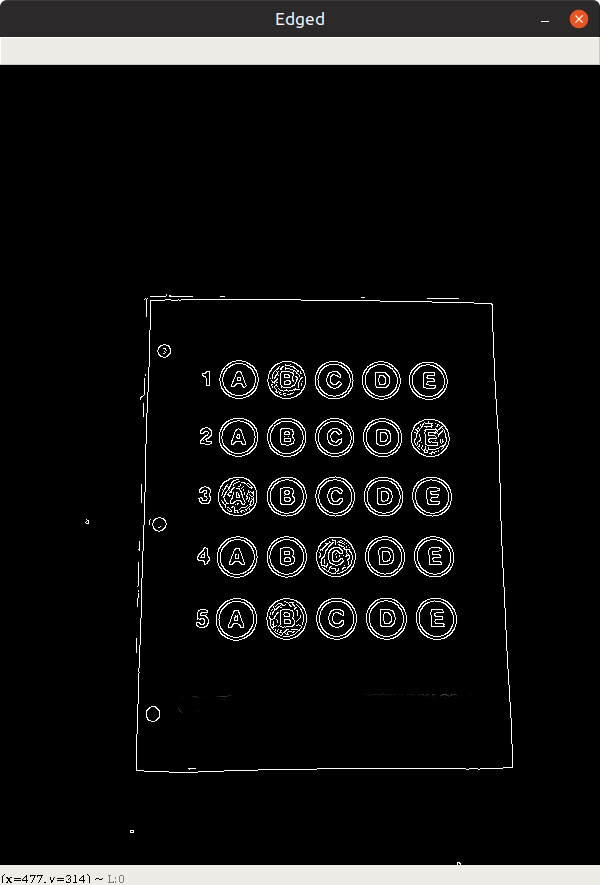
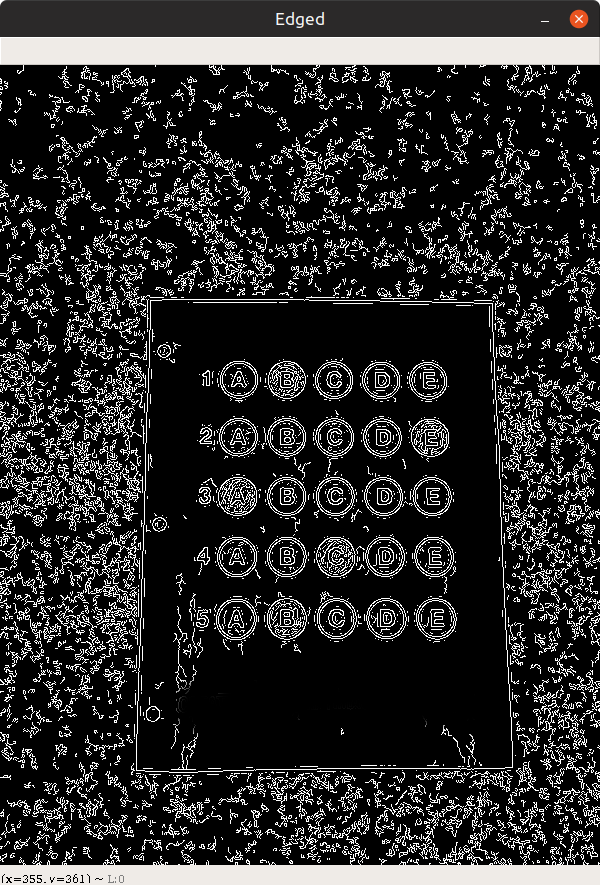
- Do the edge detection.
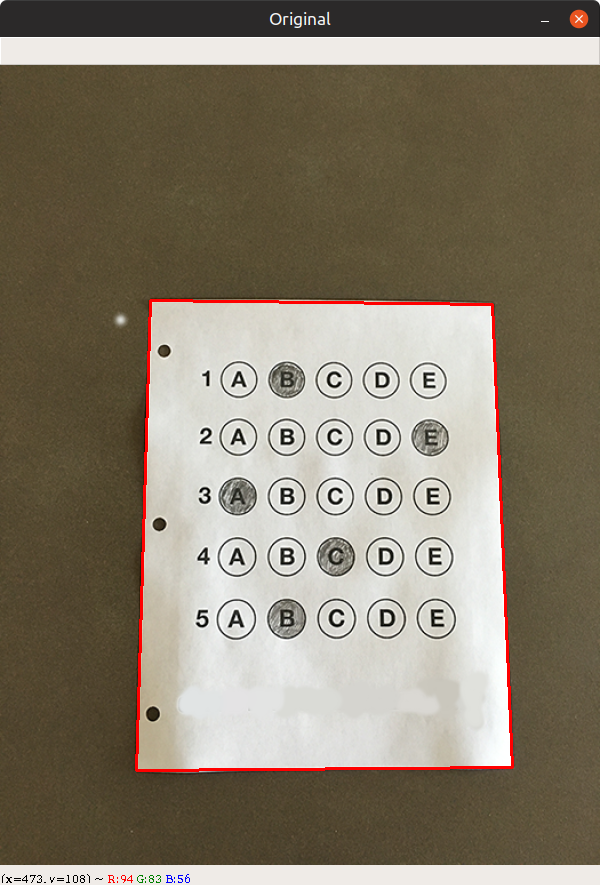
- Find the corner points of paper and apply perpective transform.
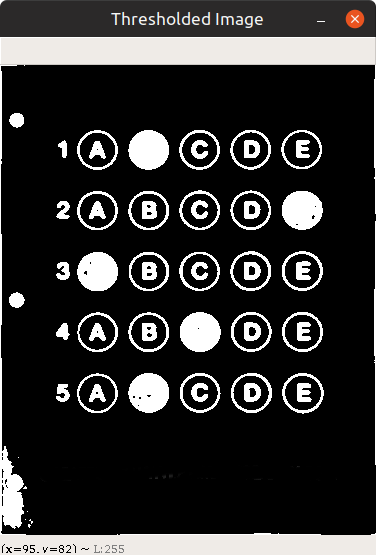
- Do the thresholding.
- Extract the question and detect the answer(using masking)
- Find the edges of paper and do the perpective transform to get the bird's eye view of paper.
- Do binarisation of image for simplicity.
- Find the options contours.
- Loop over each option and find how many pixels are white.
- Calculate the score.
Before doing edge detection we do
- Black and White
- Blur
We do this because,
- Black and white image has only 1 shade of color mainly black. This helps in easy computation of pixel values as we don't have to compute on different channels(Mainly RGB).
Code for Black and white.
cv2.cvtColor(image, cv2.COLOR_BGR2GRAY) returns black and white image.
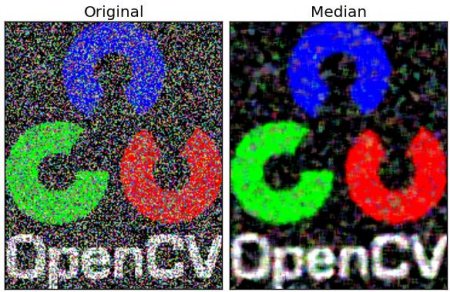
- Blurring the image will reduce the noise.
cv2.GaussianBlur(gray, (5, 5), 0) returns blurred image.
# gray it
gray = cv2.cvtColor(image, cv2.COLOR_BGR2GRAY)
# blur it
gray = cv2.GaussianBlur(gray, (5, 5), 0)
# canny edge detection
edged = cv2.Canny(gray, 5, 10)With blur.
Without blur
We will use edged image to find contours and filter out the largest contour.
Code for finding countours.
cnts = cv2.findContours(edged.copy(), cv2.RETR_EXTERNAL,
                        cv2.CHAIN_APPROX_SIMPLE)
We have used Return Method RETR_EXTERNAL. Learn more about openCV return method and heirarchy. Click here!
We have used CHAIN_APPROX_SIMPLE for optimisation.
cnts = cv2.findContours(edged.copy(), cv2.RETR_EXTERNAL,
                        cv2.CHAIN_APPROX_SIMPLE)

cnts = cnts[0] if imutils.is_cv2() else cnts[1]
docCnts = None
if len(cnts) > 0:
    cnts = sorted(cnts, key=cv2.contourArea, reverse=True)
    for c in cnts:
        # calc the perimeter
        peri = cv2.arcLength(c, True)
        approx = cv2.approxPolyDP(c, 0.02*peri, True)
        if len(approx) == 4:
            docCnts = approx
            break
Finding the largest contour
# apply perspective transform to the shape
paper = four_point_transform(image, docCnts.reshape(4, 2))
After applying perspective transform.
We will be using Otsu's thresholding method. To learn more about threshholding read here!
One thing to know about Otsu's method is that it works on bimodal images. But sometimes when uneven lighting condition is the case Otsu's method fails.
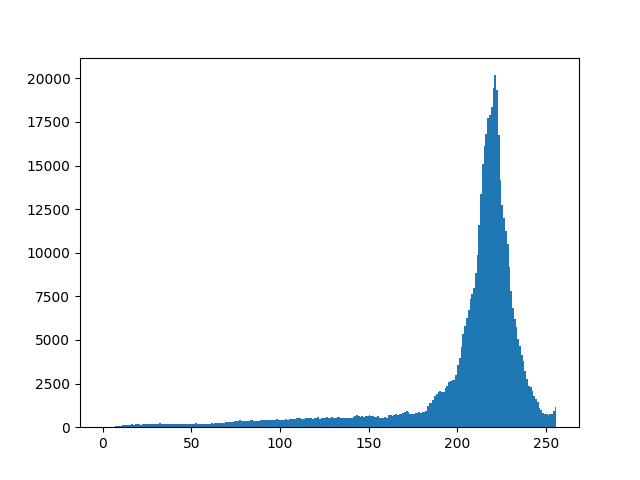
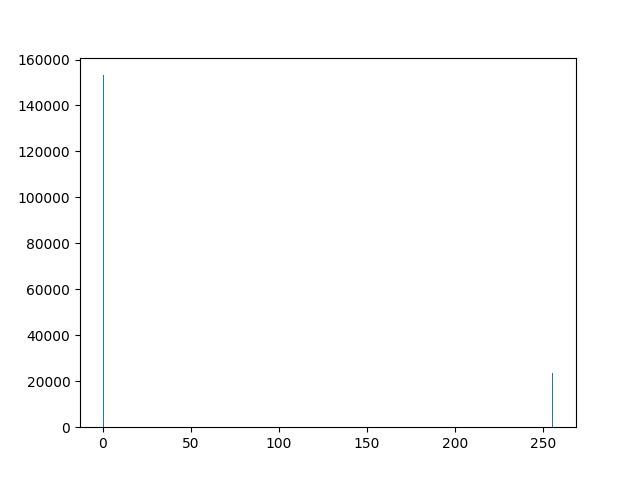
When we plot histogram for paper image we get the following histogram.
Otsu method has chosen 175 or rgb(175, 175. 175) or #afafaf as threshold.
X-axis: is color shade. Y-axis: no of pixel for that color.
Histogram is
You can see that there is either 0(white) or 255(black) pixels in Thresholded image.
This part is one of my favourite as this part consist of clever techniques.
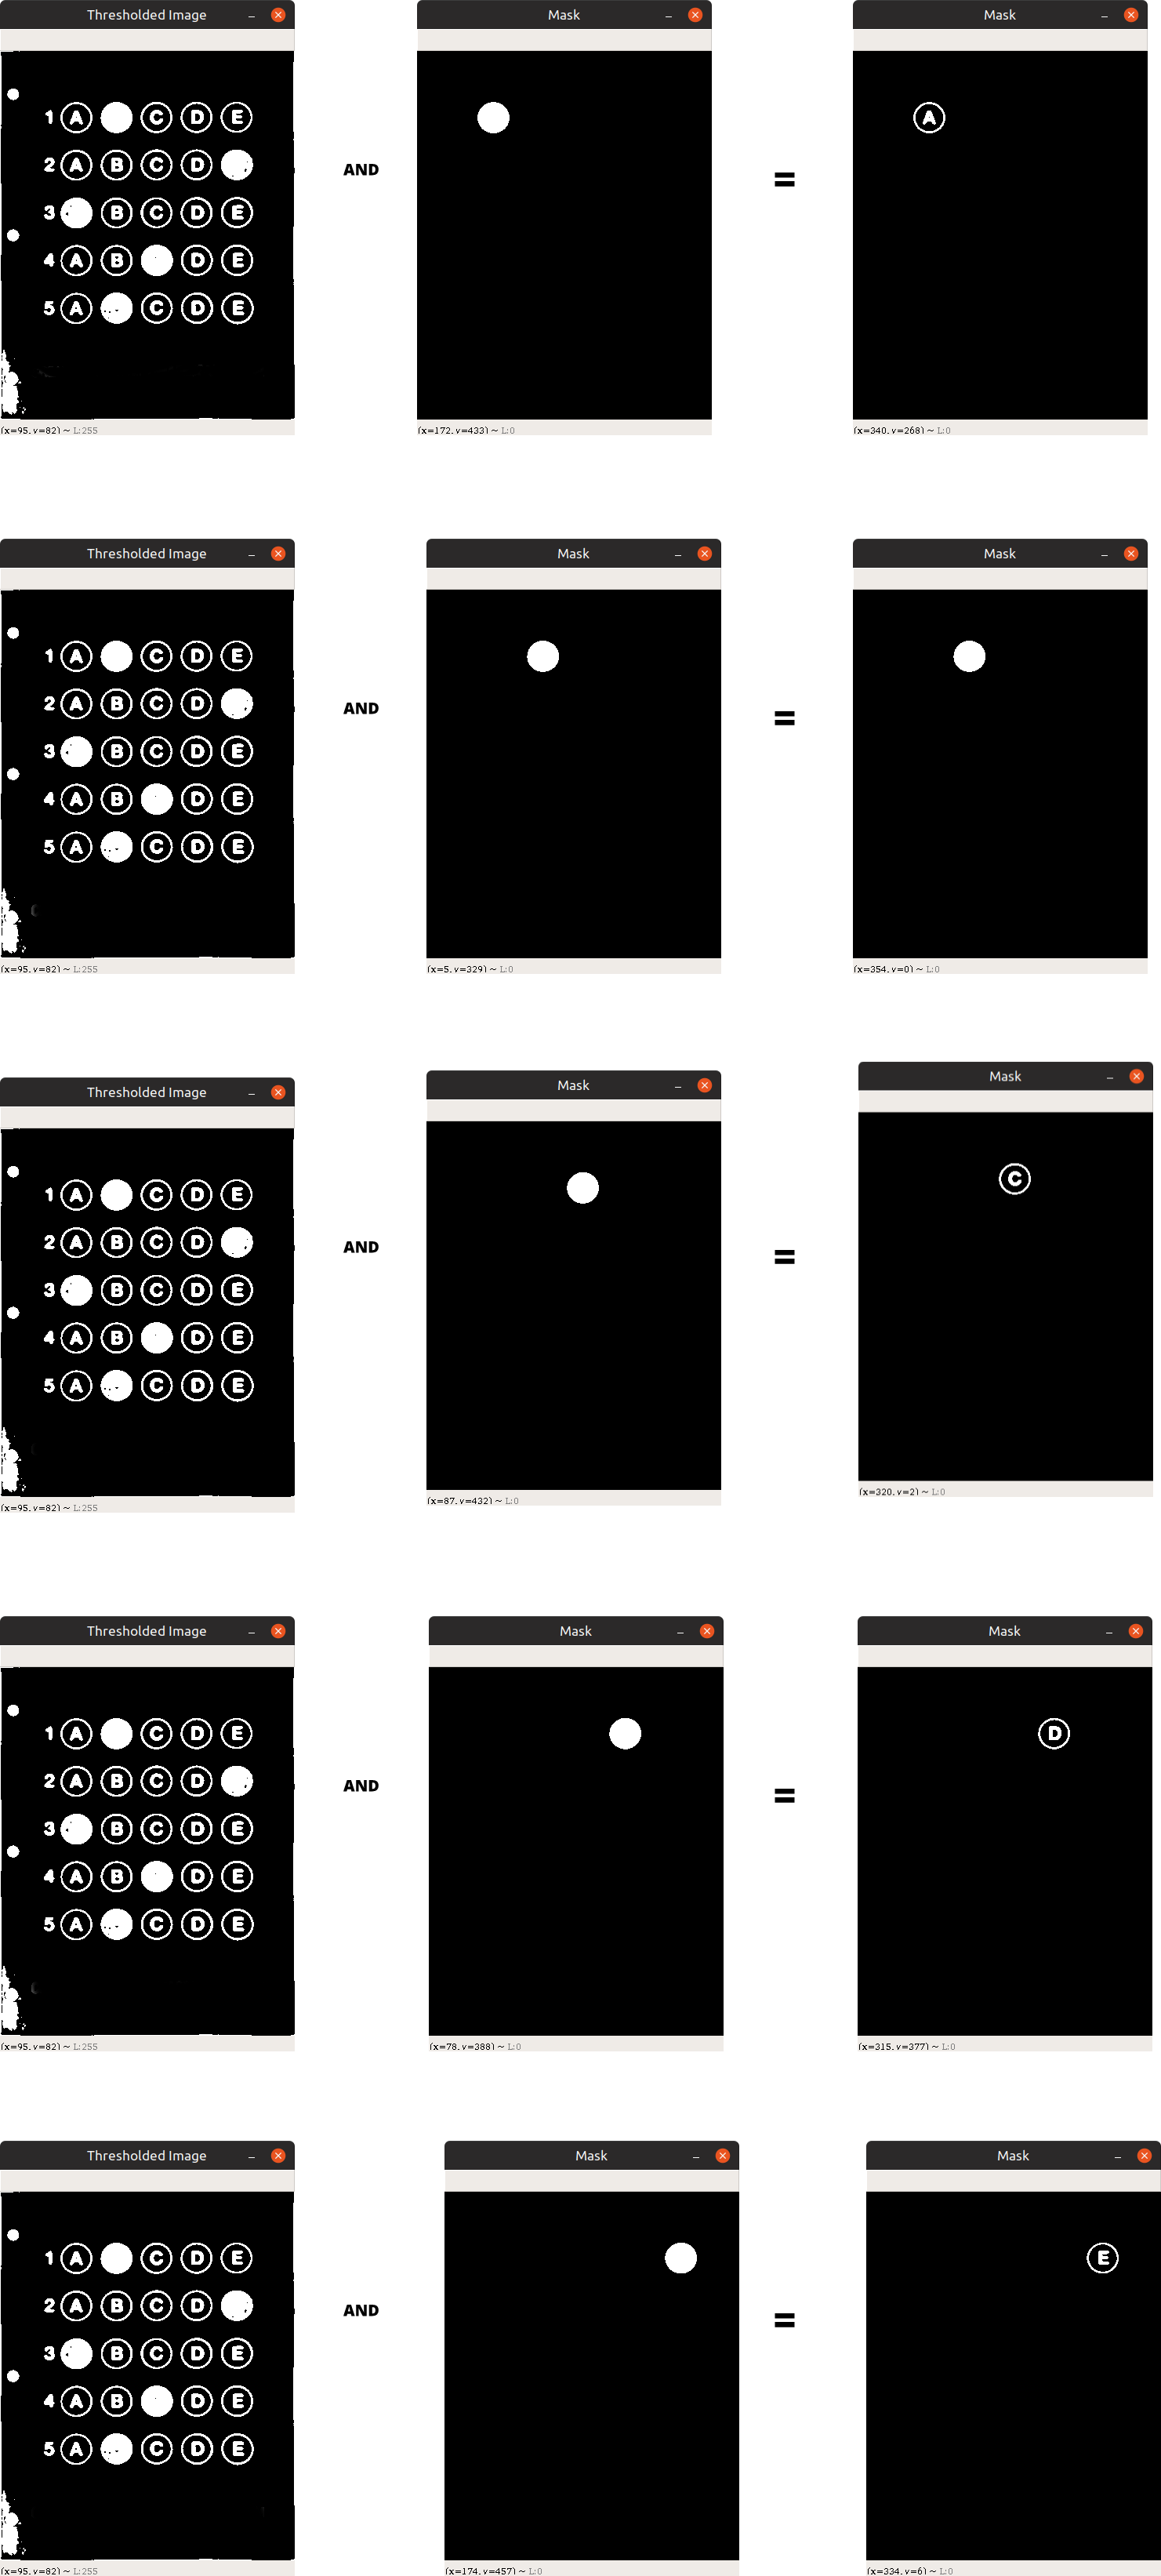
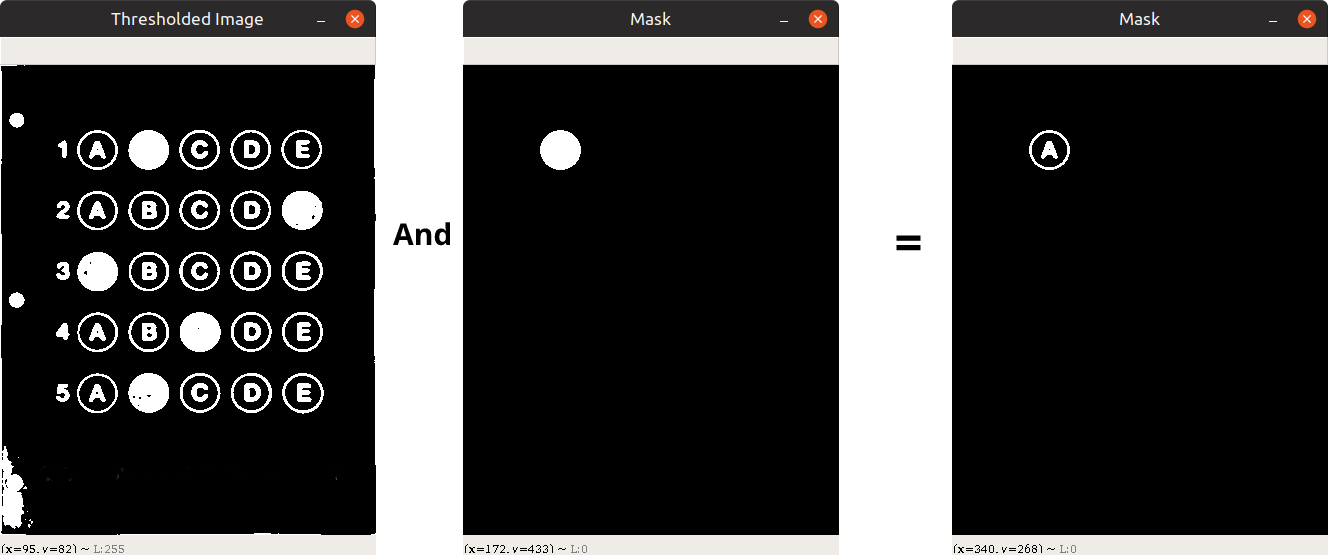
Well the answer is in the given pic. Take your time and have a good look at this pic. Only after you have observed the pic carefully you may move on.
click on the image to view in full size
We are looping over each questions and options as:
for (q, i) in enumerate(np.arange(0, len(questionCnts), 5)):
(q,i) = (0, 0) (q,i) = (1, 5) (q,i) = (2, 10) (q,i) = (3, 15) (q,i) = (4, 20) (q,i) = (5, 25)
We are then sorting contours from questionCnts[i:i+5] in left to right manner
cnts = contours.sort_contours(questionCnts[i:i+5])[0]Above code does that.
    for (j, c) in enumerate(cnts):
        mask = np.zeros(thresh.shape, dtype='uint8')
        cv2.drawContours(mask, [c], -1, 255, -1)
        # apply the mask to the thresholded image, then
        # count the number of non-zero pixels in the
        # bubble area
        mask = cv2.bitwise_and(thresh, thresh, mask=mask)
        total = cv2.countNonZero(mask)
        # if total > current bubbled then
        # bubbled = total
        # print('total', total, 'bubbled', bubbled)
        if bubbled is None or bubbled[0] < total:
            # if total > bubble_thresh:
            #     bubble_count += 1
            bubbled = (total, j)
What we are basically doing is this:
Have you got that? No?
Never mind!
- First we are making a image of same size of thresholded image.
- Second we are making a mask for each countour in questionCnts
- Now we have mask with a black background and white bubble.
- What will happen if we bitwise and the thresholded image and mask. The result will be the last image in above pic!
Now take a look at the above image again.
We are doing this for each and every bubble in that image.
We are now counting the no of white pixel in final mask.
total = cv2.countNonZero(mask)
total stores the no of white pixel in each final mask.
if total > current bubbled then
if bubbled is None or bubbled[0] < total:
    bubbled = (total, j)
Marked Bubbled will have largest no of pixels.
Hell yeah! :) This is the main logic.
You can dive deep into the code to gain more knowledge.
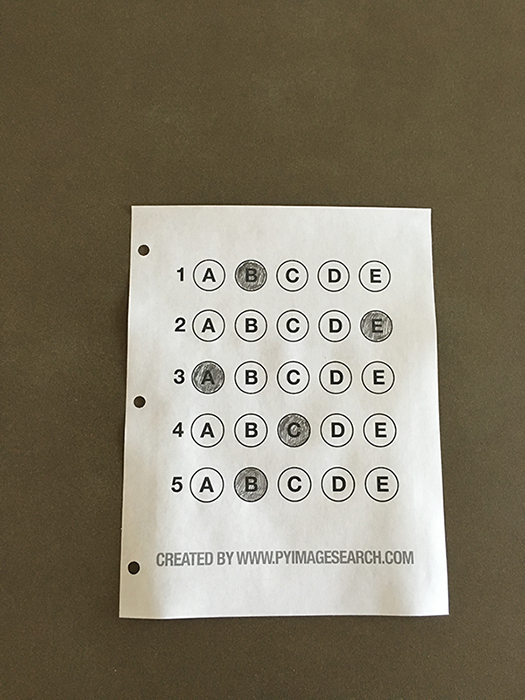
- The Quality of image shown in first test is super duper good. It is evenly lit and high res. When we take photo from camera the it is not that good.
- Moreover the real omr does not have only single row but it also has multiple rows.
Our image in theory is this.
Actually Image from camera is unevenly lit. Notice how the image is bright from the center and dark on the edges. Image is not even that clear as compared to "Expectation".
This creates many issues. Move to project issues to know more.
