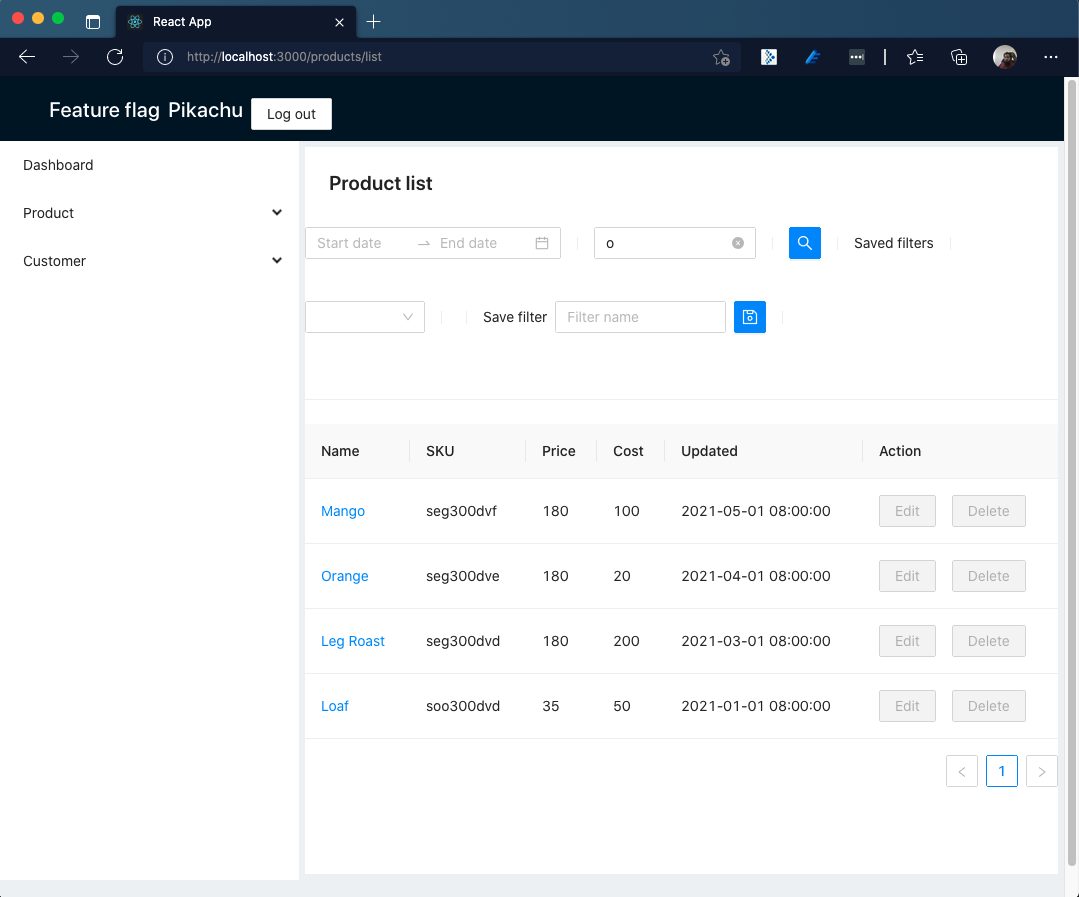
In this repository I will keep adding the production best practices we should follow in a MERN (MongoDB, Express.js, React.js, and Node.js) project.
As the name suggests, this repository is built on top of Express.js and React.js, however in the implementation detail, we will find other supporting technologies as well.
- React - A JavaScript library for building user interfaces
- MongoDB - The application data platform
- Ant Design - A design system for enterprise-level products. Create an efficient and enjoyable work experience
- Testing Library - React Testing Library
- Axios - Promise based HTTP client for the browser and node.js
- Styled Components - Visual primitives for the component age
- Node.js - evented I/O for the backend
- Express.js - Fast, unopinionated, minimalist web framework for Node.js
- Mongoose - mongoose
- Swagger
- Jest
- Super Test
Details frameworks and packages can be found in the package.json files in server and client directory.
This project can be run basically in two ways. One is using docker, other way is to run manually via vscode.
- Docker : To run
docker-composecommand
Go to the root of the repository and execute npm start. This will spin up the server and client containers along with the MongoDB instance inside of Docker environment.
cd project-root
npm start- Node.js : To run npm packages
- Docker : To run MongoDB database
- To run via vscode, we should run the server and client side projects separately, and also make sure mongodb is up and running.
- Create a
.envfile inside of theserverdirectory. Add the below entriesDB_HOST=localhost DB_PORT=27017 DB_NAME=appdb
cd server
npm i
npm run db:up
npm startcd client-basic
npm i
npm startTo view the client, open your browser and visit http://localhost:3000 url.
For the demo purpose, the authentication and authorization is not controlled from database entry and purely handled in client side.
The system has a role-based-access-control system which is controlled by permissions assigned to the role.
The system supports different types of permissions in the client side.
Depending on the role, side menu, the actual page (route) can be visible or not. More of that, any individual control/components can also be enabled / disabled depending on the role as well.
To login as SuperAdmin we input superadmin@example.com as email and put anything as the password.
Upon login, the user should see superadmin's menus (Role, User, Resource, Permission) at the left side.
To login as User, we input any valid email and anything as password.
Upon login, the user should see menus (Product, Customer) at the left side.
Ideally we should handle the permissions in server side and store in database (mongodb), but for this demo, we will modify the data in the clint side and mimic the server side behavior.
To change User's permission, go to client/src/data/user-pikachu.json and add/update entry in the permissions array.
A sample permission entry is like
{
  "_id": "5c8d03505653de3f85aa1ff",
  "resourceName": "customers-add",
  "resourceType": "route",
  "isAllowed": true,
  "isDisabled": false
}
To disable a button, we can set isDisabled = true like below
{
  "_id": "5c8d0c505653de3985aa0f1",
  "resourceName": "product-edit-button",
  "resourceType": "button",
  "isAllowed": true,
  "isDisabled": true
}We can also send the logs to sentry.io. To use this feature, we need to add the dsn entry into client/src/env.config.js.
Setup snippet is like below in index.js file
Sentry.init({
  dsn: Config.dsn,
  integrations: [new Integrations.BrowserTracing()],
  tracesSampleRate: 1.0,
});To view the api, open your browser and visit http://localhost:5000/api-docs
Ideally we should add all of the API endpoints into the swagger, but for the demo purpose, we only added Products API endpoint.
To test the APIs, we can reuse the postman collection. Open docs/rbac-mern-boilerplate.postman_collection.json into Postman and you should see the endpoints with appropriate payloads.
| Project | Command | Task |
|---|---|---|
| root | npm run build |
Builds the containers |
| root | npm run start |
Start the projects and database in docker containers |
| root | docker exec -it appserver /bin/sh then npm run db:seed |
Executes seed products inside container |
| server | npm i |
Install server side dependencies |
| server | npm run db:up |
Start the database in a docker container |
| server | npm run db:seed |
Seed products data into database |
| server | npm run test |
Execute tests using jest |
| client | npm i |
Install client side dependencies |
| client | npm run start |
Start the react app |
| client | npm run build |
Build the react app in production mode |
| client | npm run test |
Execute tests using Testing Library |
In this repository, we have included both unit testing and integration testing. For now, the code coverage is very low, but we are working on it to make it more than 90% somewhere in the future
- We incorporated only unit tests in client side, and mock all the externals dependencies like
localStorageandaxios.
To run the tests, we can run npm run test command.
- Integration testing: We have integrated the
Jestas the testing library, and we have addedsupertestandmongodb-memory-serverpackages to make the integration testing easier. - Unit testing: We have used
Jestto test the service layers and mock the external dependencies likeMongoDB.
To run the tests, we can run npm run test command.
This project is MIT licensed.
