Here you'll learn how to generate images and their json files. Install:
Visual Studio Code Node.js(I suggest the "current" version) We will now use the Haslips Art Egine. Open Visual Studio Code. Click Terminal->New Terminal:
git clone https://github.com/HashLips/hashlips_art_engine.git
In Visual Studio click open folder and open the hashlips art engine folder. Click Terminal->New Terminal. Click the src folder and then the config.js file
Here we will change several things:
- Description - The description of your collection.
- I suggest changing this line to looks like this:
const baseUri = "image.png";- growEditionSizeTo - The number of NFTs you want. (For testing I suggest starting with 10-100 max)
- layerOrders - Here you will choose the properties of you NFT. The name of each property should match the folder created for each one. Like this:
You can always add more layers with this line
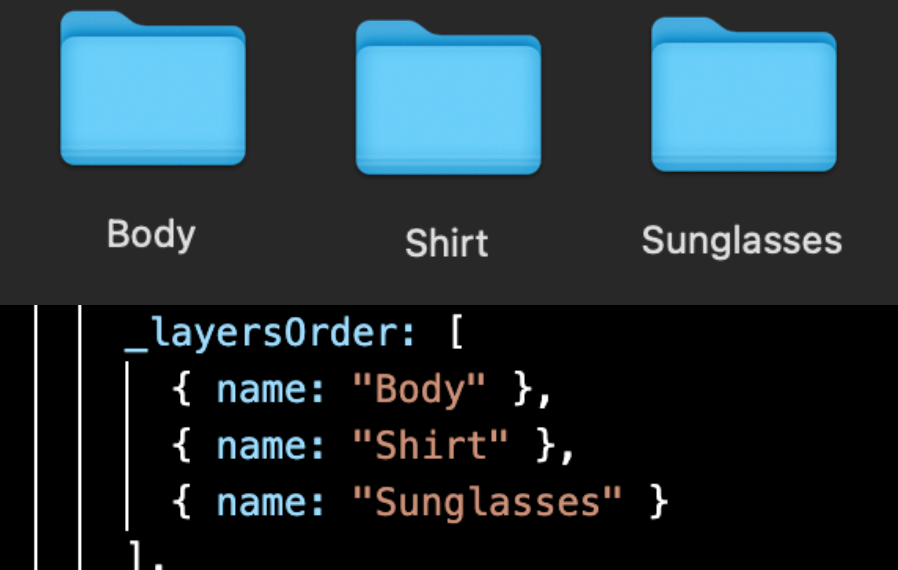
{ name: "Name of you layer" }Look for this:
const extraMetadata = {"You will add it here"}You can copy/paste this metadata and edit it or go here for more info:
{
  "name": "The Name of your Collection",
  "symbol": "",
  "description": "The description of your collection",
  "seller_fee_basis_points": 0,
  "image": "image.png",
  "external_url": "You can put the link to your website here",
  "attributes": [
    {
      "trait_type": "attribute#1 ex: Background",
      "value": "Simple"
    },
    {
      "trait_type": "attribute#2 ex: Clothes",
      "value": "Green"
   },
   {
      "trait_type": "attribute#3 ex: Hair",
      "value": "Long Hair"
    }
  ],
  "collection": {
     "name": "Collection Name",
     "family": "Family Name"
  },
  "properties": {
    "files": [
      {
        "uri": "image.png",
        "type": "image/png"
      }
    ],
    "category": "image",
    "creators": [
      {
        "address": "Solana address where you'll receive SOL",
        "share": 100
      }
    ]
  }
}
Look for the main.js file and click on it. Now look for this part:
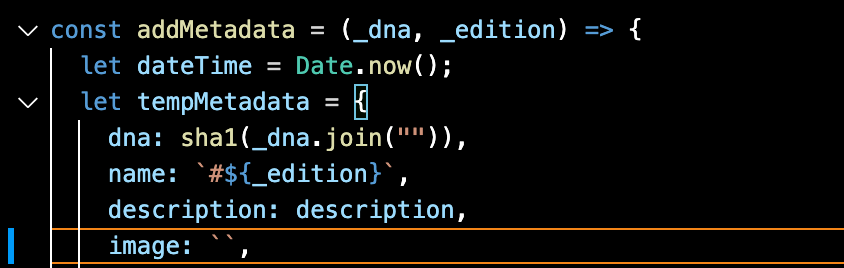
image: ``,Open a new terminal. Type:
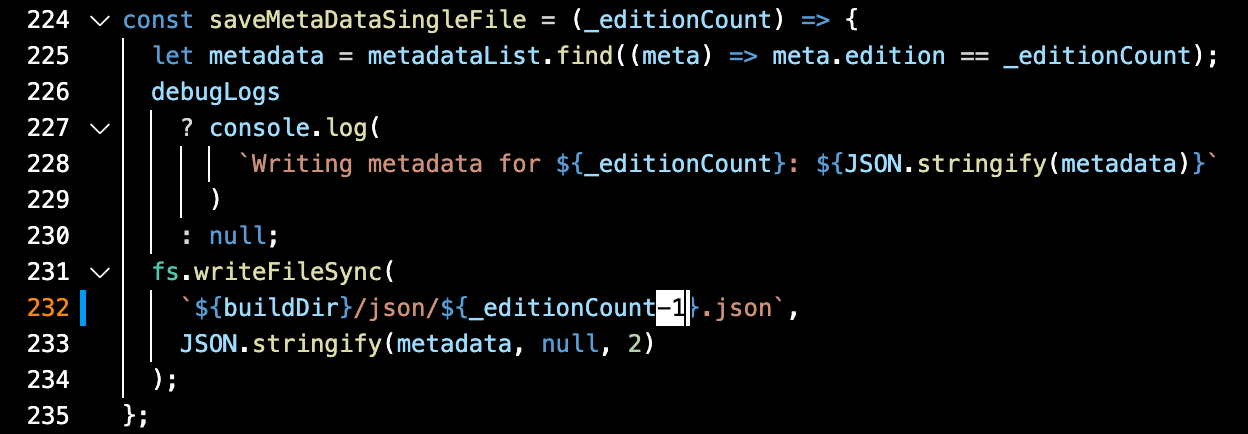
yarn install- Json files starting with 0(be careful this is not fully tested): Go to src folder->main.js file. Scroll down until you see this section and add the "-1" as you see in the image:
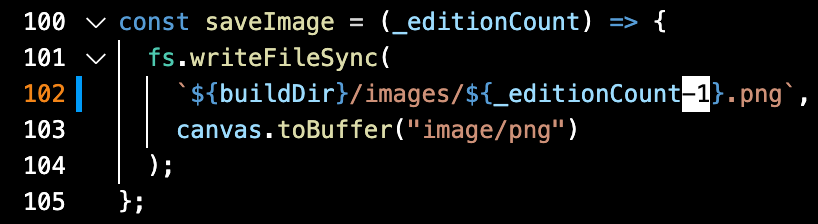
- Png files starting with 0: Go to to src folder->main.js file. Scroll down until you see this section and add the "-1" as you see in the image:
Now generate the images and json files:
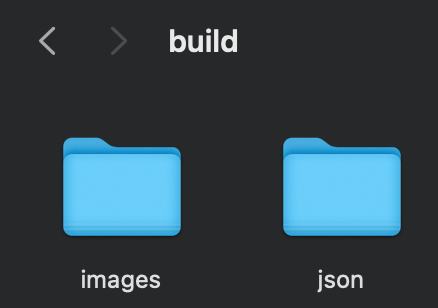
node index.jsLook for the folder called hashlips_art_engine, then build. Here you will see these two folders with your images and json files:
(Back to Quick Navigation)
Once you have your collection of images and json files you can now upload them to your own website and mint them for free on the devnet (to test out everything) or the mainnet-beta (to allow others to mint them).
We will begin by installing the following:
Visual Studio (This will facilitate viewing some files.)
Node.js (I suggest dowloading the "Current" version)
To check you did it: open Visual Studio Code and click on Terminal followed by New Terminal. Type in the following:
node -v[Solana Cli] (https://docs.solana.com/cli/install-solana-cli-tools) (If you're not on MacOs click on the link and follow the steps there) For Mac users type the following into you terminal.
sh -c "$(curl -sSfL https://release.solana.com/v1.8.0/install)"To confirm you did it right type the following into you terminal and click enter.
solana --versionOpen Visual Studio Code and click Terminal->New Terminal. Here is the link to their github page: Metaplex In your terminal type the following a click enter:
git clone https://github.com/metaplex-foundation/metaplex.gitIf you are in Visual Studio Code, click on File->Open Folder and choose the Metaplex folder. Click on Terminal->New Terminal.
yarn installWe want to change directory so in the terminal type the following:
cd js/packages/cliInside the cli folder we will do two things. Click enter after each line:
yarn buildWe are done with this part.
Open a new terminal. Now we will change to the Solana devnet.
solana config set --url https://api.devnet.solana.comThen make a file system wallet
solana-keygen new --outfile ~/config/solana/devnet.jsonCopy and save the pubkey and seedphrase somewhere safe. Now set a keypair
solana config set --keypair ~/config/solana/devnet.jsonCheck your balance
solana balanceIt should be 0Sol. Let's add some:
solana airdrop 3We are now ready to upload our collection to the devnet. If this is your first time I suggest starting with just two NFTs to test everything.
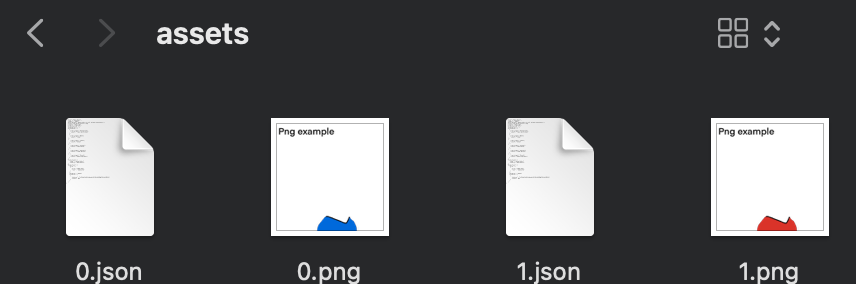
If you followed the guide you should have some images and json files ready. Create a folder called "assets". Insert two images and their respective json files. The image and json file names should start with 0 and count upwards. For example: 0.png, 0.json, 1.png, 1.json and so on. Move this folder into the Metaplex folder. Like this:
~/metaplex/js/packages/cli/src/candy-machine-cli.ts upload ~/metaplex/assets --env devnet --keypair ~/config/solana/devnet.jsonCopy and save the numbers and letters after "started at:" and "initialized config for a candy machine with publickey: " You should now have a file name .cache. Copy the contents, create a new file in visual studio code and paste. Right click and choose formate document.
For this part we will use the Exiled Apes Candy Machine Open a new terminal type in the following and click enter:
git clone https://github.com/exiled-apes/candy-machine-mint.gitYou should now have a folder called "candy-machine-mint" Install yarn:
cd candy-machine-mint
yarn install
Open the candy-machine-mint folder with Visual Studio Code. Rename the .env.example folder to .env Inside the .env file you should see this
REACT_APP_CANDY_MACHINE_CONFIG=__PLACEHOLDER__
REACT_APP_CANDY_MACHINE_ID=__PLACEHOLDER__
REACT_APP_TREASURY_ADDRESS=__PLACEHOLDER__
REACT_APP_CANDY_START_DATE=__PLACEHOLDER__

REACT_APP_SOLANA_NETWORK=devnet
REACT_APP_SOLANA_RPC_HOST=https://explorer-api.devnet.solana.com
We will replace the four "PLACEHOLDER" with the following in this order: 1. 2. 3. 4.
You will now click Terminal->New Terminal:
yarn startA website should open here: localhost:3000/ Connect to Phantom, change to devenet in your wallet, and mint your NFT. (If you don't have Sol you can airdrop for free here. Just copy/paste your phantom wallet address) If you succeeded it should show up in your collectibles.
(Back to Quick Navigation) //I will be adding this later
(Back to Quick Navigation) We are now ready to host the website.
(Back to Quick Navigation) To put your NFTs on arweave, which is what we are using, you can calculate the costs in this calculator
If you want to use your File System Wallet with phantom you can check out this link
Here are some useful videos:
- How to generate 10,000NFTs: [By: Freedom Fishies] (https://www.youtube.com/watch?v=zLU9a4Gr-Dg&t=131s) (This is a very complete guide)
- Mint Website Creation (This is a good guide, but it doesn't mention a few things. I suggest watching it as a video guide to accompany this written one or any other)
- Spanish guide by Ahmed Castro: Colección de NFTs Una guía muy completa y concisa.
- Metaplex Discord
- Solana Discord
- Levi Cook Metaplex Guide(Some things in this guide will be different for you. If you use it, I suggest reading the comments)
- Metadata Standard This is all the metadata needed for a Solana NFT
- Solana and Metaplex FAQ
#Common Errors I will add images or text showing some common errors and ways to fix them.