Next.js 13 Rendering Concepts
This repository was bootstrapped with Code Shaper.
This application is intended to clarify Next.js 13 (and React 18) rendering concepts.
Live Demos
- Next.js 13: https://next13-rendering-concepts-movie-magic.vercel.app/
- React/Vite: https://react-rendering-concepts-movie-magic.vercel.app/
Note that I am intentionally staying away from terms like CSR and SSR, SPAs and MPAs, as these terms come with lots of assumptions and baggage. For example, in Next.js 13, a client component does not automatically imply client-side rendering (CSR). During the initial page load, a client component is rendered to a static HTML preview on the server so that the user can see the content of the page immediately, without having to wait for the JavaScript bundle to download. On subsequent navigations to this page, client components are rendered entirely on the client, without the server-rendered HTML.
Server Components
Server components are always rendered on the server. There are three subsets of server rendering: Static, Dynamic, and Streaming.
- Static Rendering: Routes are rendered at build time, and the result is cached. This optimization allows you to share the result of the rendering work between users and server requests.
- Dynamic Rendering: Routes are rendered at request time. This is useful when a route has data that is personalized to the user or has information that can only be known at request time, such as cookies or the URL's search params.
- Streaming: Routes are rendered at request time, and the work is split into chunks and streamed to the client as it becomes ready. This allows the user to see a preview of the page before it is fully rendered.
Client Components
Client components allow us to write interactive UI that can be rendered on the client at request time. During the initial page load, a client component is rendered to a static HTML preview on the server so that the user can see the content of the page immediately, without having to wait for the JavaScript bundle to download. On subsequent navigations to this page, client components are rendered entirely on the client, without the server-rendered HTML.
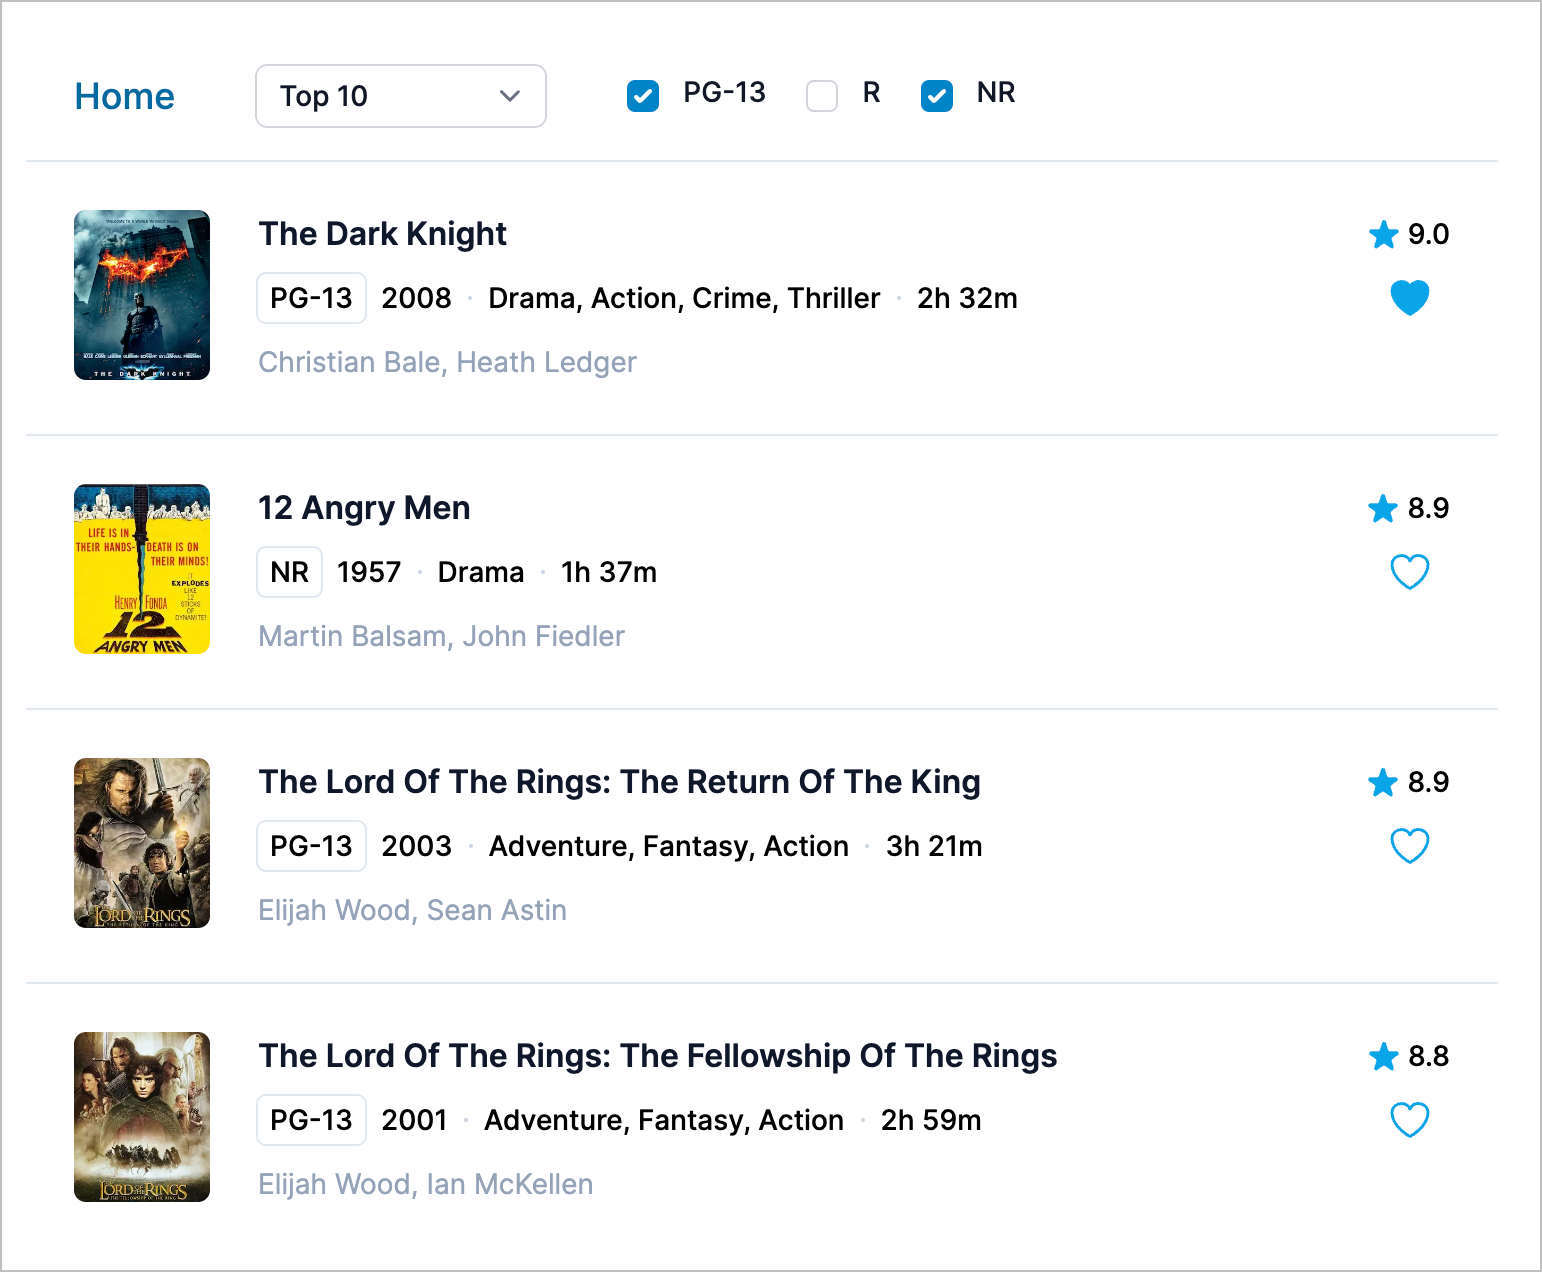
Movie Magic – A Realistic Example
This is a realistic example implemented in two ways to show the performance benefits of React 18 and Next.js:
- Movie Magic CSR: This version uses Client-Side Rendering (CSR), which is the old way (pre React 18)
- Movie Magic RSC: This version uses React Server Components for data fetching, and React Client Components for interactivity.
Prerequisites for development
- Node Version Manager (nvm) - allows using different versions of node via the command line
Getting Started
Run this application in prod mode to observe its real behavior in production. You can run it in dev mode but the observations may be a bit confusing.
We will run the Movie Magic API in a local Express server so that we can observe
when the API's are called to fetch data vs. getting data from the application
cache. To do this, change apps/movie-magic/.env as follows:
API_URL=http://localhost:8080
NEXT_PUBLIC_API_URL=http://localhost:8080
Now execute the following commands in the repo's root directory:
nvm use   # use the required version of node
npm ci    # install dependencies

# Build and start the API server
npm run build --workspace=@movie-magic/movie-magic-api
npm start --workspace=@movie-magic/movie-magic-api
Open a new shell to build and start the Next.js application. Execute the following commands:
nvm use
npm run build --workspace=@movie-magic/movie-magic
npm start --workspace=@movie-magic/movie-magic
Optional steps to build the Vite app (traditional CSR)
Open a new shell to build and start the Vite application. Execute the following commands:
nvm use
npm run build --workspace=@movie-magic/movie-magic-vite
npm run preview --workspace=@movie-magic/movie-magic-vite
Note: Do not run
npm installornpm ciin any of the subdirectories. It will break the build. There should be only onepackage-lock.jsonfile in the entire repo (at the root).
All Commands
npm ci                   # install dependencies
npm run build            # builds all workspaces
npm run ci-validate      # builds, lints, formats, and tests all code (runs in CI pipeline, don't run locally)
npm run clean            # deletes all build artifacts
npm run commit           # displays commit helper prompt to ensure your commits use conventional commits
npm run dev              # run demo app
npm run fix              # lints, formats and attempts to fix any issues (requires `npm run build` has been ran)
npm run format           # formats all workspaces, useful for debugging format issues (generally `npm run fix` is preferred)
npm run lint             # runs the linter on all workspaces, useful for debugging lint issues (generally `npm run fix` is preferred)
npm run test             # runs full build, lint, format, and all tests - run before pushing to remote
Dev build
To build all packages and apps for production, run the following command:
nvm use
npm ci
npm run dev
Production build
To build all packages and apps for production, run the following command:
nvm use
npm ci
npm run build
Clean build
Removes all build artifacts and performs a clean build.
npm run clean
npm ci
npm run dev
For an "aggressive" clean build, add one more step as shown below. This will build the lock file from scratch.
npm run clean
rm package-lock.json
npm install
npm run dev
Running unit tests
The following command runs a full build, lint, format, and all tests. However, it uses the Turborepo cache to skip steps that have no changes since the last run. Hence it is very efficient. Always run this command before pushing to remote.
npm testRunning end-to-end tests using dev build
npm run dev # starts a local server hosting the react app

# run e2e tests non-interactively (run in a different shell)
npm run e2e

# run e2e tests in the Playwright user interface (run in a different shell)
npm run e2e:ui
Linting, formatting and fixing coding issues
npm run fix