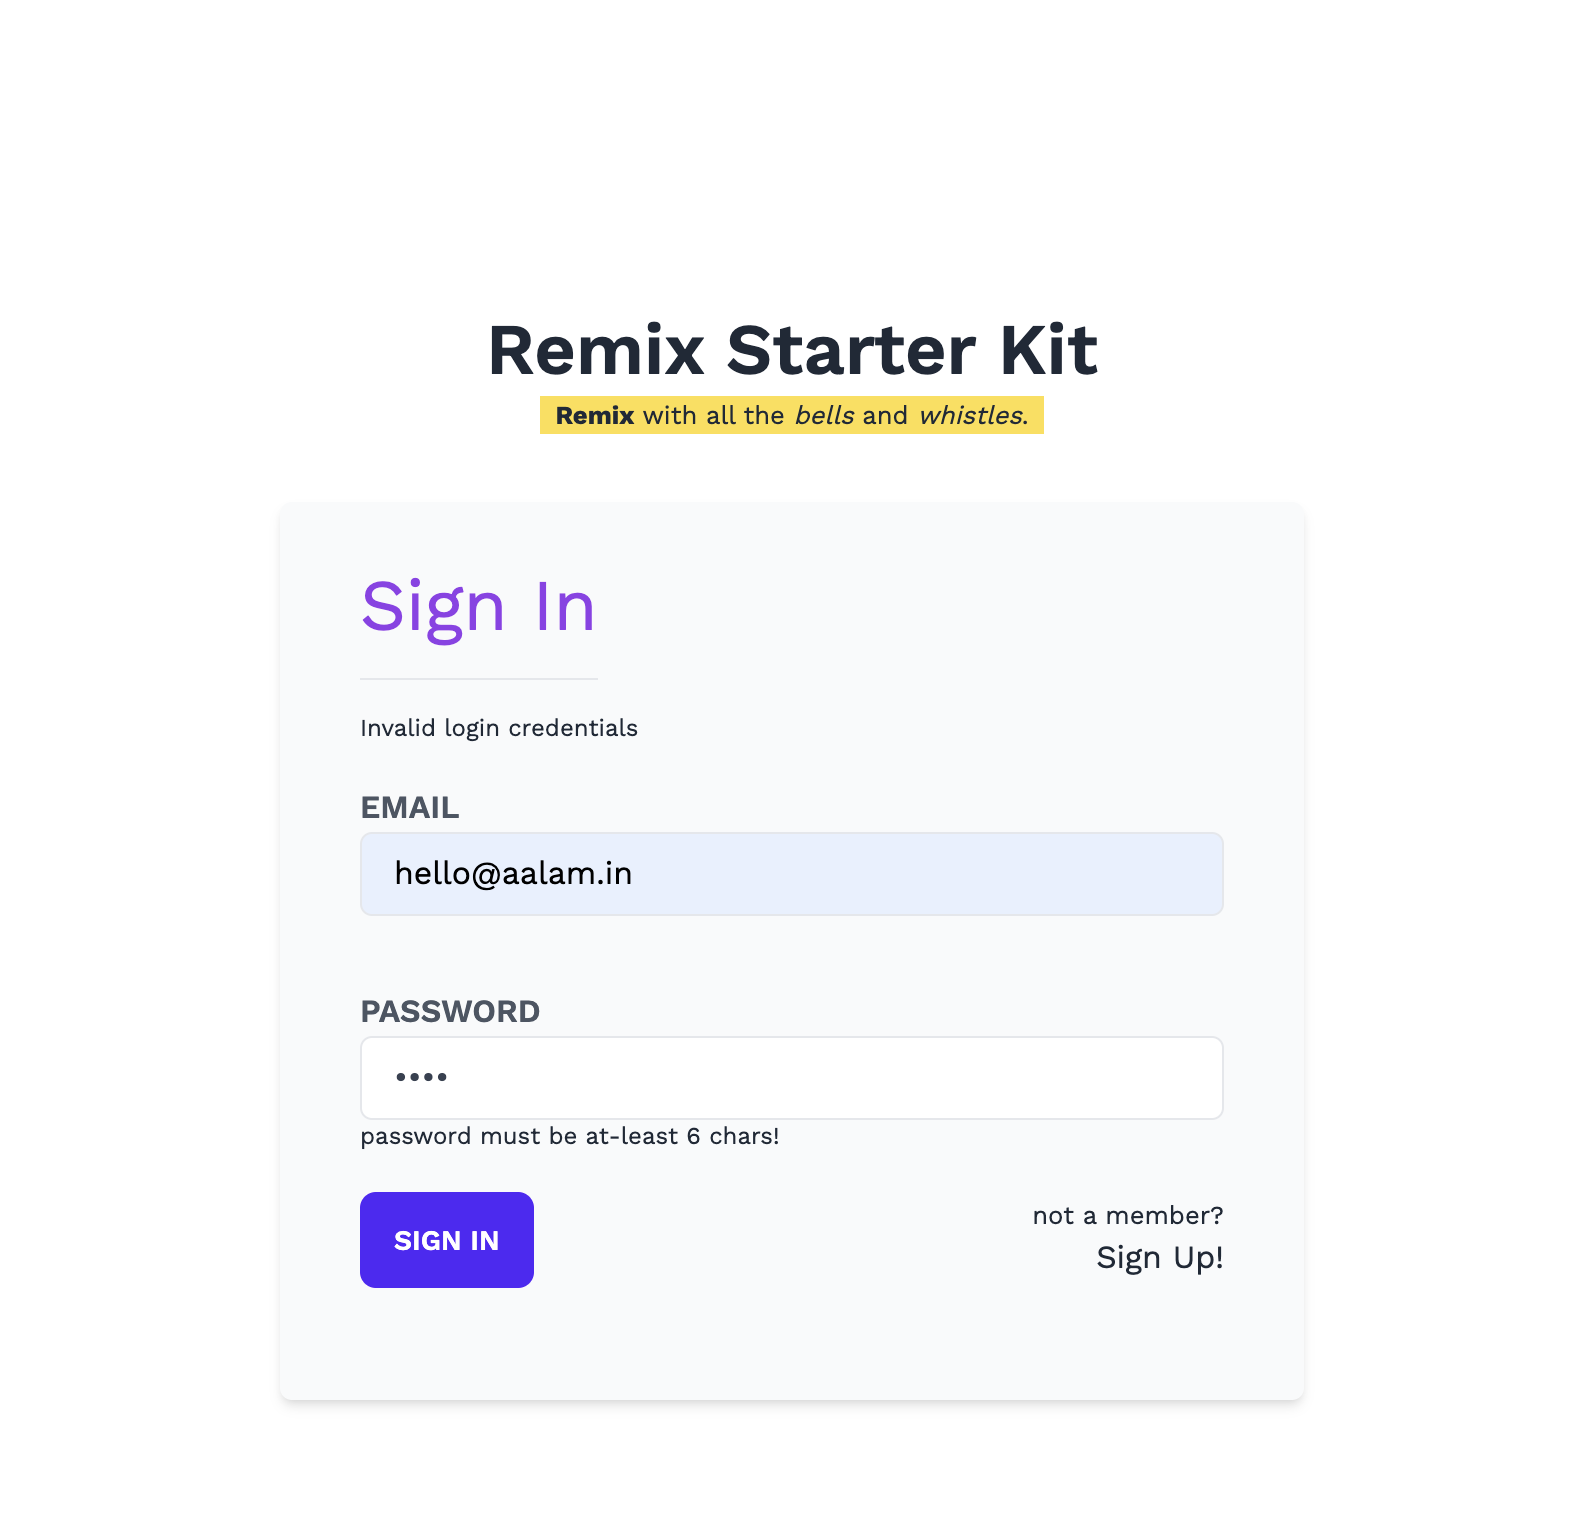
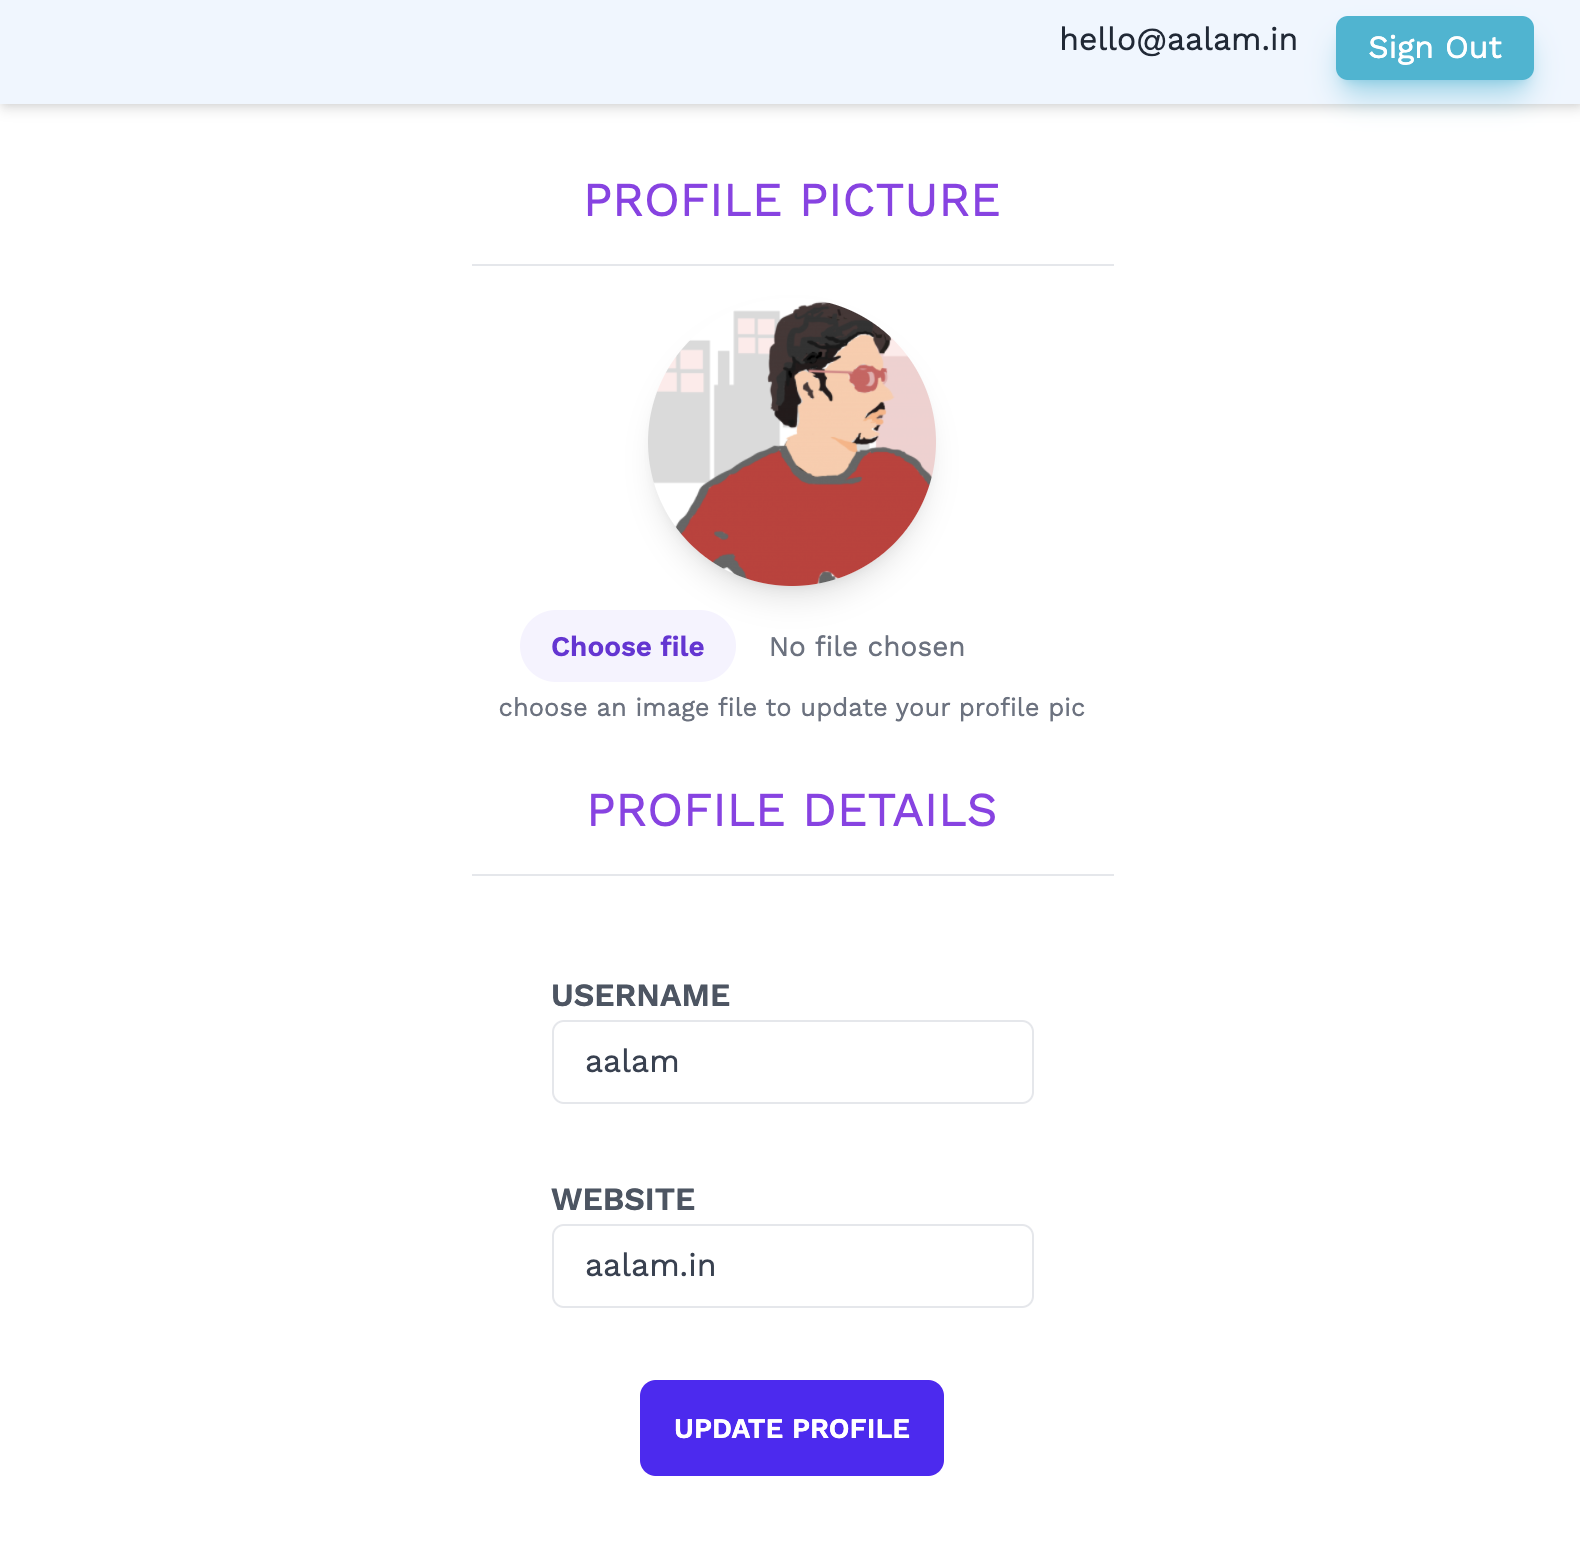
Remix Starter Kit is an opinionated boilerplate based off of Remix, with all the bells and whistles you would want ready, up and running when starting a Remix project with Supabase.
Out of the box you get all the essentials
- Typescript as the language choice
- Tailwind CSS for quick styling without getting out of your HTML
- Daisy UI for pre-made TailwindCSS component classes
- Headless UI + React Hot Toast for robust headless logic you can use for components like Dialog/Modal, Dropdown, List, etc.
- WorkSans as the App font
- Icons through React-icons for on-demand, tree-shakeable icons
- ESLint for static code analysis
- Prettier for code formatting (even for your TailwindCSS classes - sorted as per Tailwindlab reccomendations)
- Playwright for reliable end-to-end test cases (+ end-to-end test cases for the homepage and the sign-in page)
with Supabase support
- Authentication System with Supabase GoTrue
- User Profiles available on
/profileas an example for Supabase PostgREST (CRUD API) (retreival-only for now) - User Avatar with Supbase Storage(AWS S3 backed effortless uploads) available on
/images/[bucket-name]/[image-name]resource routes. When retrieving you use the SDK server-side, and when uploading you use the client-side SDK loaded from CDN to upload the images to Supabase managed buckets, which are linked to profile on successful uploads.
and a bunch of pre-made, hand-rolled(easily replace-able) components, that you almost always end up installing/using for any non-trivial project
- *Bonus(Ad) wanna experiment with Edge/Cloudflare? Check out Remix Edge Kit and choose your journey with FaunaDB, Supabase, or Prisma + DataProxy(Railway.app) or Prisma + DataProxy(Planetscale). The later 2 are WIP.
Note: Refer the basic branch for a bare minimum starter structure with all the essentials.
The best way to start with this template is to click "Use this template" above, create your own copy and work with it
To start the project locally, run:
npm run devwhich kickstarts the Remix development and build server as well as TailwindCSS compilation in the watch mode. Open http://localhost:3000 in your browser to start working.
Check package.json for the full list of commands available at your disposal.
If new to Supabase
- Create account at Supabase
- Create a Organisation, and a project
Once done, or if you already have a Supabase project
- Copy the generated project's API authentication details from
https://app.supabase.io/project/<your-awesome-remix-project>/api?page=auth - Place the details in
.envasSUPABASE_URLandSUPABASE_KEY - Install NPM dependencies, by running
npm installornpm i
Remix Starter Kit supports user profiles and user avatars. To get the profile table and storage ready, execute the following queries at https://app.supabase.io/project/<your-awesome-remix-project>/editor/sql
-- Create a table for Public Profiles
create table profiles (
  id uuid references auth.users not null,
  username text unique,
  avatar_url text,
  website text,
  updated_at timestamp with time zone,

  primary key (id),
  unique(username),
  constraint username_length check (char_length(username) >= 3)
);

alter table profiles enable row level security;

create policy "Public profiles are viewable by everyone."
  on profiles for select
  using ( true );

create policy "Users can insert their own profile."
  on profiles for insert
  with check ( auth.uid() = id );

create policy "Users can update own profile."
  on profiles for update
  using ( auth.uid() = id );

-- Set up Storage!
insert into storage.buckets (id, name)
values ('avatars', 'avatars');

create policy "Avatar images are publicly accessible."
  on storage.objects for select
  using ( bucket_id = 'avatars' );

create policy "Anyone can upload an avatar."
  on storage.objects for insert
  with check ( bucket_id = 'avatars' );
Note When going live remember to configure SUPABASE_URL and SUPABASE_KEY in your deployment service provider like Vercel
With all the configs done right, you should get the following screens/views up and running
- Use
npm-check-updatesto ineractively update your dependencies usingncu -i
MIT


