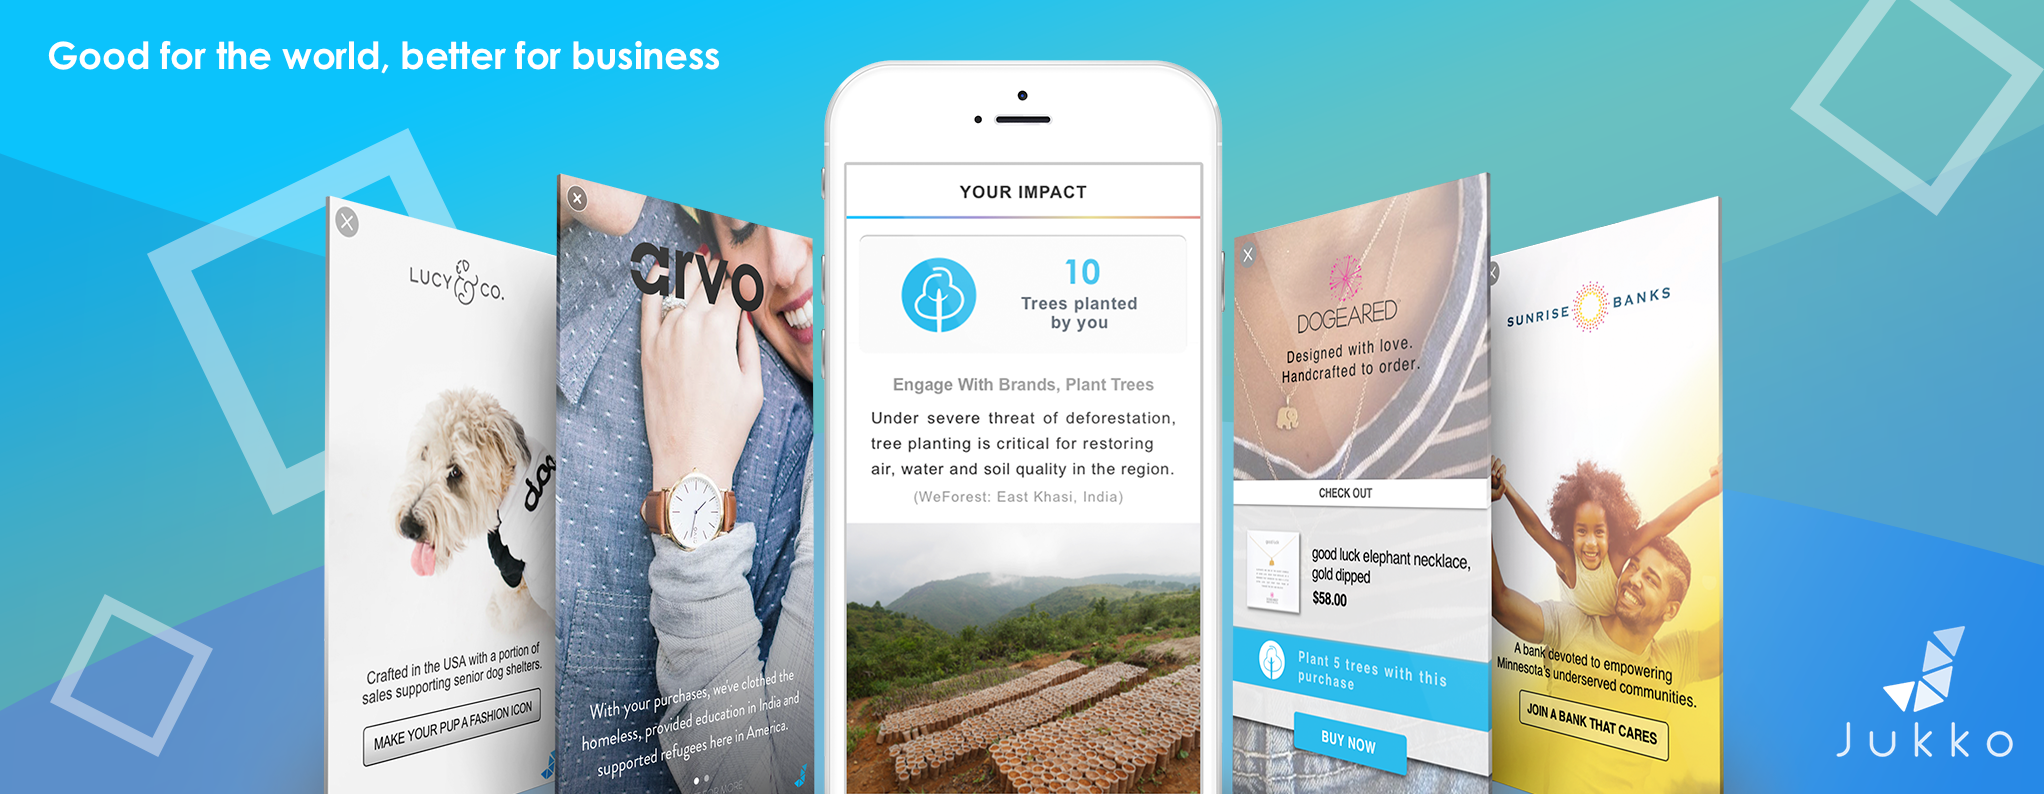
Welcome to the Jukko developer SDK documentation. Follow our step-by-step instructions to integrate Jukko and start monetizing while converting your app into a catalyst for social impact today!
If you have any questions during the integration process, you can reach us at devs@jukko.com and we'll get back to you ASAP. Thanks for joining our movement to create a better world and a better way of doing business.
-
Add the following lines to your root project's
build.gradlefile::::gradle allprojects { repositories { .... maven { url "https://s3.amazonaws.com/jukkosdk/android/repository" } } } -
In your application's
build.gradleadd the following line to the dependencies list::::gradle dependencies { compile 'com.jukko.sdk:jukko-sdk-staging:1.0.0' }
Your application should also have compileSdkVersion set to 25 or higher. Jukko SDK supports devices starting with Android 4.0 (API level 14). However, due to some older WebView version restrictions, ad UI won't be shown for Android prior to API level 19 and you will only be exposed to some some for the console messages.
Initialization has to be done before Jukko SDK can be customized and launched. The method will need an API key and context object. The API key can be generated in the dashboard after registration. You can register on Jukko dashboard.
After registering, you can are ready to initalize with our API:
    import com.jukko.sdk.JukkoSdk;

JukkoSdk.getInstance().init(context, "API_KEY");Now, you can show an ad by calling showAd() method of Jukko SDK:
        import com.jukko.sdk.JukkoSdk;
        import com.jukko.sdk.JukkoSdkInterface;

        JukkoSdk.getInstance().showAd(new JukkoSdkInterface.AdCallback() {
            @Override
            public void onClosed(JukkoSdkInterface.AdClosedEvent event) {
                //handle onClosed events here
            }
        });
When ad UI is closed, onClosed() callback will be called on the main thread. It will contain the following information:
reason: reason why the ad was closed. Possible values are:CLOSED_BY_USER: Ad view was closed by user interaction.TIMEOUT: API servers were unresponsive.NETWORK_CONNECTIVITY: Network connectivity issue.FREQUENCY_CAPPING:showAd()called before frequency capping timeout ended.ERROR: Unspecified error. Look at themessagefield for description.
message: string containing extended description of reason.events: list of events that happened with ad UI. May benull. Each event contains:timestampof the event (uses current timezone).adEventtype of event. Possible values:LAUNCH: Ad UI opened.CLOSE: Ad UI closed.INTRO_SHOWN: NPO campaign intro was shown to user.PROGRESS_SHOWN: NPO campaign progress was shown to user.OUTRO_SHOWN: NPO campaign outro was shown to user.AD_SHOWN: Ad was shown to user.AD_URL_OPENED: user clicked on URL that was opened in external browser.
Jukko SDK allows developer to set frequency capping for ads. It counts time since the last time when an ad was closed
and ignores showAd() calls until frequency capping period ends. Frequency capping can be changed
using:
JukkoSdk.getInstance().setAdsFrequency(timeInSeconds);By default, Jukko SDK logs only important messages, like unrecoverable error reasons.
You can enable debug logging by calling:
JukkoSdk.getInstance().setDebugMode(true);Log messages will contain Jukko SDK tag.
If user has Google Play services on their devices, SDK will automatically use user's Advertising ID (GAID) and Limit Ad Tracking setting.
For more information about Google Advertising ID visit this link.
