- Fully automate the creation of an NGINX webserver running on AWS EC2.
- Stay security minded by restricting network access and creating a secure web server.
- Verify secure sites: Sophos Security Headers Scanner and SSL Labs test .
- See https://nealalan.github.io/EC2_Ubuntu_LEMP/ project and go through the steps up until VPC, they include:
- Review terminology and scope
- About the AWS free tier
- Identity & Access Management (IAM)
- Registering your domain name and creating a Hosted Zone in Route 53
- VPC CIDR Address and Public Subnet
- EC2: Network & Security: Key Pairs
- The first step in Connect to your instance - except here you can connect to ubuntu@domain.com or ubuntu@EIP
- An AWS account with the IAM keys created for use in terraform
- Install terraform or search your package manager
- Configure terraform with IAM keys
- Optional:
- Atom installed
- Github installed
This repo contains two use to contain two files:
- vpc.tf - a consolidated terraform file (infrastructure as code) to create a VPC, associated components and an EC2 Ubuntu instance in a Public Subnet - This is now broken down into multiple tf files
- best practice is to separate out the terraform components into sections, but this worked out well for me to have it in one file
- need to implement the logic to automatically push (scp?) the install.sh file to the EC2 instance and run it automatically
- install.sh - shell script to configure the Ubuntu instance to configure NGINX web server with secure websites (https)
- website are automatically pulled from git repos for respective sites
I used...
- git clone this repo
- terraform init
- terraform plan
- terraform apply
- ssh -i priv_key.pem ubuntu@ip
- curl https://raw.githubusercontent.com/nealalan/tf-201812-nealalan.com/master/install.sh > install.sh
- chmod +x ./install.sh
- .install.sh
Optional:
- terraform plan -destroy
- terraform destroy
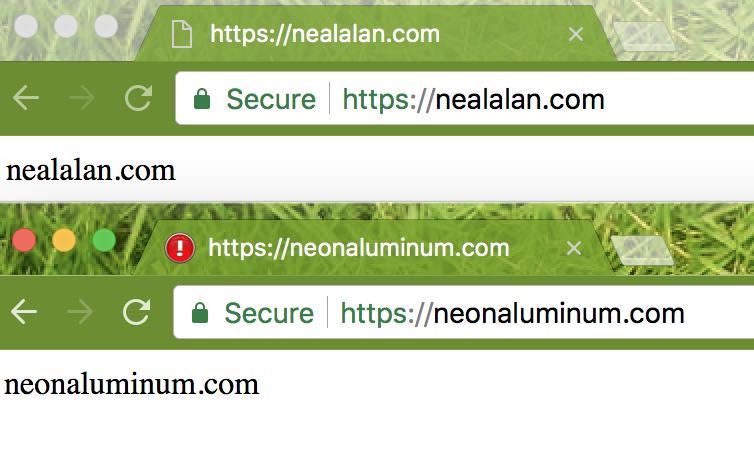
My server is at static IP 18.223.13.99 serving https://nealalan.com and https://neonaluminum.com with redirects from all http:// addresses
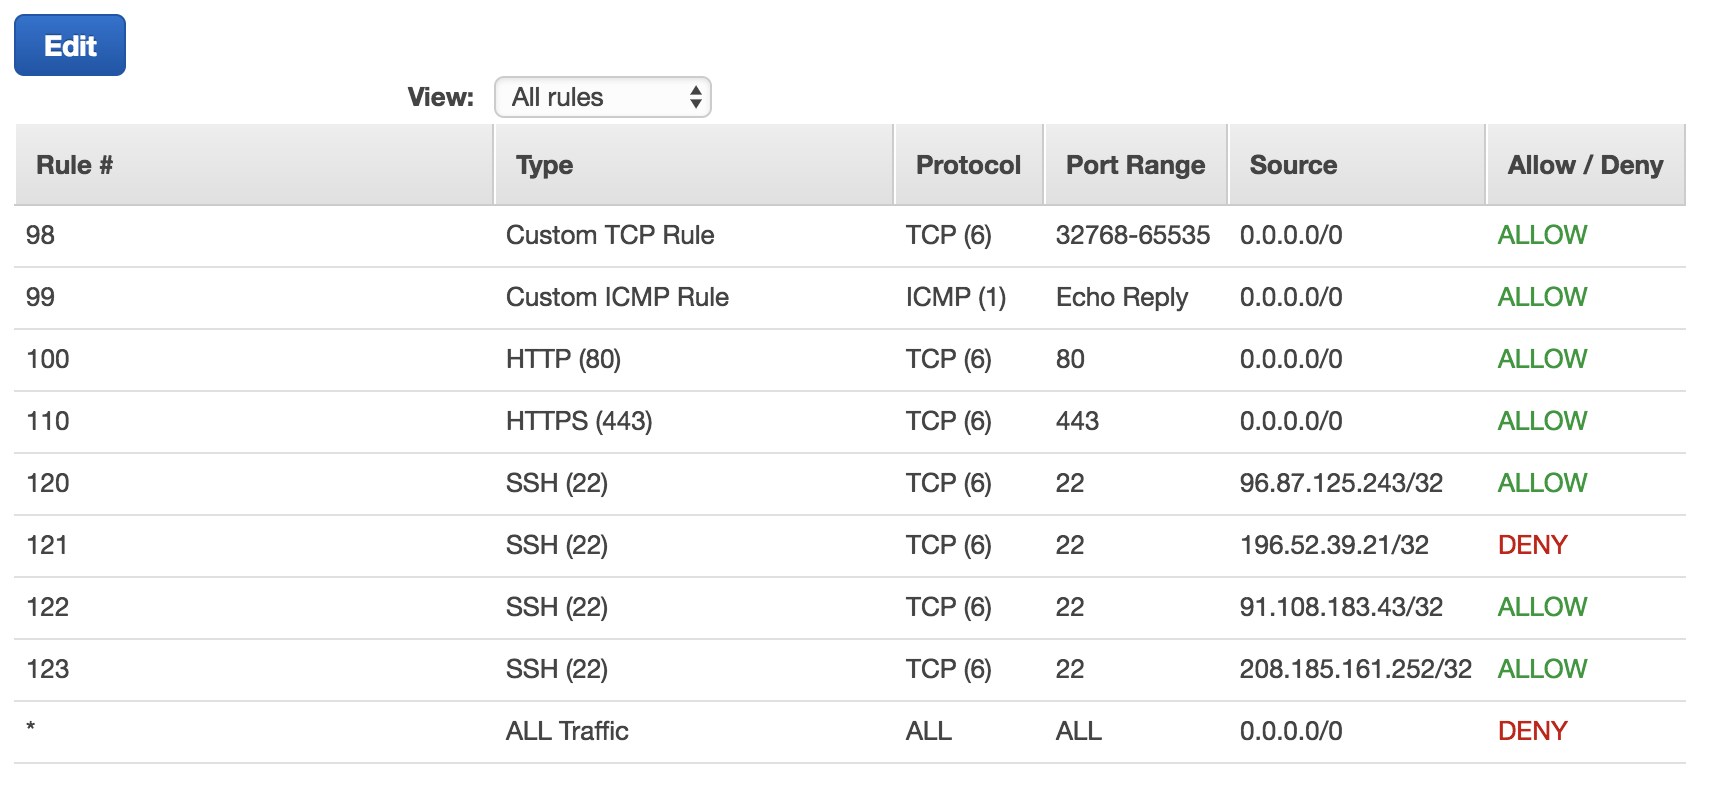
As you move around you'll need to log in to the AWS Console and add your local IP address to the EC2: Network ACLs. Here's an example of one I had in the past...
 Also, I now have the flexibility to totally recreate the websever through a few small script changes if I make major site changes, add a new domain name or need to upgrade to the latest LTS of Ubuntu.
And setting it to have a Root PW...
$ sudo apt install mariadb-client
$ sudo apt install mariadb-server
$ sudo passwd root (new pass)
$ sudo mysql -u root
# Disable plugin authentication for root
> use mysql;
> update user set plugin='' where User='root';
> flush privileges;
> exit
$ sudo systemctl restart mariadb.service
$ sudo mysql_secure_installation
# verity root auth works
$ sudo mysql -u root
$ sudo mysql -u root -pWithin a few days I messed up my Ubuntu instance. The solution was clearly going to take longer than 15 minutes. So here's what I did, thanks to terraform:
- Grab what is managed by terraform

- Mark the Ubuntu instance as tainted for destruction

terraform taint aws_instance.wb- Verify what will happen (a side effect was my ACLs and SGs will be cleaned up since I was running an outdated lab that requried me to open some ports)
$ terraform plan 4. Run!
$ terraform apply- Setup Ubuntu to host my webserver again
$ curl https://raw.githubusercontent.com/nealalan/tf-201812-nealalan.com/master/install.sh > install.sh
$ chmod +x ./install.sh
$ .install.sh- Consider using virtuanenv or even running another EC2 instance when I want to plan with some labs?!?!?! I can alwauys assign a subdomain to a lab instance.
[edit]