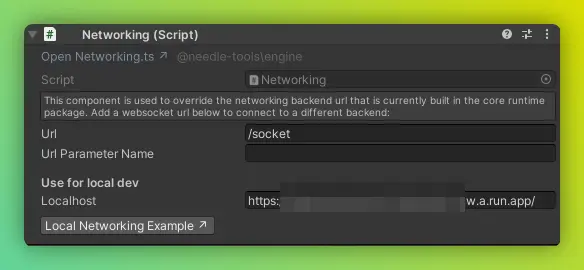
- Option A: Run
START_EXPRESS.bat - Option B: Open the express folder and run
npm iand thennpm run dev
- Start the server using one of the options above
- The server console should print a message like
Websocket endpoint is wss://localhost:9001/socket - Copy the base websocket URL and paste it into the Needle Engine Networking component:
wss://localhost:9001in the the Localhost field - When you now start your Needle Engine local server the browser console should contain a log like
Connected to networking backend wss://localhost:9001/socket
- Go to https://console.cloud.google.com/run/create

- Select
Continuously deploy new revisions from a source repository
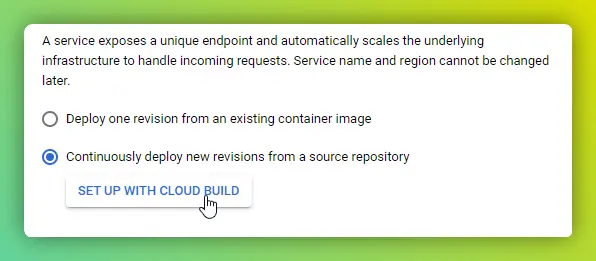
- Click the
SET UP WITH CLOUD BUILDbutton - Select your source repository (it can be this repository or a fork)
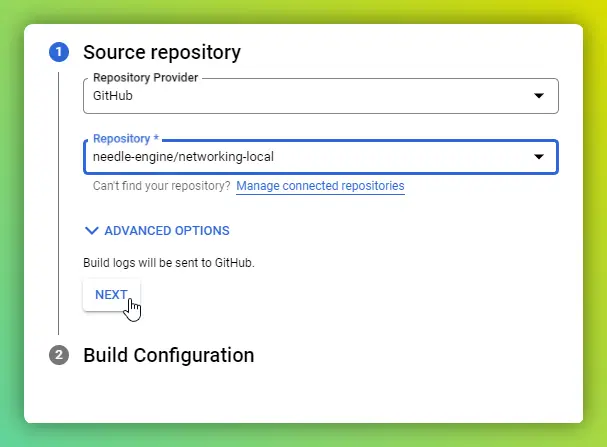
- Click
NEXT - Optionally change the branch that should trigger a build. By default it uses your main branch.
- In
Build TypeselectGo, Node, ... Google Cloud's buildpacks - Enter the directory where the server is located. In this case
/express
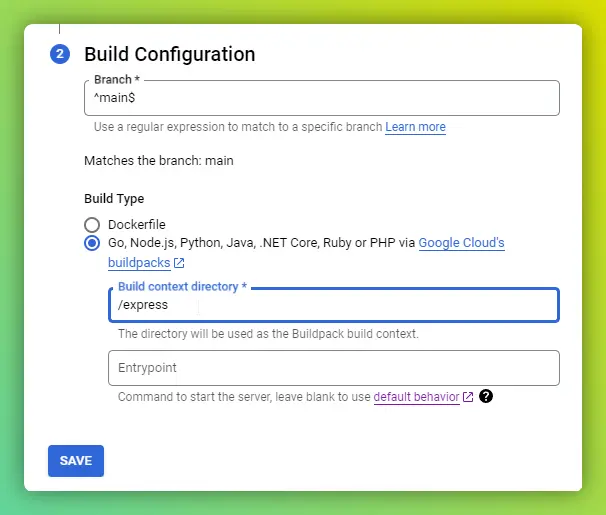
- Click
SAVE - Select a
Regionwhere your server should run - Modify the Autoscaling options to your liking
- Enable
Allow unauthorized invocations
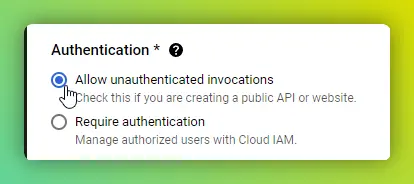
- Click
CREATE - You can now go to the google cloud builds page to see your server being deployed and it should shortly after be available on your cloud run URL
Afterwards you can then enter your new server URL in the Needle Engine Networking component:
