Supported Unity versions 2017.2 or higher
This HTTP/REST Client is based on Promises to avoid the Callback Hell ☠️ and the Pyramid of doom 💩 working with Coroutines in Unity 🎮, example:
var api = "https://jsonplaceholder.typicode.com";
RestClient.GetArray<Post>(api + "/posts", (err, res) => {
  RestClient.GetArray<Todo>(api + "/todos", (errTodos, resTodos) => {
    RestClient.GetArray<User>(api + "/users", (errUsers, resUsers) => {
      //Missing validations to catch errors!
    });
  });
});
But working with Promises we can improve our code, yay! 👏
RestClient.GetArray<Post>(api + "/posts").Then(response => {
  EditorUtility.DisplayDialog ("Success", JsonHelper.ArrayToJson<Post>(response, true), "Ok");
  return RestClient.GetArray<Todo>(api + "/todos");
}).Then(response => {
  EditorUtility.DisplayDialog ("Success", JsonHelper.ArrayToJson<Todo>(response, true), "Ok");
  return RestClient.GetArray<User>(api + "/users");
}).Then(response => {
  EditorUtility.DisplayDialog ("Success", JsonHelper.ArrayToJson<User>(response, true), "Ok");
}).Catch(err => EditorUtility.DisplayDialog ("Error", err.Message, "Ok"));The UnityWebRequest system supports most Unity platforms:
- All versions of the Editor and Standalone players
- WebGL
- Mobile platforms: iOS, Android
- Universal Windows Platform
- PS4 and PSVita
- XboxOne
- HoloLens
- Nintendo Switch
Do you want to see this beautiful package in action? Download the demo here
Download and install the .unitypackage file of the latest release published here.
Other option is download this package from NuGet with Visual Studio or using the nuget-cli, a NuGet.config file is required at the root of your Unity Project, for example:
<?xml version="1.0" encoding="utf-8"?>
<configuration>
  <config>
    <add key="repositoryPath" value="./Assets/Packages" />
  </config>
</configuration>
The package to search for is Proyecto26.RestClient.
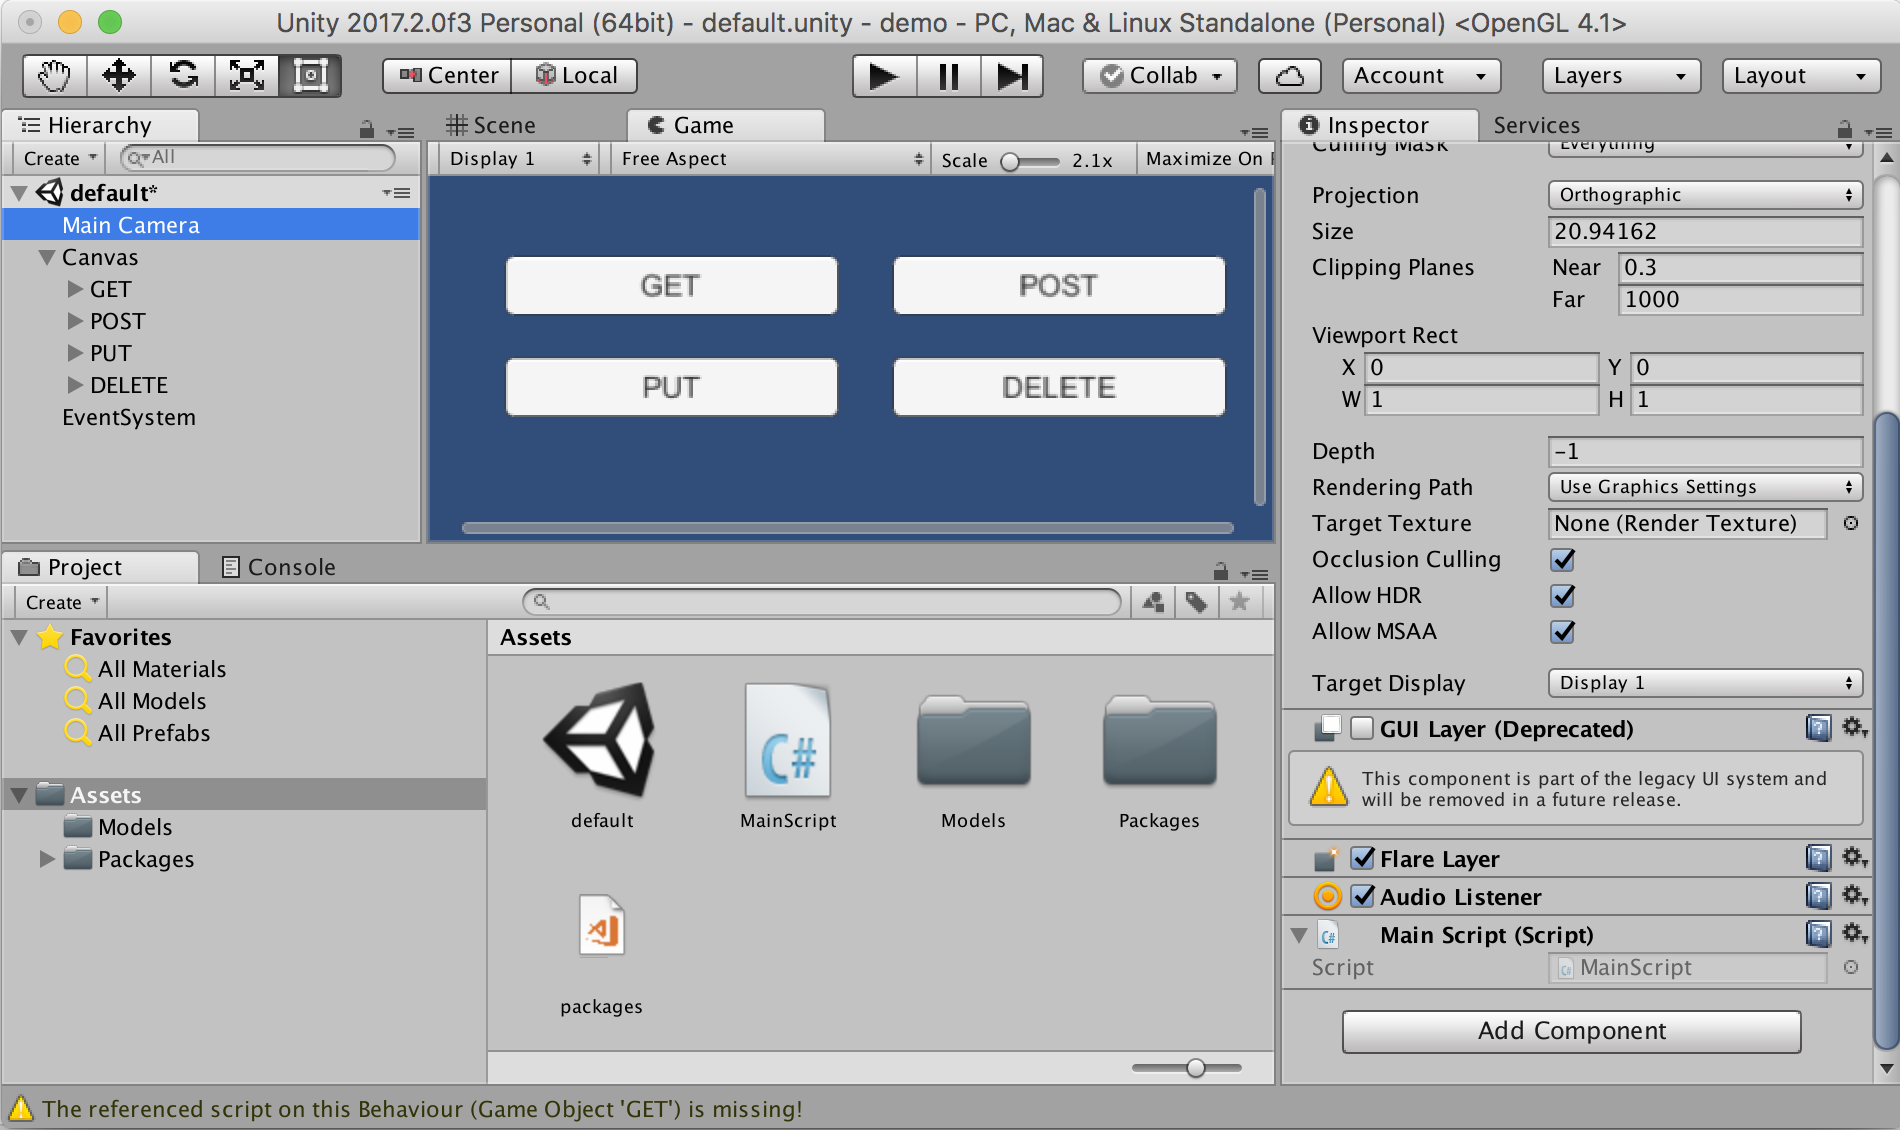
The default methods (GET, POST, PUT, DELETE) are:
RestClient.Get("https://jsonplaceholder.typicode.com/posts/1").Then(response => {
  EditorUtility.DisplayDialog("Response", response.text, "Ok");
})

RestClient.Post("https://jsonplaceholder.typicode.com/posts", newPost).Then(response => {
  EditorUtility.DisplayDialog("Status", response.statusCode.ToString(), "Ok");
})

RestClient.Put("https://jsonplaceholder.typicode.com/posts/1", updatedPost).Then(response => {
  EditorUtility.DisplayDialog("Status", response.statusCode.ToString(), "Ok");
})

RestClient.Delete("https://jsonplaceholder.typicode.com/posts/1").Then(response => {
  EditorUtility.DisplayDialog("Status", response.statusCode.ToString(), "Ok");
})
But we can also indicate the type of response, in the following example we are going to create a class "User" and the HTTP requests to load JSON data easily:
[Serializable]
public class User
{
  public int id;
  public string name;
  public string username;
  public string email;
  public string phone;
  public string website;
}
- GET JSON
var usersRoute = "https://jsonplaceholder.typicode.com/users";
RestClient.Get<User>(usersRoute + "/1").Then(firstUser => {
  EditorUtility.DisplayDialog("JSON", JsonUtility.ToJson(firstUser, true), "Ok");
})
- GET Array
RestClient.GetArray<User>(usersRoute).Then(allUsers => {
  EditorUtility.DisplayDialog("JSON Array", JsonHelper.ArrayToJsonString<User>(allUsers, true), "Ok");
})
Also we can create different classes for custom responses:
[Serializable]
public class CustomResponse
{
  public int id;
}
- POST
RestClient.Post<CustomResponse>(usersRoute, newUser).Then(customResponse => {
  EditorUtility.DisplayDialog("JSON", JsonUtility.ToJson(customResponse, true), "Ok");
})
- PUT
RestClient.Put<CustomResponse>(usersRoute + "/1", updatedUser).Then(customResponse => {
  EditorUtility.DisplayDialog("JSON", JsonUtility.ToJson(customResponse, true), "Ok");
})
HTTP Headers, such as Authorization, can be set in the DefaultRequestHeaders object for all requests
RestClient.DefaultRequestHeaders["Authorization"] = "Bearer ...";
Also we can add specific options and override default headers for a request
var requestOptions = new RequestHelper {
  url = "https://jsonplaceholder.typicode.com/photos",
  headers = new Dictionary<string, string> {
    { "Authorization", "Other token..." }
  }
};
RestClient.GetArray<Photo>(requestOptions).Then(response => {
  EditorUtility.DisplayDialog("Header", requestOptions.GetHeader("Authorization"), "Ok");
})
And later we can clean the default headers for all requests
RestClient.CleanDefaultHeaders();
- Unity
[Serializable]
public class ServerResponse {
  public string id;
  public string date; //DateTime is not supported by JsonUtility
}
[Serializable]
public class User {
  public string firstName;
  public string lastName;
}
RestClient.Post<ServerResponse>("www.api.com/endpoint", new User {
  firstName = "Juan David",
  lastName = "Nicholls Cardona"
}).Then(response => {
  EditorUtility.DisplayDialog("ID: ", response.id, "Ok");
  EditorUtility.DisplayDialog("Date: ", response.date, "Ok");
});
- NodeJS as Backend (Using Express)
router.post('/', function(req, res) {
  console.log(req.body.firstName)
  res.json({
    id: 123,
    date: new Date()
  })
});
| Diego Ossa | Juan Nicholls |
- Promises library for C#: Real Serious Games/C-Sharp-Promise
I believe in Unicorns 🦄 Support me, if you do too.
Made with ❤️


