Demo • Use cases • Features • Installation • Tutorial • Contributions
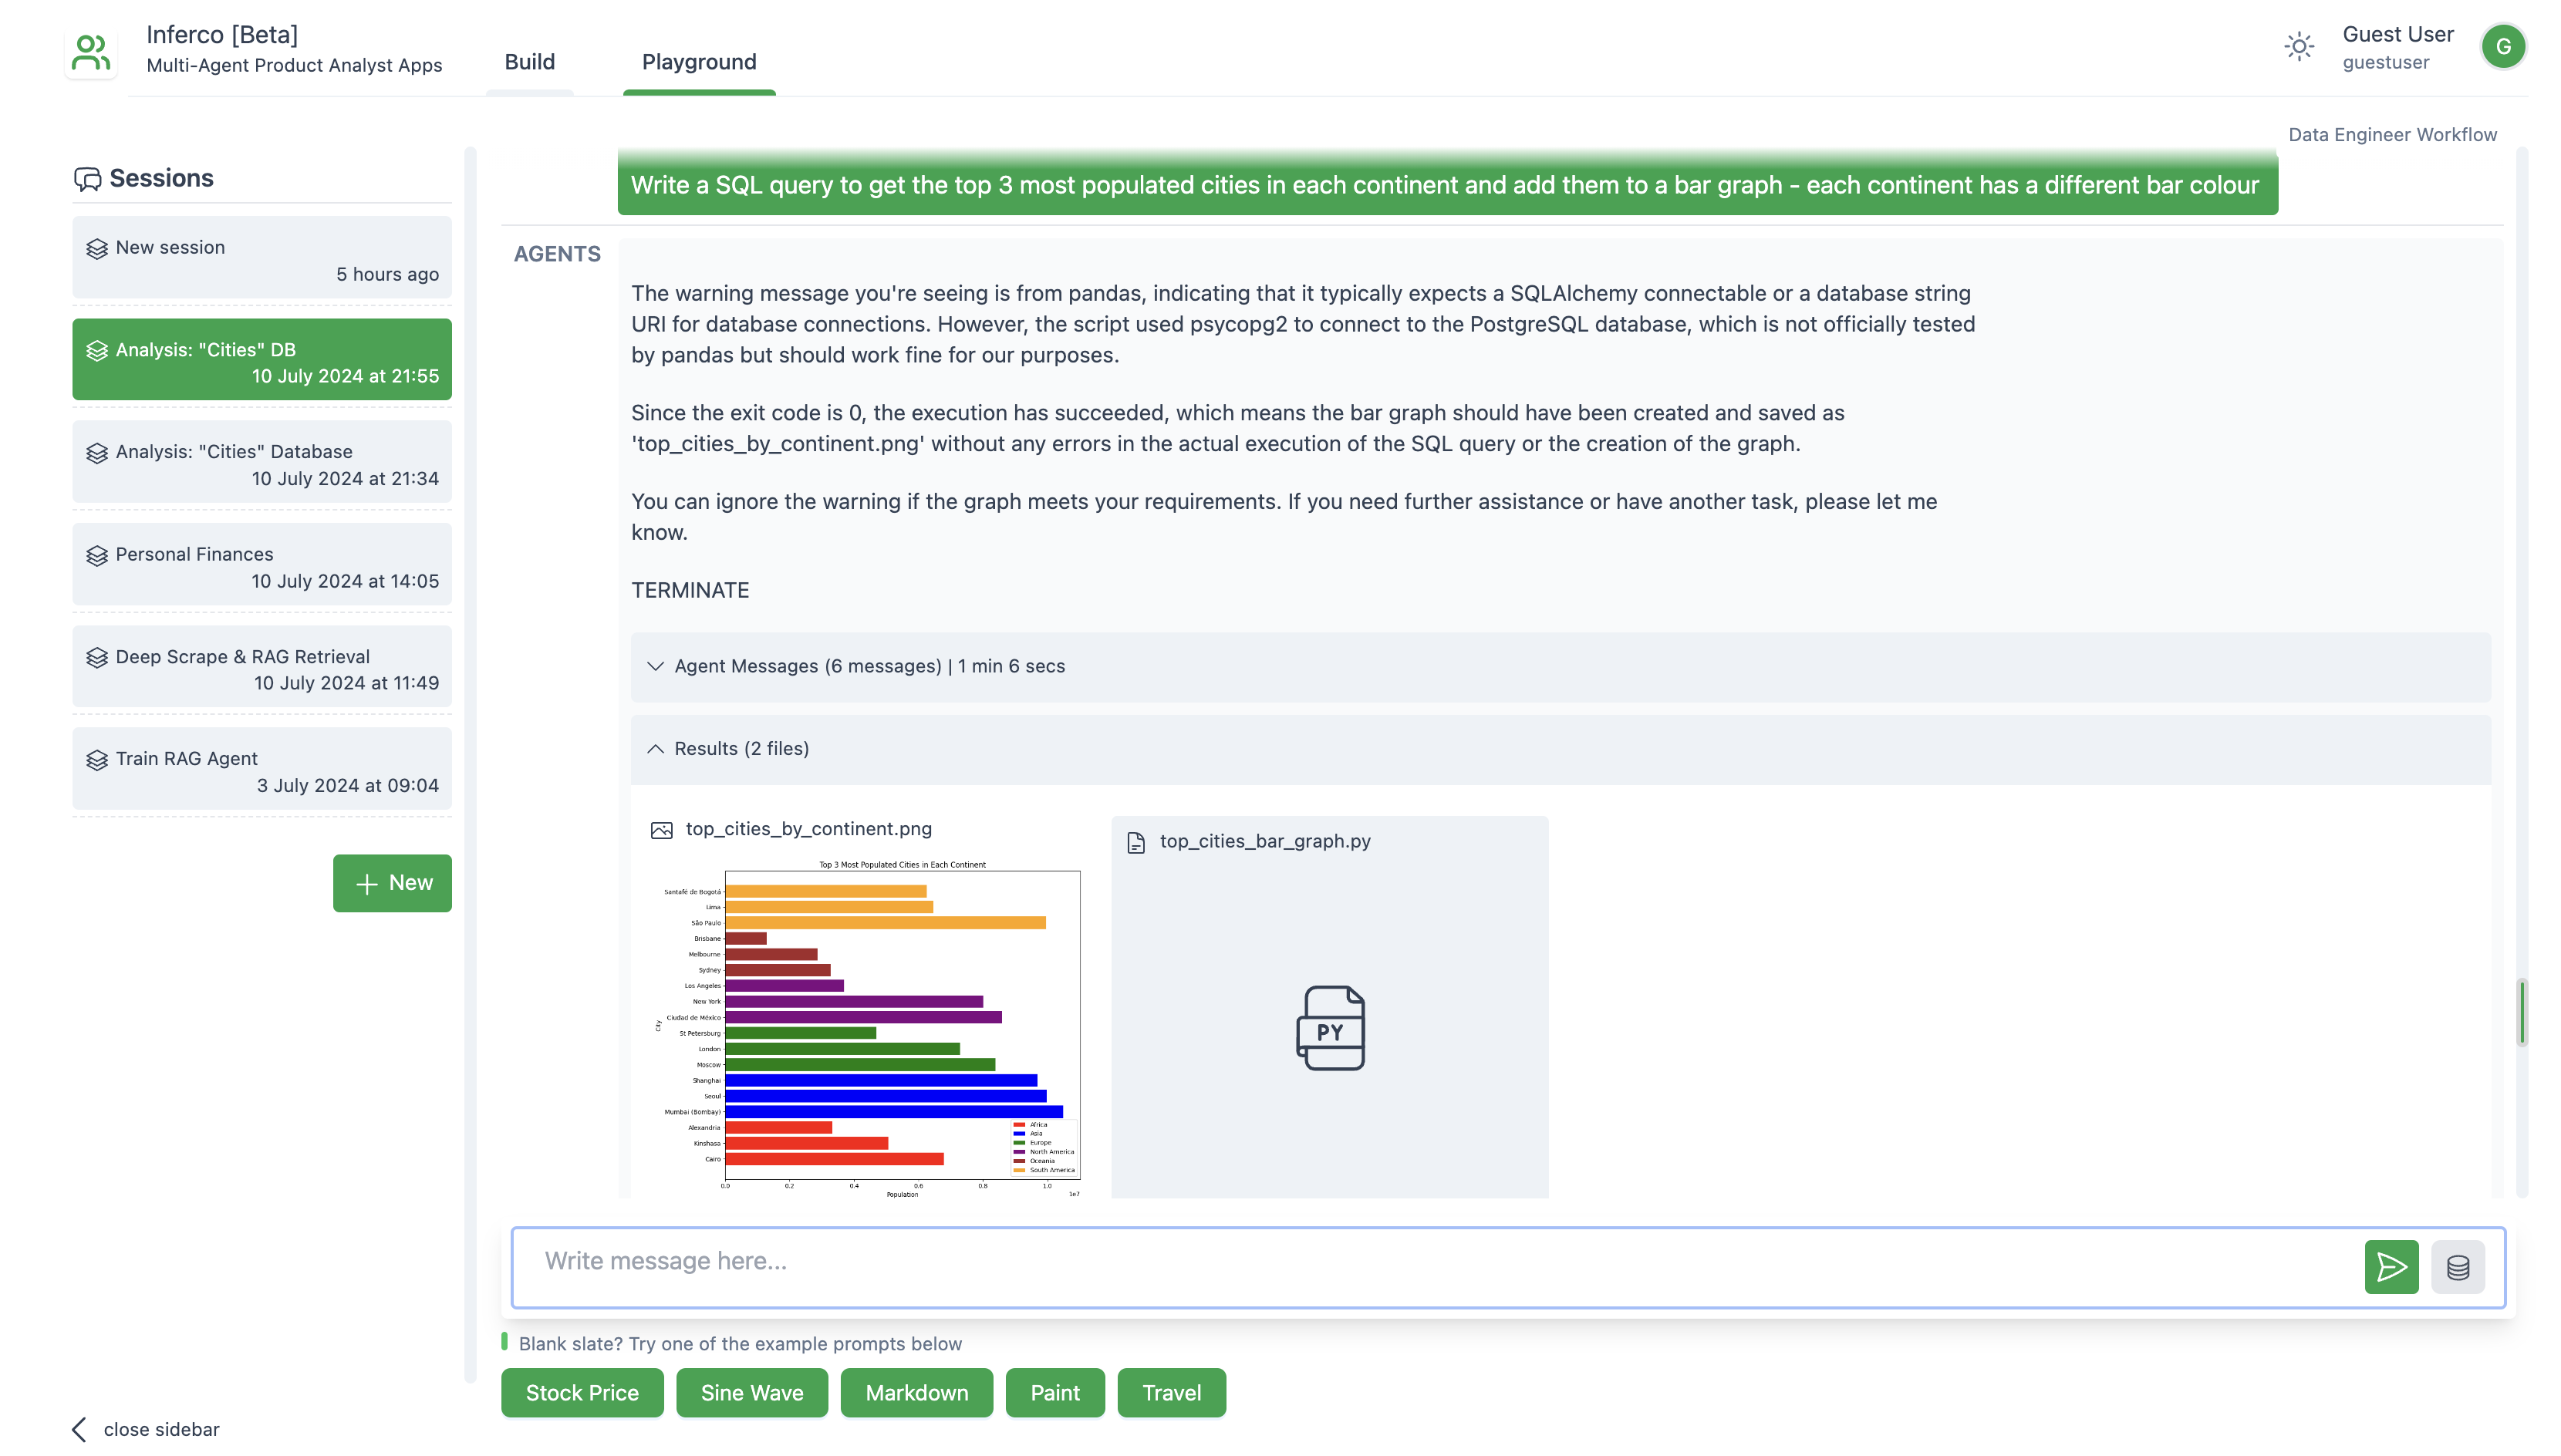
Inferco enables any developer to use powerful AI assistants to know how customers use their applications. These assistants use large language models (LLMs), data sources and a local machine to write & execute complex data analysis in minutes.
Warning
Note: Currently, this is meant to help you rapidly prototype multi-agent workflows and demonstrate an example of end user interfaces built with AutoGen and forked the Autogen Studio project - which is awesome but lacks security features, data sources etc. If you like this, check Autogen out. It is not meant to be a production-ready app.
Inferco lets you author specialist AI workflows to accomplish any product analysis you want, including:
- Product KPIs
- Acquisition drivers
- User engagement
- Feature adoption & retention
- Marketing analytics
- Monetization drivers
- Qualitative analysis of user research / surveys / feedback rivers
Covered:
- SOTA open & closed Source models
- Data Sources: PostgreSQL
- Local code execution in virtual environment or Docker
- Multi-agent workflows
- Function calling for supported models
- Agent-driven error correction
Next up:
- Secure credential management (nothing shared with third-parties)
- Data Sources: files, APIs & more databases
- Selectively append database table definitons to prompt
- Web browsing
- 3-5 agent groupchat workflow
Currently, only installation from source is supported. A PyPi package will follow, if there is demand.
Note: This approach requires some familiarity with building interfaces in React.
If you prefer to install from source, ensure you have Python 3.10+ and Node.js (version above 14.15.0) installed. Here's how you get started:
Clone the Inferco repository, create a python virtual environment & install its Python dependencies:
python3 -m venv .venv
source .venv/bin/activate
pip install -e .
Navigate to the frontend directory, install dependencies, and build the UI:
npm install -g gatsby-cli
npm install --global yarn
cd frontend
yarn install
yarn build
For Windows users, to build the frontend, you may need alternative commands to build the frontend.
gatsby clean && rmdir /s /q ..\\inferco\\web\\ui 2>nul & (set \"PREFIX_PATH_VALUE=\" || ver>nul) && gatsby build --prefix-paths && xcopy /E /I /Y public ..\\inferco\\web\\ui
For 1st timers, we suggest creating an OpenAI API key & adding it to your environment:
export OPENAI_API_KEY=sk-some-key-name-XXXXXXXXXXXXXXXXXXXXXXXXXXXXXXNext, run the web UI by entering the following in your terminal from inside the virtual environment:
inferco ui --port 8081This will start the application on the specified port & create a SQLite database as default. Open your web browser and go to http://localhost:8081/ to begin using Inferco.
Inferco also takes several parameters to customize the application:
--host <host>argument to specify the host address. By default, it is set tolocalhost. Y--appdir <appdir>argument to specify the directory where the app files (e.g., database and generated user files) are stored. By default, it is set to the a.infercodirectory in the user's home directory.--port <port>argument to specify the port number. By default, it is set to8080.--reloadargument to enable auto-reloading of the server when changes are made to the code. By default, it is set toFalse.--database-uriargument to specify the database URI. Example values includesqlite:///database.sqlitefor SQLite andpostgresql+psycopg://user:password@localhost/dbnamefor PostgreSQL. If this is not specified, the database URIL defaults to adatabase.sqlitefile in the--appdirdirectory.
Now that you have Inferco installed and running, you are ready to explore its capabilities, including defining and modifying agent workflows, interacting with agents and sessions, and expanding agent skills.
- Navigate to the "Build" tab and click on "Data Sources".
- Click "+ New Data Source" and select the Data Source.
- Currently, only PostgreSQL databases are supported. In future, other databases, APIs or files can be added.
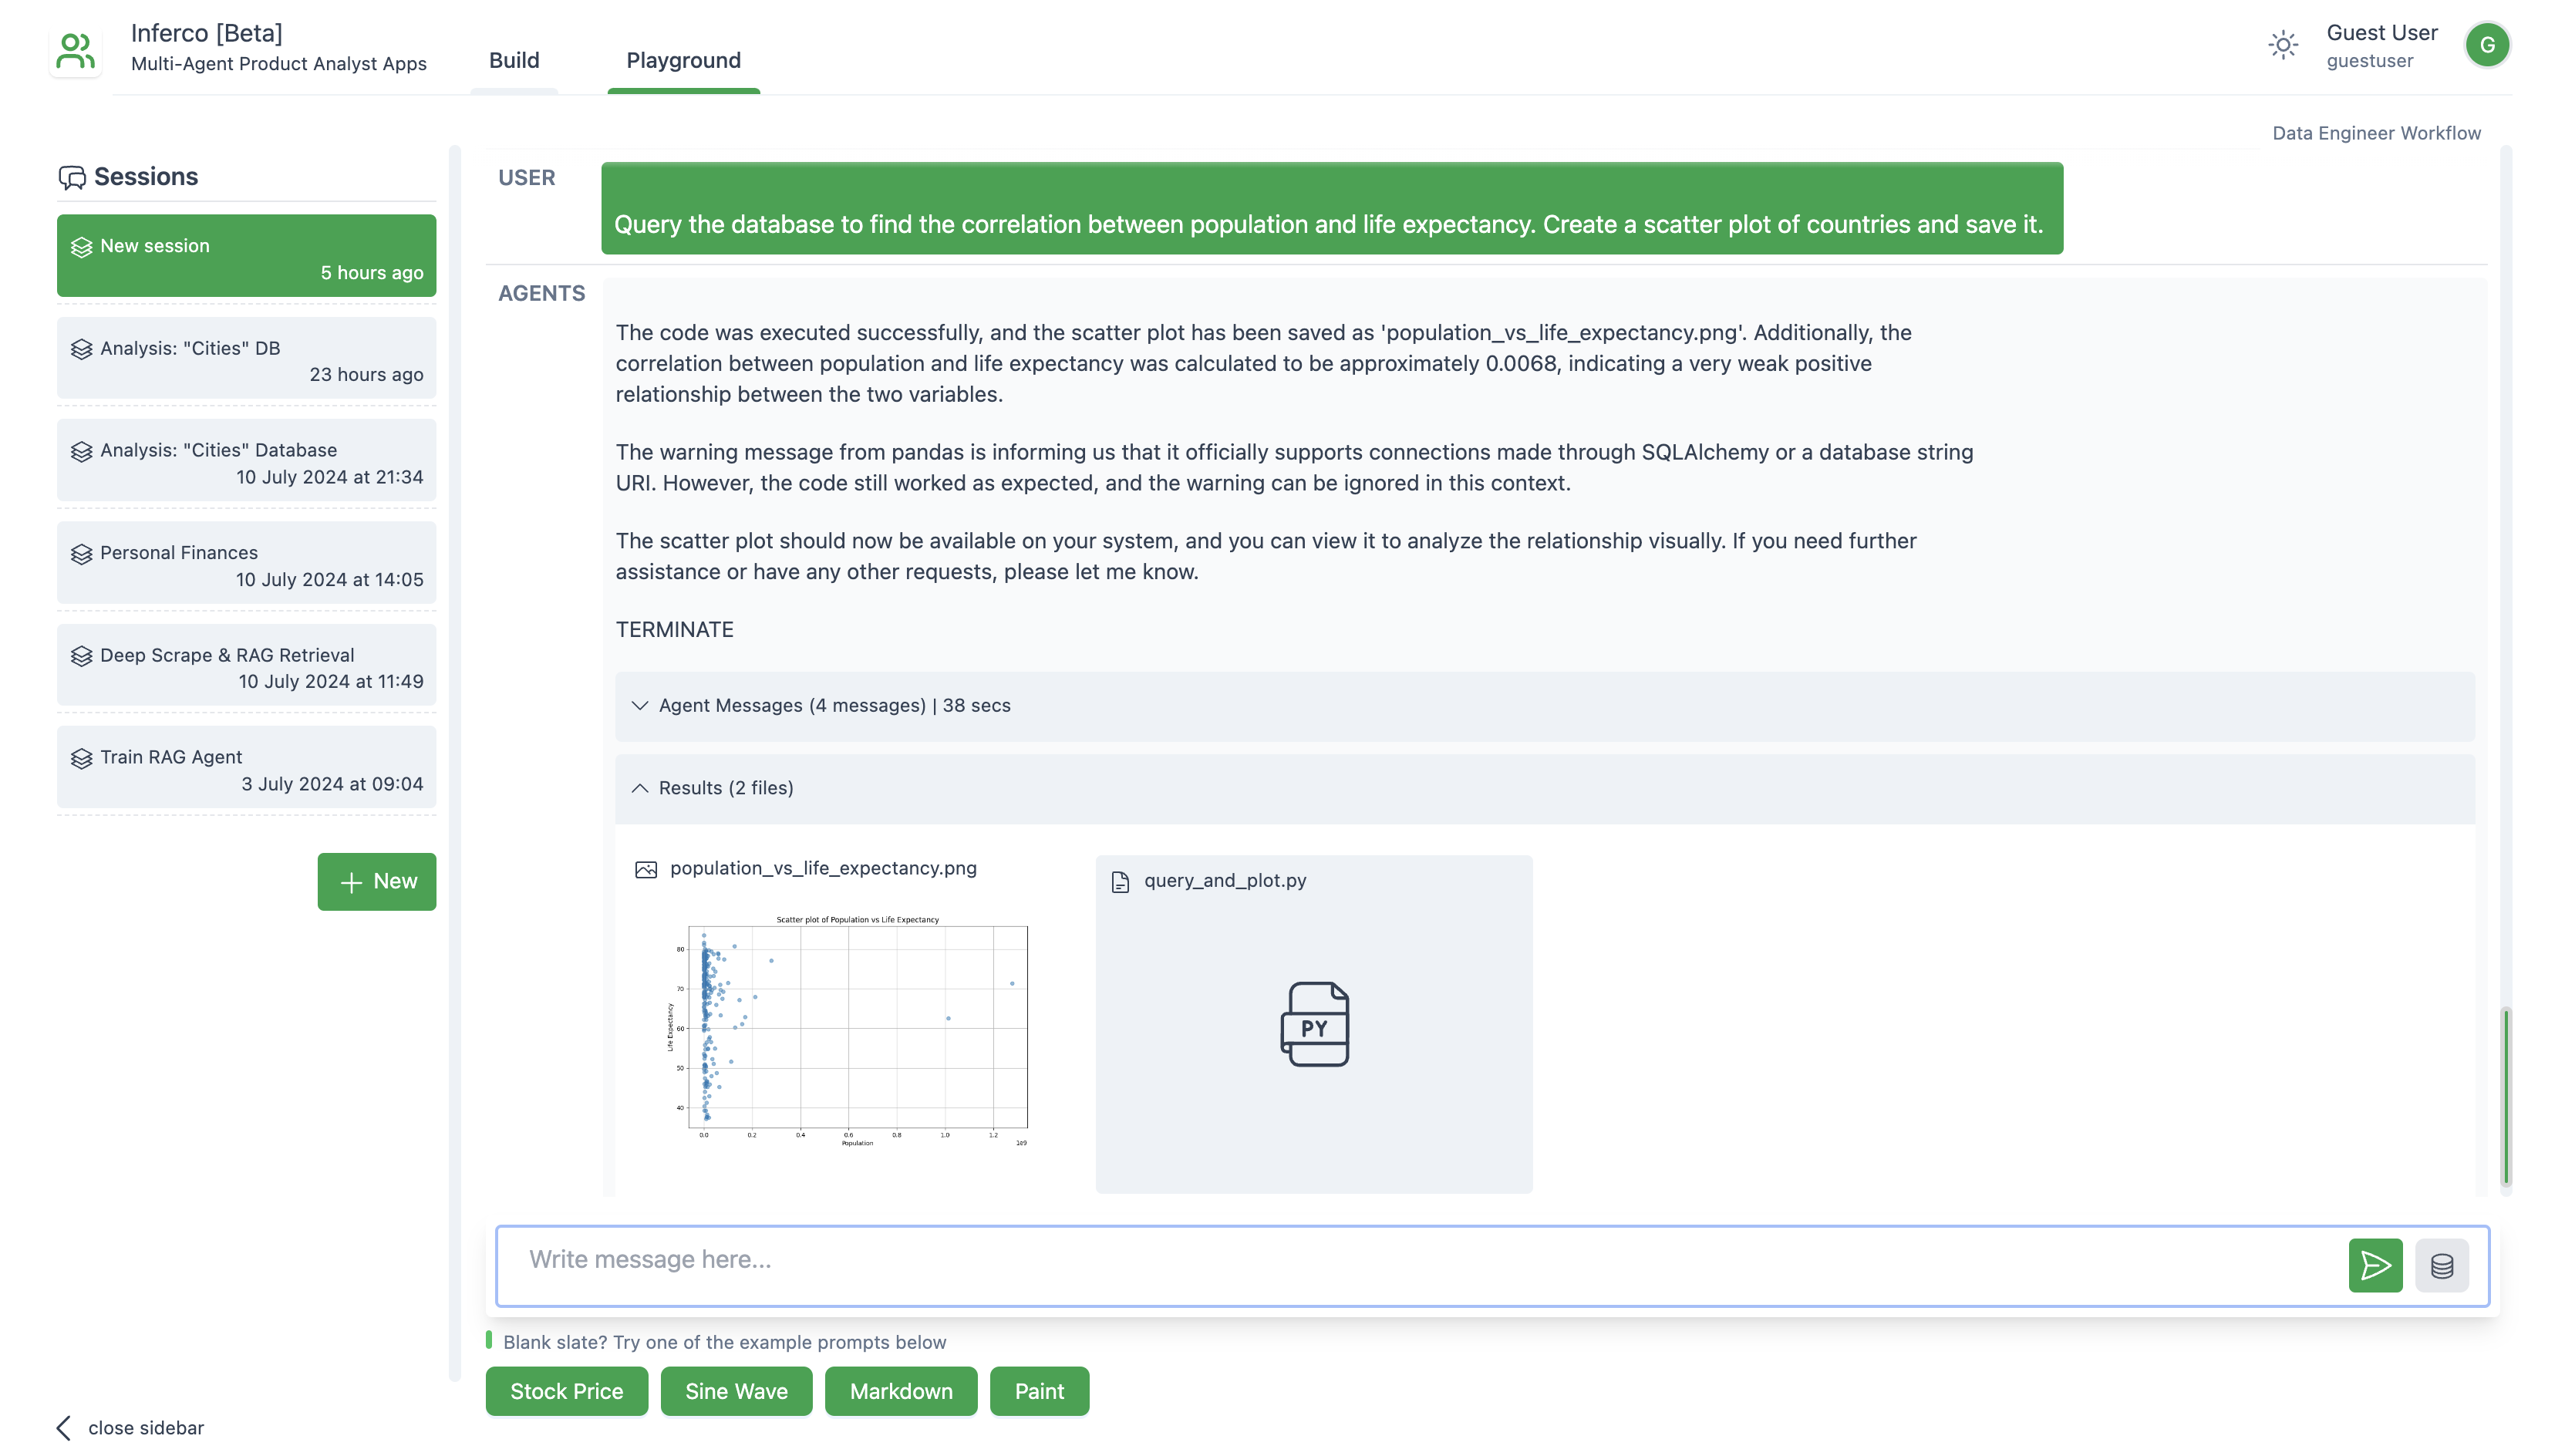
The "Data Engineer" Workflow consists of 2 agents: a Data Engineer Agent & a User Proxy Agent. The Data Engineer Agent has been prompted to write SQL and Python only. The User Proxy Agent has been configured to execute any python code in the local virtual environment. By default, the OpenAI 4o model is used.
To use this workflow, navigate to "Playground" tab and create a new chat session. When prompting, there is an option to specify a pre-configured Data Source connection that the model will use to when it requires credentials.
- Run the following docker container with a local PostgreSQL database instance:
docker run -d -p 5432:5432 ghusta/postgres-world-db:2.11- Navigate to "Playground" & create a new session.
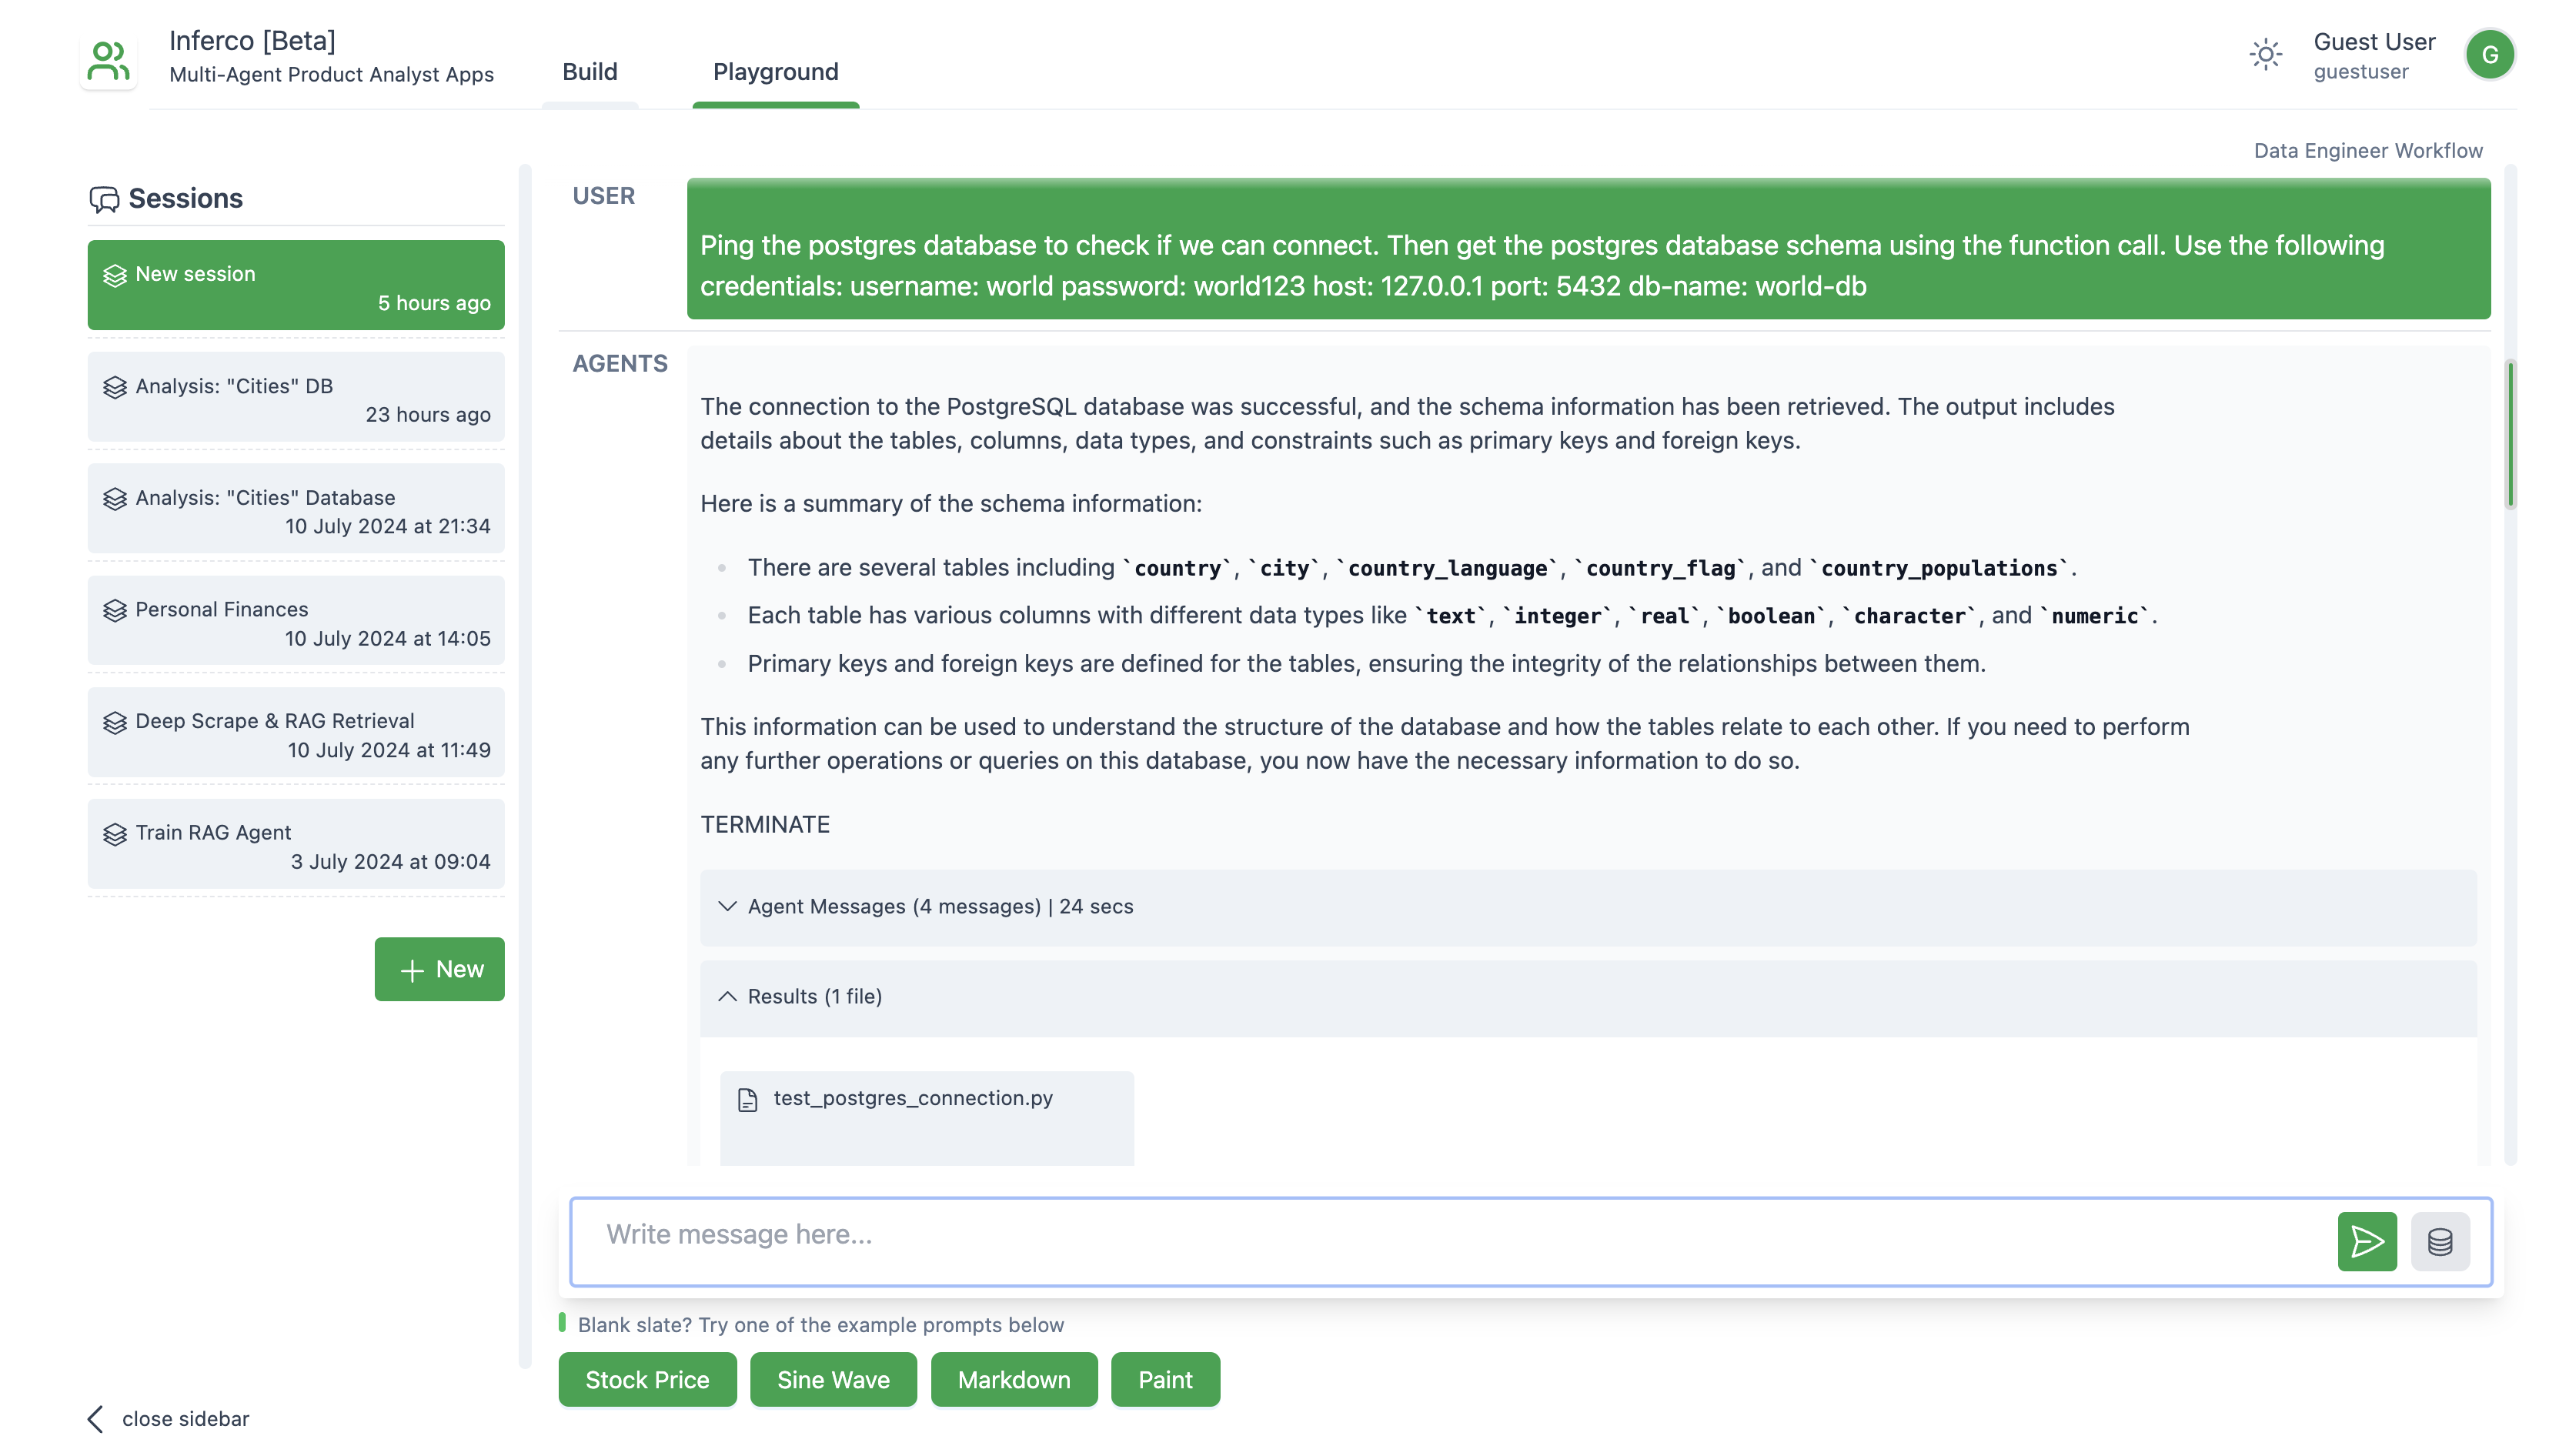
- 1st prompt:
Ping the postgres database to check if we can connect. Then get the postgres database schema using the function call. Use the following credentials: username: world password: world123 host: 127.0.0.1 port: 5432 db-name: world-db- 2nd prompt:
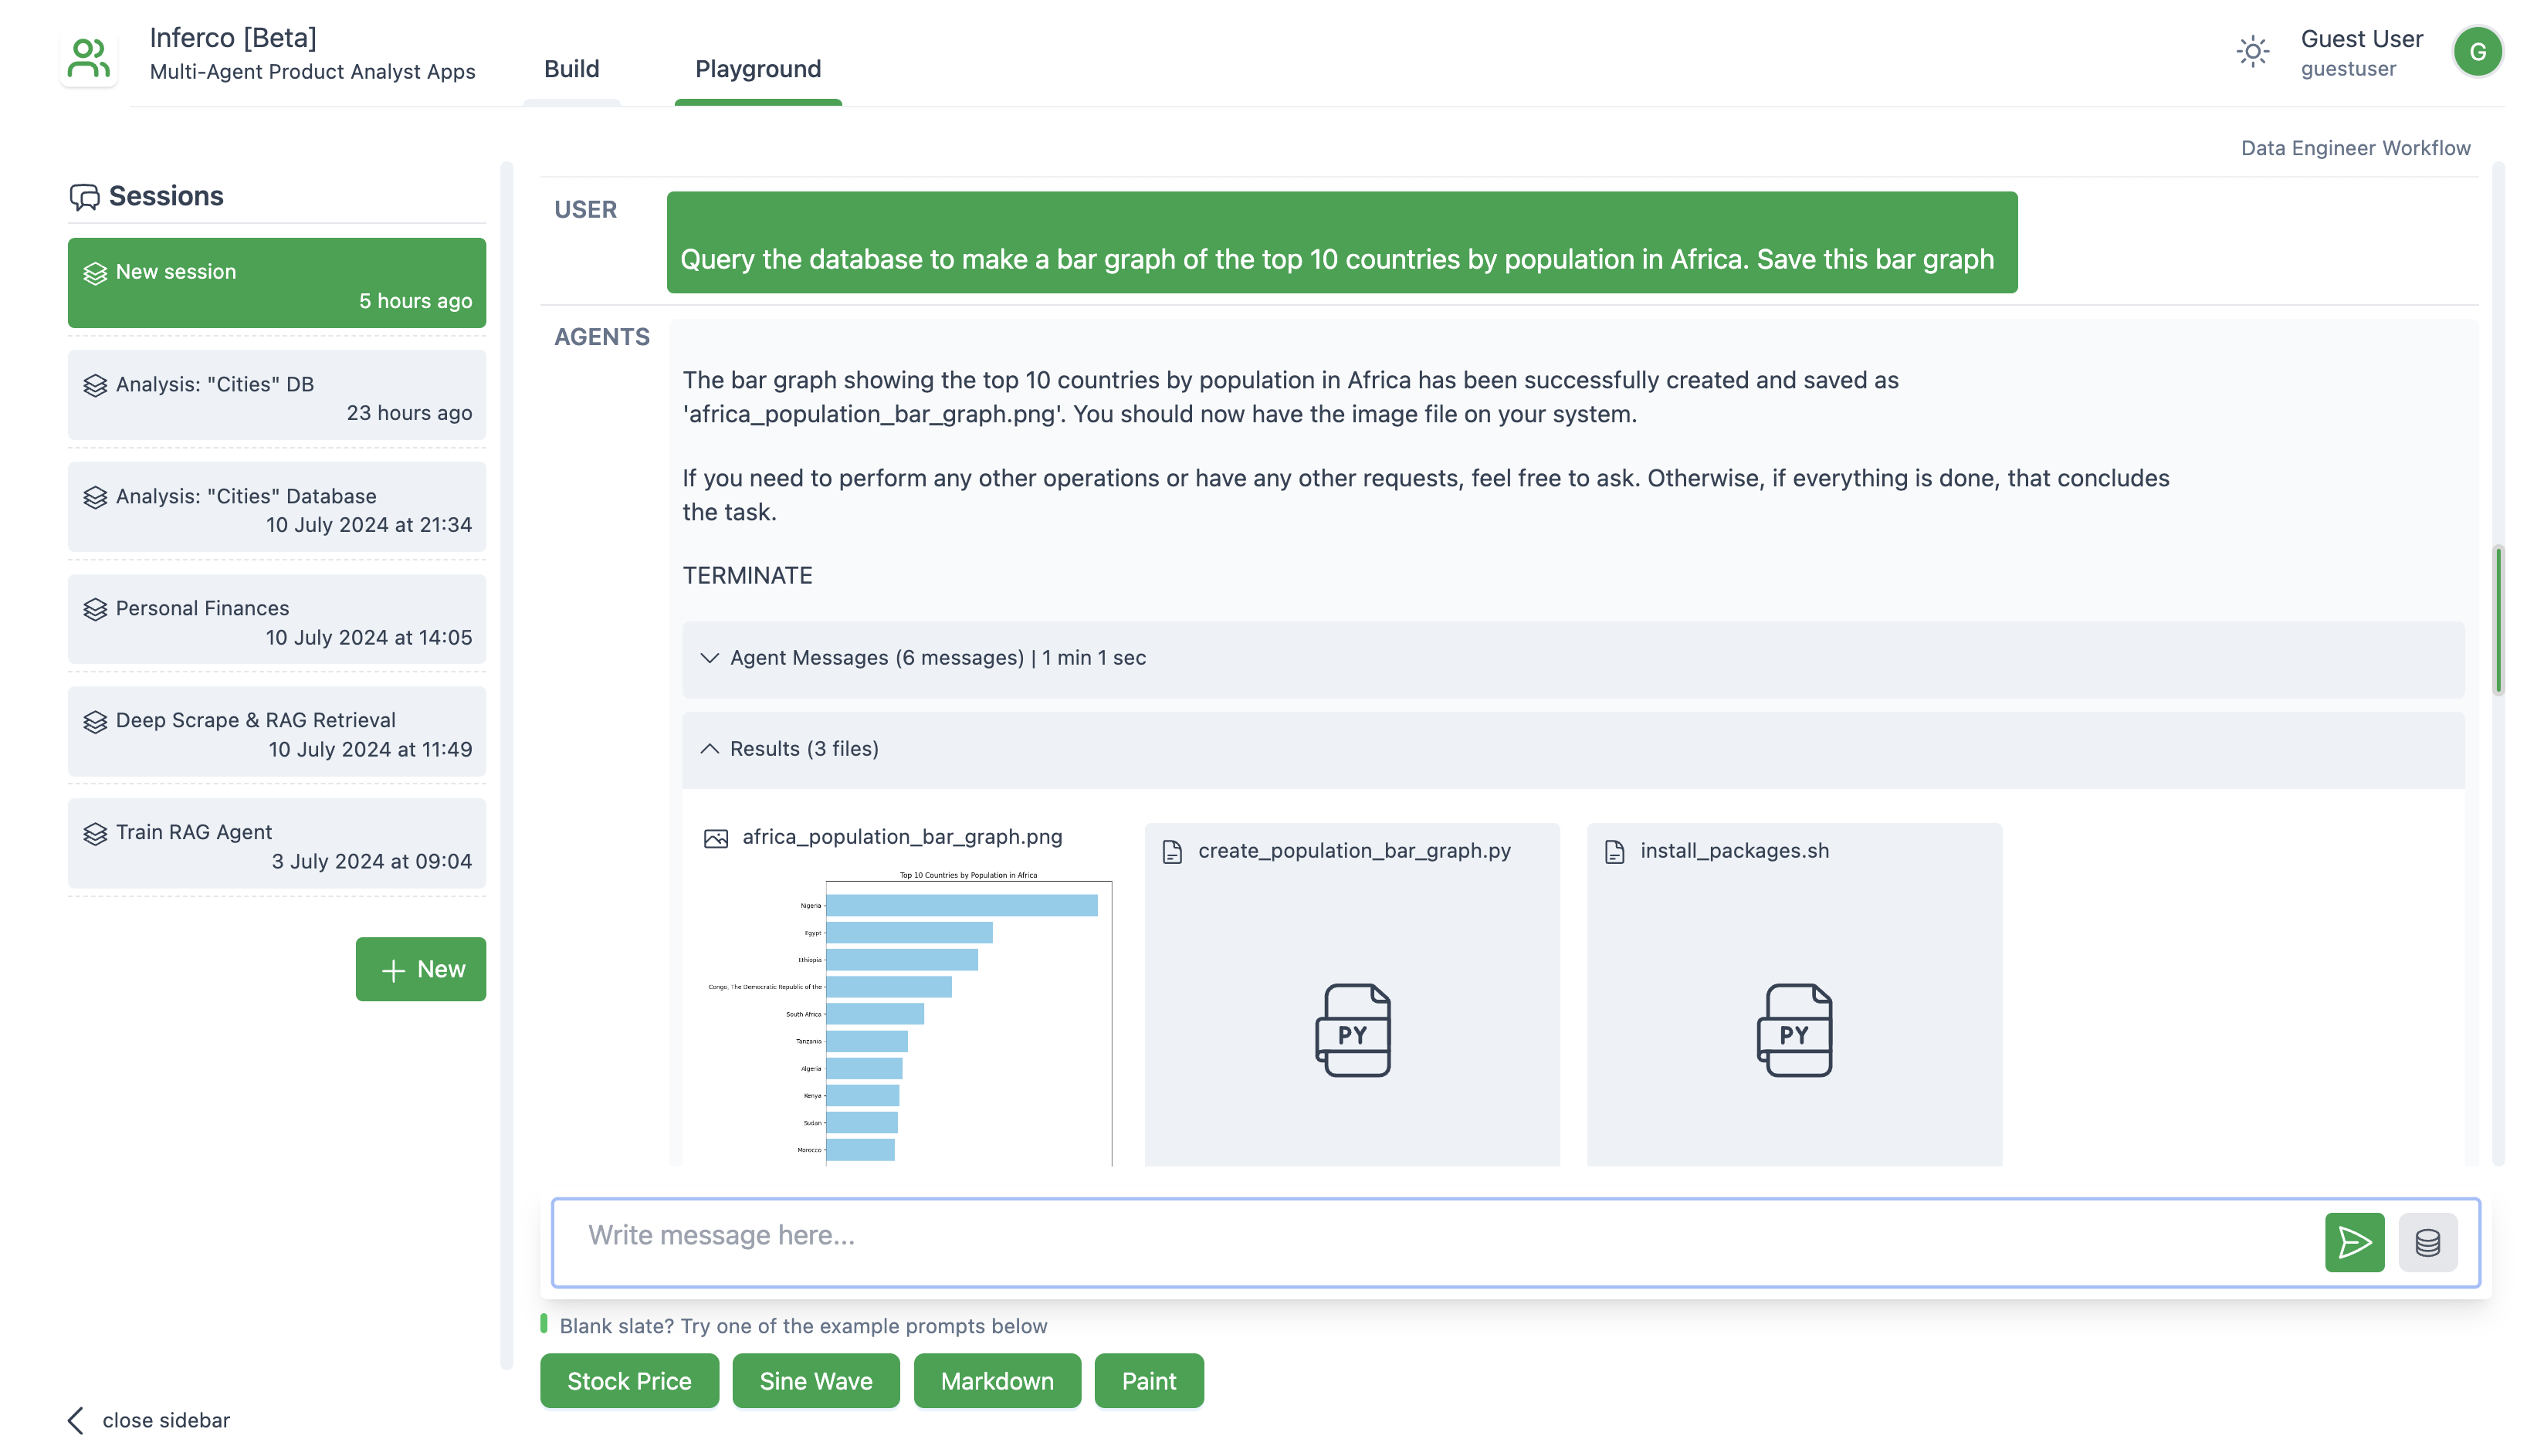
Query the database to make a bar graph of the top 10 countries by population in Africa. Save this bar graph- 3rd prompt:
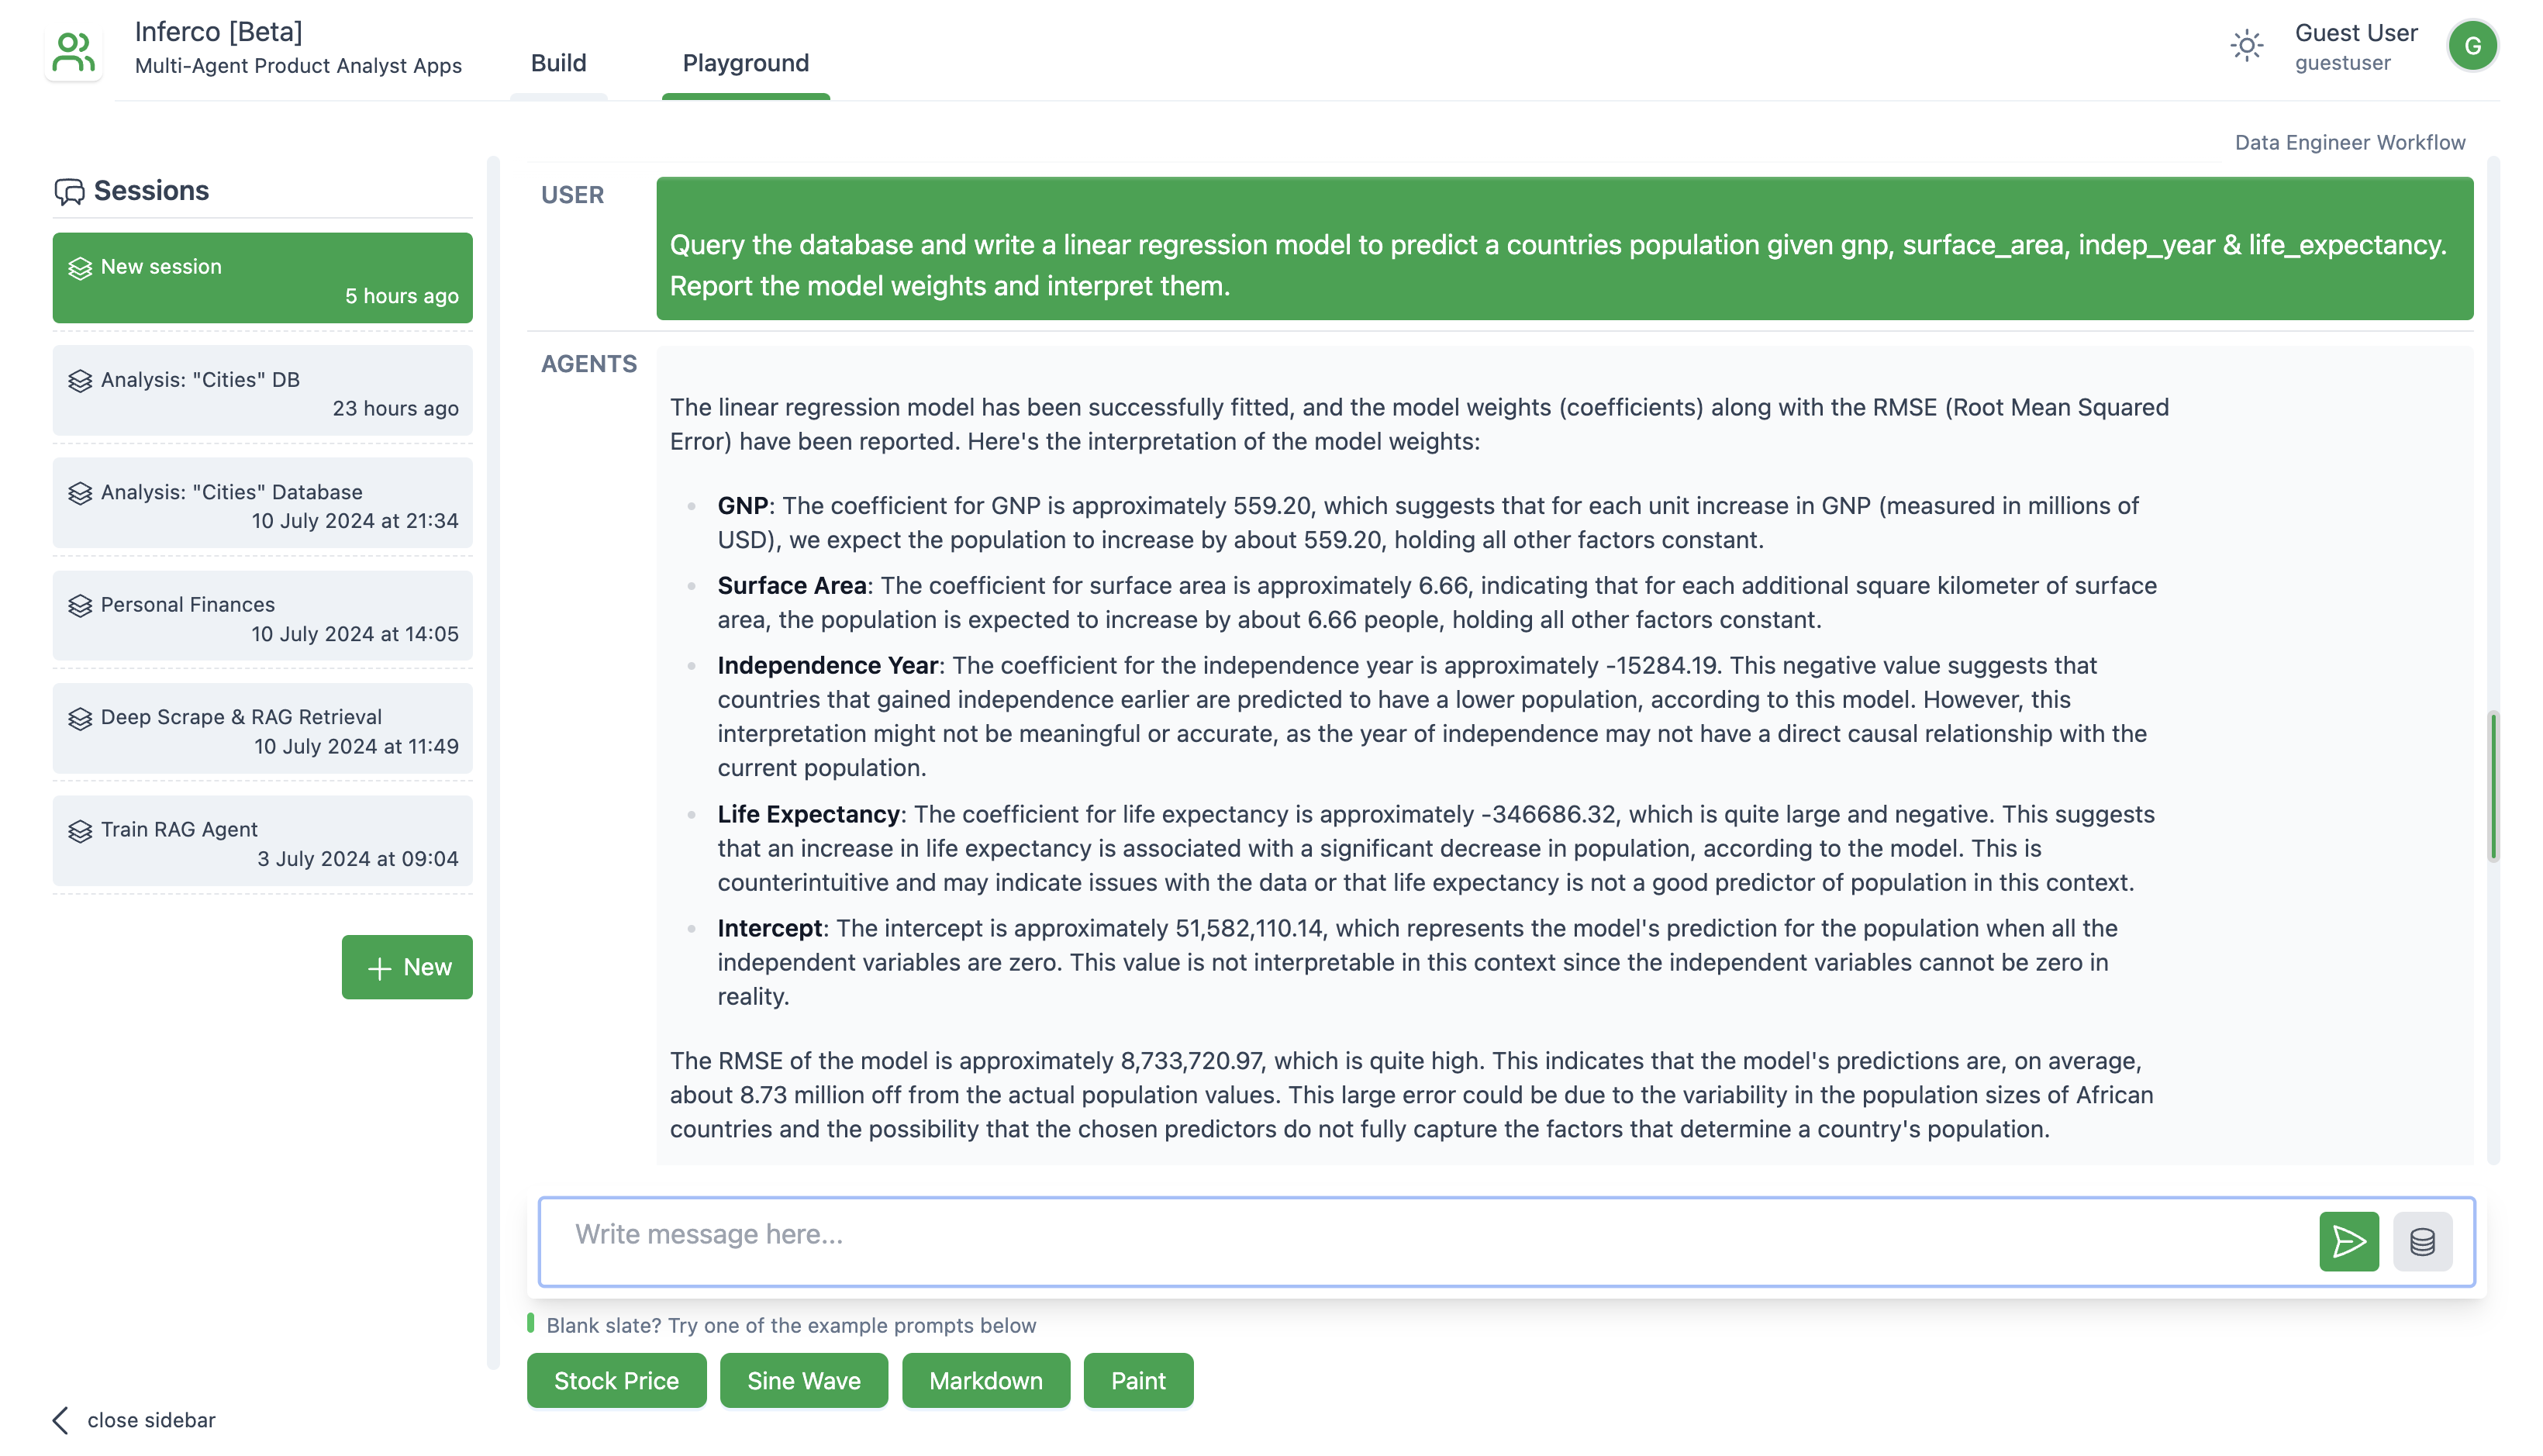
Query the database and write a linear regression model to predict a countries population given gnp, surface_area, indep_year & life_expectancy. Report the model weights and interpret them.- 4th prompt:
Query the database to find the correlation between population and life expectancy. Create a scatter plot of countries and save it.Agents can invoke python functions if the model used supports "function calling".
To add a skill:
- Navigate to the "Build" tab and click on "Skills".
- Click "+ New Skill" and write a function with a helpful docstring.
- Navigate to the "Agents" side tab, select an Agent and link this skill to the agent.
Inferco is an open-source project, and contributions are welcome. If you want to contribute, you can create new features, fix bugs, or improve the infrastructure.


