Congrats on completing your first day of WDI! Let's do a little review quiz and while we're at it, get a little practice using Github!
Reminder: Github is your friend, not your enemy!
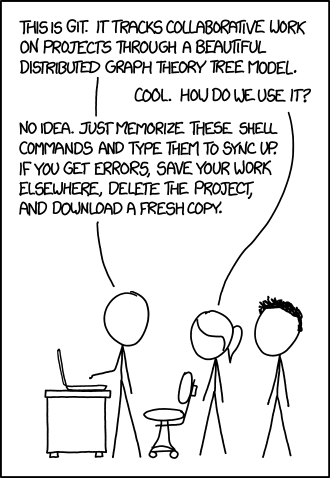
Remember, git and github are two different things! Git is a version control system for managing your source code. Github is a platform to host your code online so others can access it and collaborate with you on it. You can think of Github as social media for Git! For a more detailed explanation, watch this video!
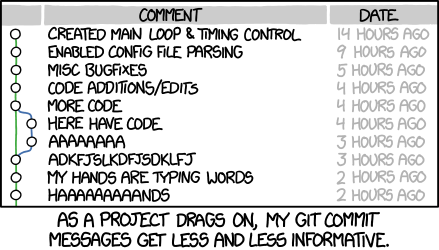
You can find a complete list of best practices here, but in general, your commit message should clearly state what content/features/changes are being added to the code base and be in a complete sentence. Another best practice is to make many commits! Everytime you add something meaningful, even something really small, is a good time for a commit! This way if your code gets all messed up, you can pinpoint the exact change that caused the issue, and you won't lose much working code. Otherwise, if your commits are few and far between and you have to go back to an earlier version, you might end up losing more than you need to!
On the upper righthand corner of this page, you will see a button that says Fork. Press that button!!! This will fork it to your personal Github account.
Note: If you have access to multiple accounts or organizations on Github, you may get a pop-up asking you which one you want to use.
Once you have a "fork" of the repository on your own account, you want to clone the code onto your local machine. Do this by copying the clone link. This is a green button to the right of the page. Clicking the copy icon will automatically copy it to your clipboard, or you can highlight the text and press Cmd + C.

Protip: If you made SSH keys in class, you should use the SSH link. Otherwise, you can use the HTTPS link and you will get prompted for a password before the cloning takes place.
Once you have this link copied, go to your terminal and run the command
git clone THE_LINK_YOU_COPIEDWarning: Make sure the location you clone at is not inside of another git repository!
In general, when coding, we don't repeat ourselves, but let's say it again. A git repository should NOT live inside another git repository!
Did you read the sentence previous to this one? Read it again! Say it out loud! Tell the person next to you! 😊
Note: In future assignments, steps 1 and 2 will be referred to as a single unit. You might see a direction like "fork and clone this repository".
Wherever you cloned this repository should have made a new folder with the name of the folder being the same as the repository. So, in this case you should have a folder called "github_101". Navigate to this directory.
cd github_101Usually this is Sublime Text, Atom, or VS Code, but feel free to get wild and go with whatever you're most productive with. In class, you most likely set up shortcuts to these text editors. Select the one that's appropriate for what you'll be using throughout the course.
subl .or
atom .or
code .5. Answer the Quiz Questions Below
Test your Googling skills and learn something new about Git! Put your answers into the file called answers.txt. The file is already provided for you, just fill in your own answers. Please number them!
Save the answers.txt file when you're done. Close the text editor.
Run the following command.
git statusIf you followed the directions up till now, this should tell you that there are "untracked" changes to answers.txt.
You can add files to be staged for (ready to go into) the next commit. The following command on your terminal will stage "all" changes in your current folder. The reason we stage files for commits is that we don't necessarily have to check in the changes to all the files, we could potentially just want to check in some of them. Hence what seems to be an extra step. In this case however, there's only one file anyway!
git add .Protip: The
git initcommand is only necessary when you're starting a repository from scratch! Since we used thegit clonecommand, we already have an initialized repository.
The following command will add all staged changes (additions, deletions, or modifications) from the last command and put it into a commit. In our case, answers.txt should be modified.
git commit -m "Add my answers to answers.txt"Note: The
-min the command stands for "message". Remember our discussion of best practices for commit messages!
What this step does is take our commits and send them to wherever we specify. In this case, we'll push our changes on our local computer back up to your fork of this repository on your Github account.
git push origin masterIn this case, origin refers to Github — where the code originated! We can use the push command to push to Github or any another place that might host our repository. We'll also use it to deploy our sites to Heroku later in the course. For now, it's important to realize that the code on your Github account and the code on your machine don't match until you send your changes to Github via this push command!
The master at the end of the command refers to the branch. Master is always the default branch, and for now, it's the only one we'll use. Later in the course we'll get into branches.
Go into your internet browser and refresh the page with your forked repository. Do you see your changes on Github now?
If so, your one last step is to make a pull request. The term is a little bit confusing, but it means to essentially show the original repository the changes you made on your own version. It alerts the owner of the original repository and opens up the code for comments and review.
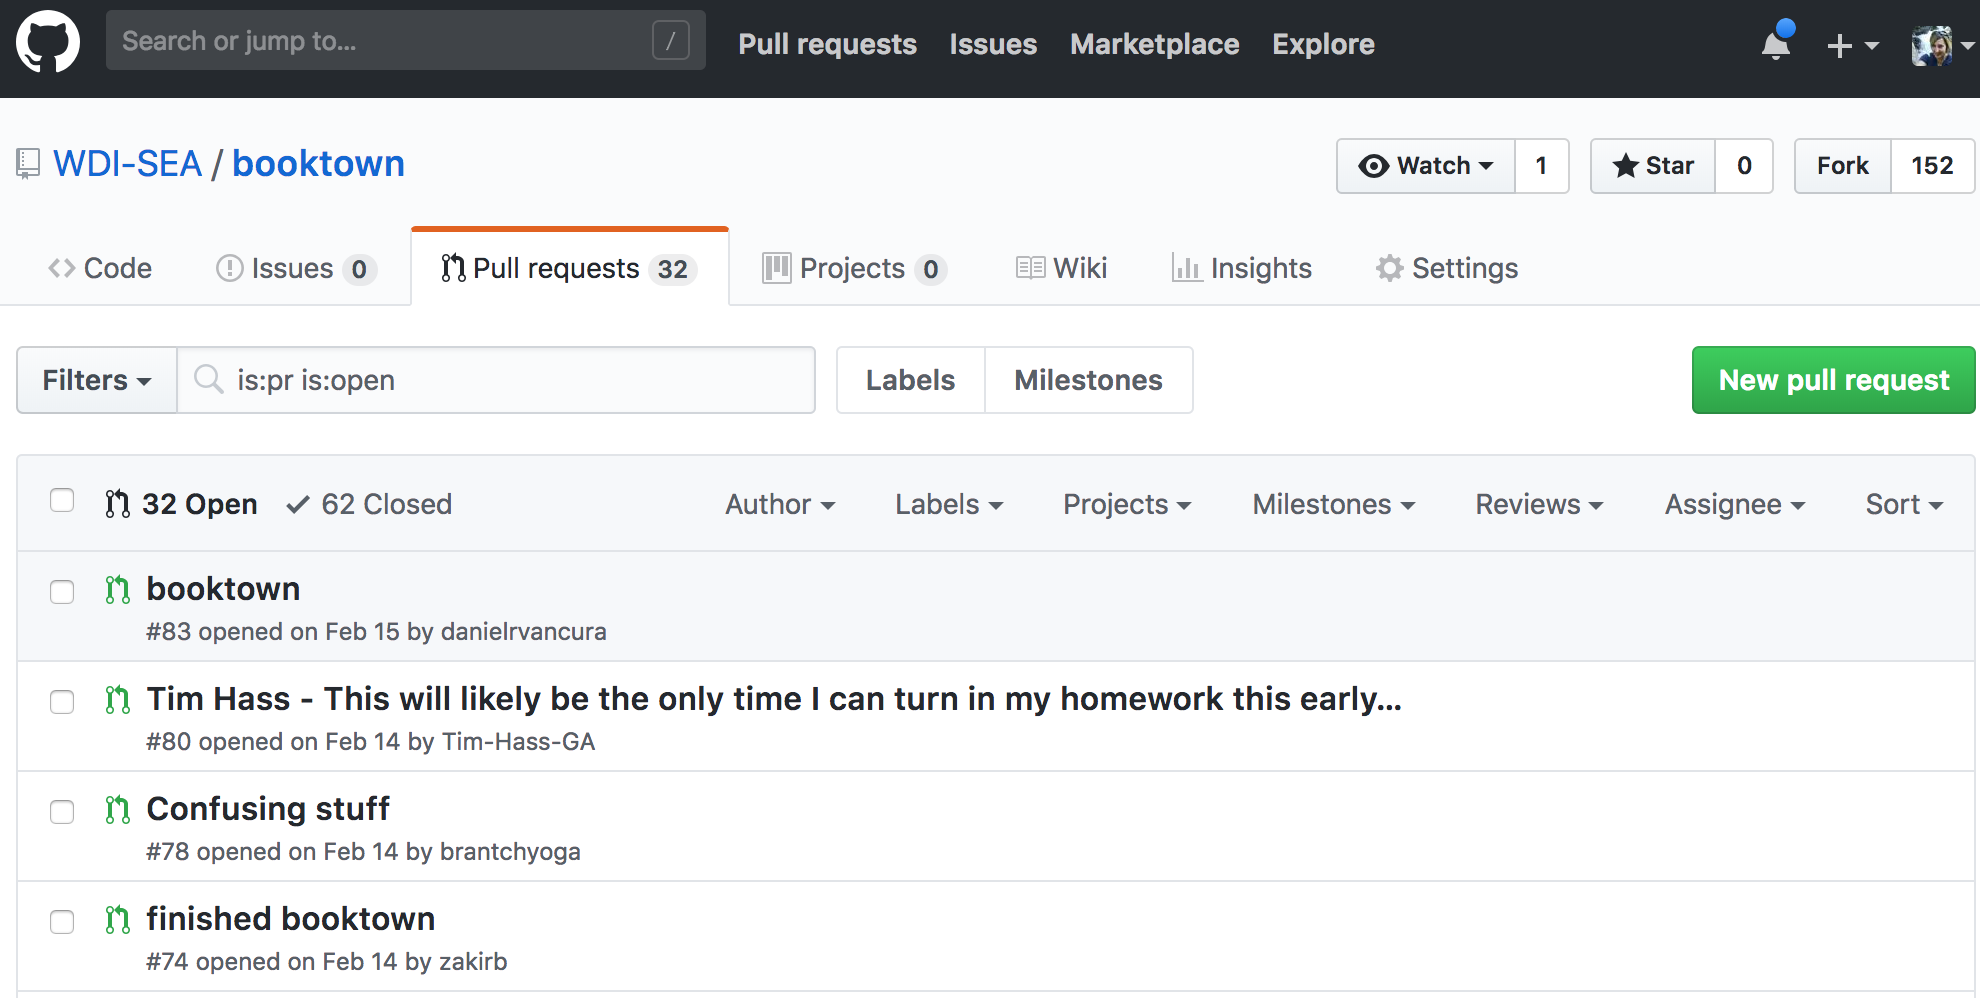
Protip: You can double check whether your pull request went through by clicking on the pull requests tab and looking for your username! See the example below (on a different repository).
By the end of this you should have:
- A separate fork of this repository (meaning, a copy on your own Github account!)
- A file called
answers.txtthat has numbered answers to each of the questions listed below. - A pull request against this repository (on WDI-SEA)
- Git Online Mini-Quiz
- Git vs Github (Explains the differences)
- First Github Commit (This should be a review of our in-class lesson if you feel you need it!)
- Git and Github for Poets (This is a non-coder intro to using Git/Github)
- Commit Messages Best Practices