NegICC is a project for creating ICC profiles for color negatives. The main objective of the tool is to have consistent colors for images of negative film taken with a digital camera.
The ICC profiles created should have the following properties:
- Allow color balance adjustments
- Produces netural color which allows further adjustments
- Can be used with commonly available photo editting tools
An ICC profile alone is insufficient to gurantee consistency from frame to frame. You need good color separation from the captured images in the physical department. I created a guide with detailed steps. An older document has more details of the research I have done.
After good color separation is archived we can apply an ICC profile to the captured linear images to map to a well known color space. In the case of ICC it is CIE XYZ chromatically adapted to D50 illuminant. This allows the image with this profile to be mapped to other color space for further editting.
The profiles created by NegICC is not meant to be a color space and not suitable for general editing. They are used for correcting the curves of the color channels and to map to the CIE XYZ.
There are three profiles generated by NegICC:
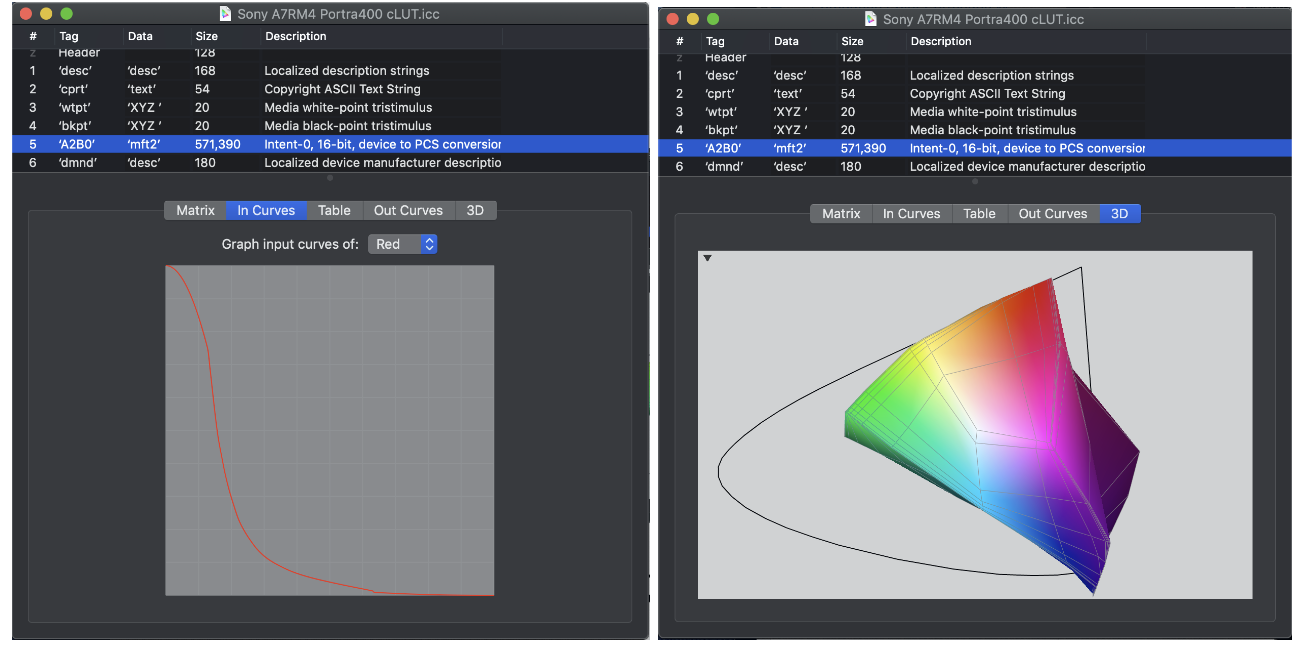
- Curve + cLUT ICC V2 Profile
- Curve + Matrix ICC V4 Profile
- Matrix + Curve + cLUT V4 Profile
The purpose of the curve is to turn a negative image into a 'positive' one with RGB values linear to the original luminance values. The way to accomplish this is by correcting for the gray scale patches on a reflective IT8 target. Using the digital camera setup described in the document above we can estimate that the R channel should have gamma of -2 and G channel should have gamma of -1.33 and B channel of gamma -1.42 for example. These values are greatly dependent on the film, light, camera and filter combination.
The cLUT or matrix is to map the resultant linerized RGB values into XYZ values. cLUT usually is more accurate but could cause clipping and hence not ideal for photo editting. Matrix is much less accurate but is more robust for editting.
The matrix in the third profile includes a crosstalk correction matrix to account for crosstalk between RGB channels of the digital sensor, the curves and the cLUT. The matrix is an invariant of CFA sensor and triband filter (optional with tricolor light source). However this V4 profile uses a MPET pipeline that is not compatible with many image editors and is there for completeness only.
The process of using the profiles should be:
- Use a RAW developer (e.g. neg_process included or dcraw) to output a linear image.
- Apply crosstalk correction matrix computed. Use neg_process can do this in step (1) or use ImageMagick separately.
- Add (but not convert using) the cLUT or matric ICC profile to image from step 2.
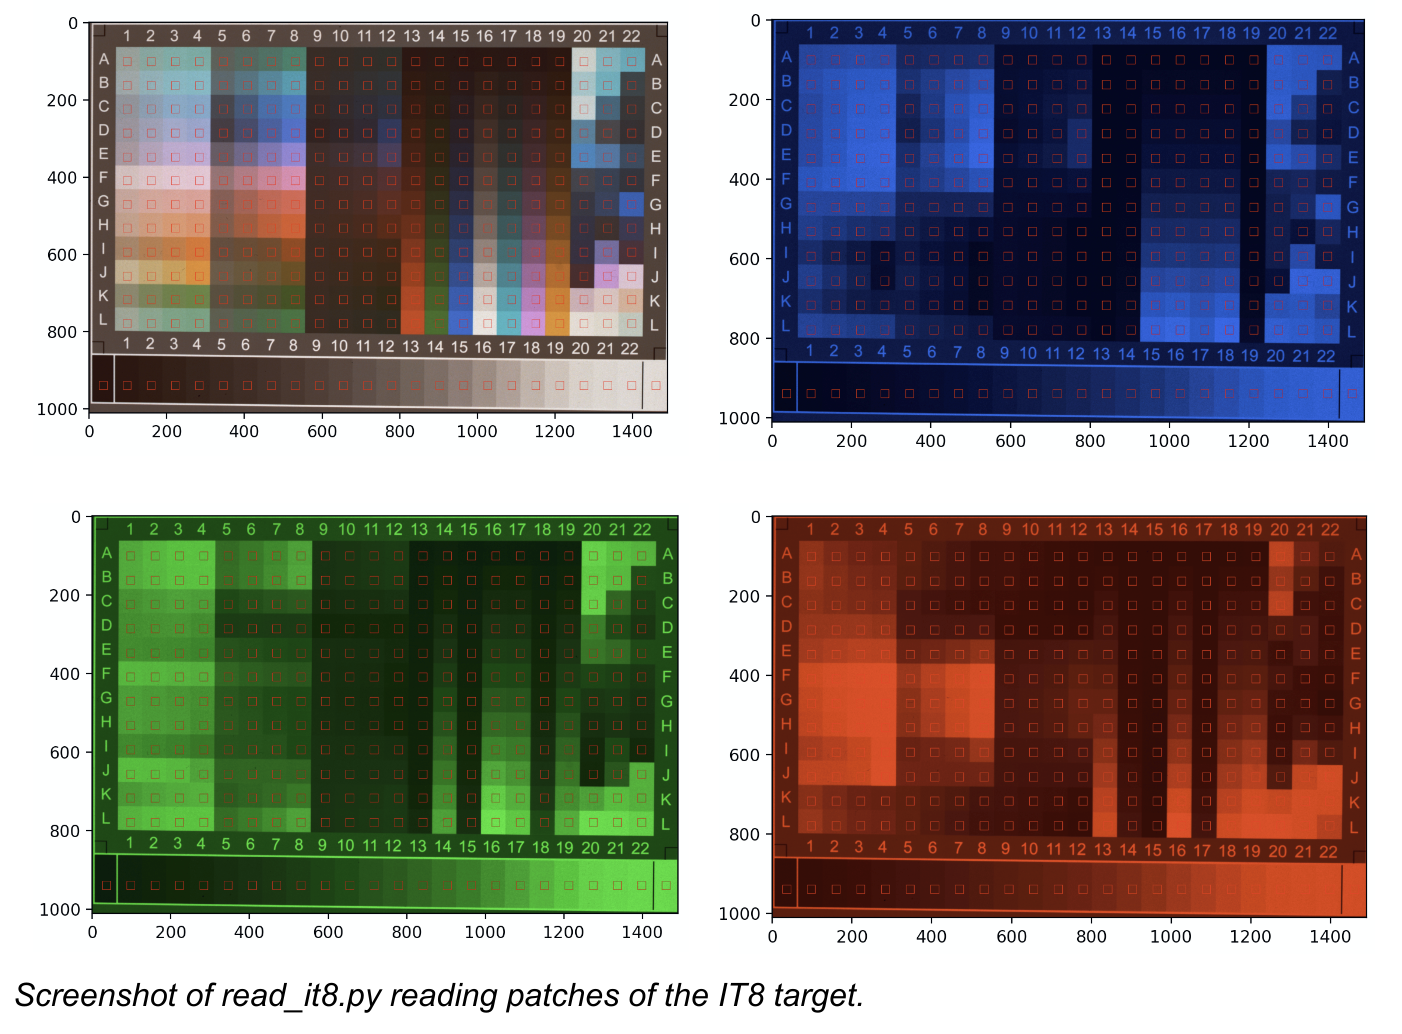
Included in this repo is data files from Ektar100 film exposed with a IT8 target under 5400K sunlight and scanned using a Sony A7RM4 digital camera with a Edmund Optics #87-254 triband filter. The crosstalk correction matrix is estimated by additionally scanning with red, blue and green bandpass filters.
The IT8 target is measured using a Konica Minolta CS100A spot colorimeter and the readings are also included in this repo.
The RGB curves are estimated using a Pchip spline curve interpolation. And the resultant crosstalk corrected and 'positive' values are then fed into ArgyllCMS to compute the cLUT and color matrix. The avg error is about 0.87 and 7.2 (over 100) respectively.
- Python 3
- PIP
- ArgyllCMS
- libRAW
- lcms2
sudo apt-get install python3 pip argyll liblcms2-dev libraw-dev
- Python packages
pip install opencv-python matplotlib colour-science pandas scikit-learn scipy
- IT8 target (R190808 from coloraid.de)
- Edmund Optics #87-254
- Bandpass filters: MidOpt BP470, BP525 and LP610
- Fiet 74204/CA led light panel
- Edmund Optics #87-254
- Nikon Z7
- Rayfact QVM05041MF
- Olafus 25W RGB Flood Light
- Edmund Optics #87-254
- Sony A7RM4
- Rayfact QVM05041MF
Run the following commands to RAW develop tools and ICC profiles.
# Make neg_process tool for RAW developing.
make neg_process

# Make profile for Sony A7RM4 with Portra 400
make sony_a7rm4_portra400_0

# Make profile for Sony A7RM4 with Portra 400 +2 stops exposure
make sony_a7rm4_portra400+2
neg_process tool uses LibRAW to unpack raw files. It can run in two modes, 4-shot pixel shift mode and single shot mode. The 4-shot pixel shift mode assumes taken with Sony camera with such capability and will not for other brands. In 4-shot pixel shift mode, the raw values are simply scaled by 4 to convert from 14-bit raw to 16-bit image after subtracting the dark value. In single shot mode, libRAW processing is used and scales automatically but without auto brightness. Either mode will give consistent results as long as you don't switch between the two modes.
Usage like this:
# Single shot mode. The output format is PPM.
bin_out/neg_process -o output_file.ppm input.raw

# 4-shot pixel shfit mode. The output format is TIFF without a ICC profile.
# If 4 input files are provided, it assumes 4-shot PS mode.
bin_out/neg_process -o out.tif -p some_profile.icc input1.raw input2.raw input3.raw input4.raw
Note that the profile is only good for the particular setup I used. You will need to develop your own IT8 target exposures, scan them with filters and run this again. The steps for generating the data files are in the Makefile.
The cLUT applied TIFF image can be editted with Capture One. The suggested workflow is to adjust only the levels using the Levels tool. This mimic adjusting the color filtration in making darkroom prints assuming we already have good color separation. You can also do exposure adjustments as well. After the image is color balanced, it should be exported to AdobeRGB and imported again for further editting.
Please see the code in build_prof.py and make_icc.c for more algorithms and details.


