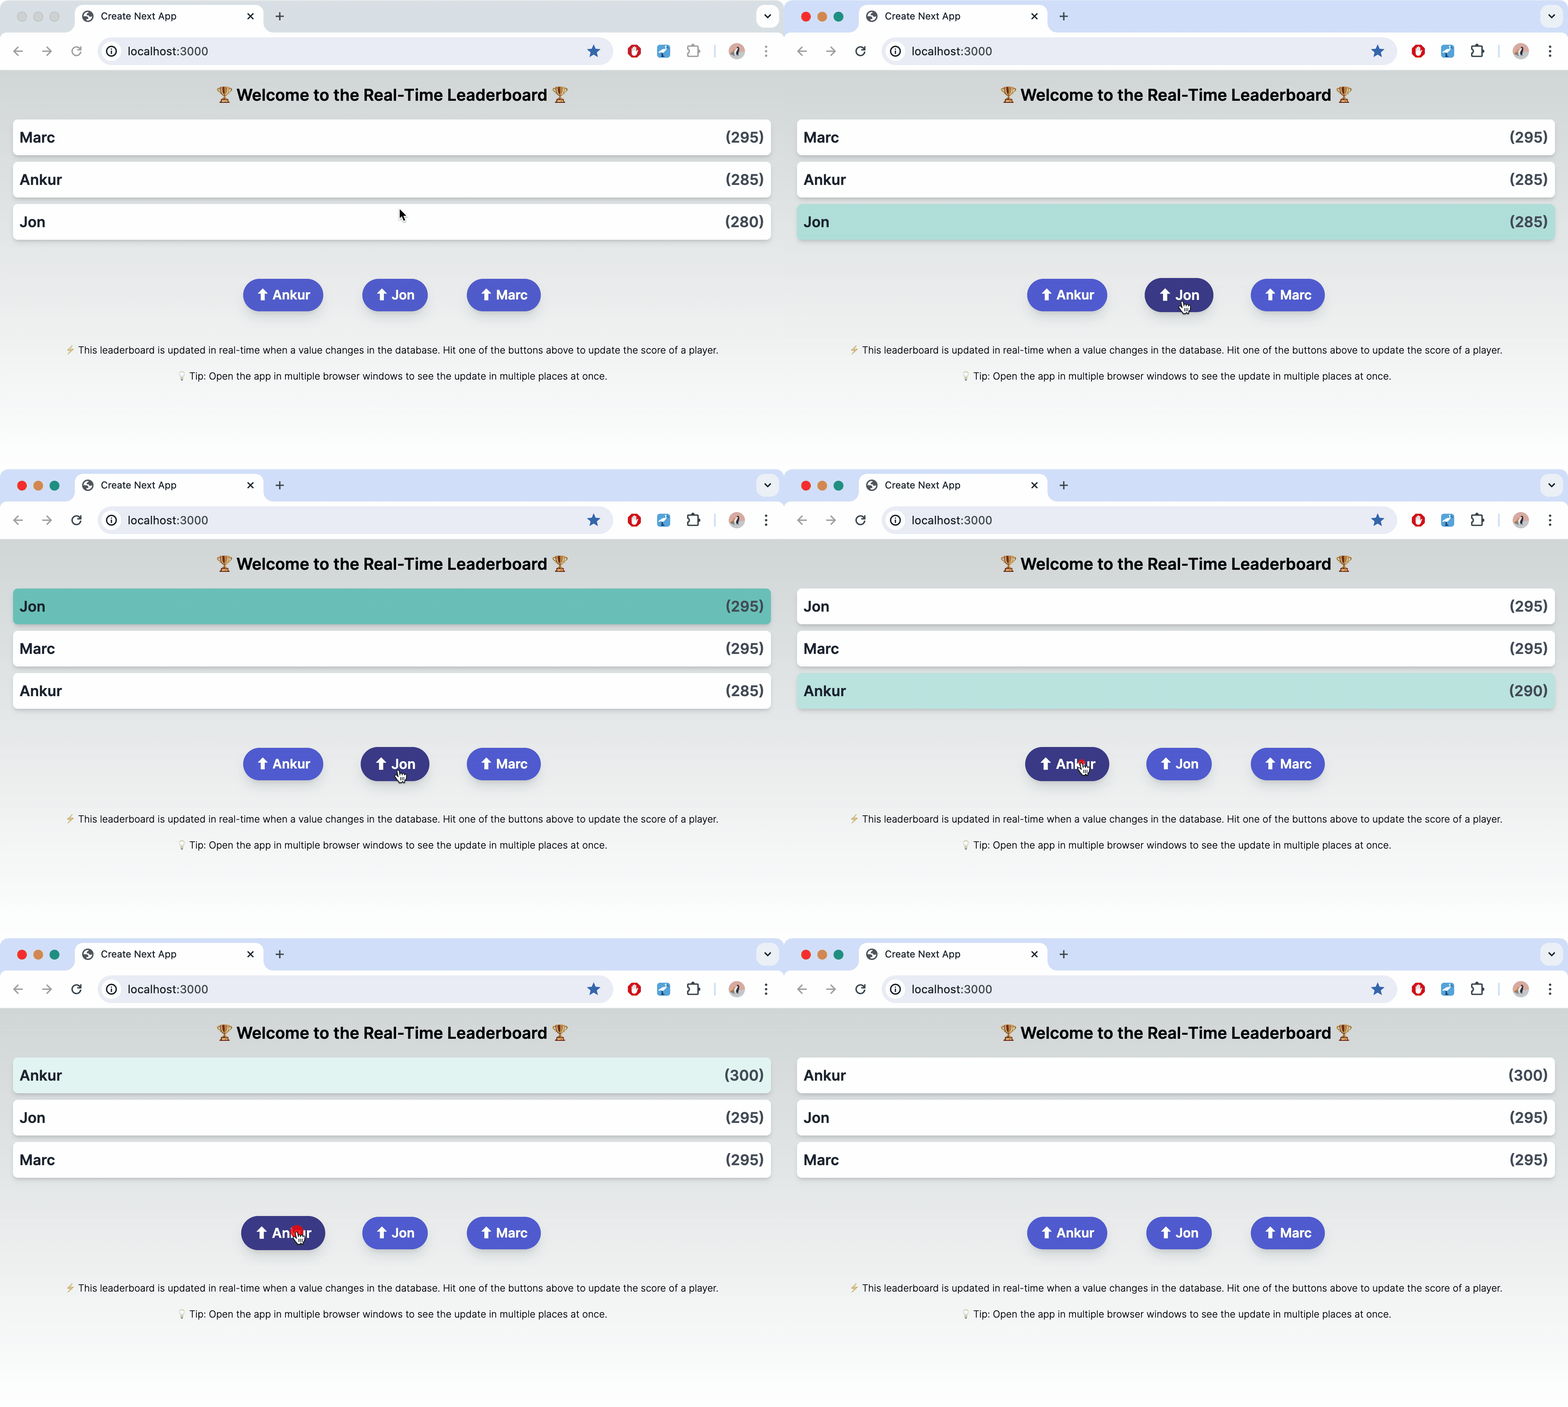
This repository contains an example app that uses Prisma Pulse in a fullstack application to display and update a real-time leaderboard:
- Next.js (frontend) with a custom server (backend)
- React Flip Move for animating React components
- socket.io for the websocket connection between client and server
- Prisma Pulse to get real-time updates from the database
- PostgreSQL as the database
Note: The custom server is required because Pulse requires a long-running connection to the database. As an alternative to the custom server included in this app, you can also build your own server using a library/framework like Express, Fastify or NestJS.
To successfully run the project, you will need the following:
- The connection string of a Pulse-ready database (if you don't have one yet, you can configure your database following the instructions in our docs or use a Railway template)
- A Pulse API key which you can get by enabling Pulse in a project in your Prisma Data Platform account (learn more in the docs)
- A Resend API Key which you can get from your Resend account
Clone the repository, navigate into it and install dependencies:
git clone git@github.com:prisma/prisma-examples.git --depth=1
cd prisma-examples/pulse/leaderboard
npm install
Create a .env in the root of the project directory:
touch .envNow, open the .env file and update the DATABASE_URL and PULSE_API_KEY environment variables with the values of your connection string, your Pulse and Resend API keys:
# .env
DATABASE_URL="__YOUR_DATABASE_CONNECTION_STRING__"
PULSE_API_KEY="__YOUR_PULSE_API_KEY__"
RESEND_API_KEY="__YOUR_RESEND_API_KEY__"
Note that __YOUR_DATABASE_CONNECTION_STRING__, __YOUR_PULSE_API_KEY__ and __YOUR_RESEND_API_KEY__ are placeholder values that you need to replace with the values of your own connection string, your Pulse and Resend API keys.
The Prisma schema file in this project contains a single Player model. You can map this model to the database and create the corresponding Player table using the following command:
npx prisma migrate dev --name init
You now have a table called Player in your database. Because this is the initial migration, the Prisma CLI also invoked the seed script and created three Player records in the database.
Start the long-running server that subscribes to changes in the database:
npm run server
The server will accept WebSocket connections at http://localhost:3001.
Next, run the Next.js app:
npm run dev
You can open the app at http://localhost:3000.
Every new tab/window you open in your browser and point to that URL will instantiate its own WebSocket connection to the long-running server.
Click on the buttons at the bottom to increase the score of a player and see how the leaderboard updates in real-time.
Because the app requires a custom server to enable the WebSocket connections, you need to deploy the frontend and the backend separately.
In the following, you find instructions to deploy the app via Railway. In order to deploy successfully, you need:
- a Railway account
- the Railway CLI installed on your machine
Create a new
