Method to convert .ova files to .qcow2 files that can be used with UTM on Apple Silicon chips.
brew install qemu
wget https://raw.githubusercontent.com/nikon-63/Virtualbox-UTM/main/autoConversion.sh
Copy the autoConversion.sh file to the directory that contains the .ova file. Note: Please ensure that the directory contains only one .ova file.
Make file executable
chmod +x autoConversion.sh
wget https://raw.githubusercontent.com/nikon-63/Virtualbox-UTM/main/autoConversion.sh
Run script
./autoConversion.sh
Extract .ova file
tar -xvf <.ova File>
Convert to .qcow2
qemu-img convert -O qcow2 <Generated vmdk file> <qcow2 Output File>
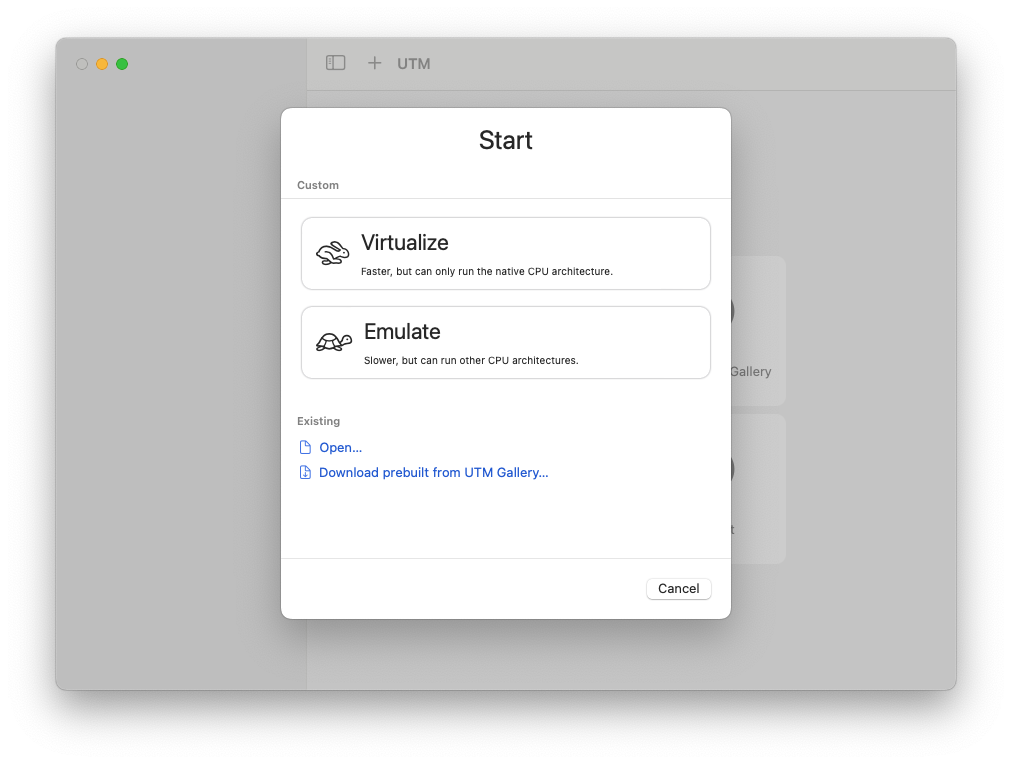
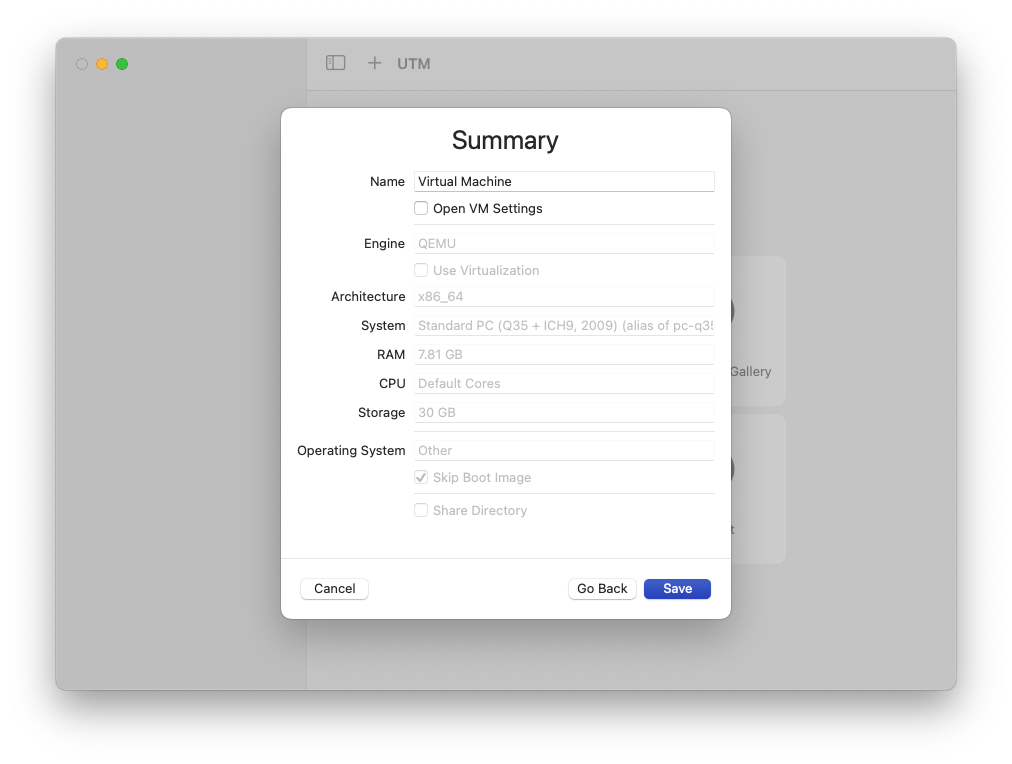
- Create a new virtual machine and select emulate.
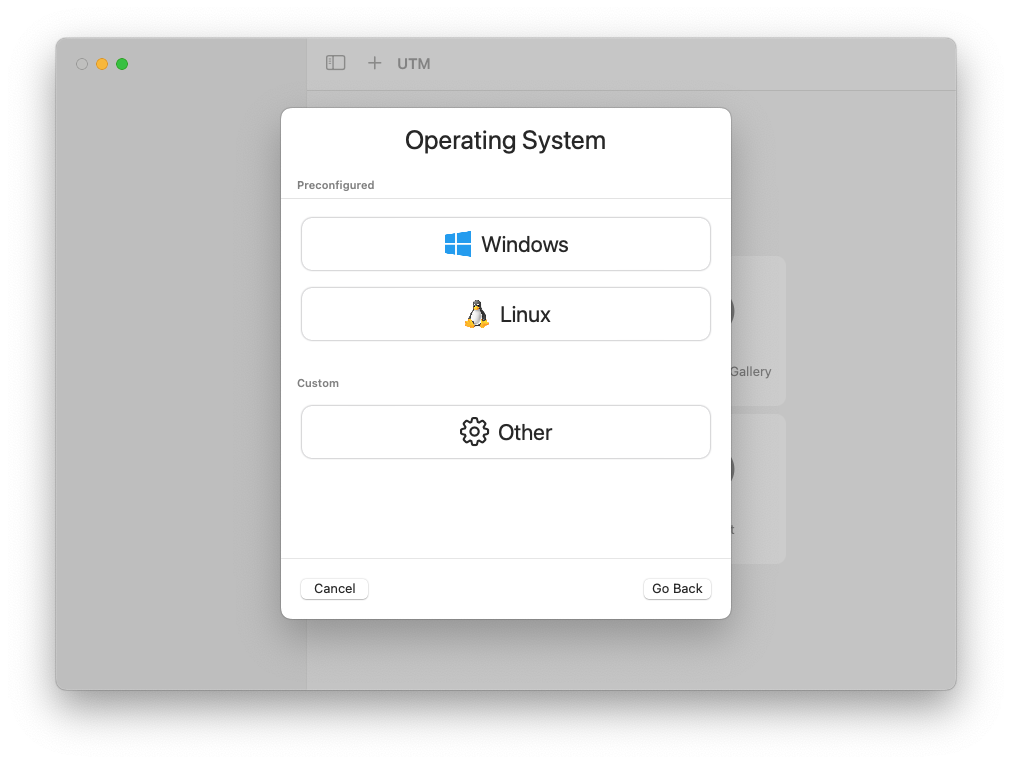
- Select “Other”.
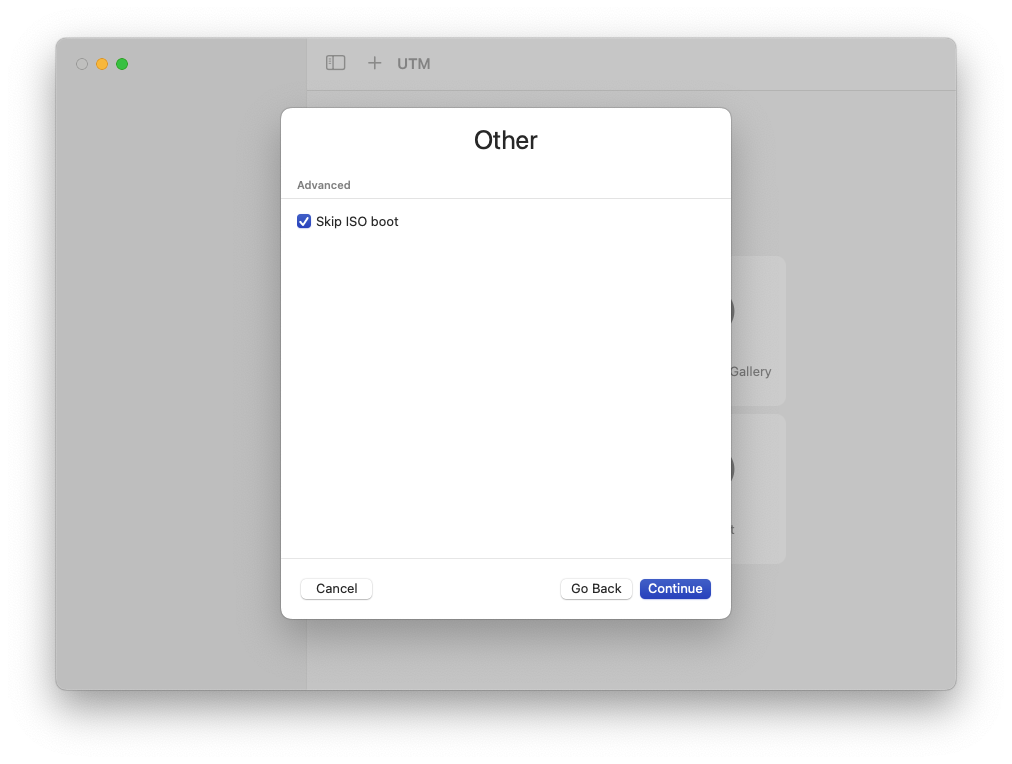
- Check “Skip ISO boot”.
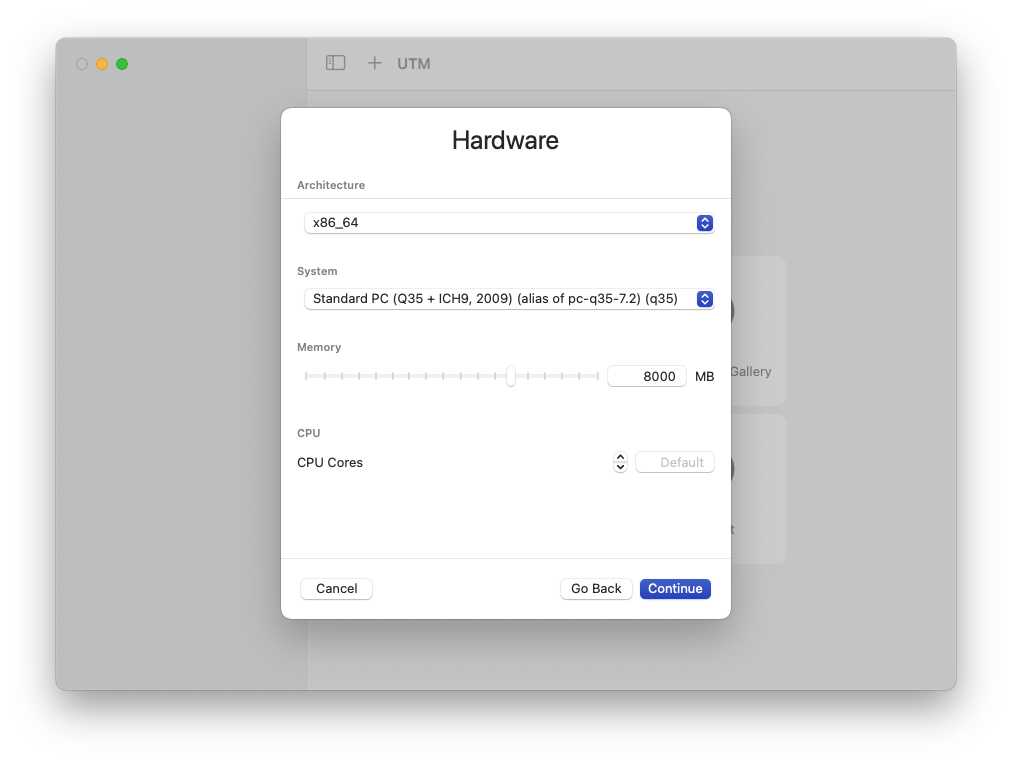
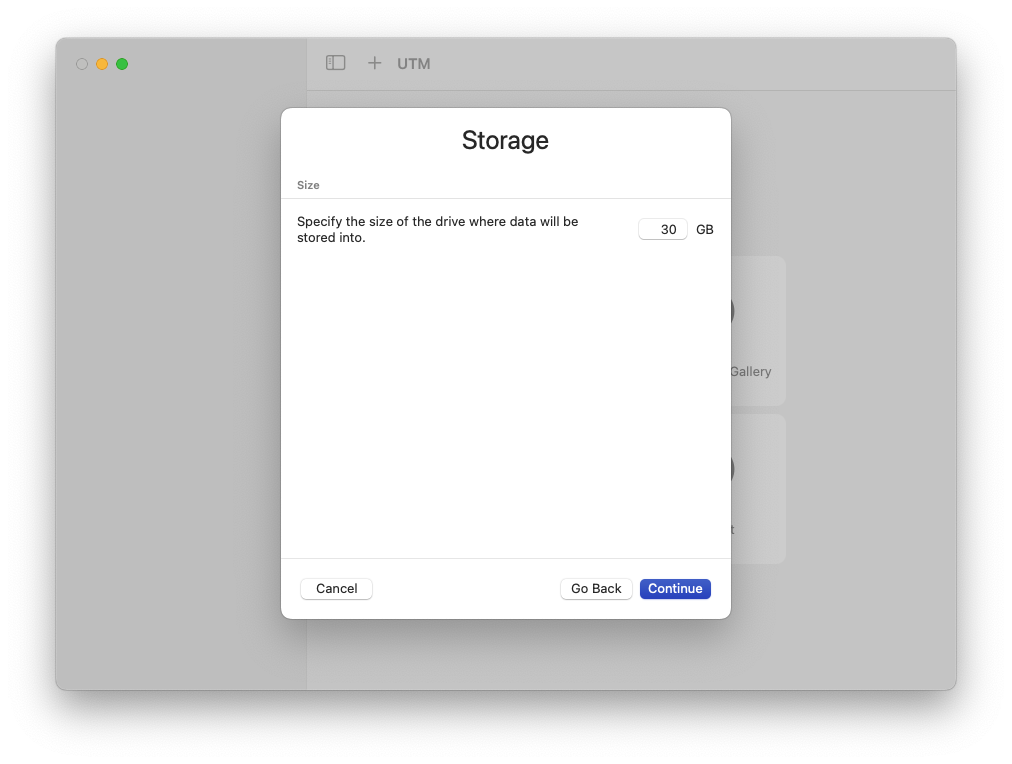
- Configure hardware settings.
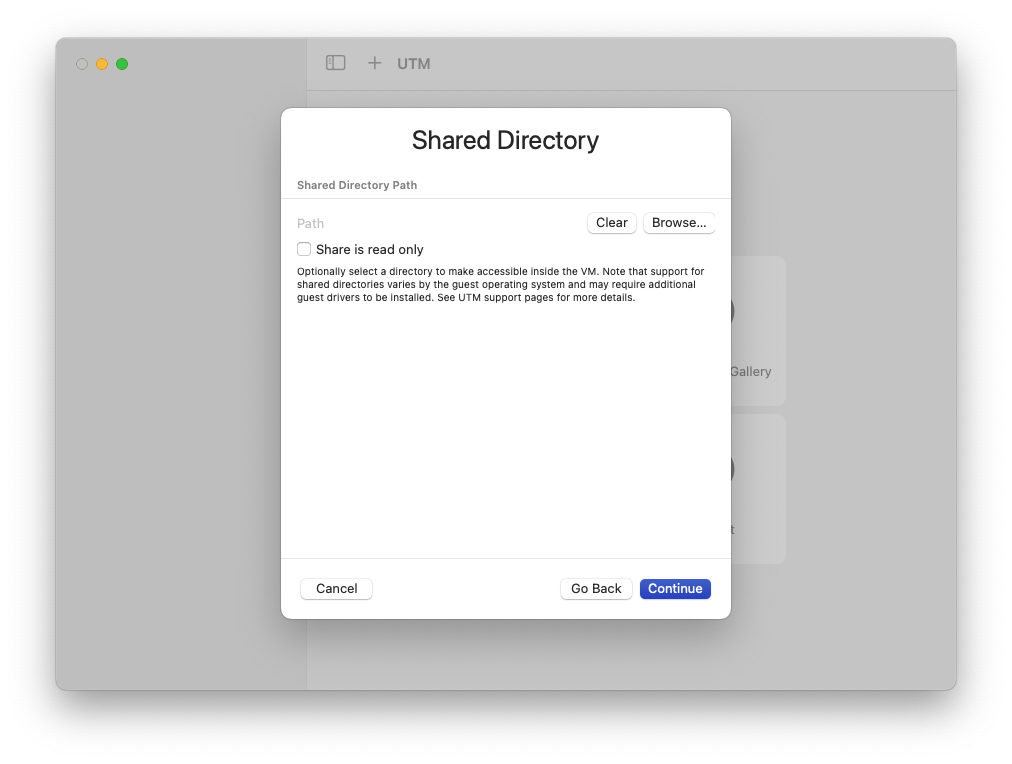
- Set up a shared directory if required.
- Select "Save".
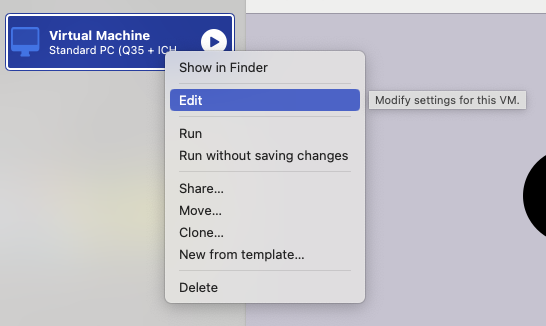
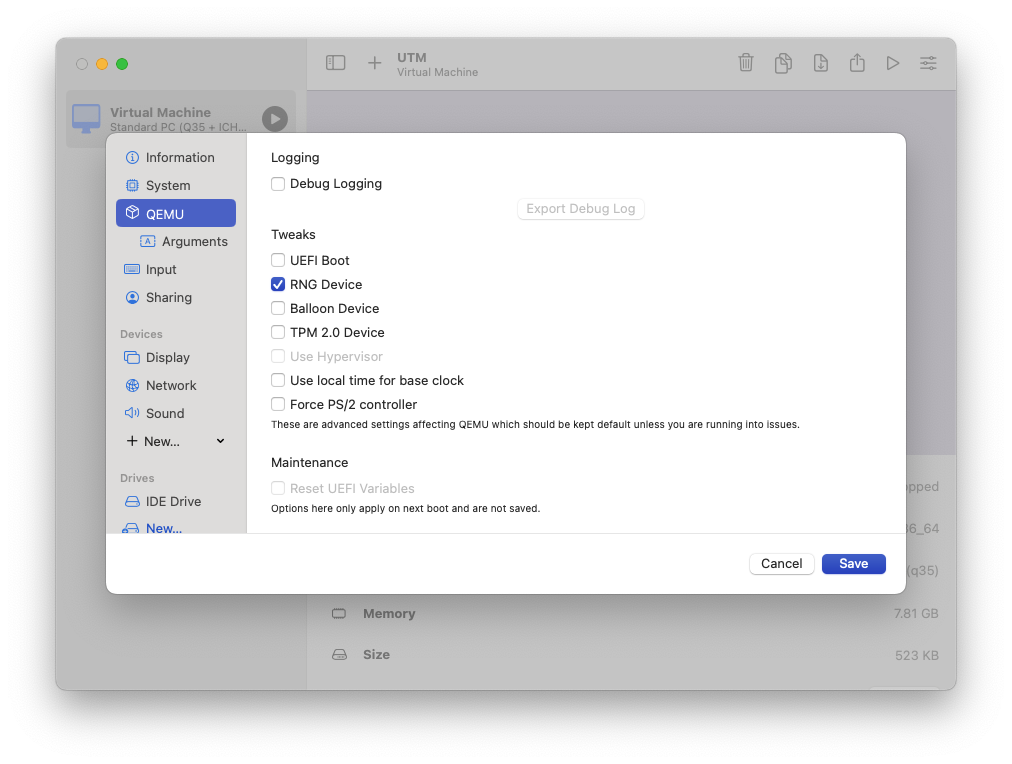
- Enter VM settings.
- Uncheck "UEFI Boot"
- Create a new drive. Select "Import" and then select your .qcow2 file.
Note: Make sure the "size" is set to the same as the .qcow2 file.

- Move up the new IDE Drive to the top.

- Save and then Boot up your virtual machine


