YOLOSHOW is a graphical user interface (GUI) application embed withYOLOv5 YOLOv7 YOLOv8 YOLOv9 RT-DETR algorithm.
English | 简体中文
YOLOSHOW v1.x : YOLOSHOW-YOLOv9/YOLOv8/YOLOv7/YOLOv5/RTDETR GUI
YOLOSHOW v2.x : YOLOSHOWv2.0-YOLOv9/YOLOv8/YOLOv7/YOLOv5/RTDETR GUI
-
Add
YOLOv9Algorithm -
Adjust User Interface (Menu Bar)
-
Complete Rtsp Function
-
Support Instance Segmentation (
YOLOv5&YOLOv8) -
Add
RT-DETRAlgorithm (Ultralyticsrepo) -
Add Model Comparison Mode(VS Mode)
-
Support Pose Estimation (
YOLOv5&YOLOv8)
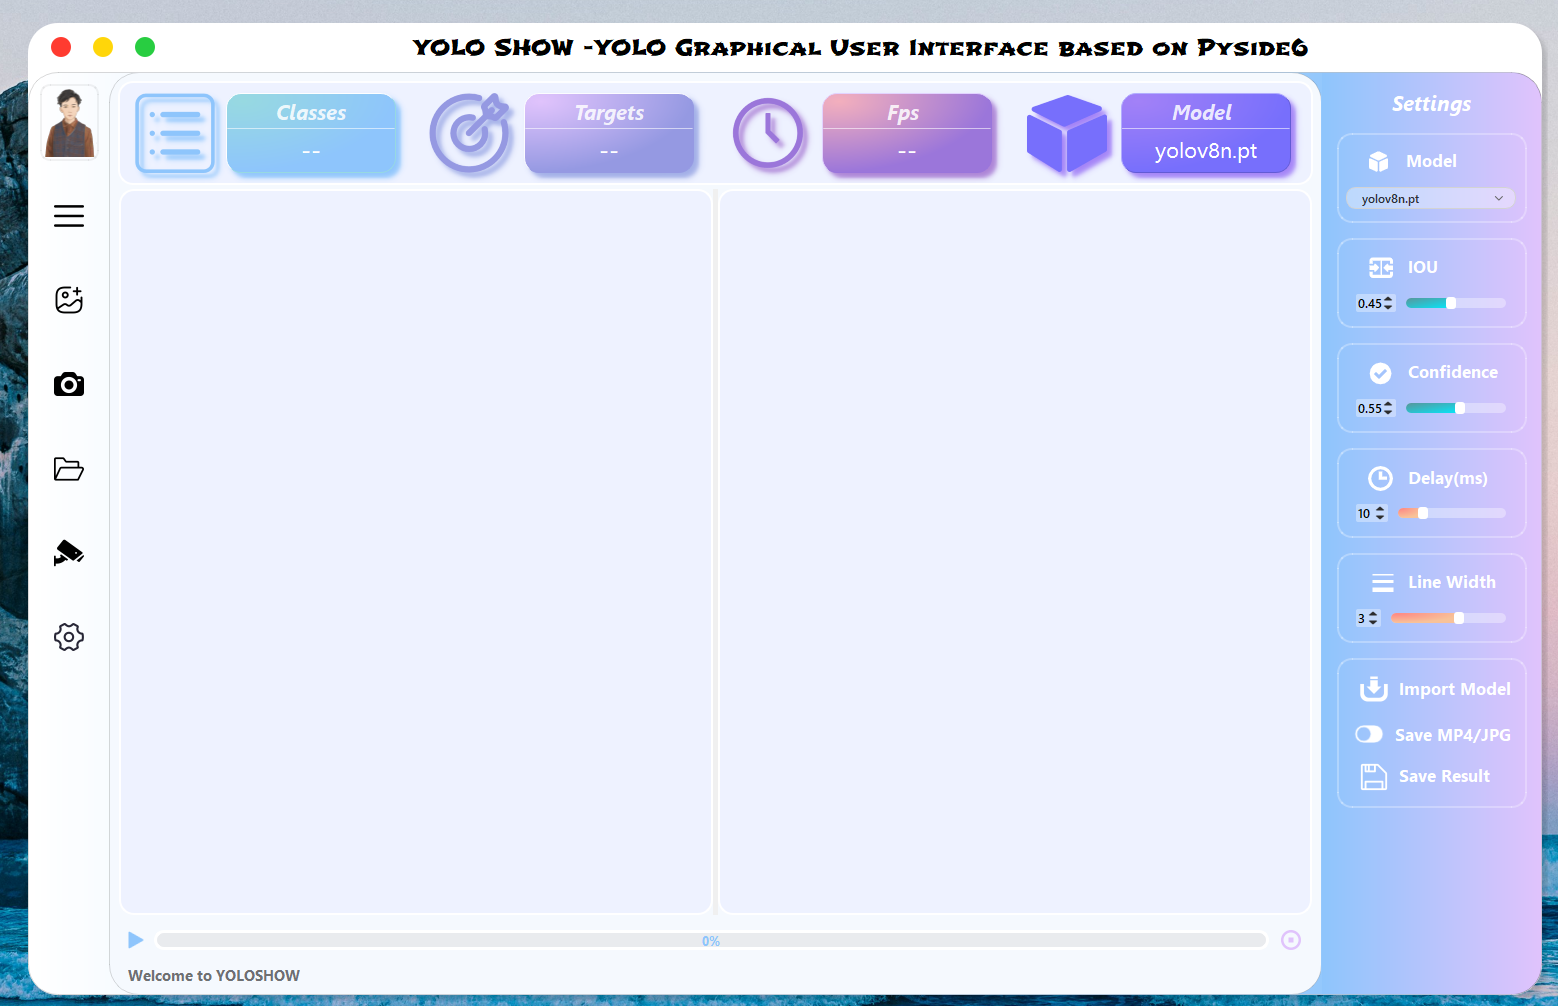
Choose Image / Video / Webcam / Folder (Batch ) in the menu bar on the left to detect objects.
When the program is running to detect targets, you can change models / hyper Parameters
- Support changing model in
YOLOv5/YOLOv7/YOLOv8/YOLOv9/RTDETR/YOLOv5-seg/YOLOv8-segdynamically - Support changing
IOU/Confidence/Delay time/line thicknessdynamically
Our program will automatically detect pt files including YOLOv5 Models / YOLOv7 Models / YOLOv8 Models / YOLOv9 Models that were previously added to the ptfiles folder.
If you need add the new pt file, please click Import Model button in Settings box to select your pt file. Then our program will put it into ptfiles folder.
Notice :
- All
ptfiles are named includingyolov5/yolov7/yolov8/yolov9/rtdetr. (e.g.yolov8-test.pt) - If it is a
ptfile of segmentation mode, please name it includingyolov5n-seg/yolov8s-seg. (e.g.yolov8n-seg-test.pt)
- After startup, the program will automatically loading the last configure parameters.
- After closedown, the program will save the changed configure parameters.
If you need Save results, please click Save MP4/JPG before detection. Then you can save your detection results in selected path.
From YOLOSHOW v1.2 ,our work supports both Object Detection and Instance Segmentation. Meanwhile, it also supports task switching between different versions,such as switching from YOLOv5 Object Detection task to YOLOv8 instance task.
From YOLOSHOW v2.0 ,our work supports compare model performance both Object Detection and Instance Segmentation.
OS : Windows 11
CPU : Intel(R) Core(TM) i7-10750H CPU @2.60GHz 2.59 GHz
GPU : NVIDIA GeForce GTX 1660Ti 6GBcreate a virtual environment equipped with python version 3.9, then activate environment.
conda create -n yoloshow python=3.9
conda activate yoloshowWindows: pip3 install torch torchvision torchaudio --index-url https://download.pytorch.org/whl/cu118
Linux: pip3 install torch torchvision torchaudio --index-url https://download.pytorch.org/whl/cu118Change other pytorch version in
Switch the path to the location of the program
cd {the location of the program}Install dependency package of program
pip install -r requirements.txt -i https://pypi.tuna.tsinghua.edu.cn/simple
pip install "PySide6-Fluent-Widgets[full]" -i https://pypi.tuna.tsinghua.edu.cn/simple
pip install -U Pyside6 -i https://pypi.tuna.tsinghua.edu.cn/simpleCopy all font files *.ttf in fonts folder into C:\Windows\Fonts
python main.py