A e-Health service software application
-
Introduction - the project's goal
-
Launch
-
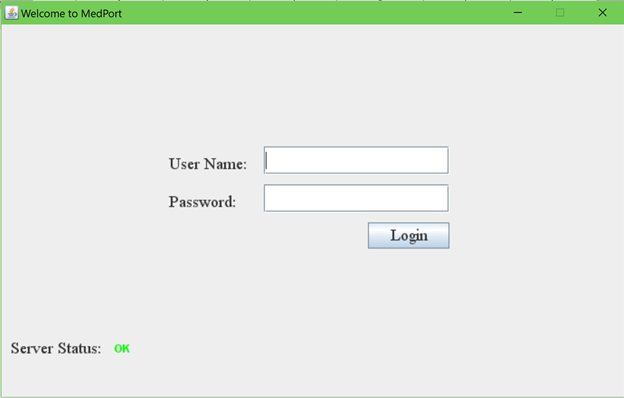
Screen shot of the program running
MedPort is a software application that serves as a hospital management system, designed to store and organize patient information within a secure database that allows users to easily manage the status and welfare of medical patients within any medical institution.
The software will have the facility to give a unique ID for search on every patient and staff and stores the details in a database.
- Downloading and installing git repository as local instance
- Downloading and installing packages/dependencies for running a java program
- Downloading and installing database management tools
Run the following commands in PowerShell or command prompt
1. cd ~
2. cd Documents
3. git clone https://github.com/nkforever/JavaDevOperation
Run the following commands in terminal
1. cd ~
2. cd Documents
3. git clone https://github.com/nkforever/JavaDevOperationRequired Software
Steps to setting up environment
- Open eclipse
- Set your workspace to the Folder of JavaDevOperation.
For example, if you git cloned in Documents then input the line below in the workspace input.
Documents\JavaDevOperation - In eclipse, go to File option and select Import
- Double click on General
- Exisiting Projects into Workspace. Then click next button
- Under root directory select the browse button
- Click on the Medport Folder and then open
- After opening the project, right click the project description and then click on 'Build Path'->'Configure Build Path'
- Under the ‘Libraries’ tab, click on the red marked library which is showing an error and then click on remove button
- Click ‘Apply and Close’. Make sure that the user library that you just created is checked.
- Click ‘Finish’.
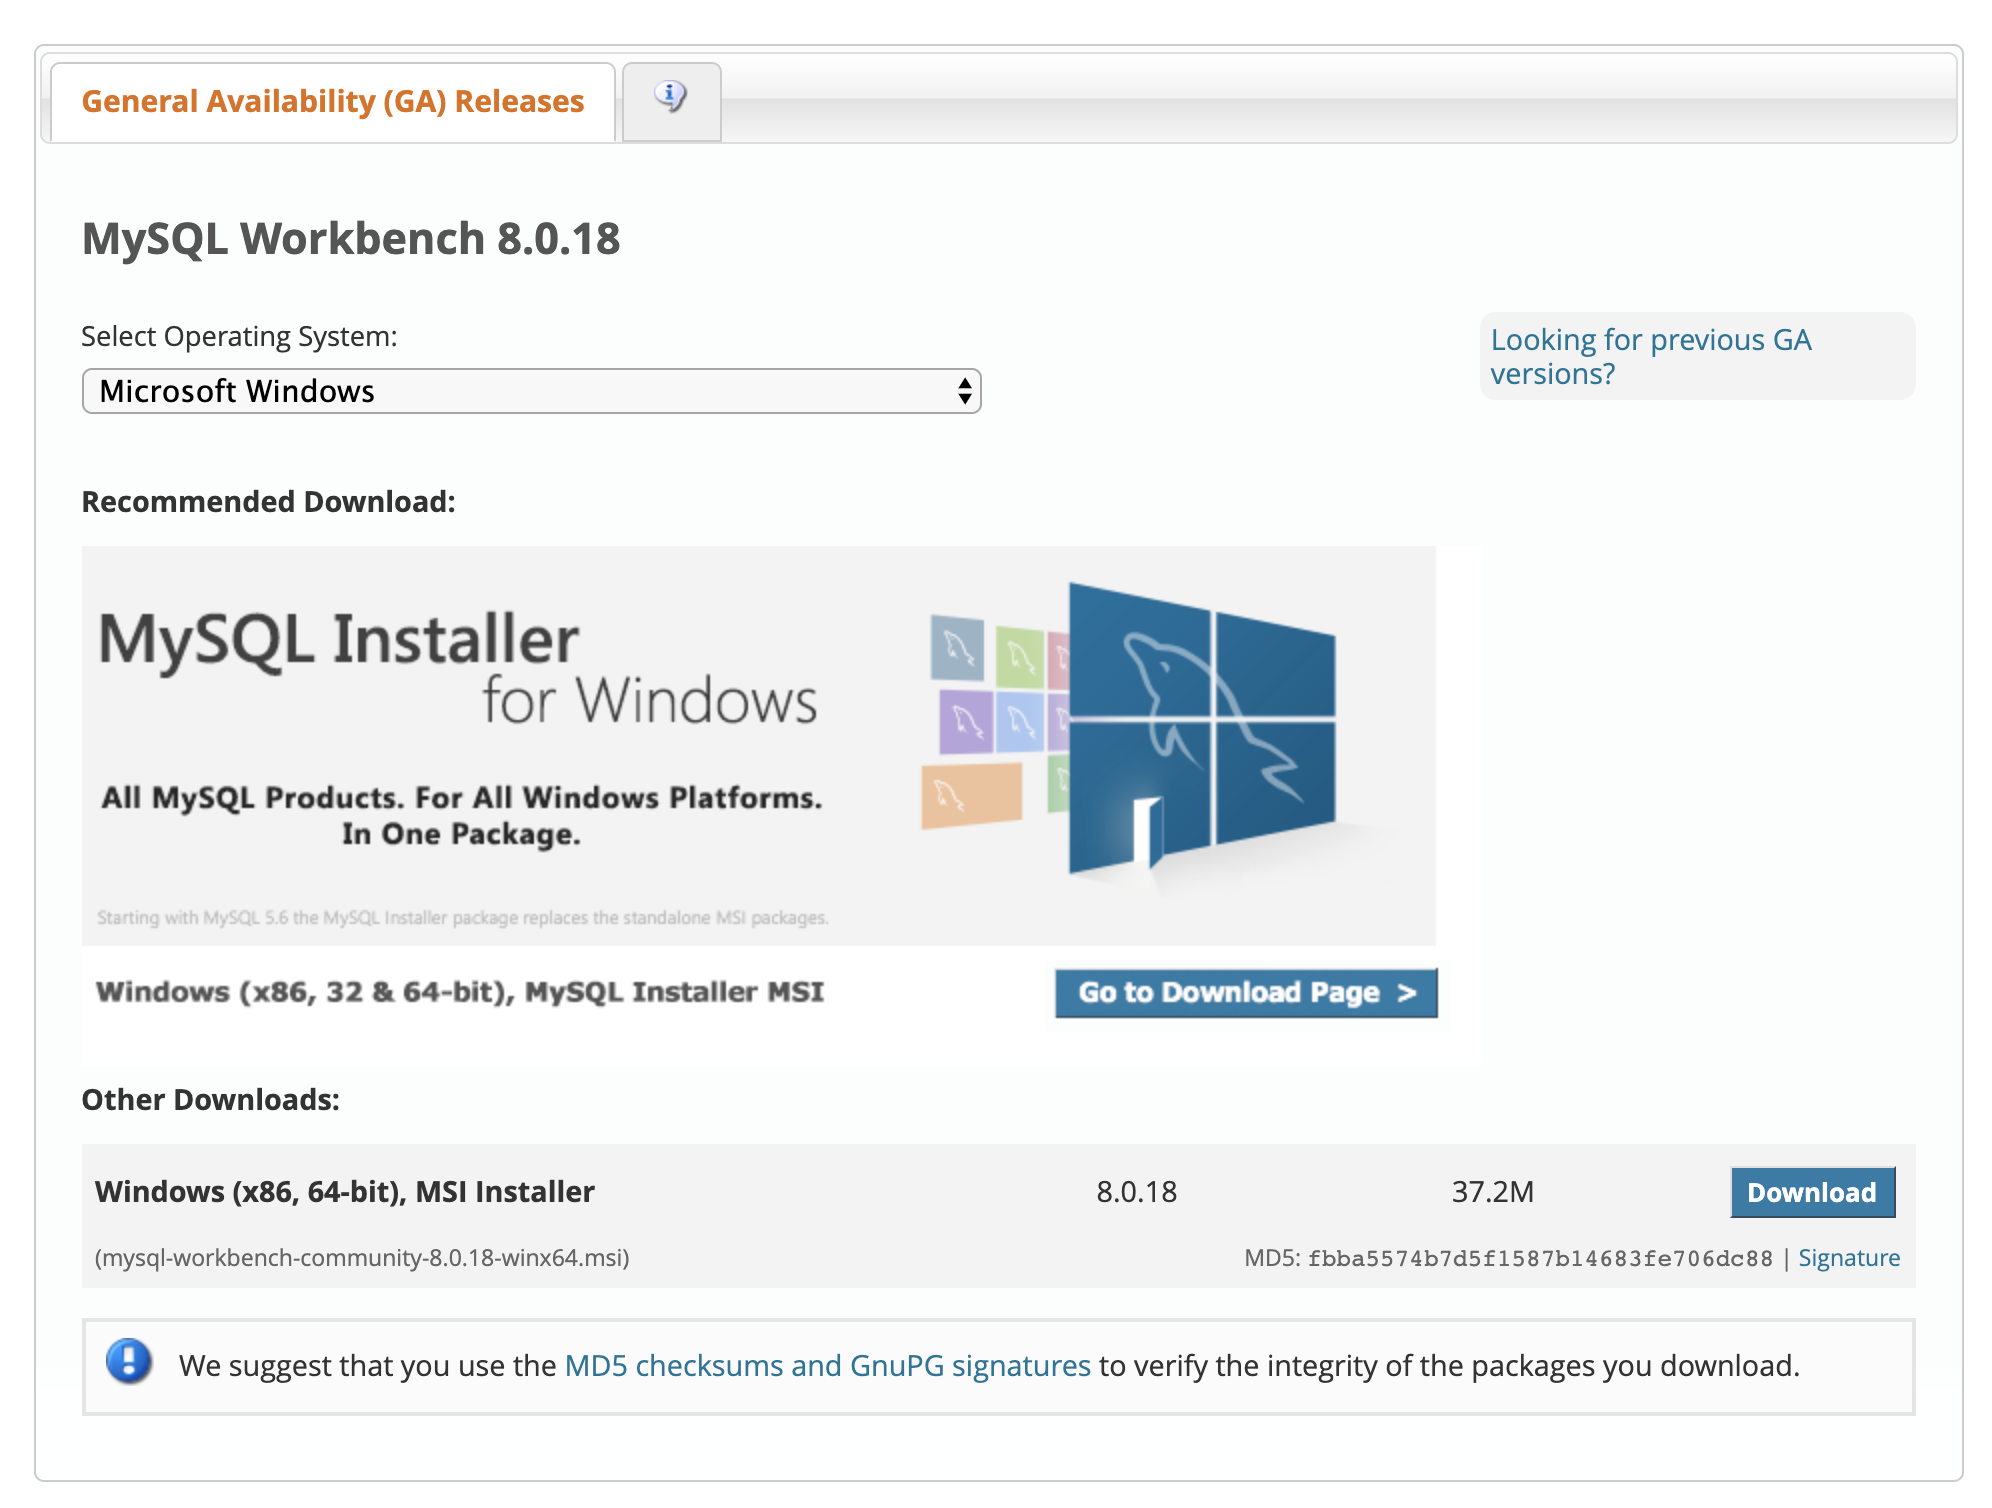
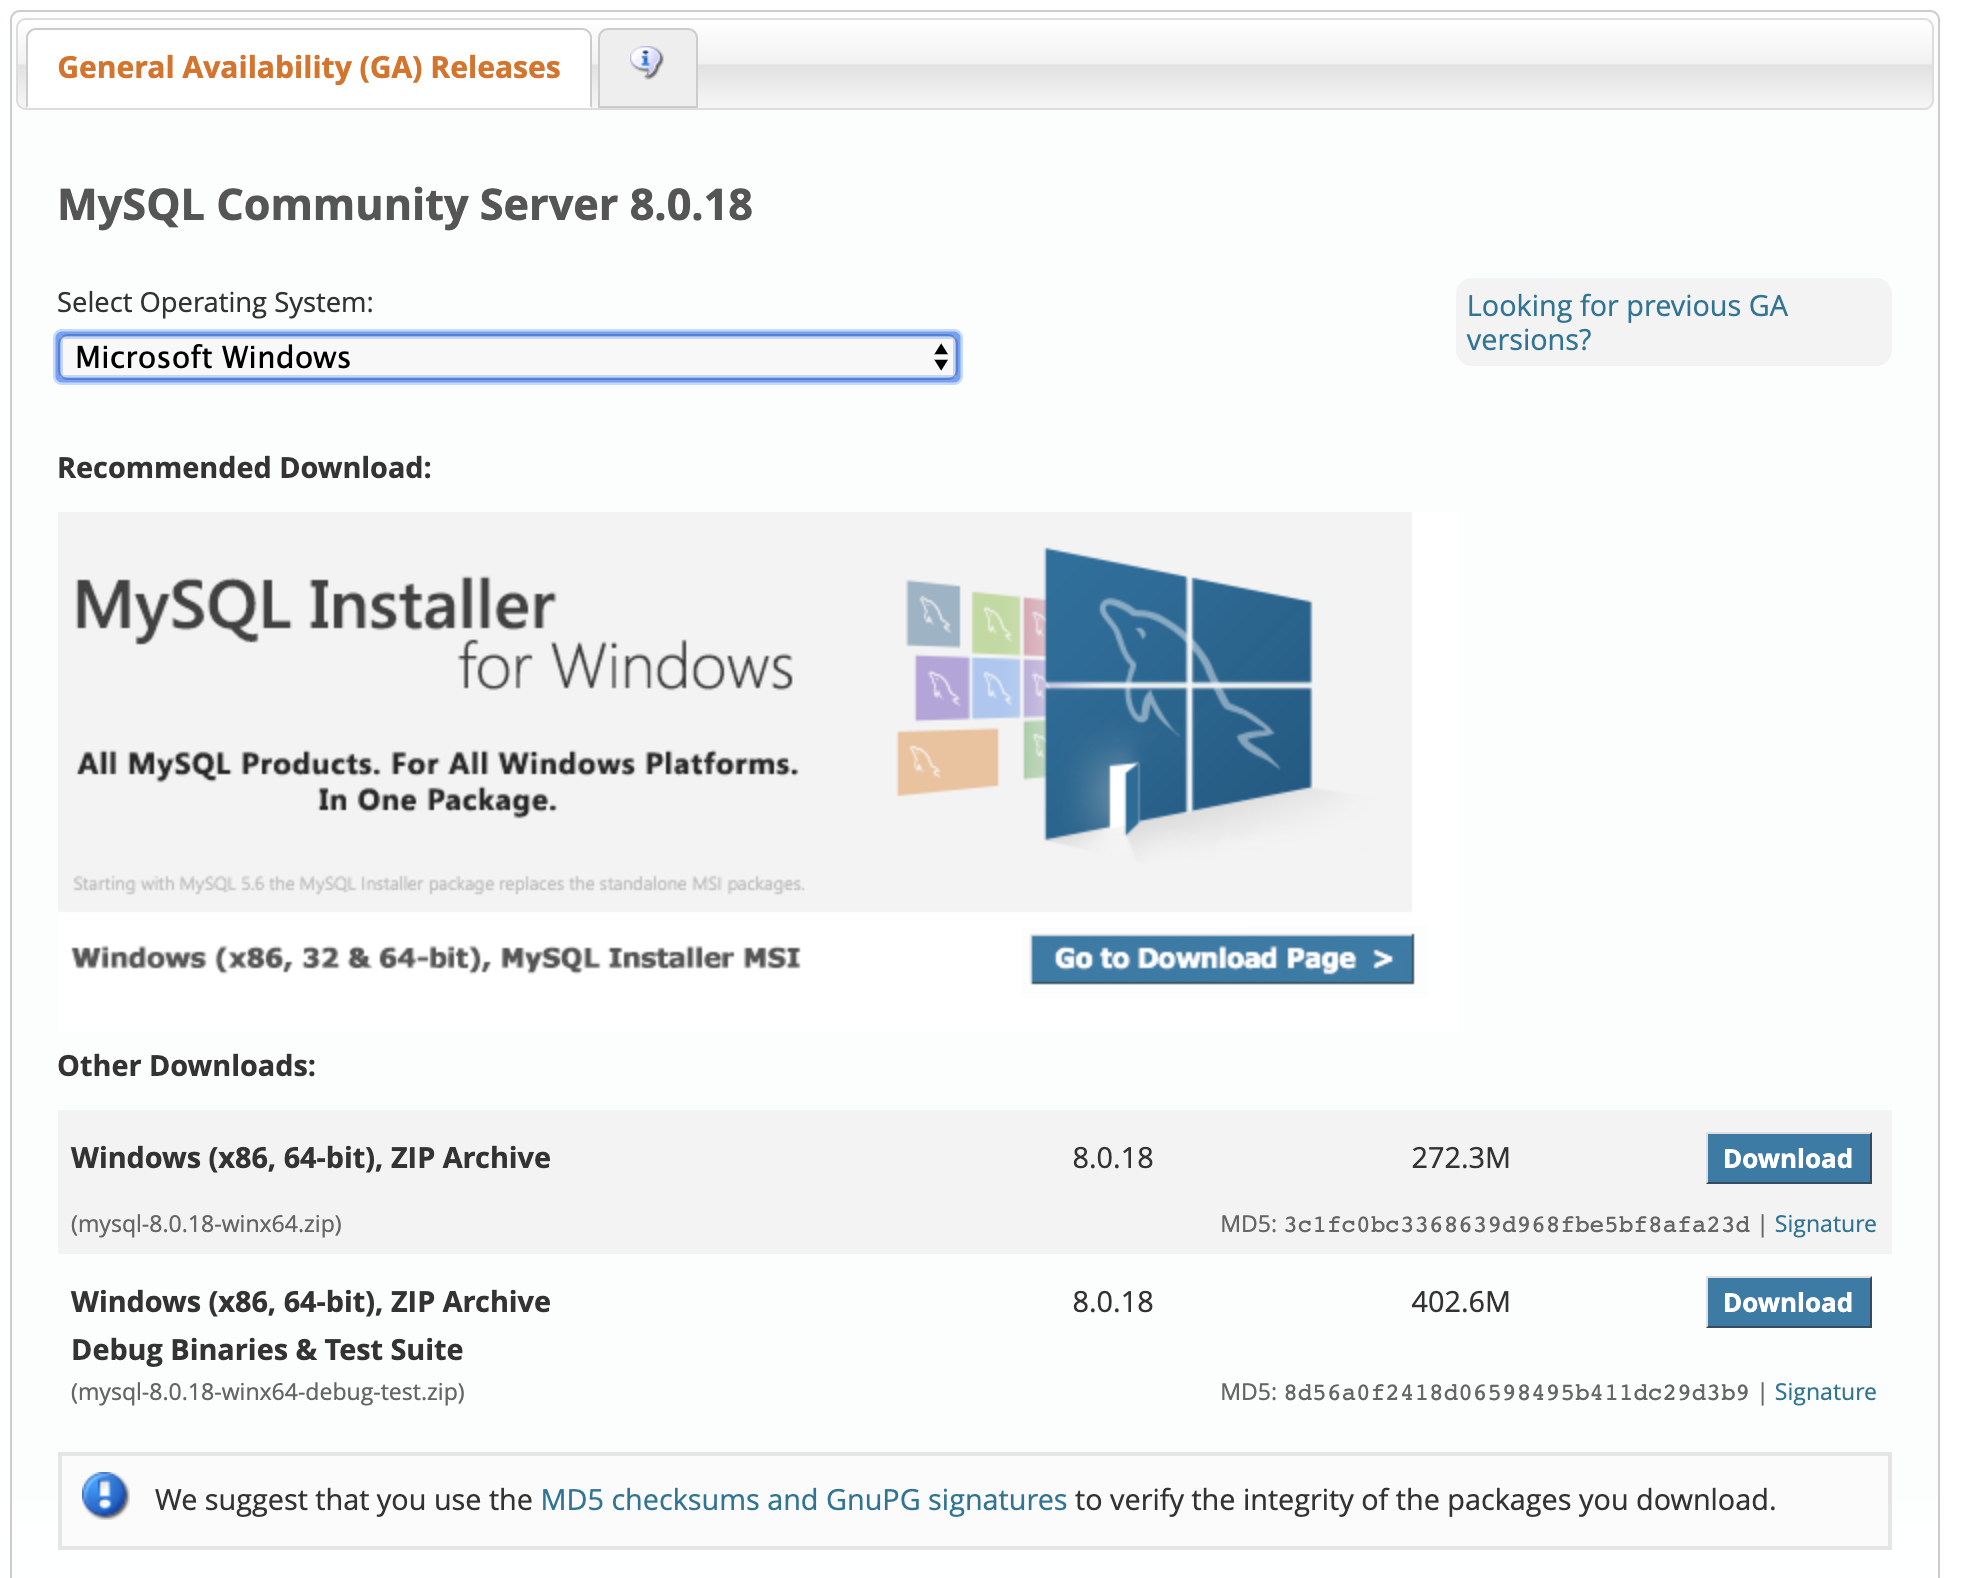
Required Software for windows operating system
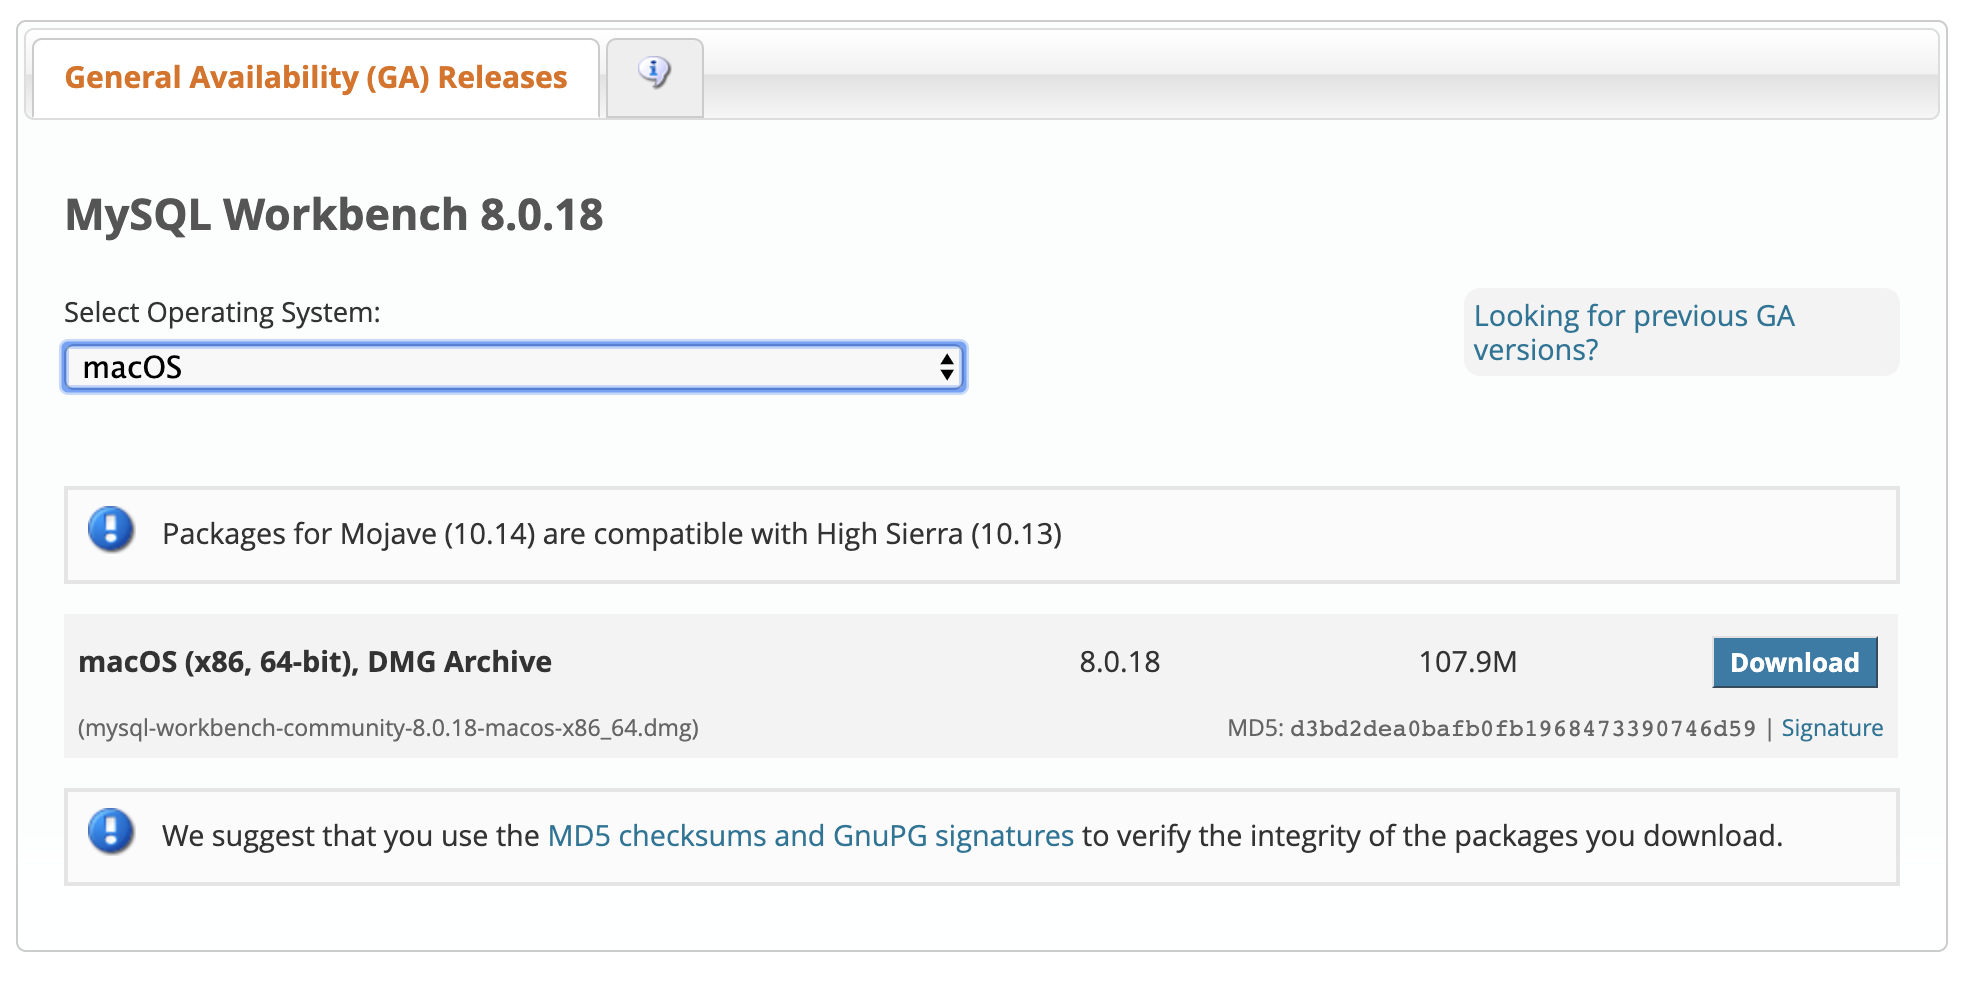
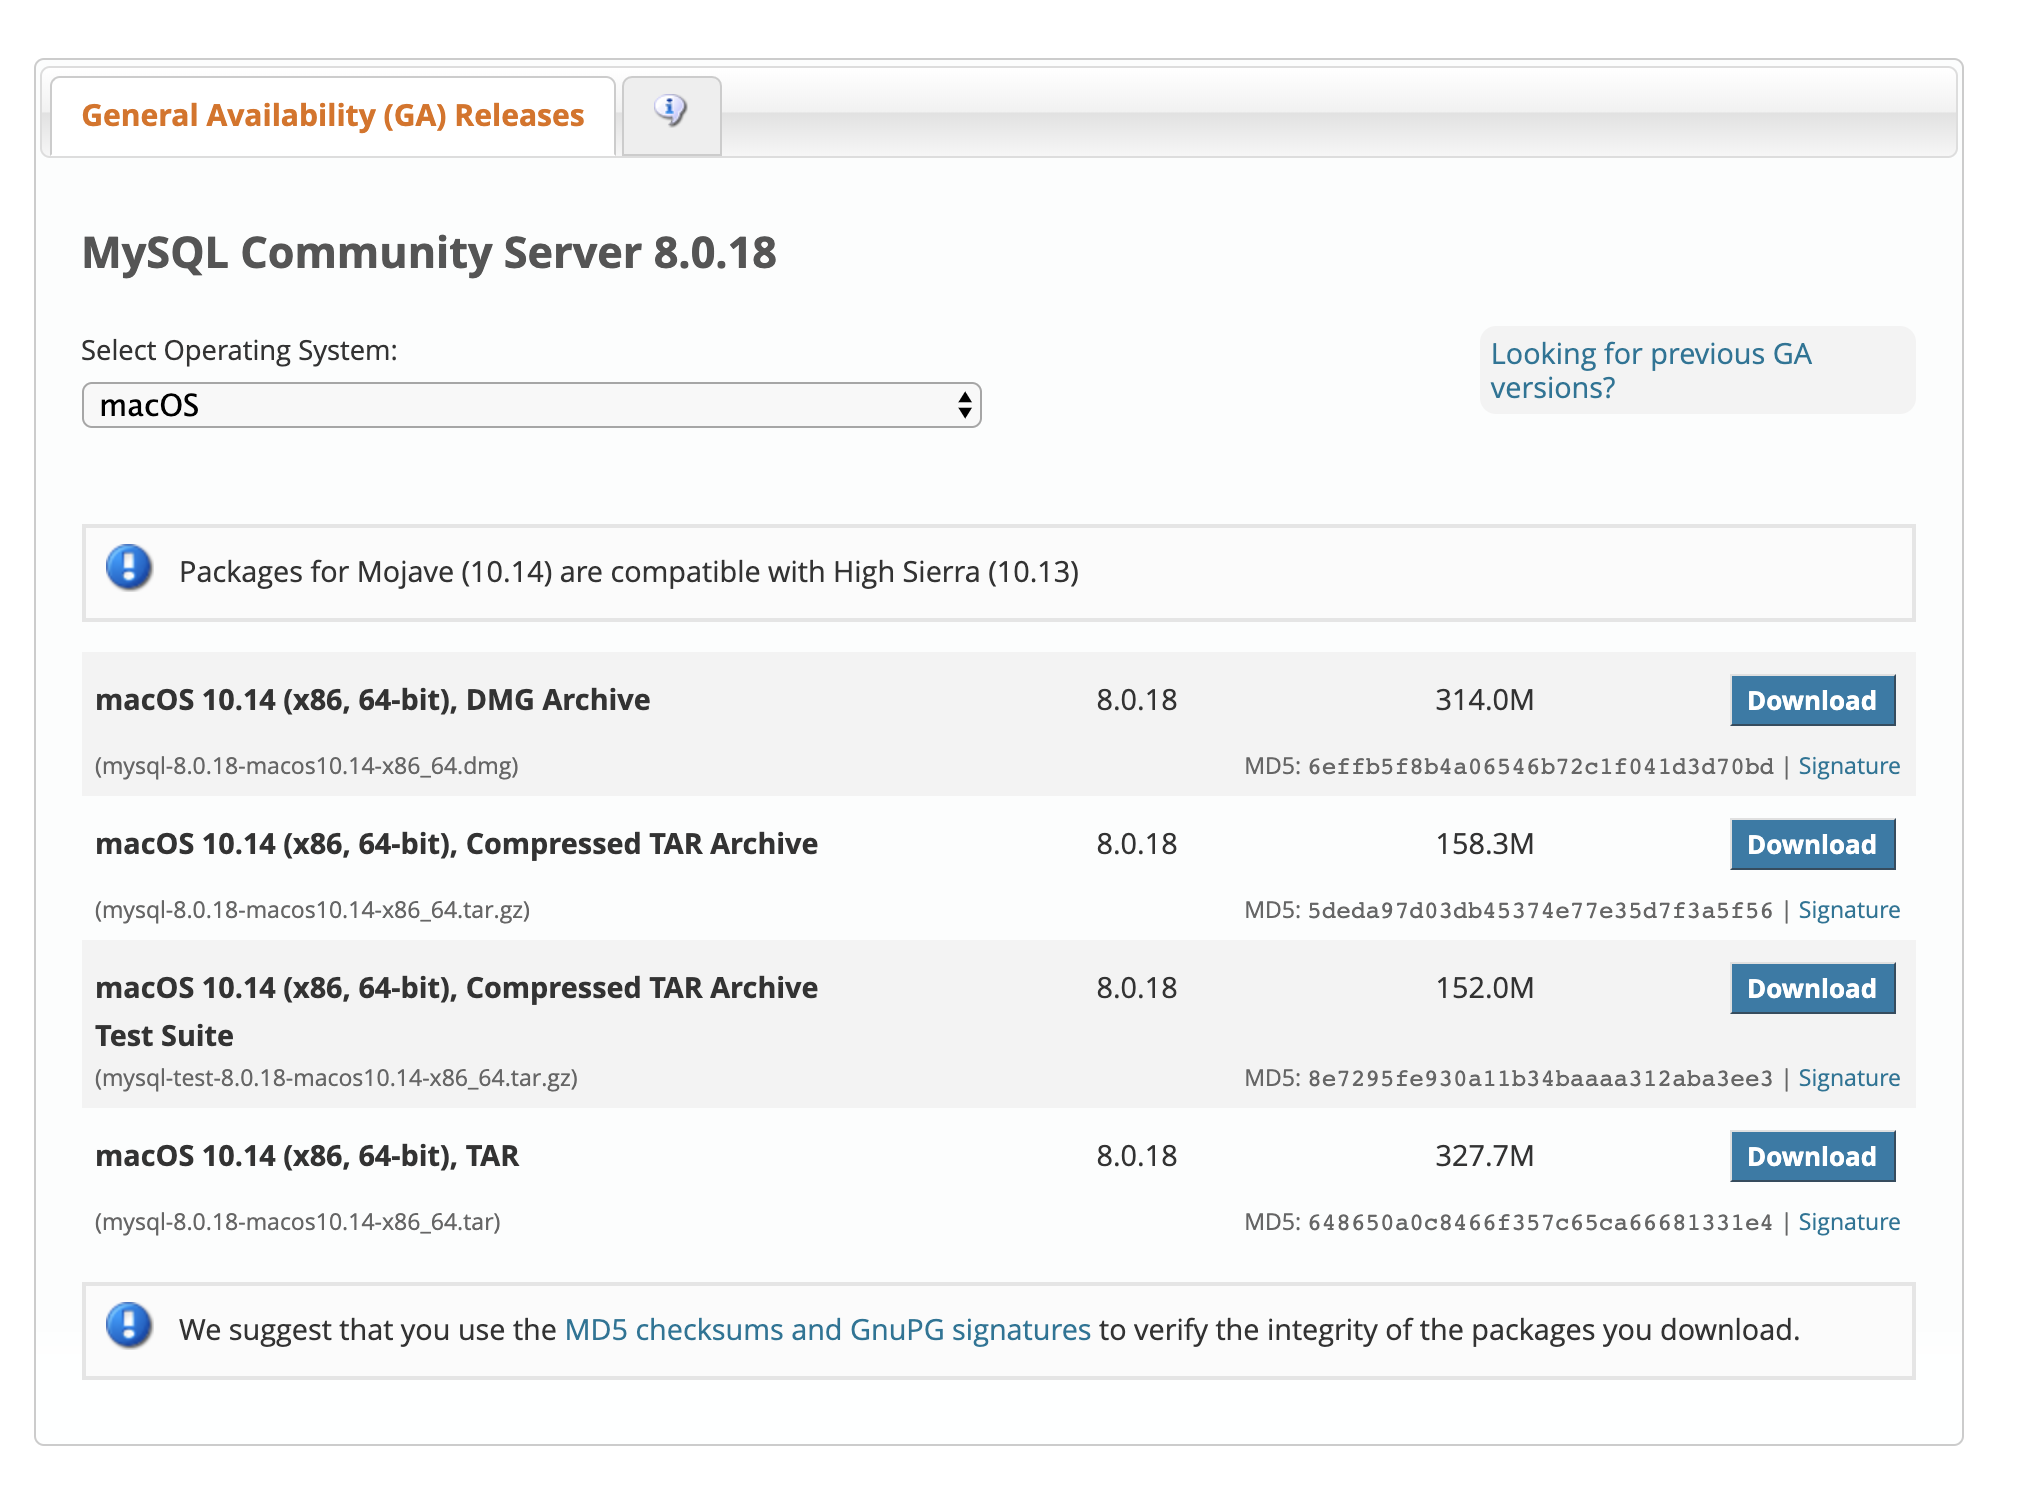
Required Software for macOS operating system
Steps for both windows and macOS after installing required software
-
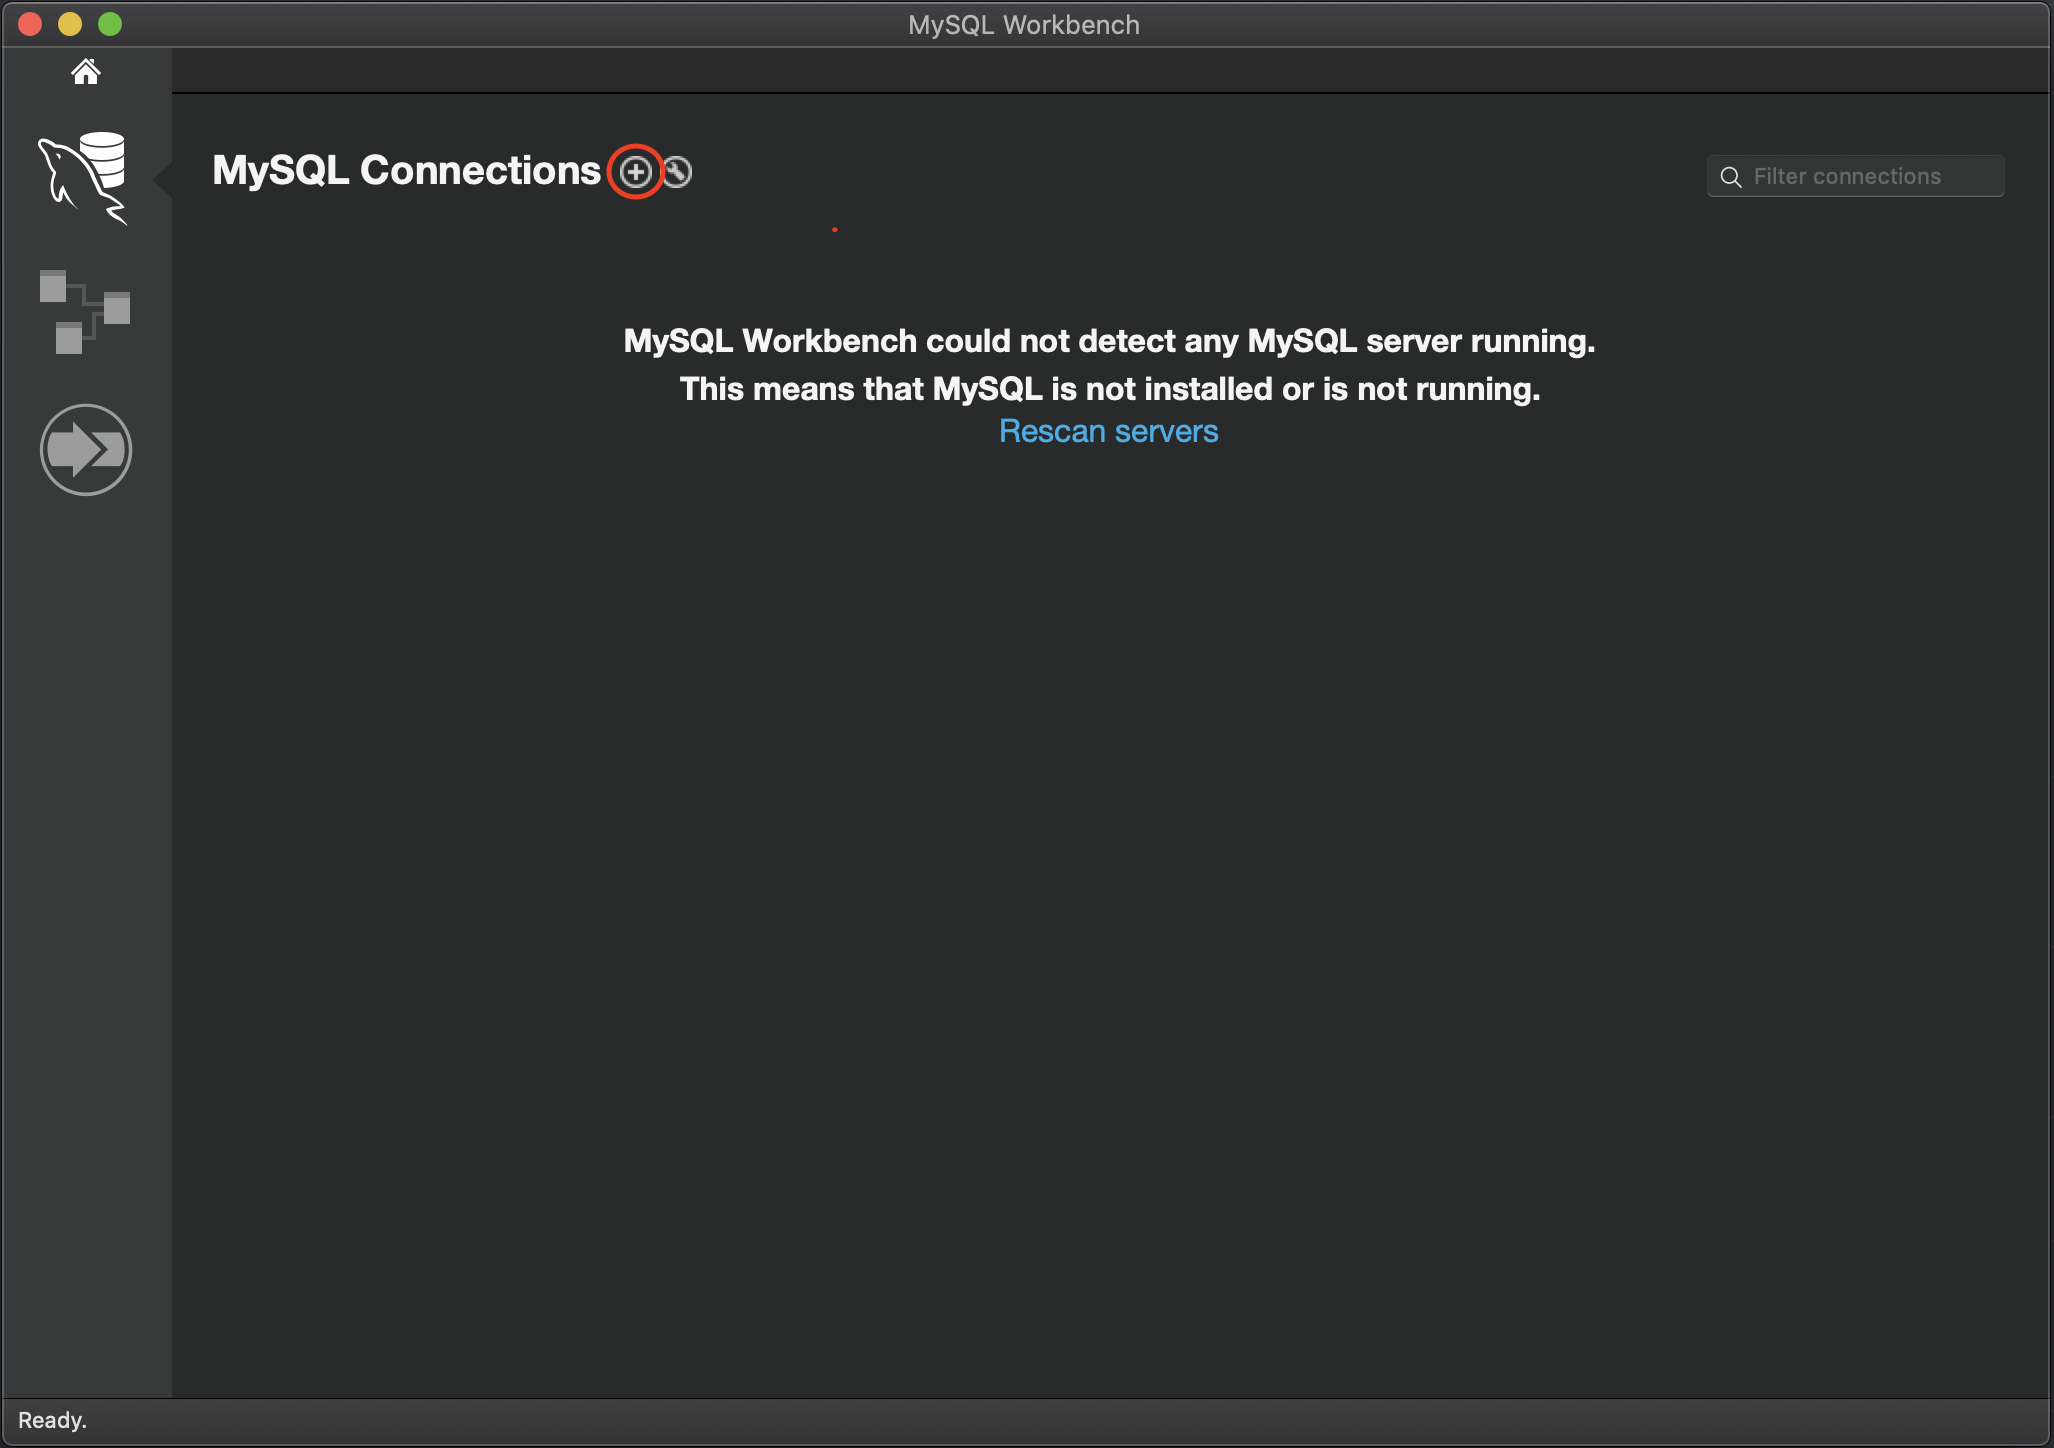
Open the MySQL workbench application after installation
-
create a connection by click the add(+) button
-
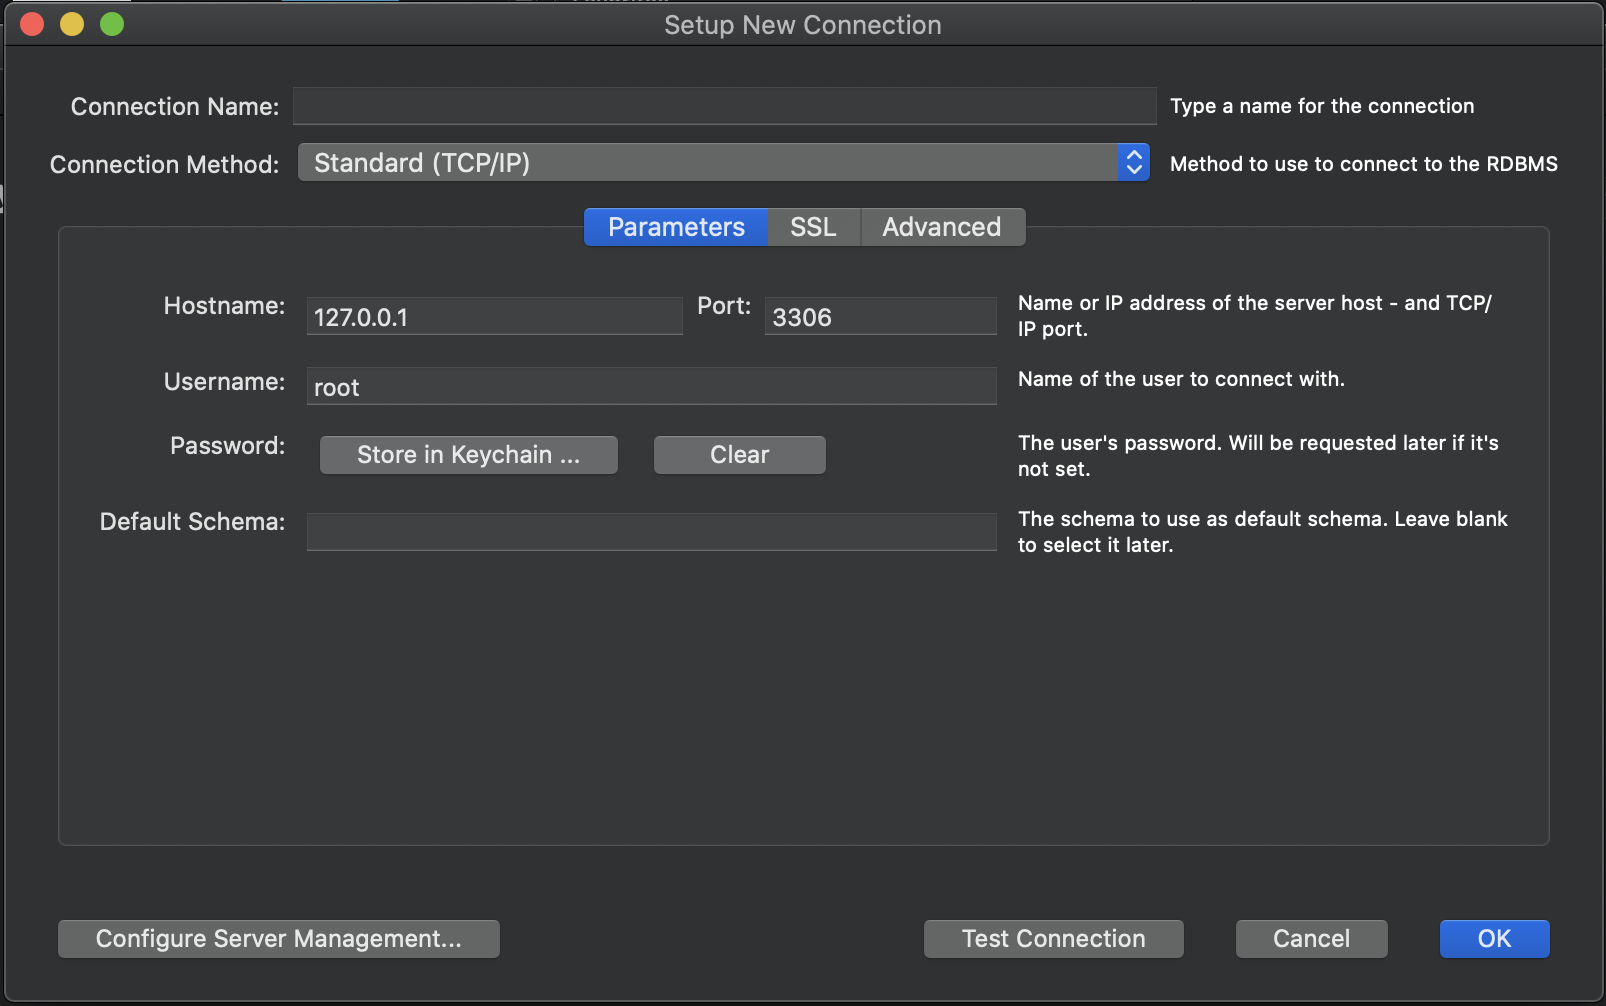
type in 'medport' in the input field for 'Connection Name:' and then click ok
-
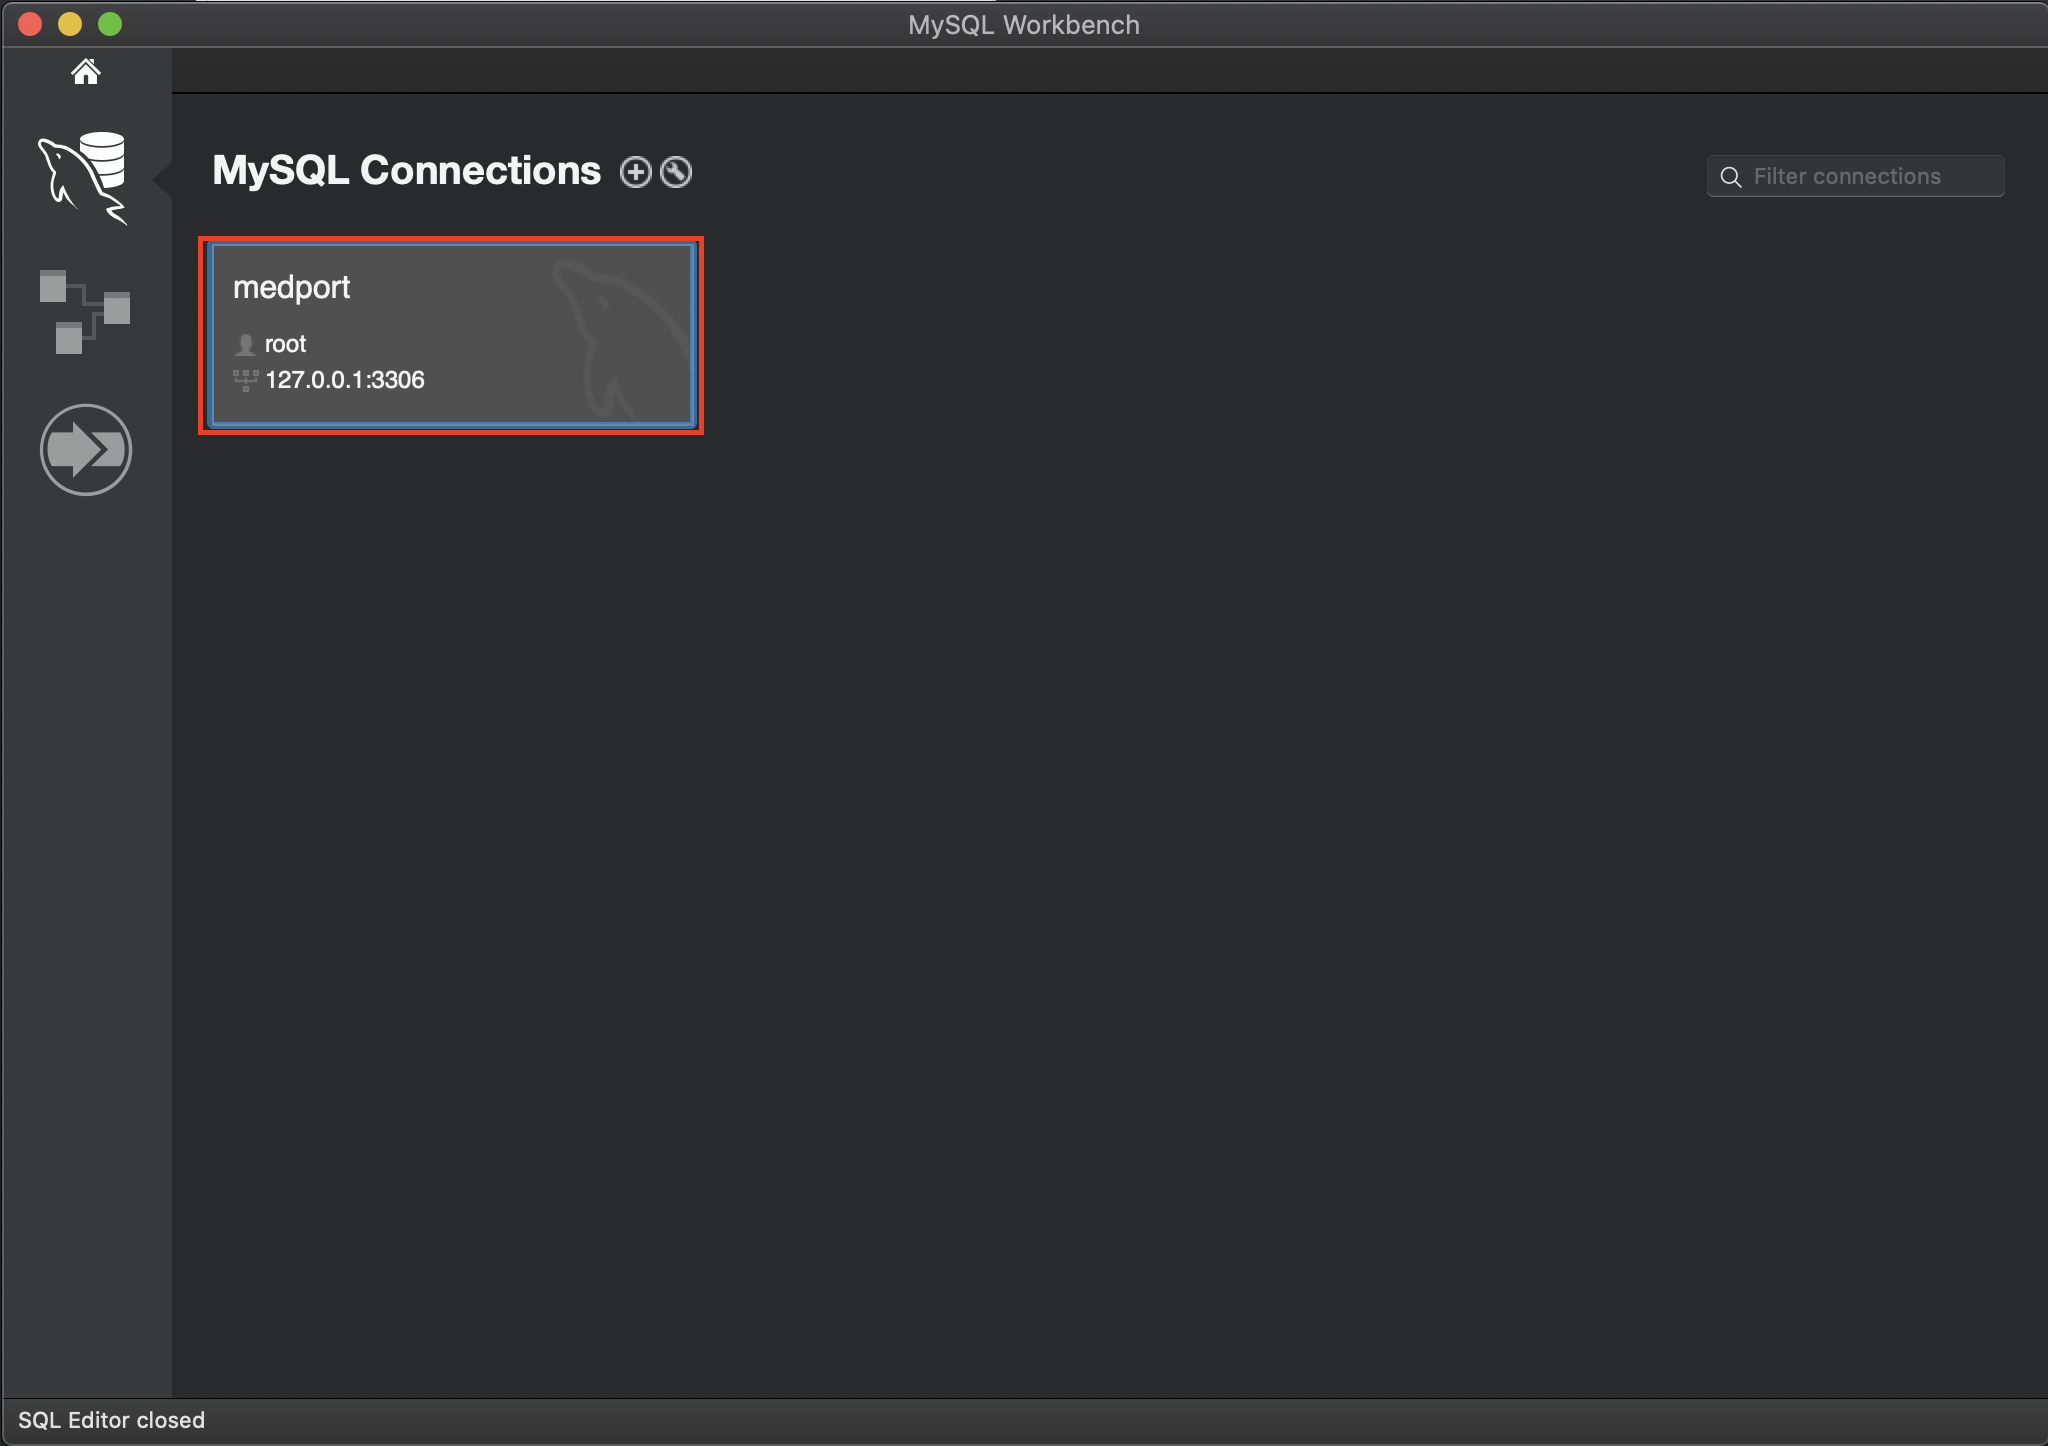
Open the instance of medport by clicking on it
-
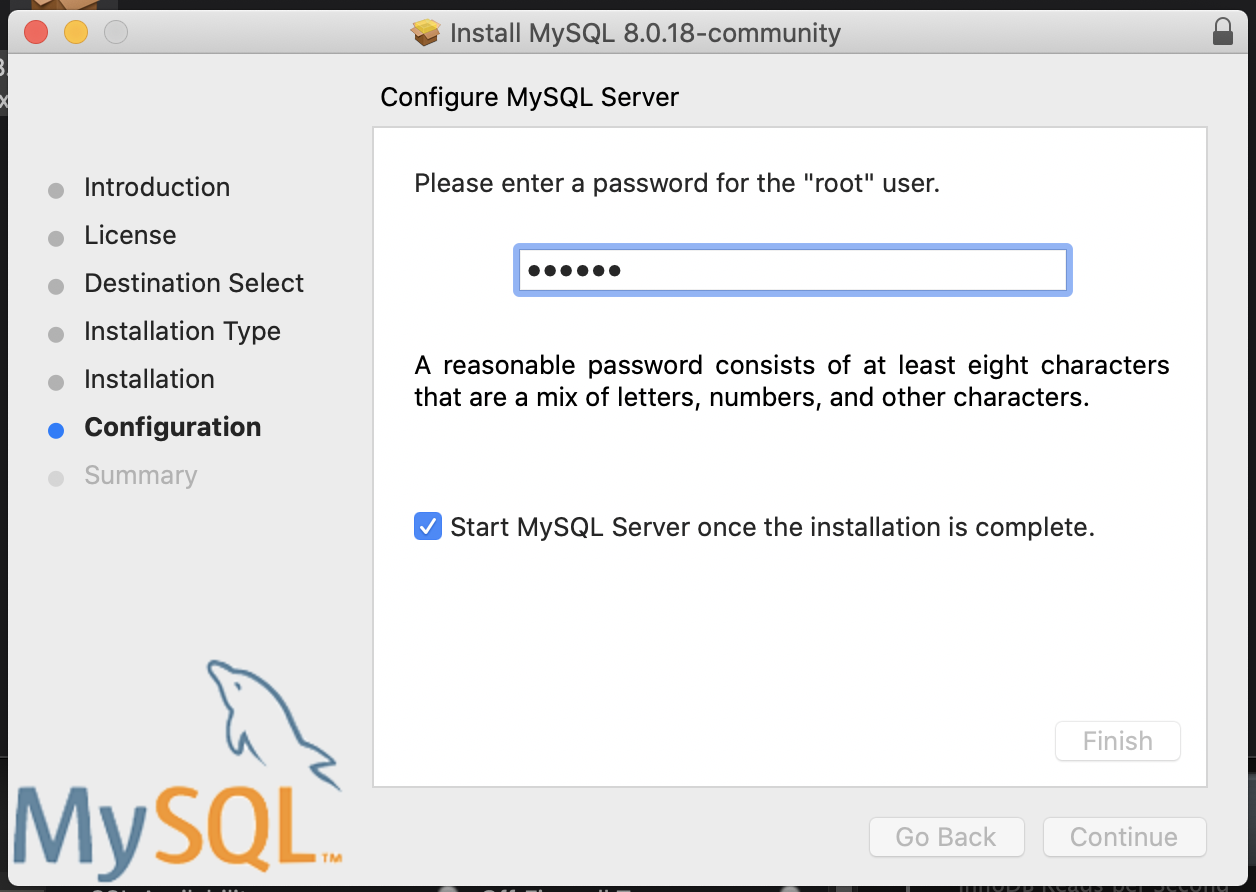
Enter the password created before in...
-
Enter the password created before in...
-
The same password has to go in the DBcontrol.java class, line 22, and replace "password" string
mpCon = DriverManager.getConnection("jdbc:mysql://127.0.0.1:3306/medport", "root", "password");
-
create a schema named 'medport' using the image below and apply the results The red marks on the image shows the steps
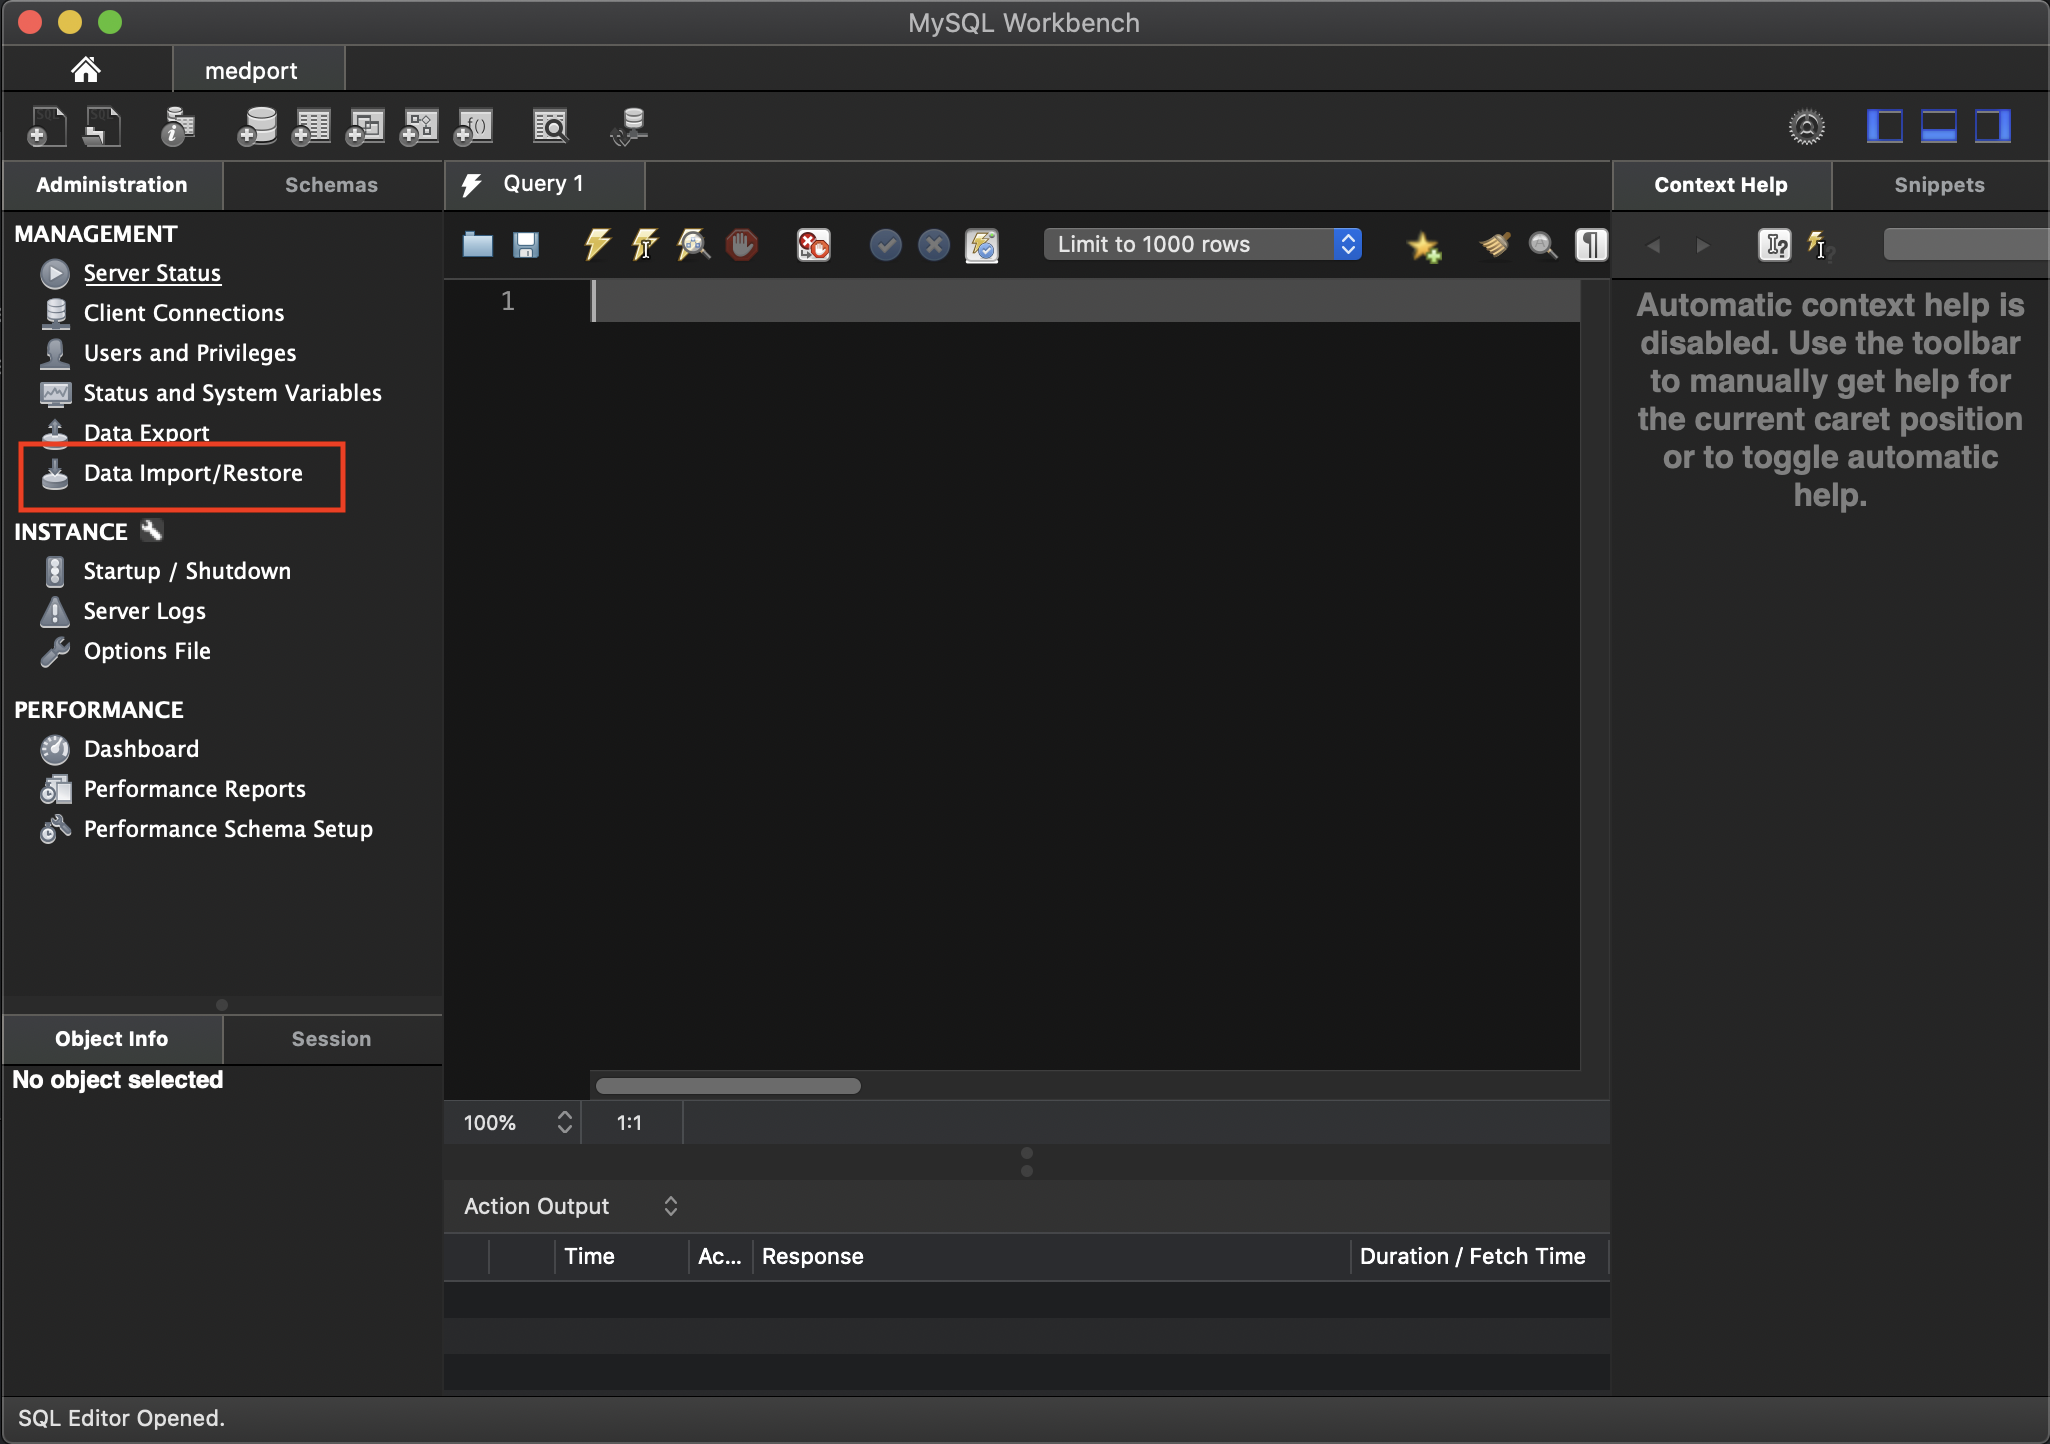
- click on data import in the left panel
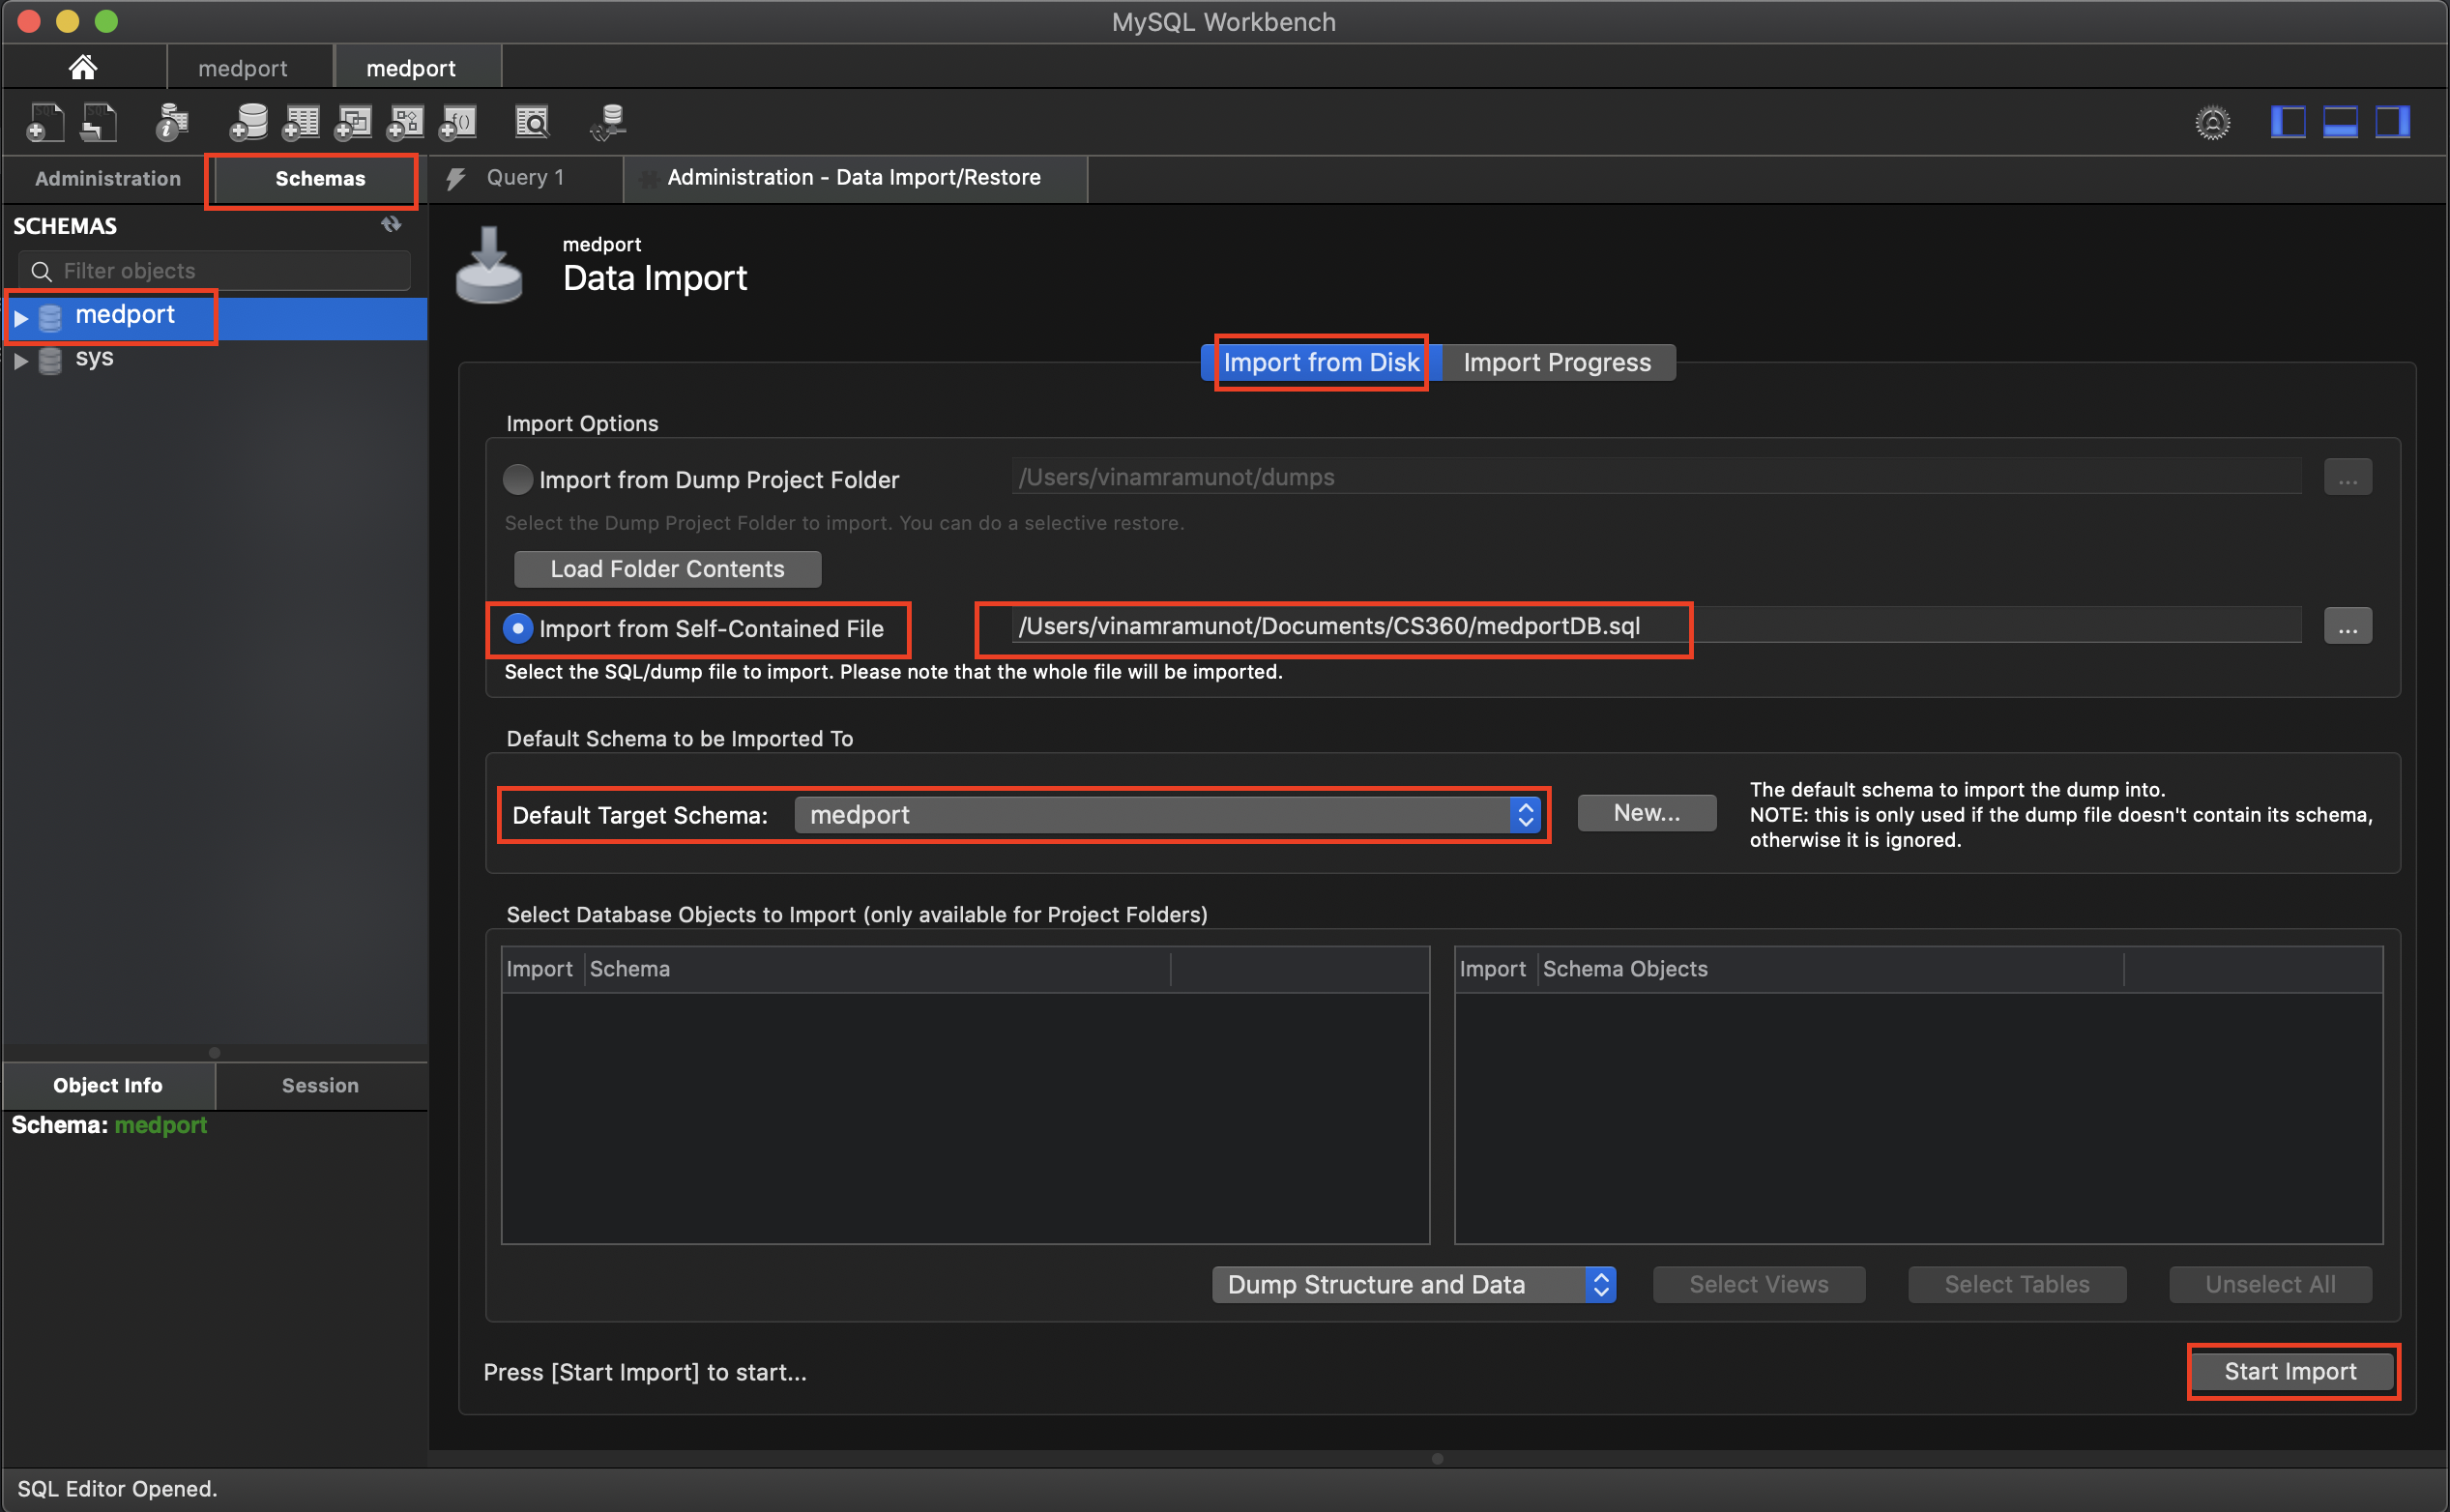
- Under 'Server' from the tool bar click on data import. Under 'import from disk' -> 'Import from Self-Contained Files' -> add the medportDB.sql file in the project folder when it was cloned from git. 'Default Target Schema:' should be 'medport' And then click on 'start import'
- Run the project in eclipse and enjoy testing...!


