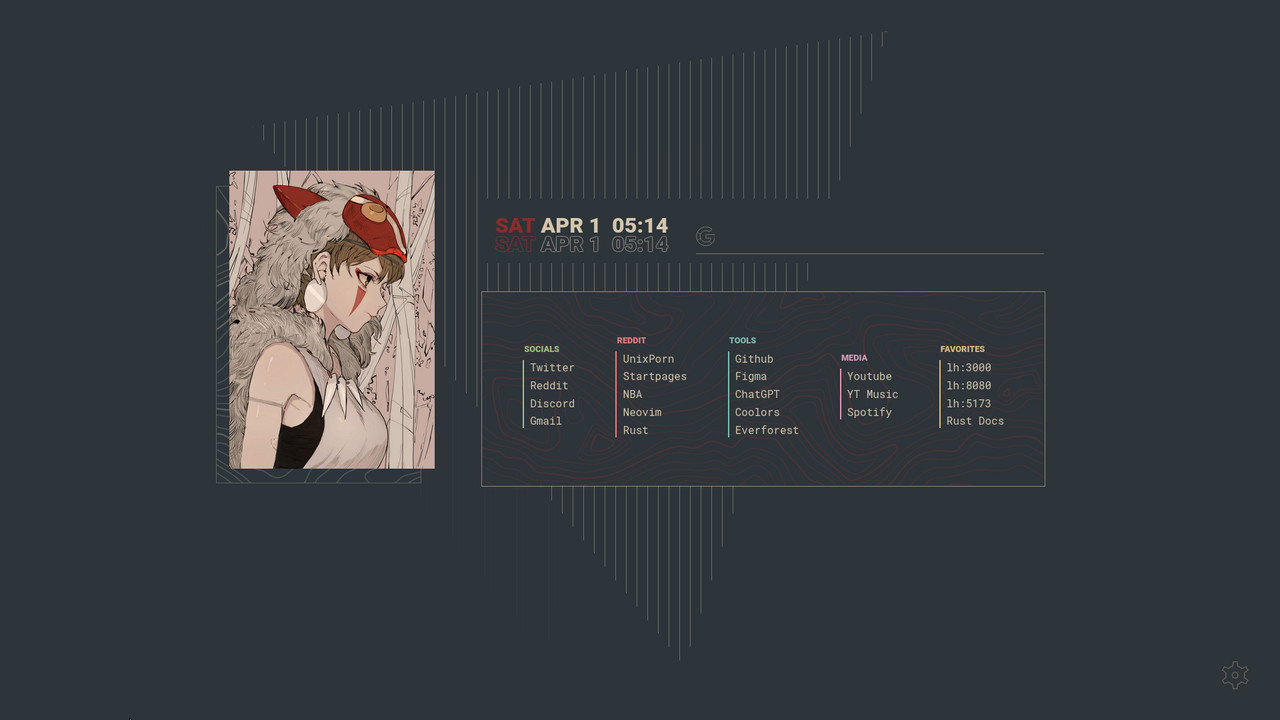
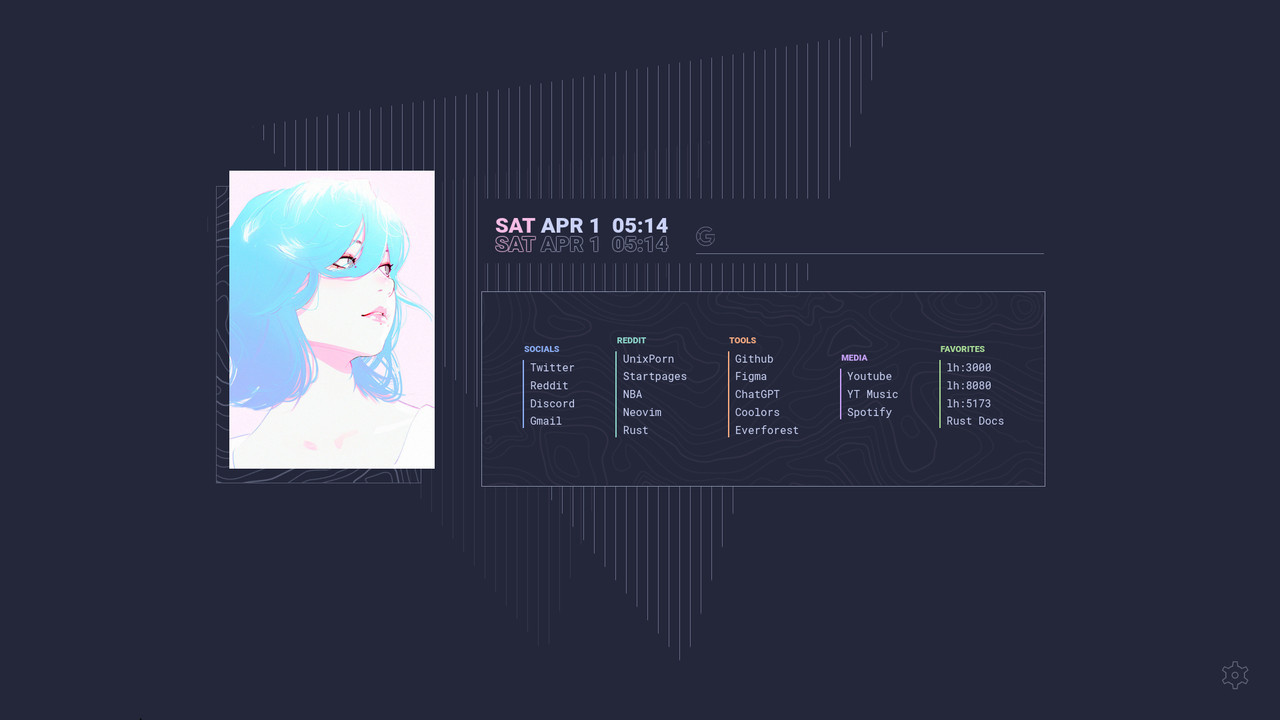
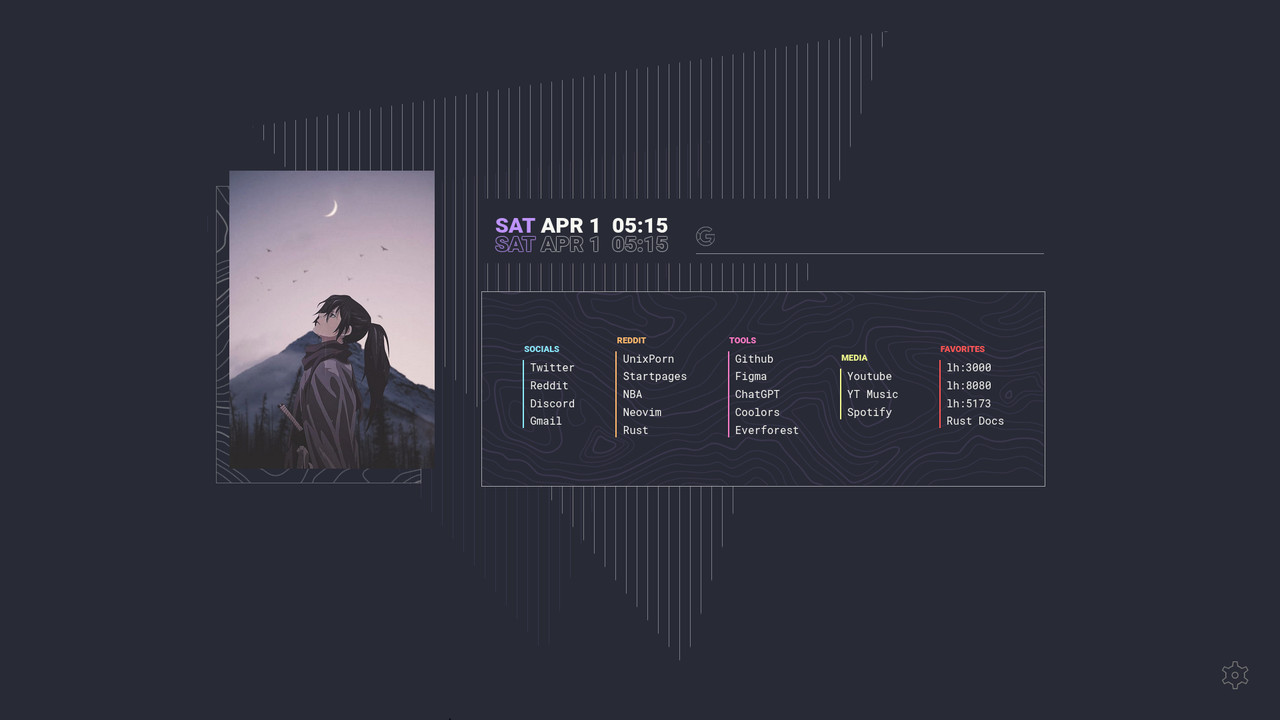
Navigate to your favorite sites with just a keypress or start a search with the Shift key. To navigate to a site, hit the Ctrl key before typing the address.
Tab through your links with either the Tab key or your arrow keys.
It's not mobile friendly as it was designed for use on a laptop/desktop.
Swap out the colors or the image if they're not to your liking. Here are some pre-configured themes to get you started.
- colors
- links
- keybinds
- image
- image position (if your image is cropped, this sets where the image crop happens)
- search engine (google, ddg, + 1 custom search engine)
- to enter a custom search engine, you need to find the query url for the search engine eg. for google it is https://www.google.com/search
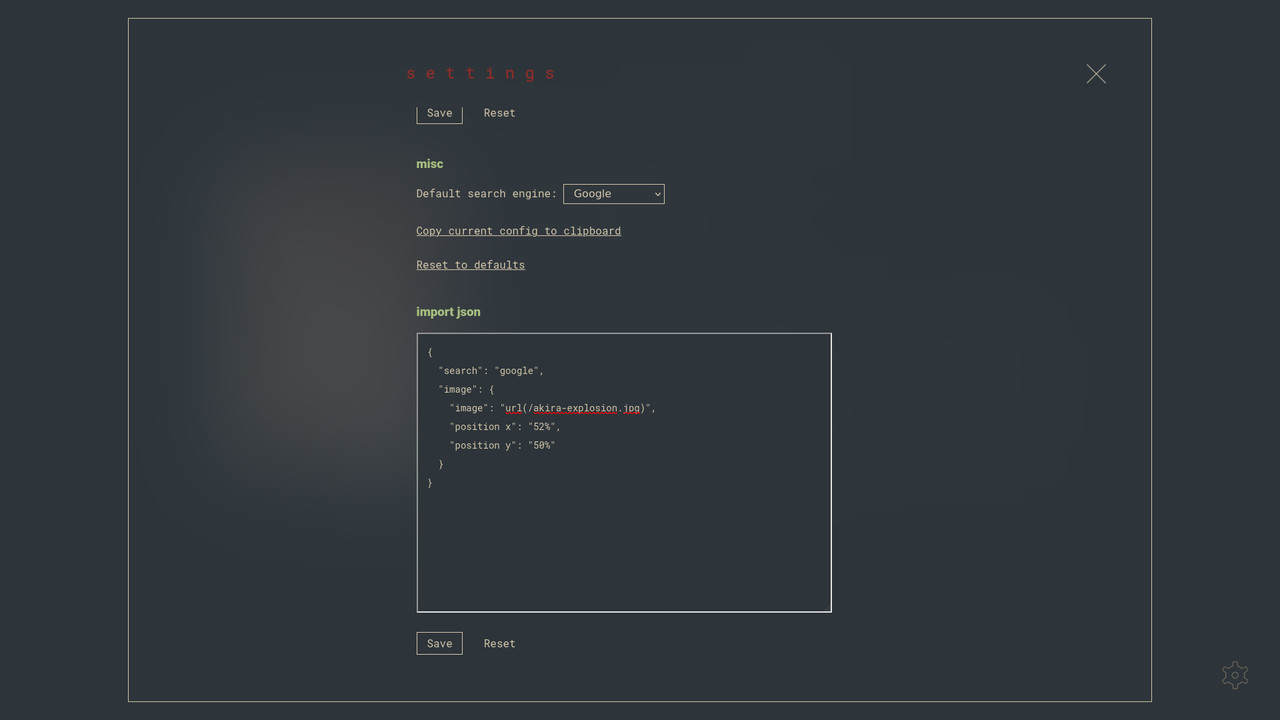
You can download your configuration as JSON if you want to store it somewhere.
To quickly get you up to speed, there's an option to import json. The import json option allows you to import your settings piece-by-piece ( ie. importing only links and theme ) or all at once.
Download the new tab override extension for your browser, and in your extension settings point it at https://lookingcoolonavespa.github.io/Ether/.
This method introduces some known privacy and security flaws.
[For firefox users as that's the only browser I have experience with, sorry guys]
- Getting the files
Download the code via the "<> Code" button and extract it somewhere
or if you're comfortable with the terminal, you can run gh repo clone lookingcoolonavespa/Ether.
Remember where you store it because we're going to come back to it later.
If you want to build it yourself, the build command is npm run build.
-
Setting up nginx
-
Install Nginx: If you haven't already, you'll need to install Nginx on your machine. You can do this using your package manager or by downloading the latest version from the Nginx website.
-
Serving your site: Next, you'll need to configure Nginx to serve your site files. Open the Nginx configuration file (usually located at /etc/nginx/nginx.conf if you're using linux) in a text editor, and add the following code inside the http block:
    server {
        listen 8000;
        root PATH_TO_THE_CODE/dist;
        index index.html;
    }
This tells Nginx to listen on port 8000 and serve files from the "dist" folder of your code directory. The "dist" folder is where the build is located. The "index" directive tells Nginx to look for an index.html file by default when serving the site.
- Adding a cache: To give your server that coconut butter you want to add a cache. Add the following code:
proxy_cache_path /var/cache/nginx levels=1:2 keys_zone=my_cache:10m inactive=2d; server { (code you copied from above) location / { # Enable caching for 10 days expires 10d; add_header Cache-Control public; # Use the cache zone defined earlier proxy_cache my_cache; proxy_cache_valid 200 2d; proxy_cache_bypass $http_pragma; proxy_cache_revalidate on; proxy_cache_min_uses 1; proxy_cache_methods GET HEAD; proxy_cache_key "$scheme$request_method$host$request_uri"; } }- Start Nginx: Once you've configured Nginx, you can start it by running the following command:
sudo systemctl start nginxThis will start the Nginx service in the background.
Verify that your site is working: Open a web browser and navigate to http://localhost:8000. You should see your site's content.
That's it! You now have Nginx serving your site locally on your machine. You can stop the Nginx service by running sudo systemctl stop nginx, and you can restart it by running
sudo systemctl restart nginx. If you need to make changes to your site files or Nginx configuration, you'll need to restart the Nginx service for the changes to take effect.(written with help from ChatGPT)
-
-
Setting up your browser
-
Create a file called local-settings.js.
-
In this file, paste the following lines:
// The file must begin with a comment pref("general.config.filename", "mozilla.cfg"); pref("general.config.obscure_value", 0); pref("general.config.sandbox_enabled", false);-
Find your firefox directory and place local-settings.js in /YOUR_FIREFOX_DIR/default/pref/
-
Create another file called mozilla.cfg and paste the following lines:
// The file must begin with a comment var {classes:Cc, interfaces:Ci, utils:Cu} = Components; /_ set new tab page _/ try { Cu.import("resource:///modules/AboutNewTab.jsm"); var newTabURL = "http://localhost:8000"; AboutNewTab.newTabURL = newTabURL; } catch(e){Cu.reportError(e);} // report errors in the Browser Console // Auto focus new tab content try { Cu.import("resource://gre/modules/Services.jsm"); /* if you're using firefox 117 or above remove this line */ Cu.import("resource:///modules/BrowserWindowTracker.jsm"); Services.obs.addObserver((event) => { window = BrowserWindowTracker.getTopWindow(); window.gBrowser.selectedBrowser.focus(); }, "browser-open-newtab-start"); } catch(e) { Cu.reportError(e); }- Place this file in your firefox directory.
-
There you go. Now you're set up for the creamy, smooth, velvety, super silky experience that you deserve.
Hero Patterns by Steve Schoger


