Forked from hermanjunge/kubernetes-digitalocean-terraform for improving some features/addons are missing from the original.
This project using Terraform for doing on deployment and provisioning Kubernetes with DigitalOcean. My purpose is building a Kubernetes cluster which run on top of the smallest plan of DigitalOcean ($5/month).
The following instructions are tested only on macOS
- Terraform CLI
- CloudFlare SSL CLI
- Kubernetes CLI (kubectl)
- DigitalOcean API key
Both of these can be install via brew with this command.
$ brew install terraform cfssl kubectl
To verify the installation of Terraform CLI and CloudFlare SSL CLI by using these commands.
$ terraform -v
Terraform v0.8.1

$ cfssl version
Version: 1.2.0
Revision: dev
Runtime: go1.7.1
To grab your DigitalOcean API key, it would be easy by going to the Application & API page, then click on "Generate New Token" button and naming your new token and copy it. For using it with Terraform you need to set it via env with this command.
$ export TF_VAR_do_token=YOUR_DIGITALOCEAN_API_KEY
Assume, you already have at least one SSH key on DigitalOcean, if not, please following this page.
$ export TF_VAR_do_region=sgp1 #Default is on Singapore 1
$ export TF_VAR_number_of_workers=2 #Default is 2 worker nodes
$ export TF_VAR_ssh_fingerprint=$(ssh-keygen -E MD5 -lf ~/.ssh/id_rsa.pub | awk '{print $2}' | sed 's/MD5://g')
Before you begin, please review all steps by using this command.
$ terraform plan
Then, start deploying by using this command.
$ terraform apply
Wait until it done, the kubectl should configured automatically to your cluster.
To verify your installation using this command.
$ kubectl get nodes
NAME            STATUS                     AGE
x.x.x.x         Ready,SchedulingDisabled   1h
x.x.x.x         Ready                      1h
x.x.x.x         Ready                      1h
To using your Kubernetes dashboard, it just simply by running this command.
$ kubectl proxy
Starting to serve on 127.0.0.1:8001
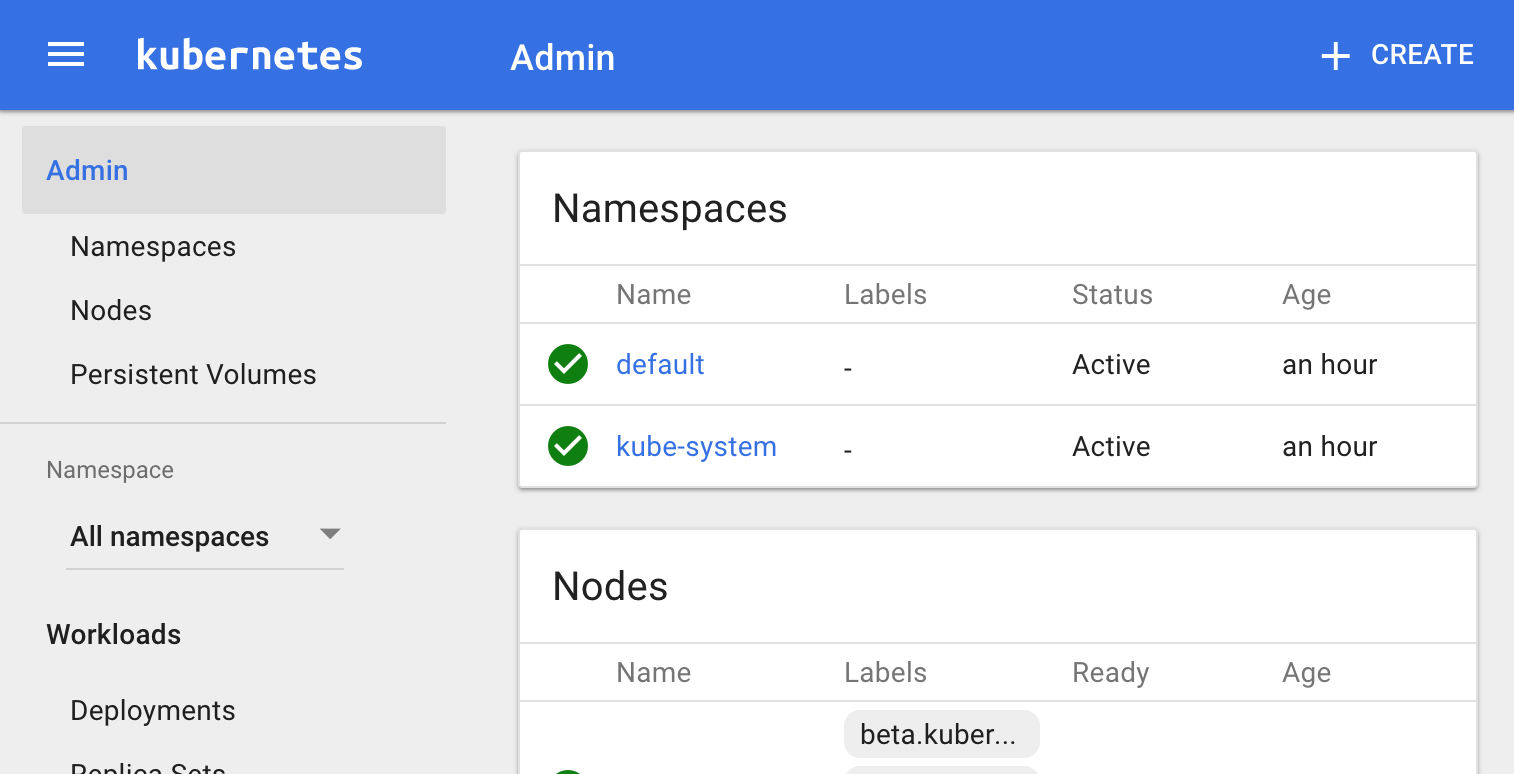
And open your web browser and go to http://localhost:8001/ui you will see the Kubernetes dashboard like this.
- Add support Ingress Controller
- Add support Persistant Volumes with GlusterFS