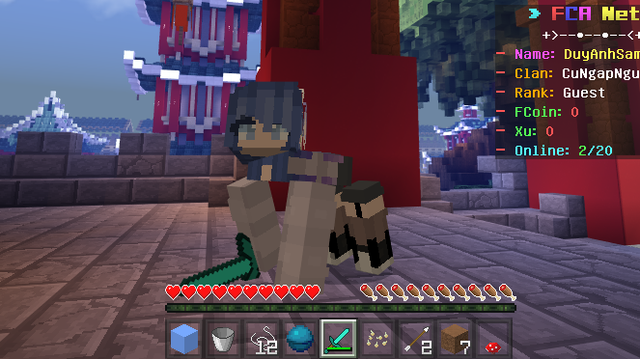
Clothes

Make your skin more splendid
- Why would you need to use this plugin:
- You dont,but this plugin will help your server more funny cuz player have something to show up, a wing, a caption american shield.
- The clothes also has permission for using,so that you can add the custom clothes to specific rank
- Note of the plugin:
- GD2 extension required, do as following construction on the console's message (in case you dont know what it is)
- FormAPI lib required, download this plugin (Clothes) from poggit (which will be .phar type) if you dont similar to this
- That's all
Commands
- Type "/clo" or "/clothes" and a UI will display for you to chosing the clothes
- Type "/cos" or "/cosplays" to change the skin
Config.yml
- Type the clothes' name into the config like example to assign it with a permission for using
- If you want to remove perm, just remove something similar to : "sidecap: sidecap.perm".
- Don't remove the "perms:" text in line 2 (it should be in line 2)
About clothes/cosplay
How to add more clothes/cosplays
- For example, you want to create a button named "Hat" in "/clo.When you click the button, you want to have a cloth named "Cowboy":
- You go to plugins_data/clothes create a folder named "Hat"
- Go inside "Hat" folder, put 2 files, one named Cowboy.json, one named Cowboy.png
- Then it would be works
- Note:
- The clothes must inside the plugins_data/clothes folder.
- Do the same for Cosplays feature.
Where to get clothes/cosplays
- You need to draw it, i'm using blockbench.net
- For Clothes:
- If you are new ,just importing the example clothes (.json file) in the plugin to the blockbench
- Now you can see a steve geometry with the wing or shield, you can delete the wing/shield
- but DO NOT touch the steve geometry
- Move to the texture, add the example texture to see how i drawed it, you need to find a unuse spot
- on the texture, draw on it, maybe in the neck, empty spot,etc.
- texture can be in 64x64 or 128x128
- Then save the json and texture file with same name.
- After you have the json file, go into it and change the geometry's name to "geometry.abc/xyz"
- abc is clothes or cosplays. xyz is the folder's named which contain the clothes/cosplays
- if you do the tutorial at How to add more clothes/cosplays, the geometry's name will be geometry.clothes/Hat
- And also you have the .png file, go to some applications (3d paint on win10,..) which have eraser tool to remove pixels that the clothes dont use
- For Cosplays:
- You should add a steve geometry json file then draw on it so the body,arm,leg can moving while player is moving
- Draw the texture to fit with the geometry
- Then add json, png to just like clothes (but in cosplays folder).
- If you having some problem just leave a comment under the poggit review or open a issue on github.
Introduce
- A video about the plugin:

More Clothes
- You can go here to get some more clothes without drawing skill