Balena-fied version of the mustard corner desktop weather device.

You can buy a kit here or build one yourself!. Go ahead and follow the build guide for printing, soldering and wiring. When you hit the software step, that's where this repo steps in!
- Create an account here
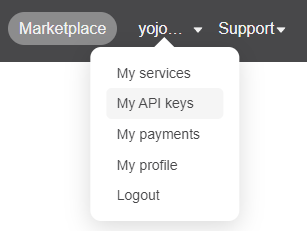
- Go to “My API keys” from the top right menu:
- Generate a new API key using any name you like.
- Ensure that the API key is activated and the status says “Active”.
- Copy the Key as we will need this later. You will set the environment variable of
OPEN_WEATHER_APIKEYwith this key. Note: It takes about 10-15 minutes for the API key to start working and for us to have access.
- Head over to the balenaHub page for DesktopWeather.
- Click on
Get Started, set your WiFi credentials, and follow the flashing instructions on the right.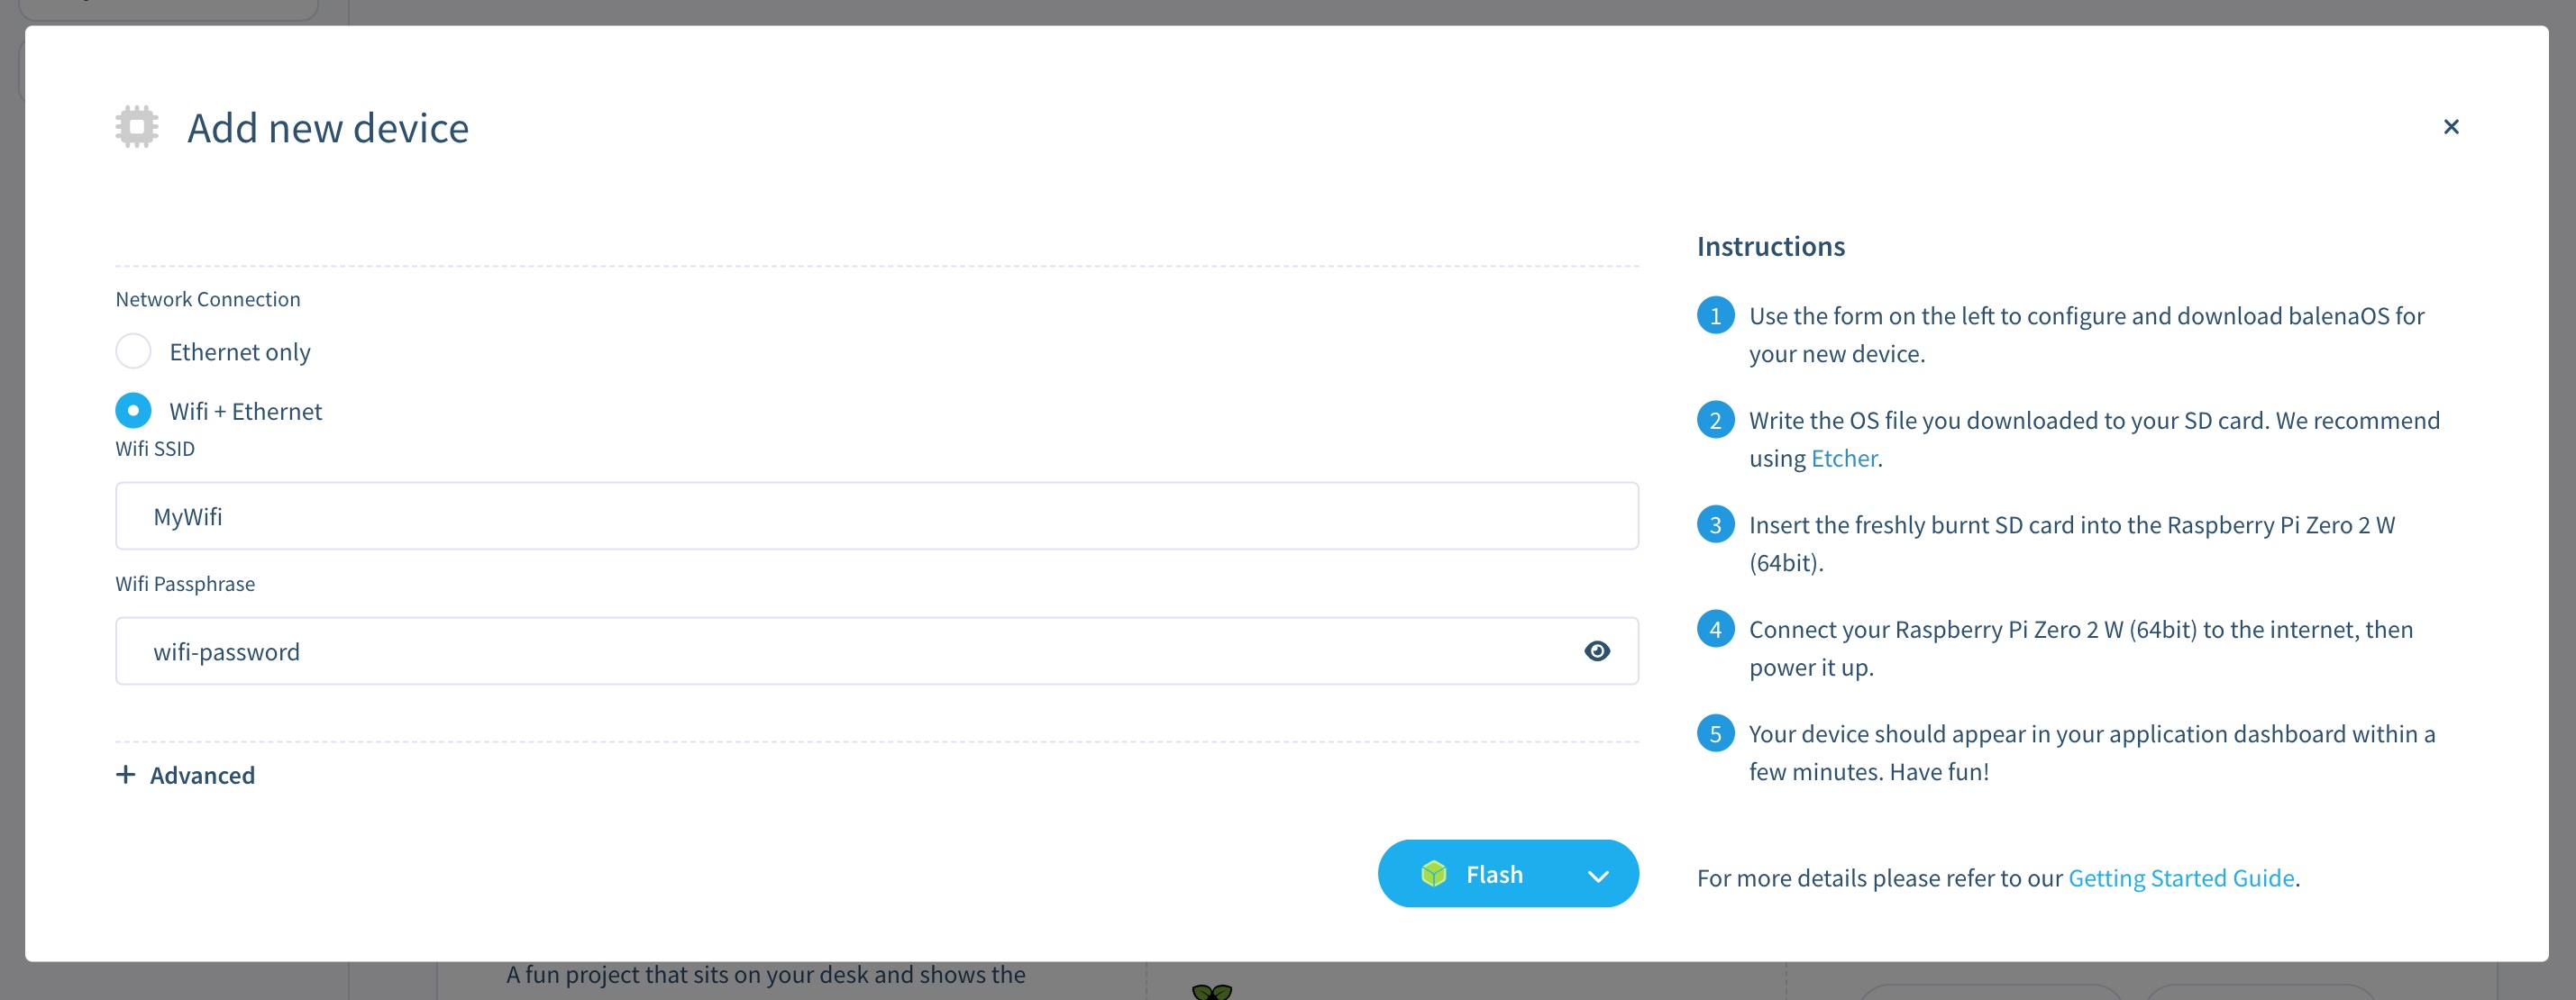
- Head over to http://desktop-weather.local/. If you just plugged your device in, it might take a few minutes for the software to update. By a few minutes, it's probably going to take close to ~15 minutes.
- Navigate to the
Configurationsection - Click
Add/change Environment Variable - Set your
OPEN_WEATHER_APIKEYas thekey, and your token from before asvalue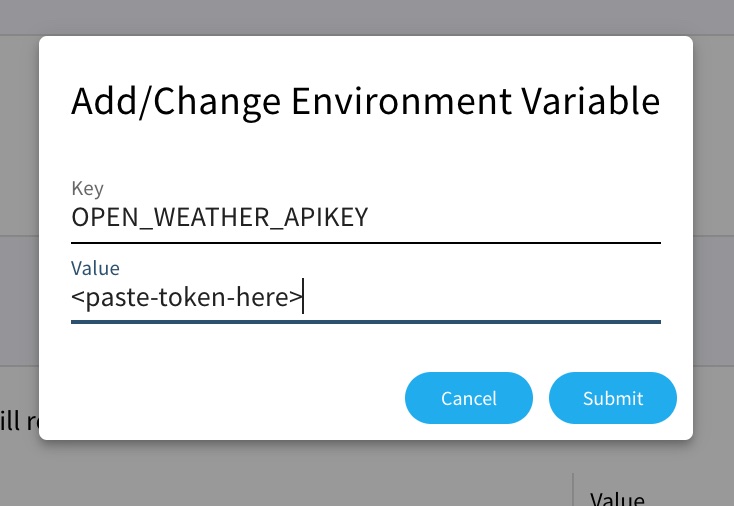
- Set
LATITUDEandLONGITUDEthe same way, with your own values Note: If you don't see the variables showing up, it's possible the service has restarted - so go ahead and wait just a minute before trying again (this is normal behavior) - If you deviated from the wiring instructions and are using different pins, this is where you would set
SERVO_PIN_1,SERVO_PIN_2andBUTTON_PIN
| Environment variable | Type | Default | Description |
|---|---|---|---|
OPEN_WEATHER_APIKEY |
String |
not_set |
OpenWeather API key |
LATITUDE |
Number |
19.6069 |
Set your latitude |
LONGITUDE |
Number |
-155.5056 |
Set your longitude |
SERVO_PIN_1 |
Number |
18 |
Opional pin for first servo |
SERVO_PIN_2 |
Number |
23 |
Opional pin for second servo |
BUTTON_PIN |
Number |
17 |
Optional pin for your push button |