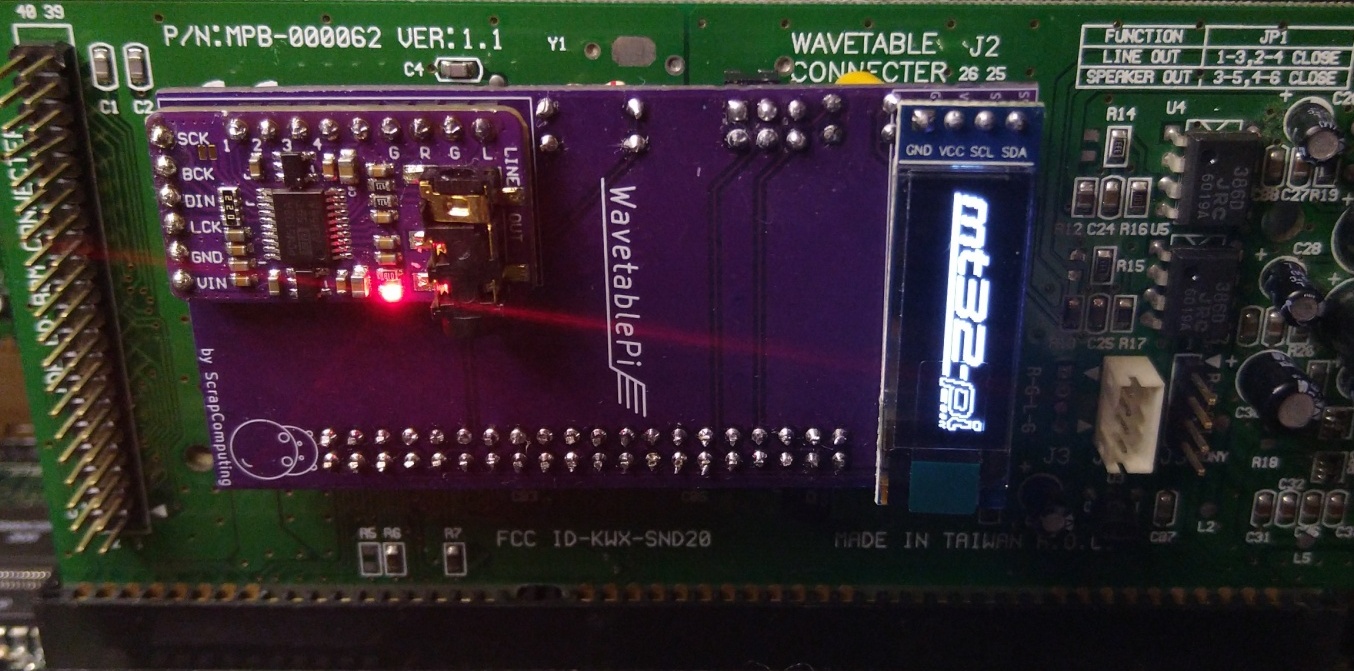
WavetablePi is a wavetable module based on the Raspberry Pi Zero 2 W running mt32-pi. It is capable of emulating several midi synthesizers, including mt32, sc55 and general midi with custom sound fonts. For a complete feature list please refer to the mt32-pi project.
For controlling the mt32-pi from DOS, please use mt32-pi-control.
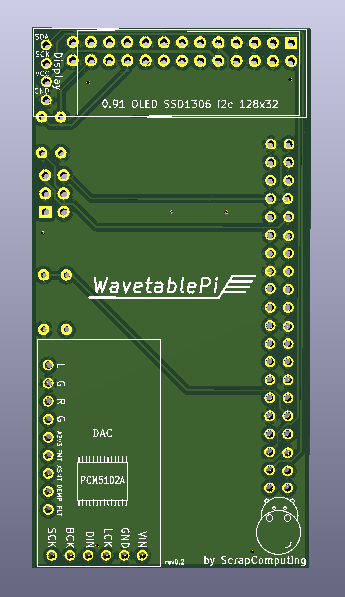
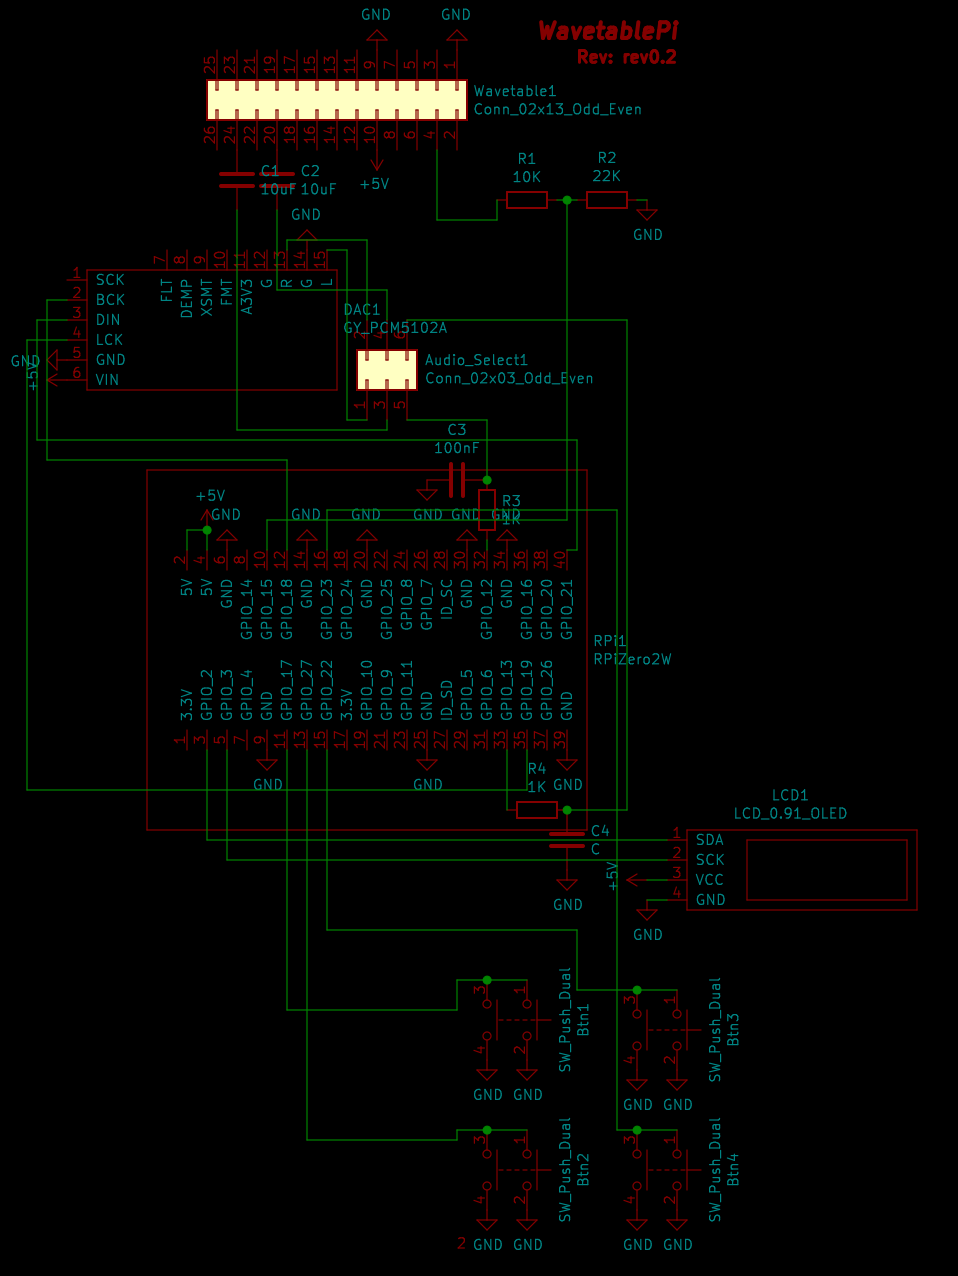
- It currently supports two modes of audio: using the raspberry pi's PWM audio out (which is noisy and sounds pretty bad), and an external Hi-Fi PCM5102A based DAC.
- You can also attach a 0.91 OLED SSD1306 I2C 128x32 display.
- Starting from rev 0.3 PWM audio is filtered by a simple low-pass filter (R3-C3 and R4-C4).
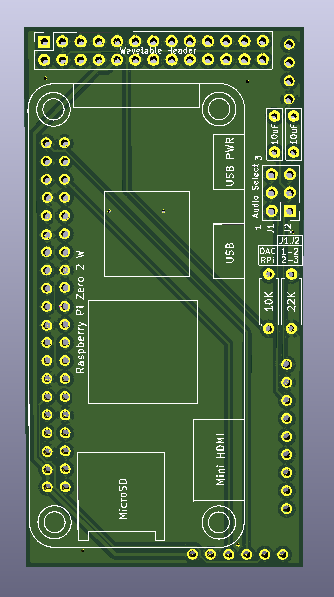
- Please note that the current version of the WavetablePi board is quite tall (76mm x 40mm) so please check if it fits your sound card, especially if it needs to be placed perpendicularly to the ISA slots.
- Also please make sure that there is enough clearance between the WavetablePi and the sound card. Some cards have large components that may touch the raspberry pi a
- A WavetablePi with the DAC or the OLED display takes quite a bit of vertical space, so you will end up wasting one ISA slot! There is just no room for a card right next to the sound card, as the OLED display and the DAC will be in the way.
- Finally please check that the PCM5102A HiFi DAC is in the form factor that fits the board. The one I am using is approximately 32mm x 17mm. Also please check that the pinout matches.
- For ordering the PCB, you usually just need to upload the zipped gerber files to the fab's website.
- For attaching the Pi flush against the board, it may be better to cut the 40-pin header into short sections (like 2x3) before soldering them. This should make it easier to solder and to remove the plastic spacers after soldering.
- DAC Board: Before soldering, check if the address solder bridges on the back are set: https://github.com/dwhinham/mt32-pi/wiki/GY-PCM5102-DAC-module
- If the music sounds weird, or slow check
mt32-pi.cfg. You may need to setgpio_baud_rate = 31250. - Please check out the detailed documentation of the mt32-pi project: https://github.com/dwhinham/mt32-pi
These tips are based on feedback from ThatRed (many thanks!). Feel free to check out the full text: scrapcomputing#1
- Original Wavetable-Pi video: https://www.youtube.com/watch?v=xC-qhcPUeRs
- PWM audio improvements: https://www.youtube.com/watch?v=HqzHcLejGF4
| Item | # | Description |
|---|---|---|
| Raspberry Pi Zero 2 W | 1 | The older RPi Zero is not fast enough |
| 40-pin 2x20 male header 2.54mm pitch | 1 | For attaching the RPi to the board. |
| 26-pin 2x13 female header 2.54mm pitch | 1 | For attaching the board to the wavetable header |
| 6-pin 2x3 pin male header 2.54mm pitch | 1 | For the audio select jumpers |
| Jumper 2.54mm pitch | 2 | Jumpers for the audio selection header |
| Capacitor 10uF through-hole ceramic | 2 | |
| Capacitor 100nF through-hole ceramic | 2 | C3 and C4 which form the PWM audio low-pass filter along with R3 and R4. 100nF is for a 1.6KHz cutoff frequency. Use lower values for higher cutoff |
| Resistor 22K Ohm | 1 | |
| Resistor 10K Ohm | 1 | |
| Resistor 1K Ohm | 2 | R3 and R4, which along with C3 and C4 form a low-pass filter of the PWM audio |
| 0.91 OLED SSD1306 I2C 128x32 module | 1 | (Optional) |
| PCM5102A I2S DAC Module (aka GY PCM5120) | 1 | (Optional but highly recommended) Please check the PCB for the supported dimensions and form factor! |


