terrasphere
A simple exercise in IaC && CI/CD leveraging Terraform and CircleCI
“There are only two hard problems in computer science: cache invalidation, off-by-1 errors, and naming things” – random software professional
Enter Terrasphere, a simple and elegant sample application demonstrating continuous deployment of infrastructure using CircleCI and Terraform.
Prerequisites
- A CircleCI account
- A Github account
- An AWS account (with corresponding S3 bucket)
With your 3 accounts setup:
-
Fork the repository to your Github account and clone the source code onto your local machine.
-
Copy the vars template file (
terraform.tfvars.template) into a file calledterraform.tfvarsif you want to configure the server port. -
For local development, it's assumed you have your AWS credentials configured and your default user profile will be used.
Now, we are ready to create a remote backend for state storage. Externalizing the statefile is absolutely critical when using terraform in a CI environment.
Do this:
cd s3_backend
terraform init && terraform apply
The desired output should look like this:
Apply complete! Resources: 1 added, 0 changed, 0 destroyed.

Outputs:

s3_bucket_name = 5092f11c-xxxx-xxxx-xxxx-xxxxxxx-backend
Do this: Copy the value of the s3_bucket_name.
cd ..
Uncomment the backend configuration block and add the value of the bucket name from the previous step to bucket = "YOUR-UNIQUE-BUCKET-ID" in main.tf under the backend module.
You can now commit these changes upstream. We're now ready to start running builds on CircleCI.
You'll need to add this project to CircleCI in order to trigger builds on the platform.
CircleCI offers a very generous free tier, so worry not if you don't already have an account (hopefully you do!).
On the project dashboard, e.g. https://app.circleci.com/projects/project-dashboard/github//
Simply click setup project to configure CircleCI to start building on every commit. CircleCI's robust API handles all of the magic under the hood, much like terraform handles the magic of deploying infrastructure.
Once you've added the project, CircleCI is going to trigger an initial pipeline by default and then during every subsequent push event. The config.yml file will be used for CircleCI configuration, i.e. steps to execute when running a pipeline. Your first pipeline will fail, but don't worry, this is expected. You'll need to add your AWS credentials as project specific environment variables.
More on how to setup project specific environment variables can be found here: https://circleci.com/docs/2.0/env-vars/#setting-an-environment-variable-in-a-project
Once you've added the project to circle and setup your environment variables, you're ready to deploy some infrastructure!
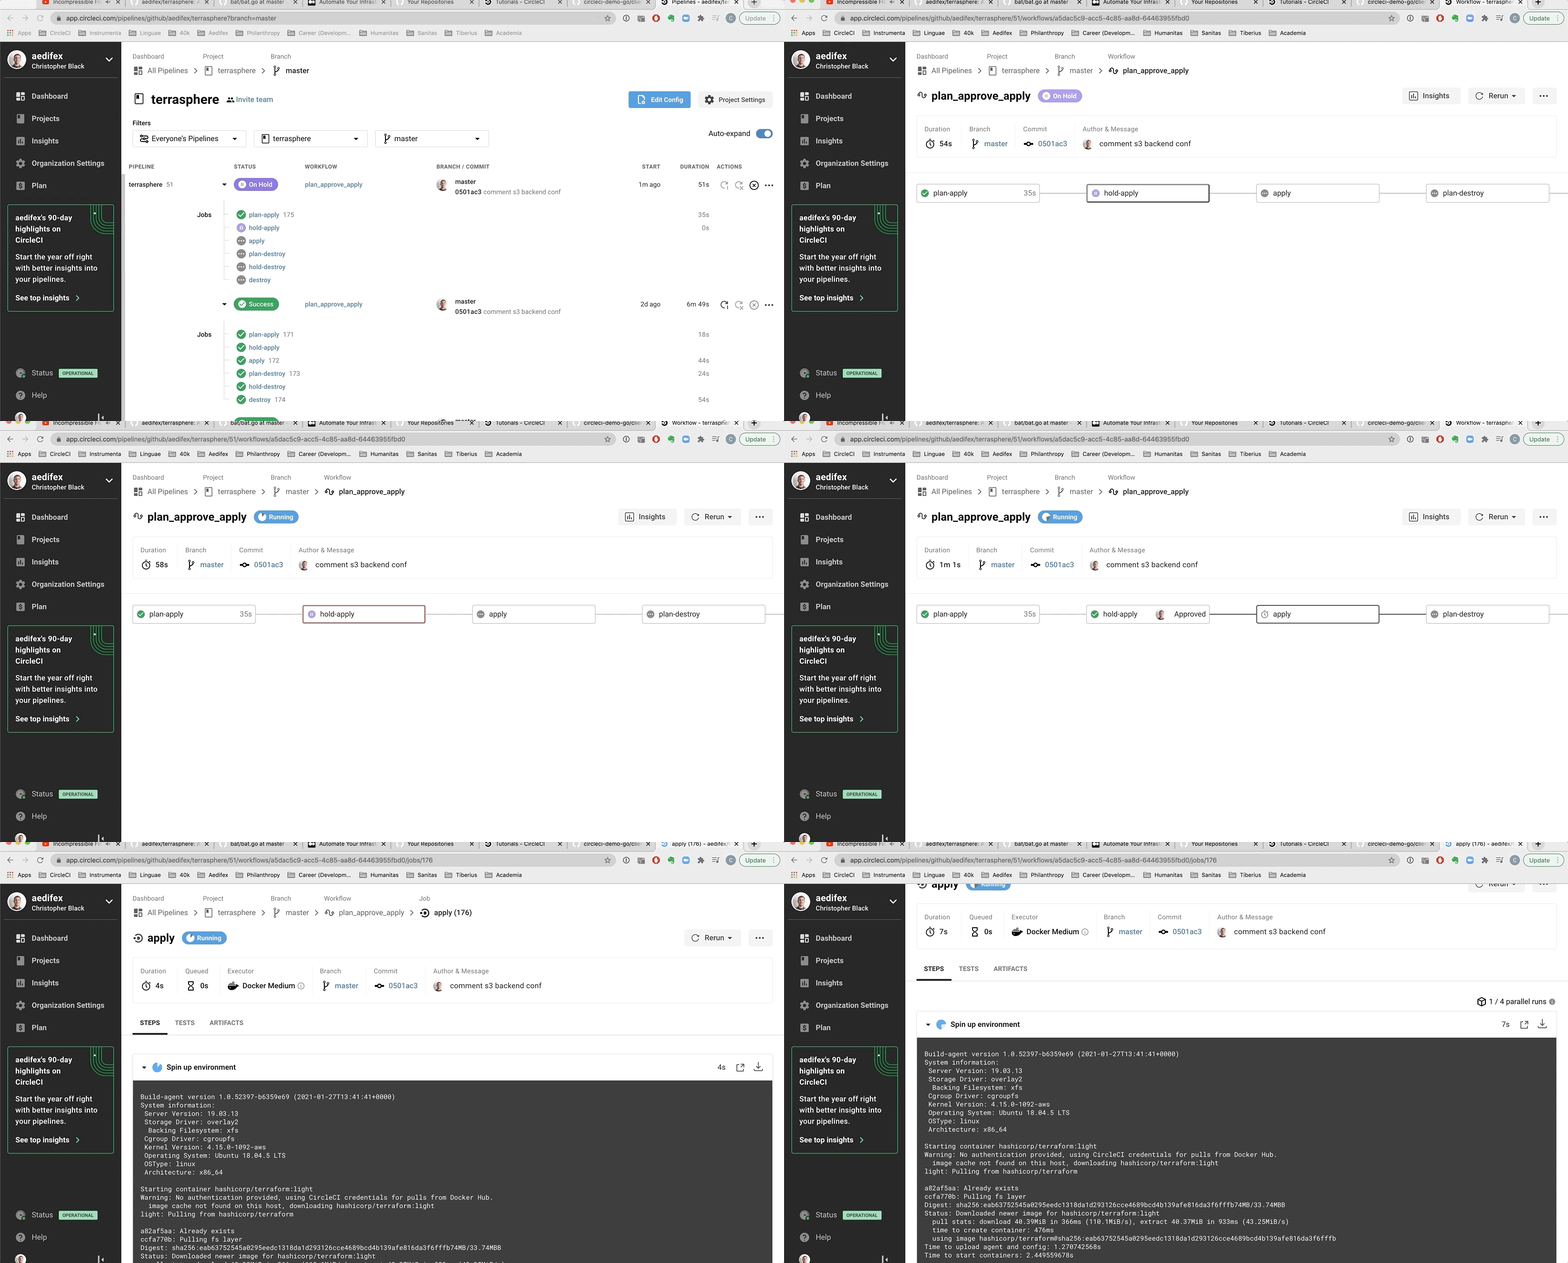
The shape of our workflow looks something like:
The apply and destroy jobs are both gated by an approval step
Once you've explicitly approved the apply job, look for the corresponding output from the terraform apply step:
instance_ip = [
  "123.123.123.123",
]
Throw that IP into your favorite web-browser (and port if you specified one, e.g. 123.123.123.123:8888) and behold! You've deployed an EC2 instance that responds to web traffic using Terraform and CircleCI. I'd certainly share this news with my friends and family. Exciting, I know.
Thanks for stopping by. Hopefully you found this valuable.
Happy building!

