This package implements 3d color lookup tables (CLUT) for image manipulation and saving/loading from and to the HaldCLUT format. It was originally created for the purpose of re-creating CLUT filters from a set of edited and un-edited images. When is this necessary? Usually, if one wanted to pull a filter from your favourite app, all that needs to be done is loading an identity HaldCLUT image and applying the desired filter to it. This is not easily possible if the application of a filter happens on a camera instead of an app, since the raw image data is often modified directly. The Ricoh GR for example has a much-loved positive film effect, but one could not apply it to arbitrary images on your computer... until now. Scroll down to see an application example.
Dependencies: Pillow, numpy, scipy. Optionally scikit-image to use the denoise feature.
Install in PIP editable mode:
git clone git@github.com:oiao/clut.gitpip install -e clut
For verification run the unit tests with tests/run_tests.sh.
import numpy as np
from PIL import Image
from clut import CLUT# Either an identity CLUT
clut = CLUT()
# Or load a HaldCLUT image from file
clut = CLUT('path/to/haldclut.png')im_out = clut('target/img.png') # directly to image files
im_out = clut(np.array(Image.open('target/img.png'))) # or to numpy arraysim_out = Image.fromarray(im_out)
im_out.save('modified/img_out.png')by accessing the r,g,b channels through indexing
clut[120,0,255] = [0, 0, 0] # map rgb[120,0,255] to blackclut.save('haldclut.png', size=8)The resulting image will have a size of (size**2, size**2).
Generally, storing with a larger size is recommended (for a color depth of 256, the lossless size
is 16, resulting in a ~1.8mb png file).
from clut import clutfitFitting works by providing a series of
(unfiltered, filtered) tuples to the clutfit function.
For very accurate results, make sure that all image pairs cover as much
color of the color space as possible.
images = [
  ('01in.png', '01out.png'),
  ('02in.png', '02out.png'),
  ('03in.png', '03out.png'),
  ]
clut = clutfit(*images)
The resulting instance can then be saved as described above.
The package comes with a CLI that can be accessed through the
clut command:
>>> clut -h
usage: clut [-h] [-s] {apply,batch-apply,fit} ...

CLUT Command Line Interface

positional arguments:
  {apply,batch-apply,fit}
    apply               Apply a HaldCLUT image filter to a number of files or
                        directories
    batch-apply         Batch-Apply multiple HaldCLUT image filters to one
                        target image
    fit                 Re-create a HaldCLUT filter from a series of
                        input/output images.

optional arguments:
  -h, --help            show this help message and exit
  -s, --silent          Disable verbose output
You can use the clut COMMAND --help command to get additional help on any of the sub-commands.
For the fitting to work, the following needs to be considered:
- The package requires image pairs (at least one) of unfiltered and filtered images with excatly the same composition. In-camera this can usually be achieved by taking an image without any filters, and applying the filter afterwards
- Images that cover as much of the complete color space as possible as best suited for fitting
- Avoid noisy images as much as possible, as this in turn will lead to more artifacts in the CLUT
Lets assume we have the following two image pairs in our folder:
doc
├── 01in.jpg
├── 01out.jpg
├── 02in.jpg
└── 02out.jpg
| Unedited Image | Edited Image |
|---|---|
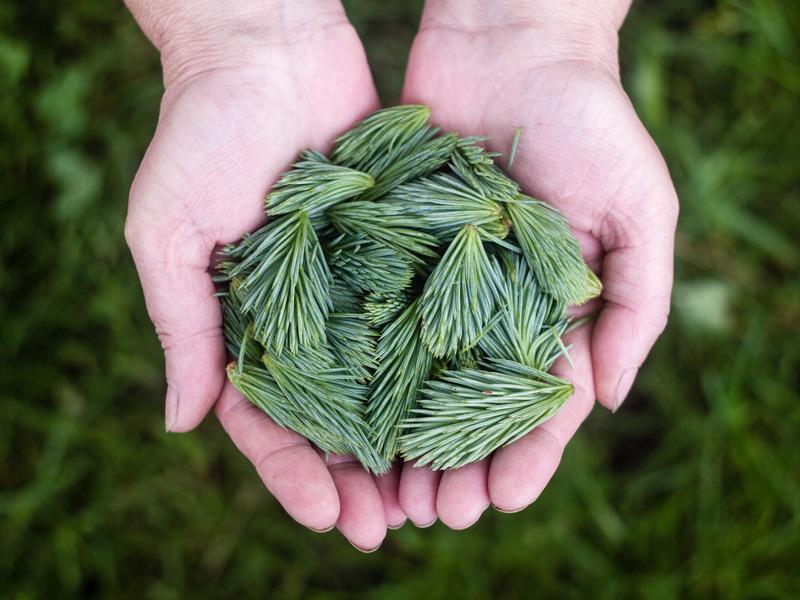 01in.jpg 01in.jpg |
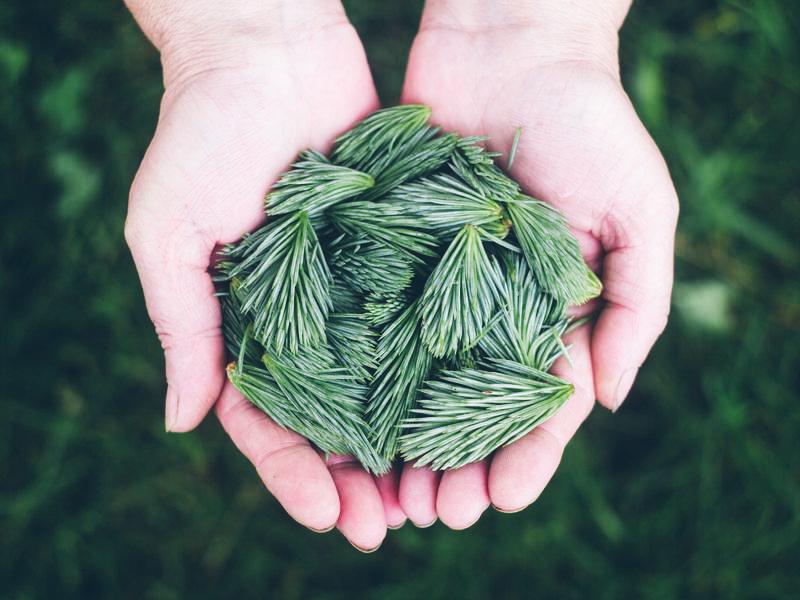 01out.jpg 01out.jpg |
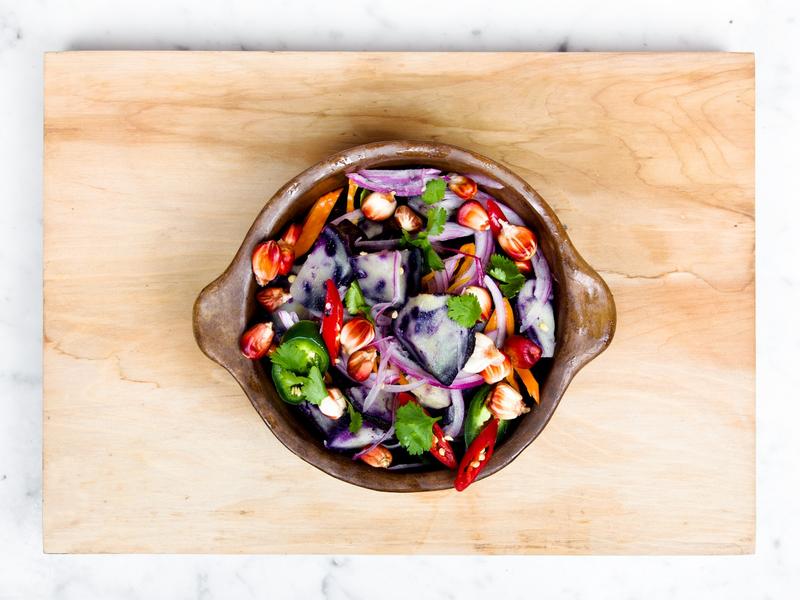 02in.jpg 02in.jpg |
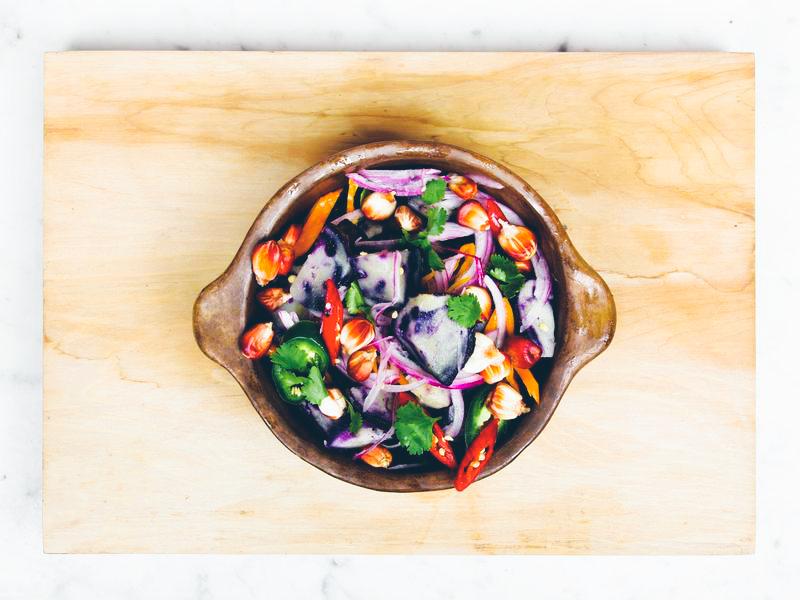 02out.jpg 02out.jpg |
however, the HaldCLUT for that color mapping is not available to us. We can use the clut package to generate a fit based on the above images:
>>> clut fit --from 01in.jpg 02in.jpg --to 01out.jpg 02out.jpg
Fitting based on 2 image pairs ...
We now have a clutfit.png in the same directory, which can be applied to any image:
>>> clut apply clutfit.png --to 01in.jpg 02in.jpg
01in.jpg ...
02in.jpg ...
| Original Edited Image | Reconstructed Filter Image |
|---|---|
 01out.jpg 01out.jpg |
 01in_clut.jpg 01in_clut.jpg |
 02out.jpg 02out.jpg |
 02in_clut.jpg 02in_clut.jpg |
- When working with large images, consider using the
clut fit --scaleoption to significantly speed up the fitting process - If your images show visible artifacts after the application of a HaldCLUT that has been previously generated with
clut fit, you can try using the denoise option withclut fit --denoise X, where X is a value between 1e-4 and 1e-2. This requires the scikit-image module - When in trouble, see
clut fit --help