This project is much utilizing Google Cloud Platform specifically:
- Dataproc as the managed cluster where we can submit our PySpark code as a job to the cluster.
- Google BigQuery as our Data Warehouse to store final data after transformed by PySpark
- Google Cloud Storage to store the data source, our PySpark code and to store the output besides BigQuery
This project is taking JSON as the data sources that you may see on input/ folder.
Those files will be read by Spark as Spark DataFrame and write the transformed data into:
- CSV
- Parquet
- JSON
- BigQuery Table
Which explained more in Output & Explanation section
First of all, you need to have gcloud command whether its on Local on you can use Cloud Shell instead.
- Enable Dataproc API, you may see it how to enable the API on: https://cloud.google.com/dataproc/docs/quickstarts/quickstart-gcloud
- If you decide to run whole process on local using
gcloud. You may refer to https://cloud.google.com/sdk/docs/install for the installation guide.
If you've did two steps above, lets move to next part which is Setup using Non Workflow Template vs Using Workflow Template.
Non workflow template means that we have to create the cluster first, then submit jobs to our cluster then delete the cluster by manually (but still can be done using gcloud command). The steps are:
- Create a Dataproc cluster with:
Note that you need to declare some variables that mentioned with
gcloud beta dataproc clusters create ${CLUSTER_NAME} \ --region=${REGION} \ --zone=${ZONE} \ --single-node \ --master-machine-type=n1-standard-2 \ --bucket=${BUCKET_NAME} \ --image-version=1.5-ubuntu18 \ --optional-components=ANACONDA,JUPYTER \ --enable-component-gateway \ --metadata 'PIP_PACKAGES=google-cloud-bigquery google-cloud-storage' \ --initialization-actions gs://goog-dataproc-initialization-actions-${REGION}/python/pip-install.sh${}first. And you can add or remove the arguments based on your needs which you can see more on: https://cloud.google.com/sdk/gcloud/reference/beta/container/clusters/create - Submit your job, in this case I submitted PySpark job
If you wish to submit other than PySpark, please refer here: https://cloud.google.com/sdk/gcloud/reference/beta/dataproc/jobs/submit
gcloud beta dataproc jobs submit pyspark gs://${WORKFLOW_BUCKET_NAME}/jobs/spark_etl_job.py \ --cluster=${CLUSTER_NAME} \ --region=${REGION} \ --jars=gs://spark-lib/bigquery/spark-bigquery-latest_2.12.jar - After the job submitted and finished running. You can delete the cluster to prevent getting charged. Although in real case at company we let the clusters always ON and live. However if you want to delete, you can do it by:
gcloud beta dataproc clusters delete ${CLUSTER_NAME} \
   --region=${REGION}
-
Run this command to create workflow-template
gcloud beta dataproc workflow-templates create ${TEMPLATE} \
--region=${REGION}
For
TEMPLATEvariable you can set it to any string, andREGIONyou may see more on here: https://cloud.google.com/compute/docs/regions-zones -
Set managed cluster on created workflow-template by run this command:
gcloud beta dataproc workflow-templates set-managed-cluster ${TEMPLATE} \
  --region=${REGION} \
  --bucket=${WORKFLOW_BUCKET_NAME} \
  --zone=${ZONE} \
  --cluster-name="bash-wf-template-pyspark-cluster" \
  --single-node \
  --master-machine-type=n1-standard-2 \
  --image-version=1.5-ubuntu18
Actually you can add more arguments or change the value of argument based on your needs. Refer more on: https://cloud.google.com/sdk/gcloud/reference/dataproc/workflow-templates/set-managed-cluster
-
Add job on workflow-template by running this command
gcloud beta dataproc workflow-templates add-job pyspark gs://${WORKFLOW_BUCKET_NAME}/jobs/your_job_name.py \
   --step-id="bash-pyspark-wf-template-gcs-to-bq" \
   --workflow-template=${TEMPLATE} \
   --region=${REGION} \
   --jars=gs://spark-lib/bigquery/spark-bigquery-latest_2.12.jar
The job is not limited to
pysparkonly, you can also add Hadoop MapReduce job or others. More on https://cloud.google.com/sdk/gcloud/reference/dataproc/workflow-templates/add-job -
After the job added, its time to run the workflow-template by instantiate it with:
gcloud beta dataproc workflow-templates instantiate ${TEMPLATE} \
 --region=${REGION}
If you want to run that gcloud commands just using single command, you may see those scripts on script.sh that I've created on this Repo.
Here is the output from running Spark Job on Dataproc cluster:
- CSV
Partitioned by date will create folders to group the data by date automatically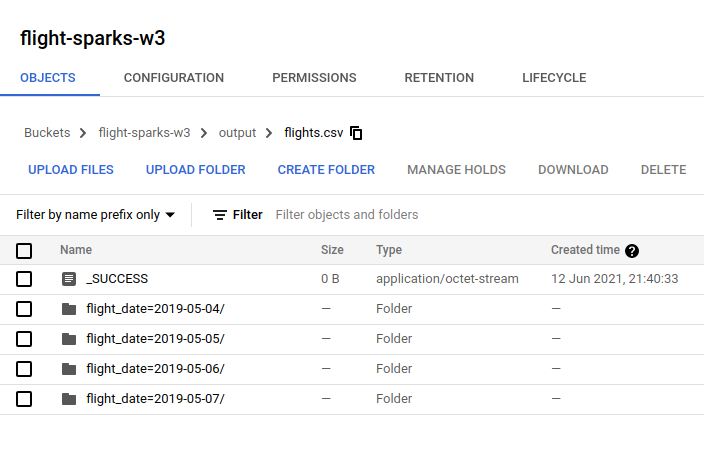 And if you click one of the folder, it will show you files that partitioned by spark. You can adjust it by using
 repartition(n)in your Spark code when writing data to file.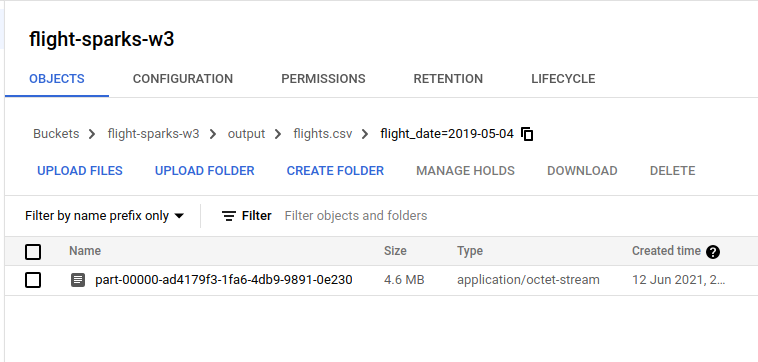 Note: This partition is called hive partitioning. Reference: https://cloud.google.com/bigquery/docs/hive-partitioned-loads-gcs#supported_data_layouts
 - JSON
It shows same result like CSV output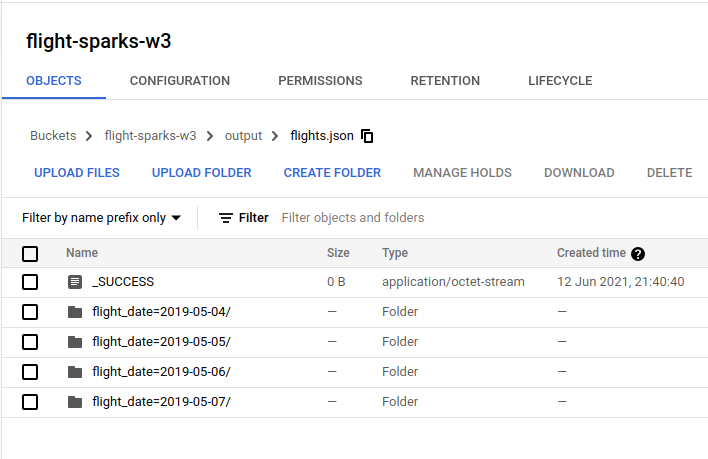
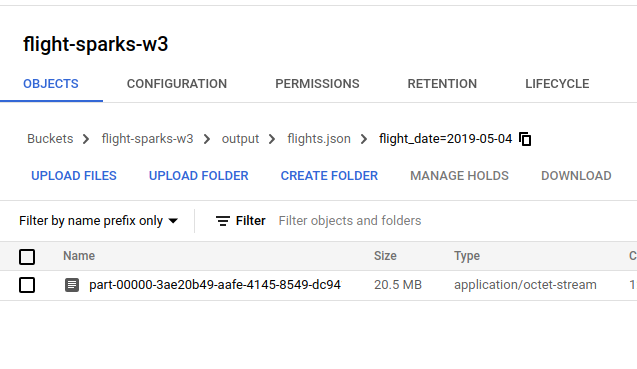
- Parquet
It also create the same directory structure like CSV and JSON. It just differents on the file content and parquet file will be compressed using snappy by default.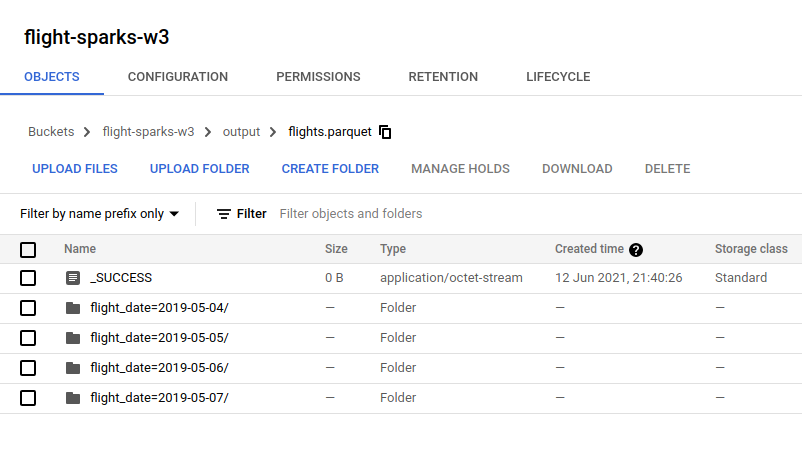
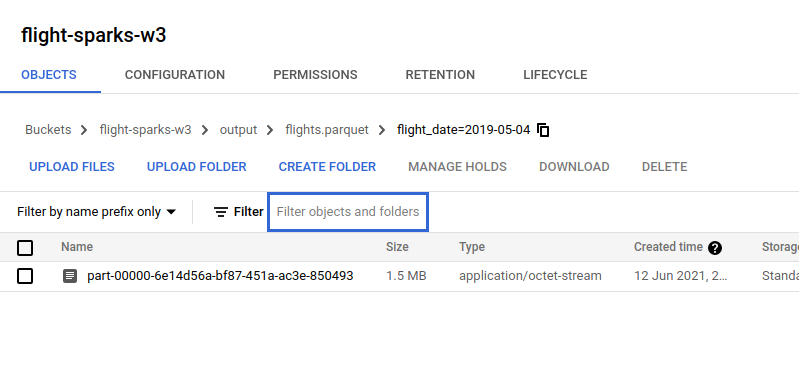 As this screenshot shows that the file has
 snappybefore the.parquetfile type.
- Flights data
The BigQuery Table output shows as below, this table is partitioned byflight_datecolumn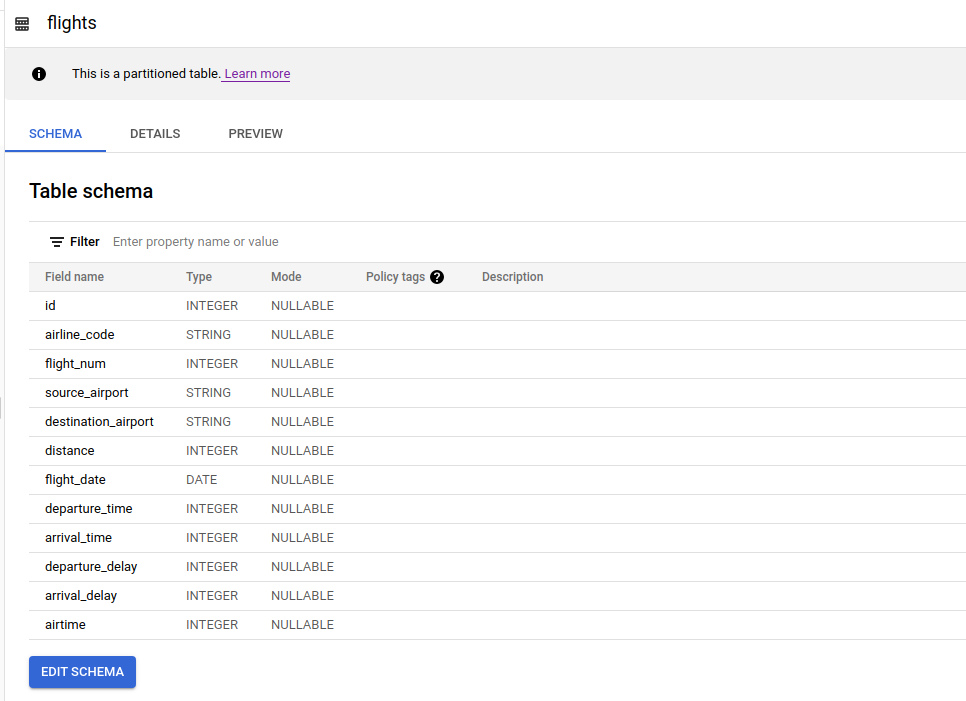
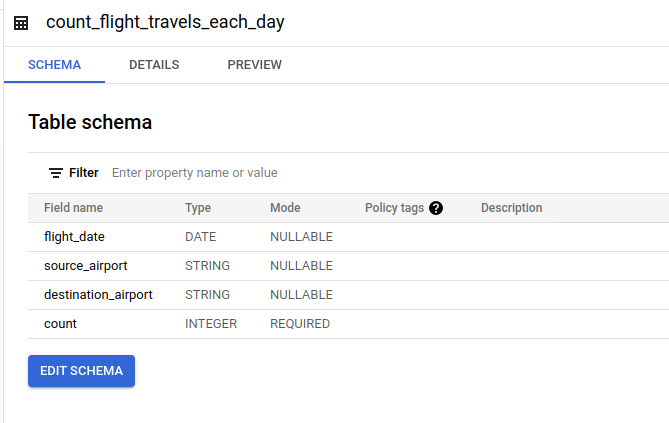
- Aggregated Travels Destination on Each Day
This table contains information about how many flights from source airport - destination airport for each day.
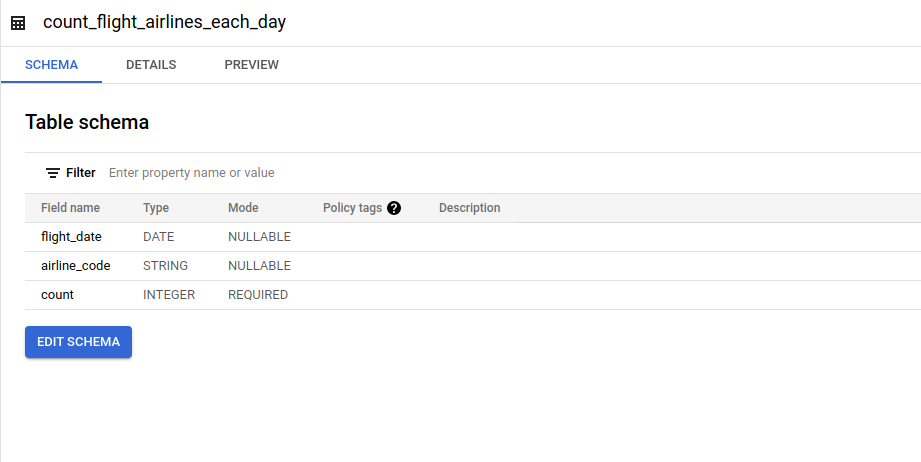
- Aggregated Airline Codes on Each Day
This table contains information about how many specific airline code on flights for each day.
When write data from Spark Dataframe to those file types, I used repartition(n) to set how many partitioning files on each partitioned by specified by partitionBy(column). The more number specified on repartition() the less size on each file will be.
In flights BigQuery table, it shows "This is a partitioned table" meaning that when you filter query by that partitioned column it will return the results faster with less cost because it won't scan all rows but only the some data based on filtered value that you specified on WHERE clause. In Spark you can set the options of what type and column on partition with:
df.write.format('bigquery')
    .option('partitionField', column_name) \
    .option('partitionType', 'DAY')