Alert: This repo contains very messy code. It is my first foray into using Metal on iOS and is mainly
meant as a learning exercise. Don't expect well-structured or well-documented code. Oh, and if you want
to see even shittier code, look no further than git log...
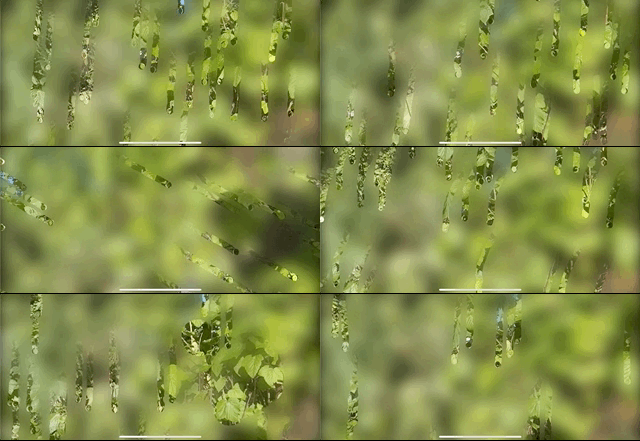
This is just a small example of using Metal. By using the iOS camera and doing some image processing, it makes it look like your iPhone is a misty piece of glass with raindrops rolling down.
The raindrops will make the mist temporarily disappear in their trace. If you turn your phone, the raindrops will change direction accordingly. You can wipe the mist off the screen with your fingers.
As mentioned, this is just my own experiments with Metal. So if you want, you are more than welcome to fix a few things I haven't got around to:
- The raindrops look too perfect. It'd be nice to randomize their looks a bit. Maybe add raindrops of different sizes? Also, how about merging raindrops if they get too close to each other. And letting raindrops leave smaller raindrops in their paths?
- Probably a few race conditions in the code, as I haven't focused on that part.
- Get it working with 60 FPS. I guess it's relatively easy to get the camera data 60 times a second, but frankly I've no clue. And I think currently we're pretty hard on the GPU, so perhaps 60 FPS is not a possibility per se.
- My Swift fu is far from perfect. Probably lots of places where I should conver the code to more idiomatic Swift.
- Parts of the Metal pipelines that are constructed on each frame can probably be reused, which may save some CPU and GPU cycles.
For various reasons (mostly being the fact that SwiftUI does not have built-in support for displaying a
Metal view, and I have been too lazy to refactor stuff), basically all of the code is in the Coordinator
class in the MetalView.swift file. The draw method is the entry point
to everything that's going on.
The mist effect is done by applying Gaussian blur to the camera input. As luck would have it, Apple has already done this for us in MPSImageGaussianBlur, which is part of the Metal Performance Shaders toolbox.
The raindrops are maintained in an array and are moved according to gravity and a bit of randomness every frame. As they fall outside of the view, they are simply moved back to the top of the view. This is done in plain old, boring CPU code.
In order to decide which parts of the image are blurry and which are not, a separate texture containing a float between 0 and 1 for each pixel is updated on every frame. The values specify how to mix the camera input and the blurry texture. Each frame, the values below 1 are incremented a tiny bit, thus making everything a little blurrier all the time. The update is happening in a Metal compute pipeline.
As the raindrops are moved, and as you swipe the mist with your fingers, the corresponding values in the blur mix texture are set to 0, thus removing the mist temporarily. This is also happening in the compute pipeline that is gradually blurring everything.
The resulting image is composed in a "regular" Metal fragment shader. It takes this input:
- The original camera texture.
- The Gaussian blur texture.
- The "blur weights" texture.
- The positions of all raindrops.
If a point in the image is within a raindrop, it chooses a raindrop pixel according to the raindrop reflection. Otherwise, it just mixes the original camera texture and the blur texture according to the value in the "blur weights" texture.
This experiment is heavily inspired by the "The Drive Home" tutorials from The Art of Code. These are really awesome introductions to writing shaders.
Getting up and running with Metal was made possible for me by reading a few articles on Metal by Example. Lots of great stuff there!
This code is licensed under the Do What The Fuck You Want To Public License.
