Amazon CodeGuru Profiler Python Demo Application
How it works
The application does some basic image processing, with some CPU-heavy operations alongside some IO-heavy operations.
It consists chiefly of two components which run in parallel, the task publisher and the image processor.
CodeGuru Profiler Python agent runs inside the application, in the same way any real application would use it. It collects and reports profiling data about the application, ready to be viewed in the AWS console.
TaskPublisher
Checks the S3 bucket for available images, and submits the name of some of these images to the SQS queue.
ImageProcessor
Polls SQS for names of images to process. Processing an image involves downloading it from S3, applying some image transforms (e.g. converting to monochrome), and uploading the result back to S3.
Setup
Here is the summary of the steps that follow.
- Make sure you have installed the latest version of AWS CLI. Use an IAM entity for the AWS CLI that has permissions to access CodeGuru Profiler, S3 and SQS to create all the required components for the demo application to run.
- Create a profiling group in CodeGuru Profiler, named
PythonDemoApplication. - Create a S3 bucket, e.g.
s3://python-demo-application-test-bucket. Note, the bucket name must be unique across all of Amazon S3. See here for more details. - Create an SQS queue, e.g.
DemoApplicationQueue. See here for more details. - Create virtual environment with venv, e.g.
python3 -m venv ./venv. - Activate the virtual environment, e.g.
source venv/bin/activate. - Install dependency
boto3andskimagethrough pip3 that are used for the demo application. - Install the Python agent
codeguru_profiler_agentthrough pip3.
Here are the commands to run on your machine.
aws configure # Set up your AWS credentials and region as usual.aws codeguruprofiler create-profiling-group --profiling-group-name PythonDemoApplication
# It is required to set the DEMO_APP_BUCKET_NAME and DEMO_APP_SQS_URL environment applications for later running the demo application.
# Make sure you update `YOUR-BUCKET-NAME-REPLACE-ME`with a bucket name that is unique across all of Amazon S3.
export DEMO_APP_BUCKET_NAME=YOUR-BUCKET-NAME-REPLACE-ME
aws s3 mb s3://${DEMO_APP_BUCKET_NAME}
# Make sure you update `YOUR-AWS-REGION-REPLACE-ME` and `YOUR-ACCOUNT-ID-REPLACE-ME`.
aws sqs create-queue --queue-name DemoApplicationQueue
export DEMO_APP_SQS_URL=https://sqs.${YOUR-AWS-REGION-REPLACE-ME}.amazonaws.com/YOUR-ACCOUNT-ID-REPLACE-ME/DemoApplicationQueuepython3 -m venv ./venv
source venv/bin/activate
pip3 install boto3 scikit-image
pip3 install codeguru_profiler_agentFor Python 3.9, installing scikit-image may cause failures; this is a known issue, discussed in scikit-image/scikit-image#5060.
How to run
The main entry point of this application is in the aws_python_sample_application/main.py in the SampleDemoApp class.
# Run the demo application with the CodeGuru Profiler Python Agent.
python3 -m codeguru_profiler_agent -p PythonDemoApplication aws_python_sample_application/main.py
Let it run for at least 15 to 20 minutes to get plenty of data shown for the PythonDemoApplication profiling group.
Note: When running the demo application for the first time, it is expected to see the error message such as
No messages exists in SQS queue at the moment, retry later. and
Failed to list images in demo-application-test-bucket-1092734-YOUR-BUCKET-REPLACE-ME under input-images/
printing to the terminal. Our demo application would handle the upload of the image and the publish of SQS message
after a few seconds.
How to see the results
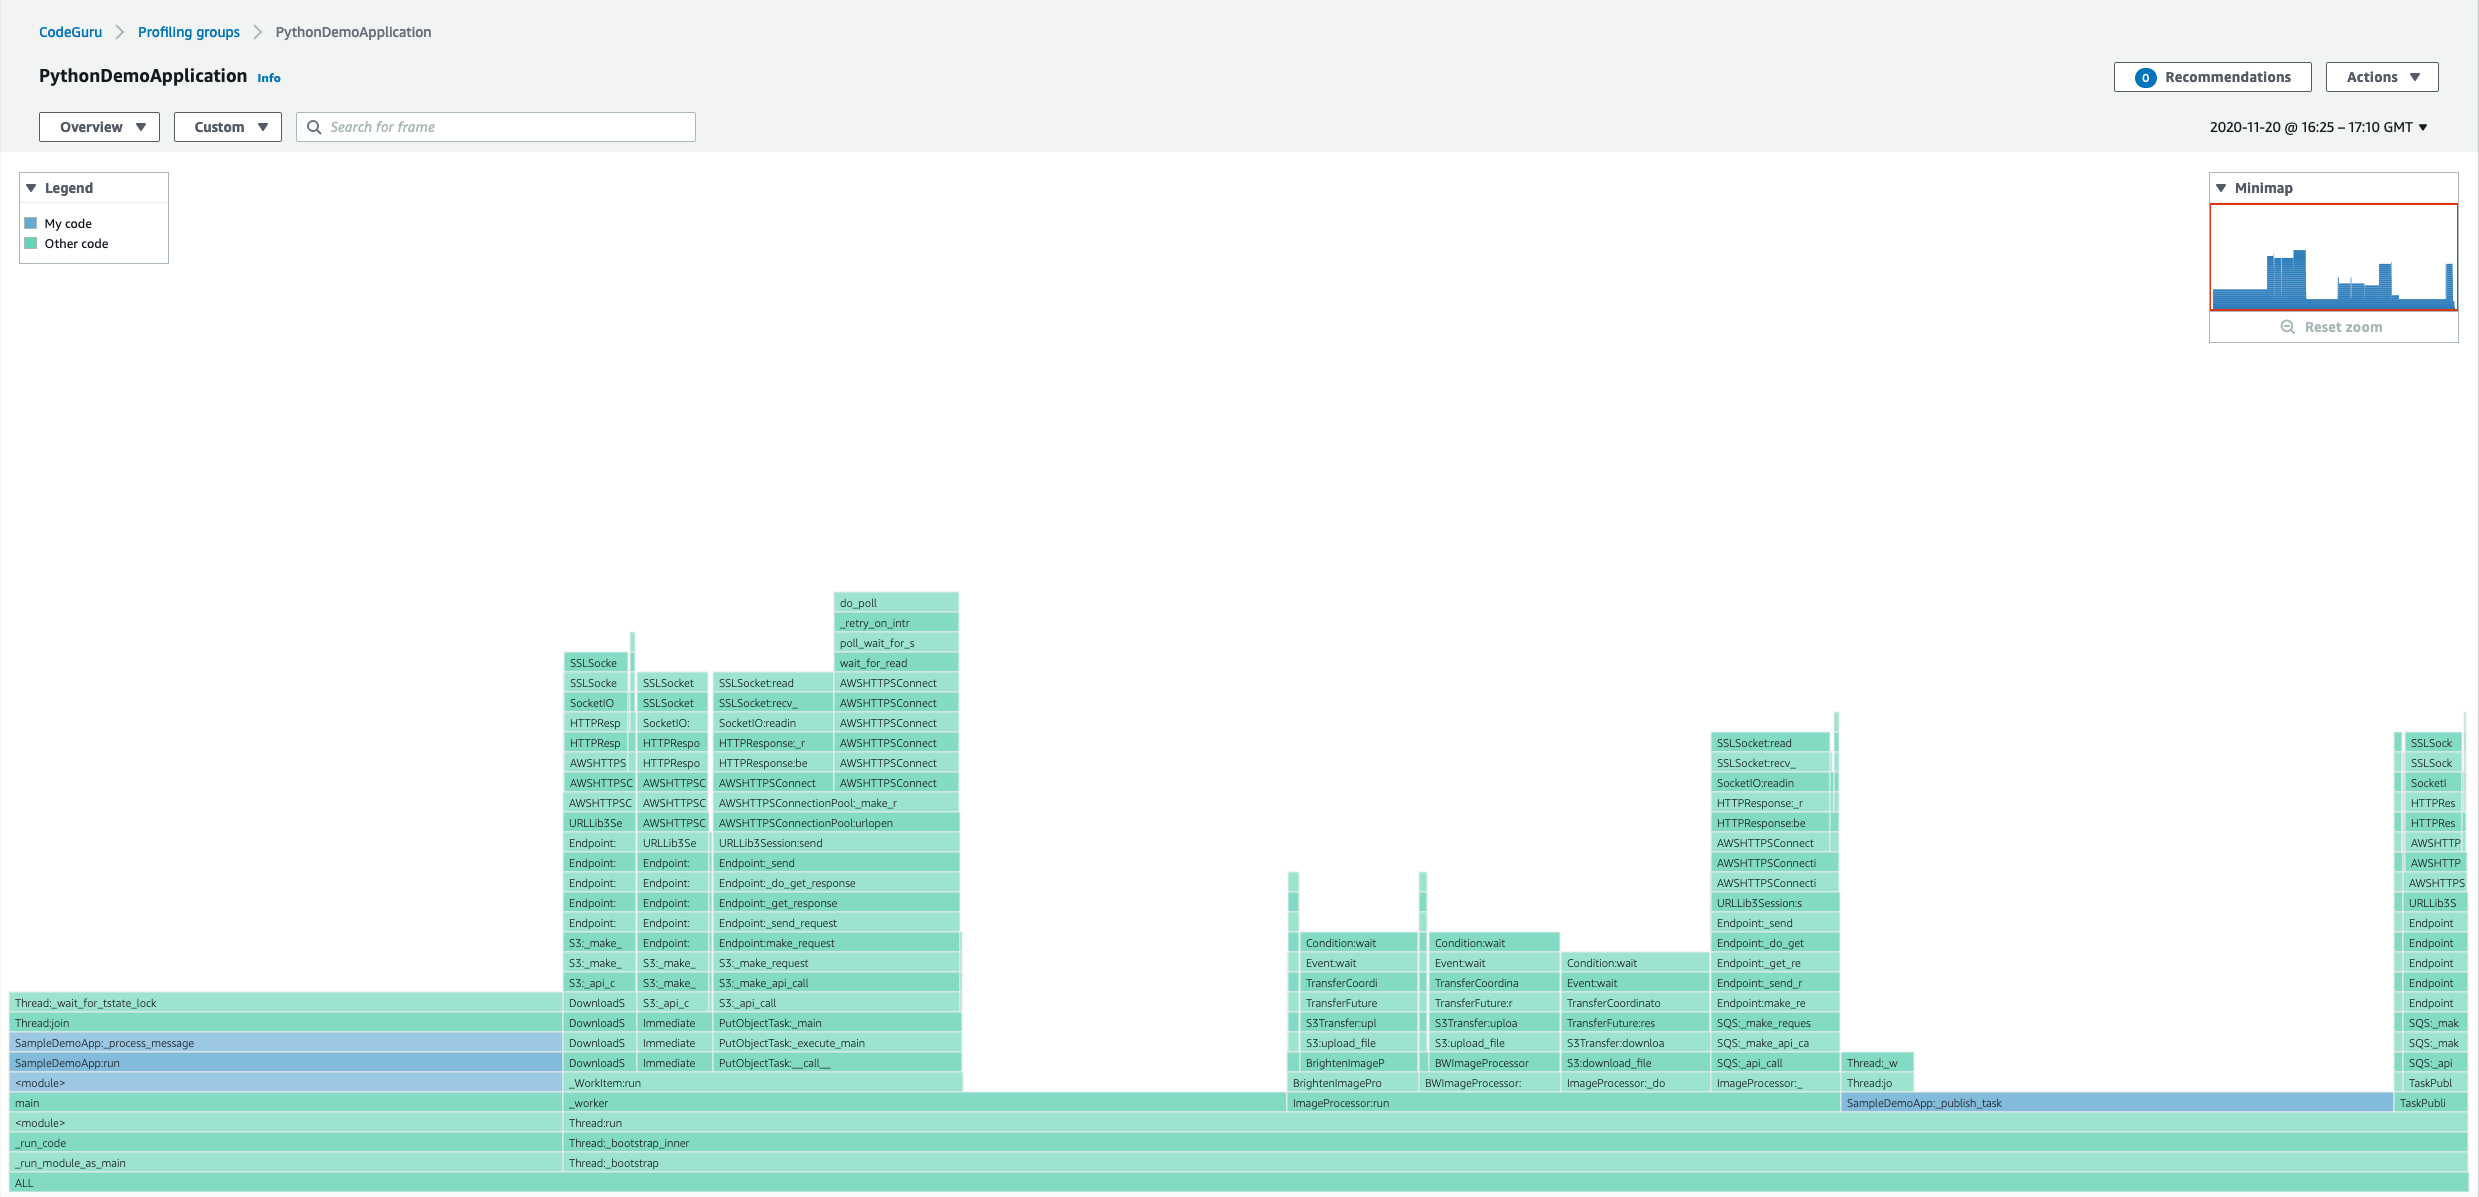
Go to the AWS CodeGuru Profiler console to check the results. Choose the region you picked and your profiling group.
