- Author
Olivier Friard
The raspberry_time-lapse_coordinator is a framework to organize time-lapse photography experiments with Raspberry Pi devices.
The Raspberry Pi devices (workers) are controlled by a laptop/desktop (coordinator) using the bluetooth protocol. No wired/wireless TCP/IP connection is required.
The raspberry_time-lapse_coordinator framework is developed in Python3 and have few dependencies (pybluez and PyQt5).
You must have almost one Raspberry Pi device with a Camera module installed and a laptop/desktop computer (or another Rasberry Pi device can be used in replacement).
Before installation you must pair all your Raspberry Pi devices with the laptop/desktop:
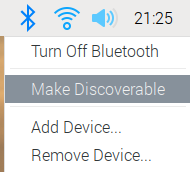
- Make your Raspberry Pi device discoverable. The bluetooth icon will blink green/blue.
- Search bluetooth devices with your laptop/desktop
- Ask to pair each Raspberry Pi device. You will have to accept the pairing on your Raspberry Pi device.
- Set Trust to each Raspberry Pi device on your laptop/desktop
Software installation
You have to install some packages on the laptop/desktop (coordinator) and the Raspberry Pi devices (workers):
sudo apt install bluetooth libbluetooth-devThe Python scripts in the src/worker directory (bluetooth_worker.py, config.py and start_bluetooth_worker.bash) must be copied on the Raspberry Pi devices. You can create the /home/pi/projects/time_lapse directory and copy these scripts into.
In order to install the Python dependencies the best practice is to create a new Python virtual environment:
python3 -m venv /home/pi/timelapse_worker_venv
source /home/pi/timelapse_worker_venv/bin/activate
python3 -m pip install pybluezThe worker program can be launched with the following commands:
source /home/pi/timelapse_worker_venv/bin/activate
cd /home/pi/projects/time_lapse
python3 bluetooth_worker.py
If the workers do not have a display/keyboard/mouse it can be useful to automatically launch the program when the Raspberry starts: For this you have to modify the /etc/rc.local file:
sudo nano /etc/rc.localAdd the following line BEFORE the last line (exit 0)
sudo su - pi /home/pi/projects/time_lapse/start_bluetooth_worker.bash &The Python scripts in the src/coordinator directory (bluetooth_coordinator.py and config_coordinator.py) must be copied on laptop/desktop. You can create a dedicated directory like /home/USERNAME/projects/time_lapse and copy these scripts into.
In order to install the Python dependencies the best practice is to create a new Python virtual environment:
python3 -m venv timelapse_coordinator_venv
source timelapse_coordinator_venv/bin/activate
python3 -m pip install pyqt5 pybluezThe list of the Raspberry Pi devices must be updated in the config_coordinator.py file.
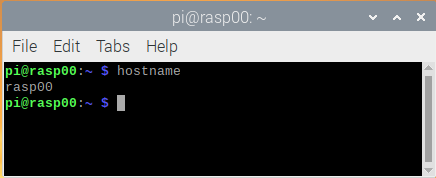
Every Raspberry Pi device in the list must have an id. The best practice is to use the Raspberry Pi hostname.
The Raspberry Pi hostname can be changed with the following command:
sudo nano /etc/hostnameThe change will take effect after rebooting your device.
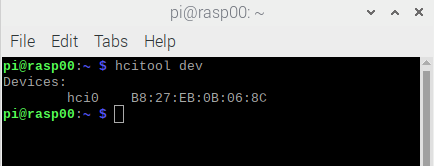
Every Raspberry Pi device in the list must have its bluetooth MAC Address. You can obtain the Raspberry Pi bluetooth MAC address with the following command:
hcitool devExample of config_coordinator.py file:
# raspberries list with bluetooth MAC address
RASPBERRY_LIST  = {
    "rasp00": "b8:27:eb:0b:06:8c",
    "rasp01": "b8:27:eb:42:d2:32",
}The coordinator program can be launched with the following commands:
source timelapse_coordinator_venv/bin/activate
cd /home/USERNAME/projects/time_lapse
python3 bluetooth_coordinator.py
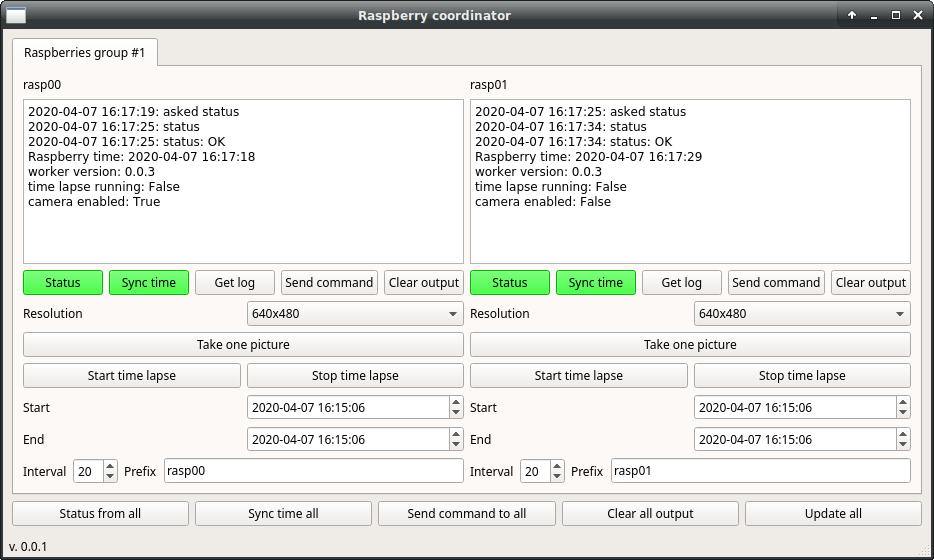
If the workers are running the worker program you should visualize a graphic interface on the laptop/desktop like this:
In this case 2 workers (rasp00 and rasp01) are waiting to receive commands from the coordinator program.
If the Sync time button is not green the time on the Raspberry Pi device is not set correctly. You can click the button to synchronize the time between the coordinator and the worker (the coordinator time will be sent to the Rasberry Pi).
Launch the Raspberry Pi devices.
Launch the coordinator program on the laptop/desktop.
- Synchronize the time between coordinator and workers using the Sync time button. The button should become green.
- Choose the resolution for the time-lapse pictures.
- Check the frame of the camera. Use the Take one picture button and check the picture on the dedicated directory on the laptop/desktop. The directory were pictures are saved on laptop/desktop is defined with the RECEIVED_FILES_DIR parameter in the config_coordinator.py file
- Set the start, End and the Interval (in seconds) parameters.
- Press the Start time lapse button.
All the pictures taken during the time-lapse experiment are saved in the worker directory defined in the PICTURES_DIR parameter in the config.py file. The pictures are not sent to the coordinator. You will have to copy them from the Raspberry Pi SD card.
This button allows you to send a bash command to the workers. For example if you want to turn off a worker send the sudo shutdown now command.


