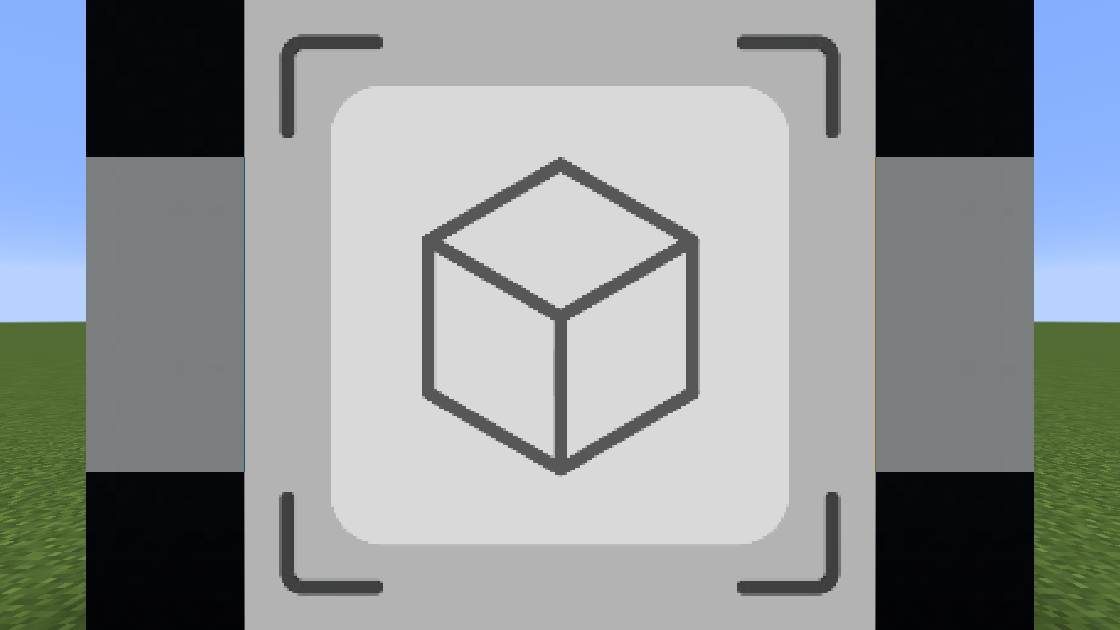
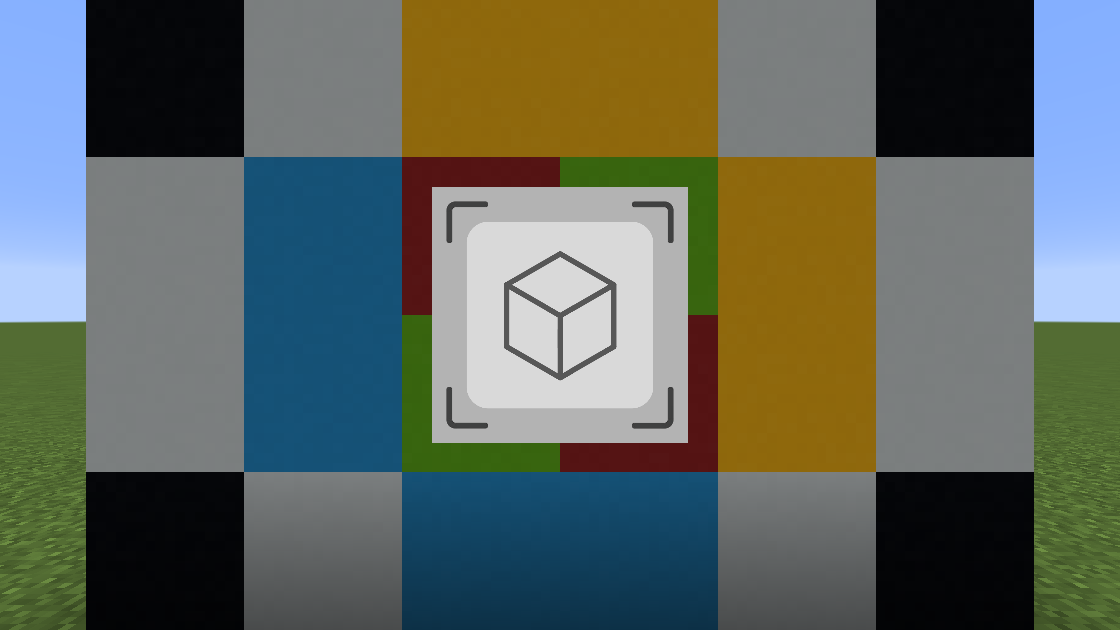
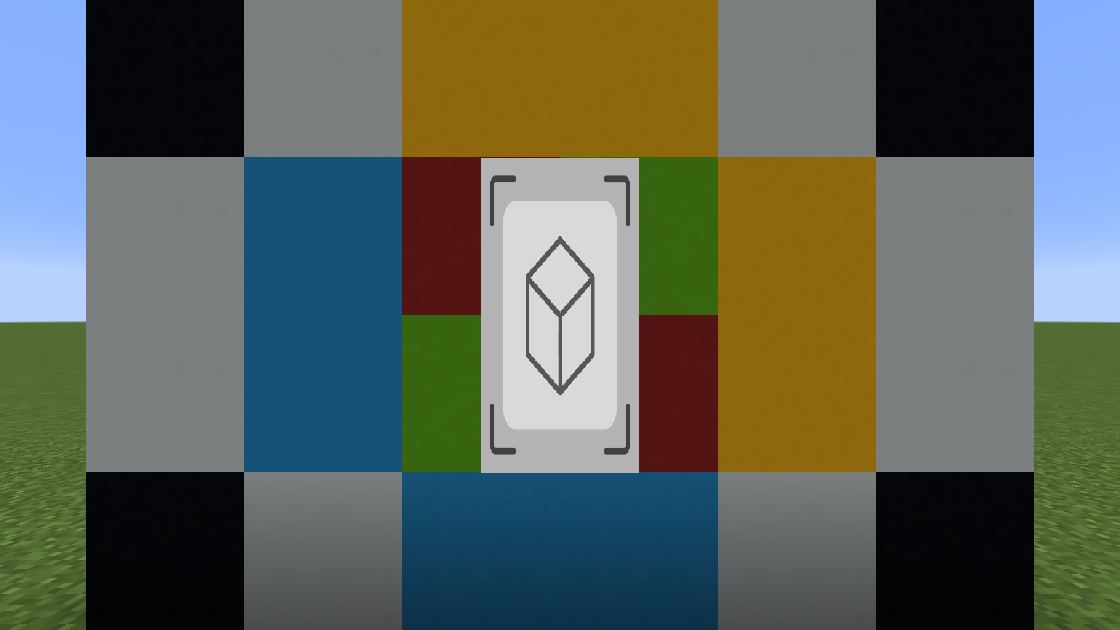
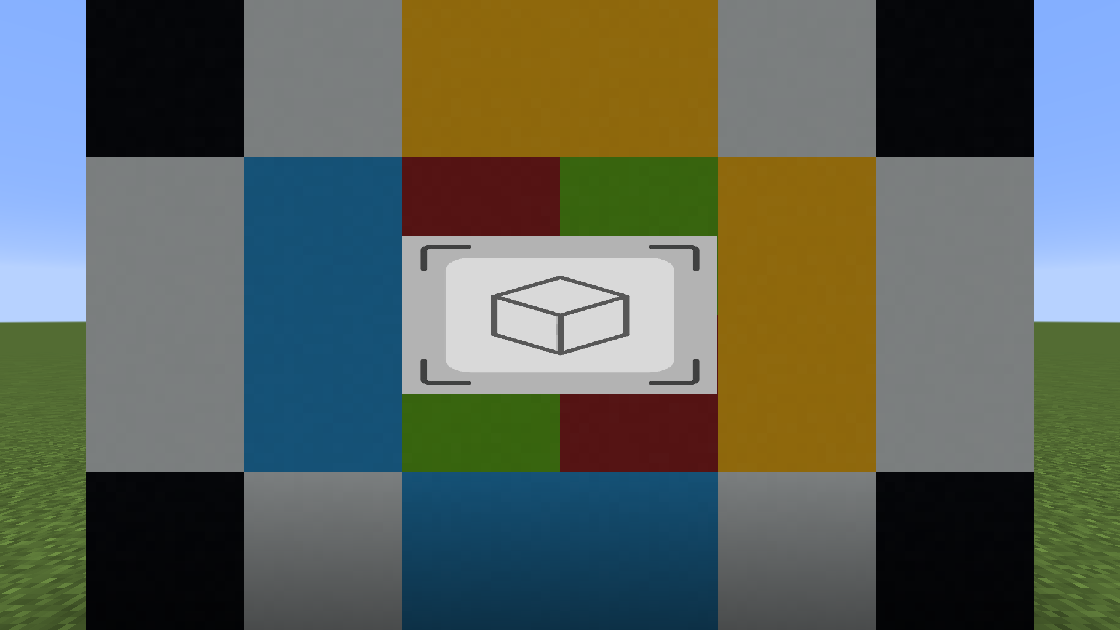
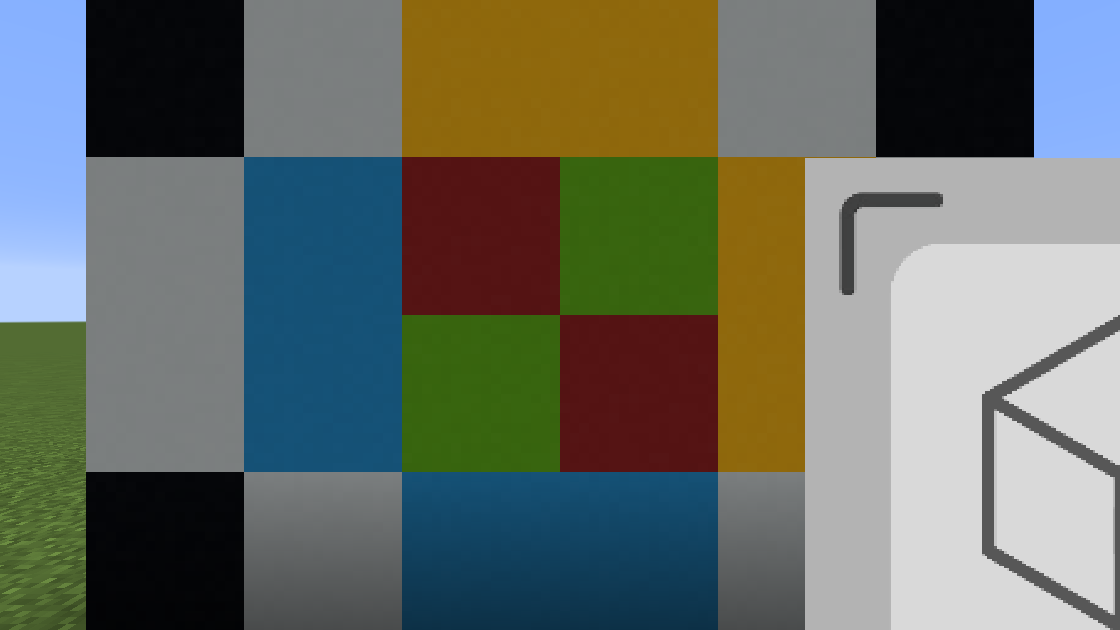
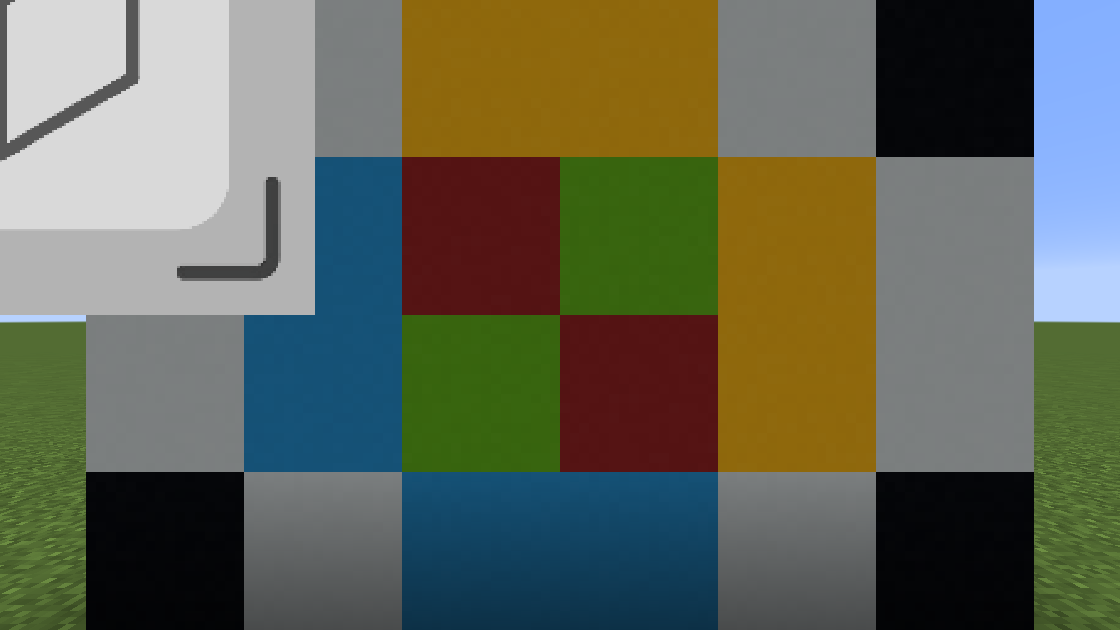
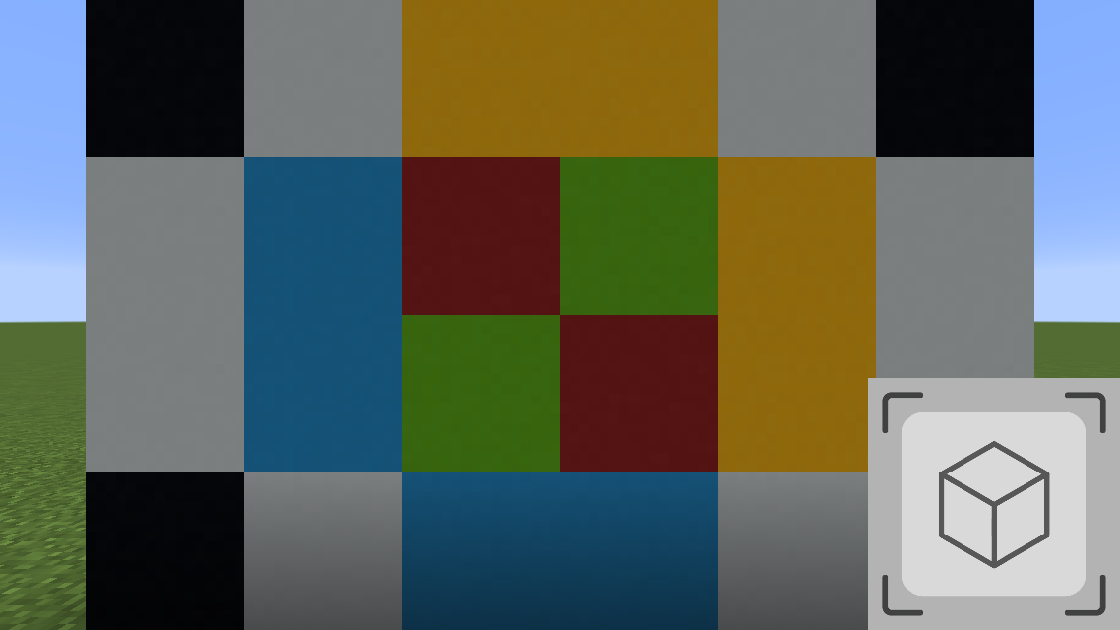
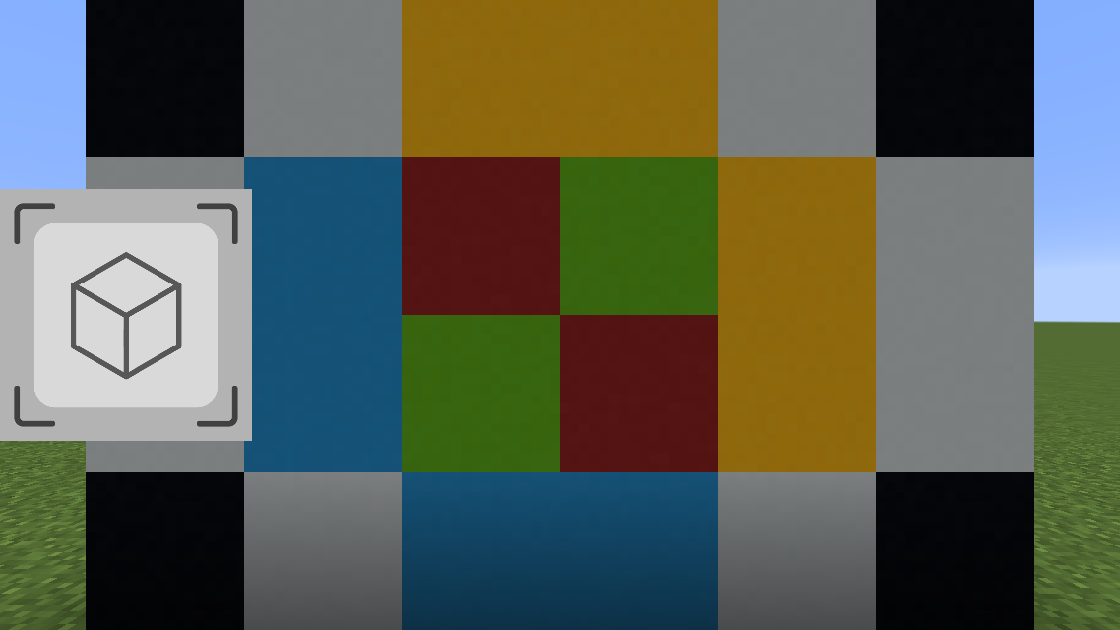
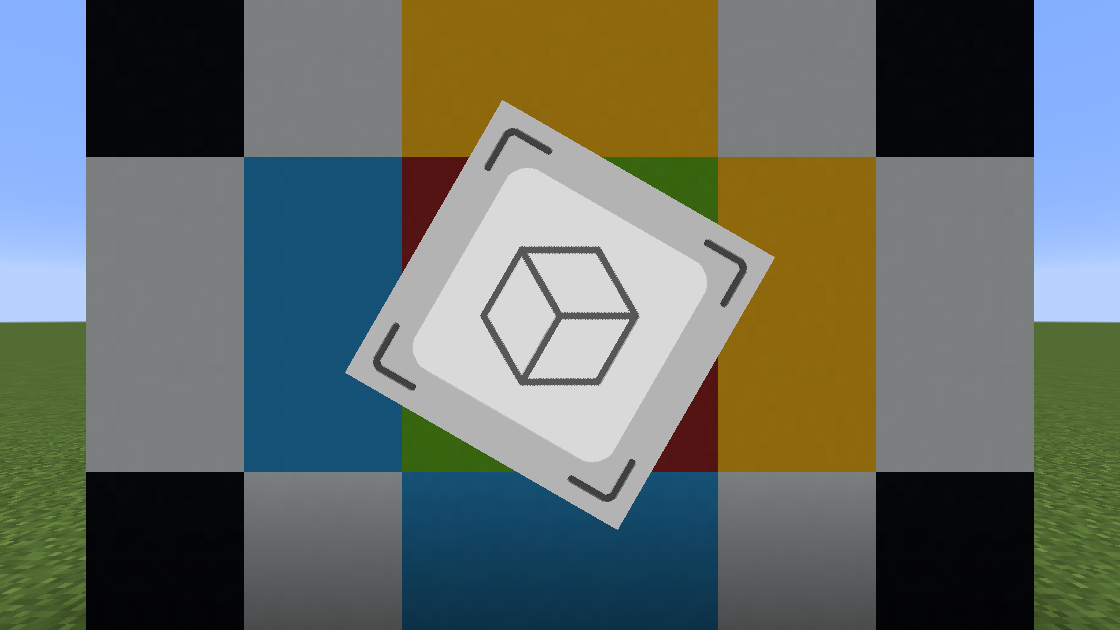
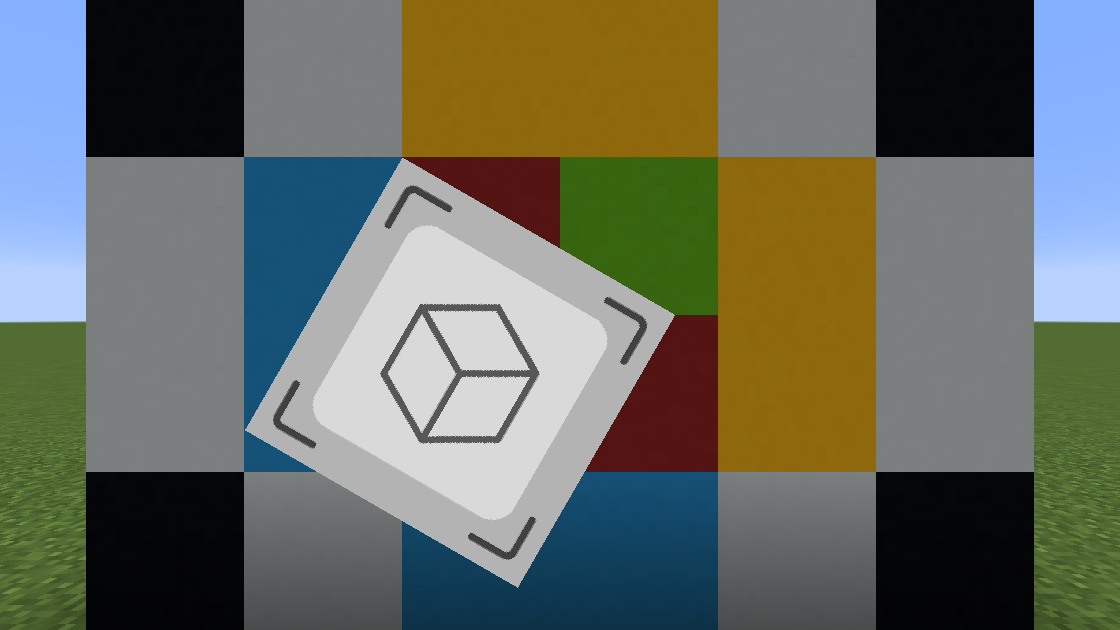
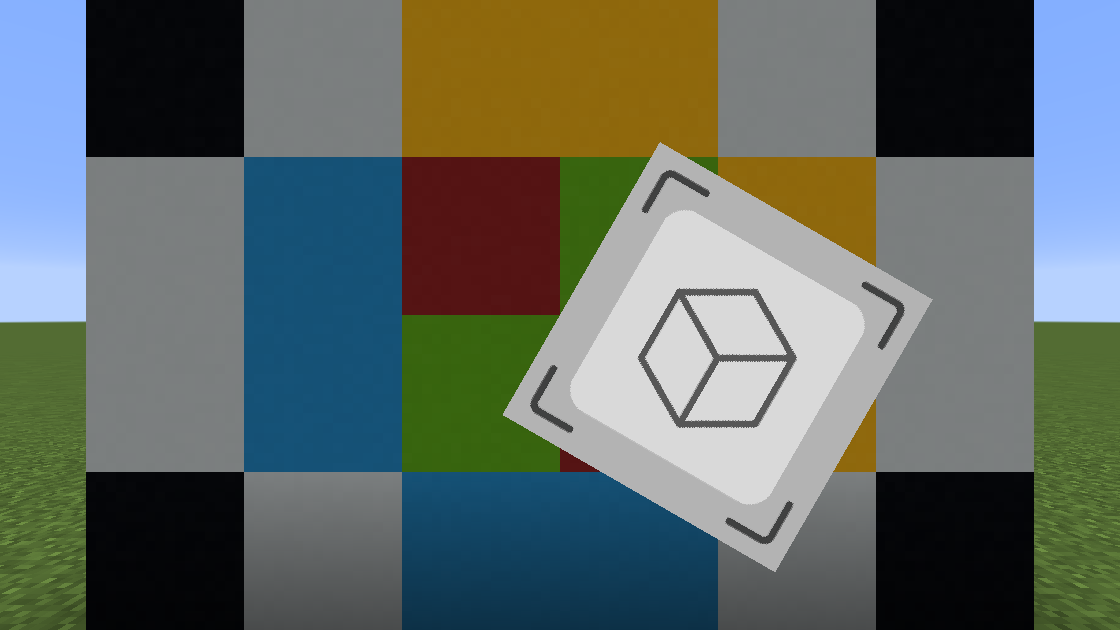
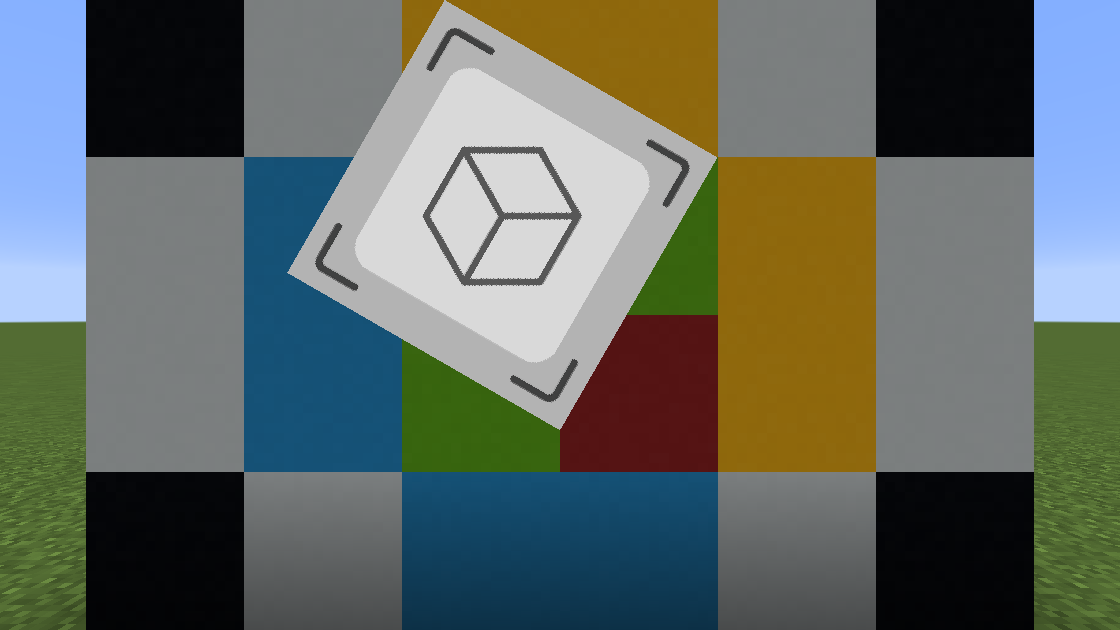
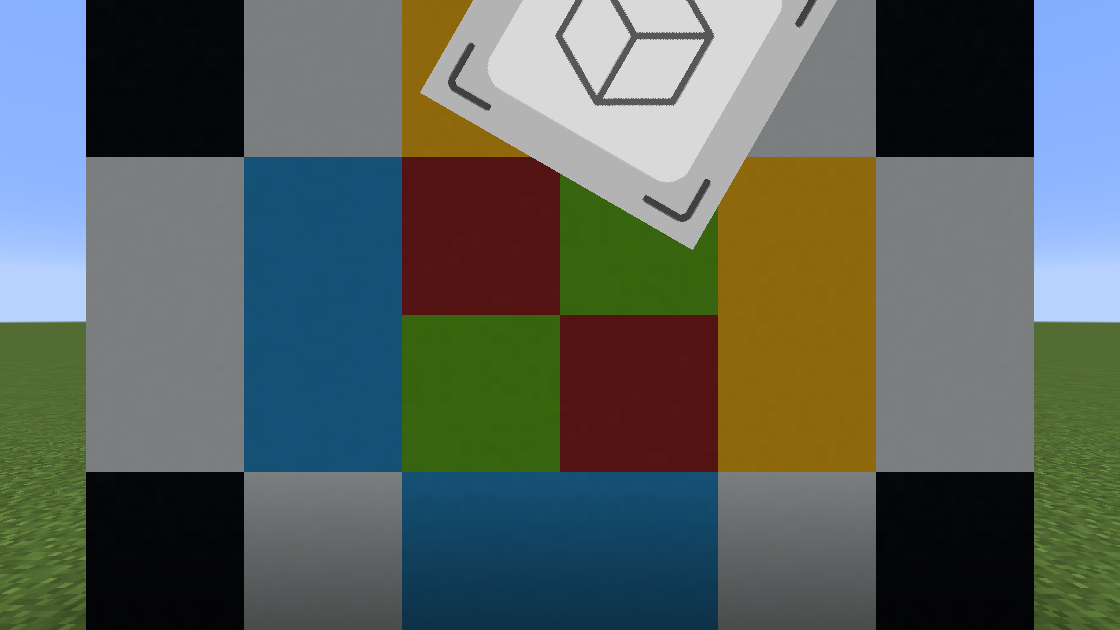
Download the template resource pack from the Releases page.
VertexEdit is a GLSL shader image tool for vanilla Minecraft with various vertex and UV editing features. It provides a vertex shader (util/vertex_edit) that can perform various operations to your image. This includes cropping, positioning, scaling, rotating, and more. This shader can either be used within its own shader pass or included as your shader program's vertex shader, allowing you to customize your fragment shader. This can be useful for displaying visuals anywhere on the user's screen. All shaders provided in this resource pack can be copied and reused for your own resource pack shaders.
This template resource pack can be viewed by going into your Video Settings options and setting Graphics to Fabulous!
An example of the shader pass setup can be found in the file assets/minecraft/shaders/post/transparency.json.
For our shader targets in this example, we take an input buffer called image_in of size 256x256 and output buffer image_out of default size. If you are using image_in to load in a custom image from a file, the values for width and height must match your source image resolution. We also have main and swap which are buffers used for combining our image buffer with Minecraft's render. The remaining buffers are just the default ones used by the post/transparency.json Minecraft shader.
    "targets": [
        { "name": "image_in", "width": 256, "height": 256, "bilinear": false },
        "image_out",
        "swap",
        "main",
        "water",
        "translucent",
        "itemEntity",
        "particles",
        "clouds",
        "weather"
    ],
The first pass in the example is a direct copy of Minecraft's pass to combine the default passes to create the final image Minecraft renders to the screen. This is used only in the post/transparency.json shader. We will be using this as the base image to combine our custom image into. The output will be stored in our buffer called main.
        {
            "name": "transparency",
            "intarget": "minecraft:main",
            "outtarget": "main",
            "auxtargets": [ ... ]
        },
The second pass loads the image we want to display into the image_in buffer target using a custom image loading shader called util/image. In this case, we are sourcing a 256x256 image via "id": "image", which loads from the file called assets/minecraft/textures/effect/image.png. If you are directly using an image, you will need to use this pass to load it in. You can of course use any target buffer with VertexEdit, not just ones loaded from a custom image. The intarget here is just a dummy buffer, as we are only using the buffer from the ImageSampler to load an image.
        {
            "name": "util/image",
            "intarget": "image_out",
            "auxtargets": [
                {
                    "name": "ImageSampler",
                    "id": "image",
                    "width": 256,
                    "height": 256,
                    "bilinear": true
                }
            ],
            "outtarget": "image_in"
        },
This pass utilizes util/vertex_edit, which is where the main work is done. Here we have all the operations we can adjust to perform different edits to your input image from image_in. Detail about these operations can be found under the Tools section. The output must be a buffer that matches the size of the buffer you will combine this image with. In this case, image_out is the same default size as main.
        {
            "name": "util/vertex_edit",
            "intarget": "image_in",
            "outtarget": "image_out",
            "uniforms": [
                { "name": "_Unscale",       "values": [ 0.0 ] },
                { "name": "_CropPixel",     "values": [ 0.0 ] },
                { "name": "_CropResize",    "values": [ 0.0 ] },
                { "name": "_CropRecenter",  "values": [ 0.0 ] },
                { "name": "_Crop",          "values": [ 0.0, 0.0, 0.0, 0.0 ] },
                { "name": "_Stretched",     "values": [ 0.0 ] },
                { "name": "_StretchMin",    "values": [ 0.0, 0.0 ] },
                { "name": "_StretchMax",    "values": [ 0.0, 0.0 ] },
                { "name": "_Scale",         "values": [ 0.0, 0.0 ] },
                { "name": "_OffsetPixel",   "values": [ 0.0 ] },
                { "name": "_Offset",        "values": [ 0.0, 0.0 ] },
                { "name": "_Align",         "values": [ 0.0, 0.0 ] },
                { "name": "_Flip",          "values": [ 0.0, 0.0 ] },
                { "name": "_RotPixel",      "values": [ 0.0 ] },
                { "name": "_RotGlobal",     "values": [ 0.0 ] },
                { "name": "_RotOrigin",     "values": [ 0.0, 0.0 ] },
                { "name": "_RotAngle",      "values": [ 0.0 ] },
                { "name": "_SkewPixel",     "values": [ 0.0 ] },
                { "name": "_Skew",          "values": [ 0.0, 0.0, 0.0, 0.0 ] }
            ]
        }
In this pass, we use util/combine to combine the source image from main with our custom edited image from image_out via the CombineSampler. We output to another buffer called swap so that we can pass it over to the last buffer which finalizes the image.
        {
            "name": "util/combine",
            "intarget": "main",
            "outtarget": "swap",
            "auxtargets": [
                {
                    "name": "CombineSampler",
                    "id": "image_out"
                }
            ]
        },
This final pass simply copies the final output from swap into Minecraft's main rendering buffer minecraft:main. This is a necessary step as without it, there can be issues with Minecraft's rendering when you go in F1 or third person mode. Typically, we want to do this final pass in most of our shaders to avoid these potential issues.
        {
            "name": "blit",
            "intarget": "swap",
            "outtarget": "minecraft:main"
}The following examples use an input image of size 256x256 and an output buffer with size equal to the screen resolution.
_Unscale: Rescale image relative to pixel size instead of to buffer height (accepted values: 0, 1)
If _Unscale is set to 0.0, the image will be scaled to fill the full height of the output buffer.
{ "name": "_Unscale", "values": [ 0.0 ] }If _Unscale is set to 1.0, the image will be scaled to be one-to-one in pixels on the screen.
{ "name": "_Unscale", "values": [ 1.0 ] }_CropPixel: Crop by pixels instead of ratios (accepted values: 0, 1)_CropResize: Resize crop to fill original size (accepted values: 0, 1)_CropRecenter: Recenter image after crop (accepted values: 0, 1)_Crop: Crop from xy corner to zw corner (set values to 0 to skip)
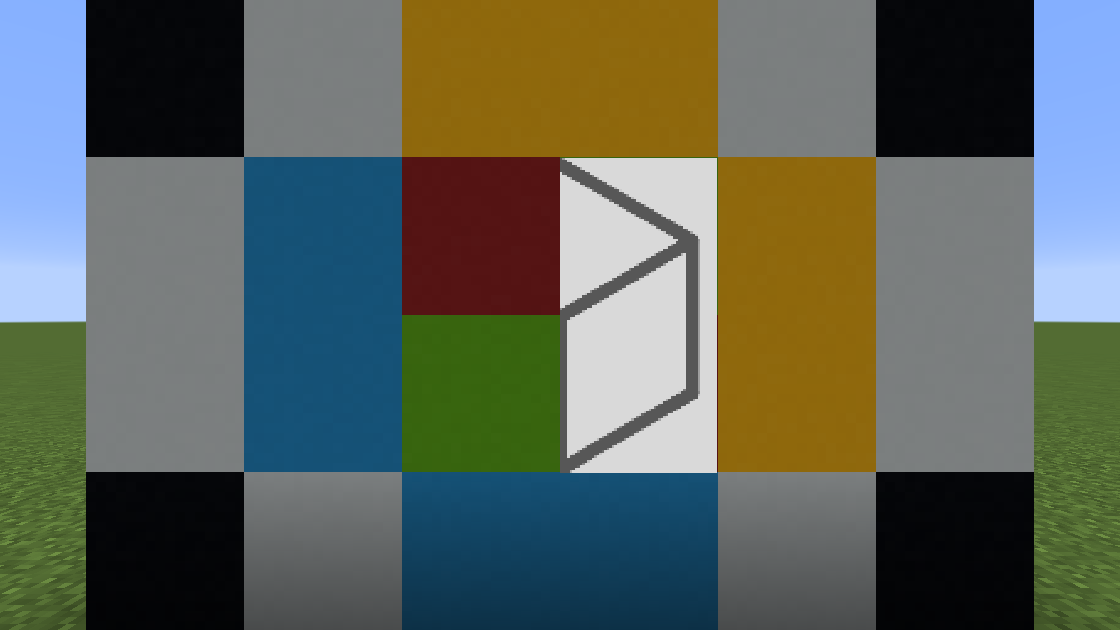
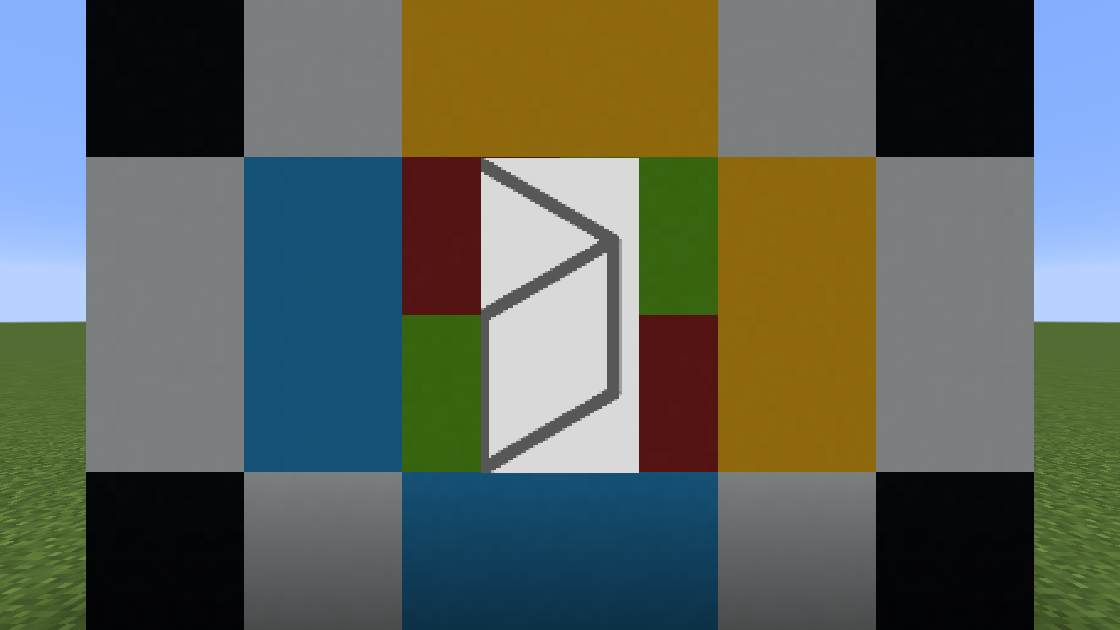
The first two crop values are the bottom left corner, and the second two crop values are the top right corner. By default, we are cropping using ratios. If all values of _Crop are set to 0.0, the crop is skipped. Here we crop the picture between the two points (0.5, 0.25) and (0.75, 0.75).
{ "name": "_Crop", "values": [ 0.5, 0.25, 0.75, 0.75 ] }If _CropRecenter is set to 1.0, the cropped image will be recentered.
{ "name": "_CropRecenter",  "values": [ 1.0 ] },
{ "name": "_Crop",          "values": [ 0.5, 0.25, 0.75, 0.75 ] }
If _CropResize is set to 1.0, the cropped image will be auto-resized to fill the size of the original uncropped frame.
{ "name": "_CropResize",    "values": [ 1.0 ] },
{ "name": "_Crop",          "values": [ 0.5, 0.25, 0.75, 0.75 ] }
If _CropPixel is set to 1.0, the values used in _Crop will be pixel positions relative to the size of the input buffer.
{ "name": "_CropPixel",     "values": [ 1.0 ] },
{ "name": "_Crop", "values": [ 64.0, 64.0, 192.0, 192.0 ] }_Stretched: Stretch image horizontally to fill screen (accepted values: 0, 1)_StretchMin: Stretch image horizontally if screen ratio is larger than x/y ratio (set values to 0 to skip)_StretchMax: Maximum ratio to stop stretching after (set values to 0 to skip)
If _Stretched is set to 1.0, the image will stretch horizontally to fill the output buffer.
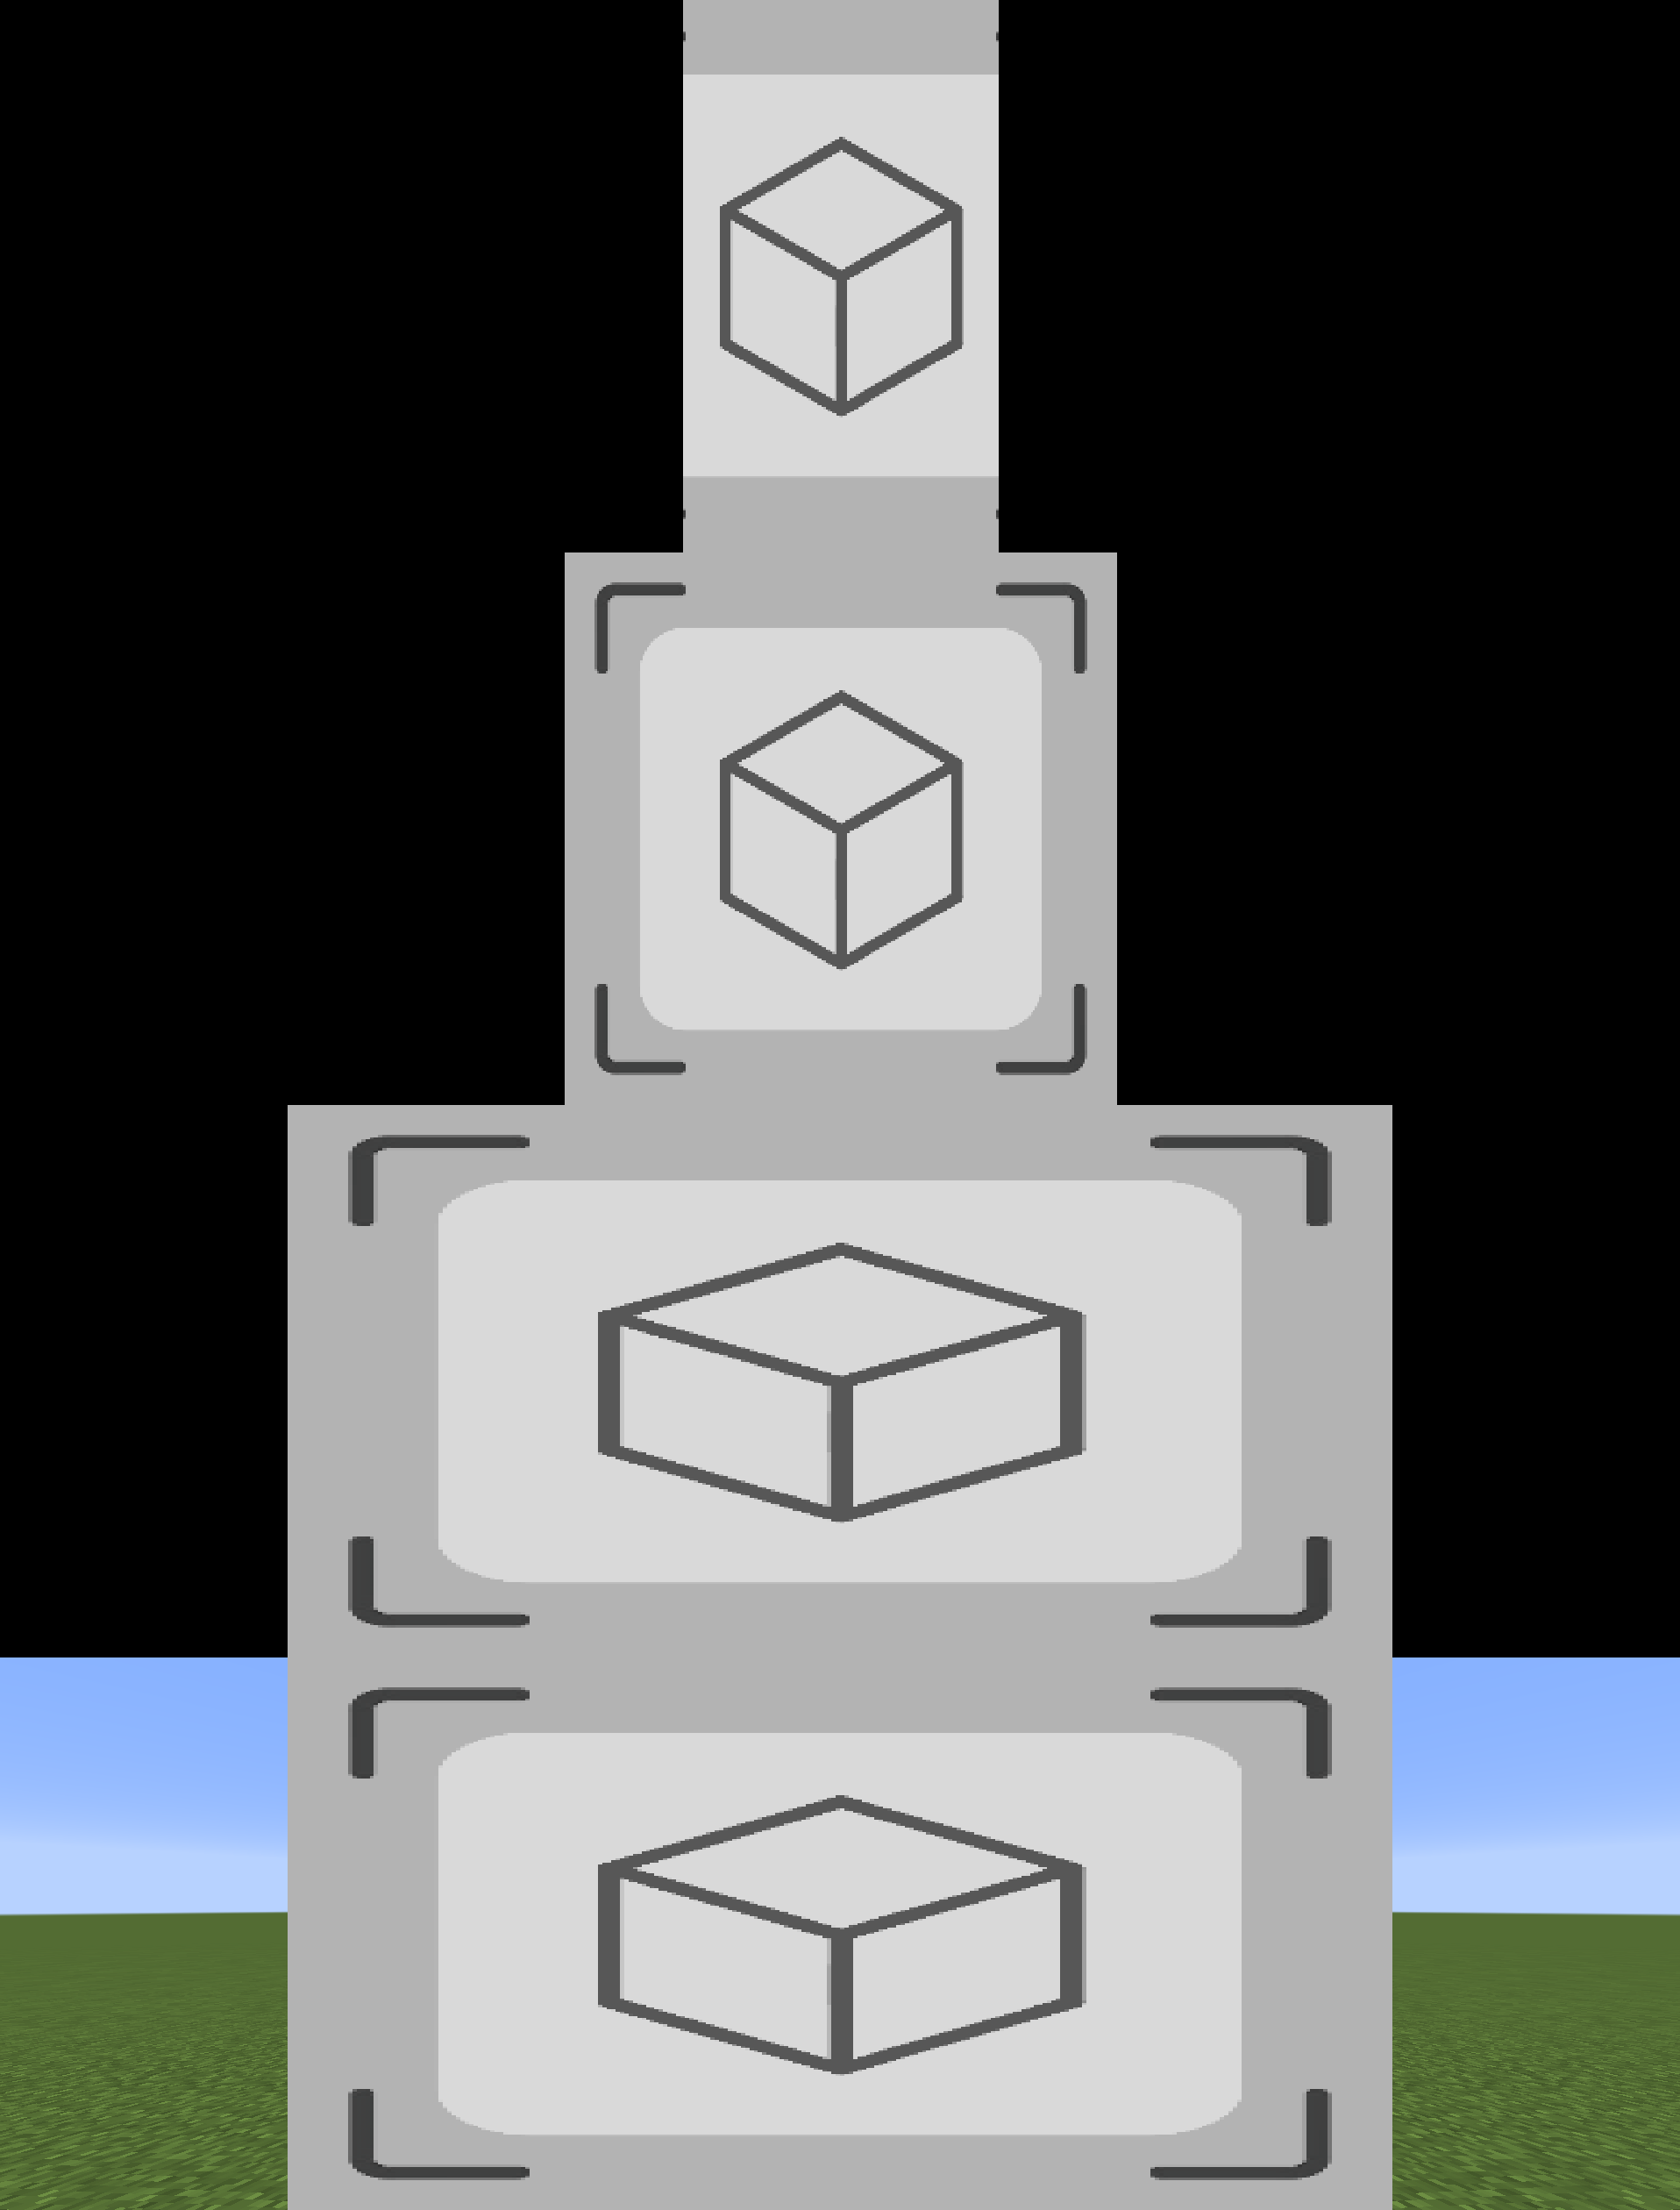
{ "name": "_Stretched", "values": [ 1.0 ] }If a _StretchedMin ratio is defined, when the output buffer ratio exceeds this ratio, it will stretch horizontally, otherwise it will crop the image. If a _StretchedMax ratio is defined, when the output buffer ratio is below this ratio, it will stretch horizontally, otherwise it will retain the specified ratio. In this case, we have a minimum stretch width/height ratio of 1.0/1.0 and a maximum stretch width/height ratio of 2.0/1.0. If _Stretched is set to 1.0, this will also make sure the image is stretched to fill the horizontal width when the output buffer ratio is between the min and max stretch, otherwise it will stretch using the original image size. The image demonstrates four stages (going top to bottom) of progressively increasing the horizontal length of the screen.
{ "name": "_Stretched",     "values": [ 1.0 ] },
{ "name": "_StretchMin",    "values": [ 1.0, 1.0 ] },
{ "name": "_StretchMax", "values": [ 2.0, 1.0 ] }_ScalePixel: Scale by pixels instead of ratios (accepted values: 0, 1)_Scale: Scale image on x and y axes (set values to 0 to skip)
If _Scale is defined, the image will be scaled horizontally by the first value and vertically by the second value relative to the size of the input buffer.
{ "name": "_Scale", "values": [ 0.25, 0.5 ] }If _ScalePixel is set to 1.0, the image will be scaled by the values of _Scale relative to the size of the input buffer in pixels instead of by ratios.
{ "name": "_ScalePixel",    "values": [ 1.0 ] },
{ "name": "_Scale", "values": [ 128.0, 64.0 ] }_OffsetPixel: Offset by pixels instead of ratios (accepted values: 0, 1)_Offset: Offset image on x and y axes
If _Offset is defined, the image will be offset horizontally the first value and vertically by the second value relative to the size of the output buffer.
{ "name": "_Offset", "values": [ 1.0, -0.5 ] }If _OffsetPixel is set to 1.0, the image will be offset by the values of _Offset relative to the size of the output buffer in pixels instead of by ratios.
{ "name": "_OffsetPixel",   "values": [ 1.0 ] },
{ "name": "_Offset", "values": [ -560.0, 315.0 ] }_Align: Align to a corner or origin (accepted values: -1, 0, 1)
The values of _Align correspond to corners and centerpoints on the output buffer. The first value is horizontal alignment and the second value is vertical alignment. -1.0 corresponds to the left and bottom side of the buffer, 0.0 corresponds to the center of the buffer, and 1.0 corresponds to the right and top side of the buffer. In this example, we are aligning to the right and bottom of the screen.
{ "name": "_Scale",         "values": [ 0.4, 0.4 ] },
{ "name": "_Align",         "values": [ 1.0, -1.0 ] }
In this example, we are aligning to the left and vertical center of the screen.
{ "name": "_Scale",         "values": [ 0.4, 0.4 ] },
{ "name": "_Align", "values": [ -1.0, 0.0 ] }_Flip: Flip horizontally or vertically (accepted values: 0, 1)
Setting the values of _Flip to 1.0 determine whether the image will flip horizontally and/or vertically.
{ "name": "_Flip", "values": [ 0.0, 1.0 ] }_RotPixel: Rotation origin by pixels instead of ratios (accepted values: 0, 1)_RotGlobal: Rotation on global axis instead of local (accepted values: 0, 1)_RotOrigin: Rotation origin_RotAngle: Rotation angle in degrees
The value of _RotAngle is in degrees, and will rotate the image about the rotation origin which is default in the center of the image.
{ "name": "_Scale",         "values": [ 0.5, 0.5 ] },
{ "name": "_RotAngle",      "values": [ 30.0 ] }
The values of _RotOrigin determine the (x,y) position of the origin. By default it is relative to the image. Here we rotate about the left top corner.
{ "name": "_Scale",         "values": [ 0.5, 0.5 ] },
{ "name": "_RotOrigin",     "values": [ -1.0, 1.0 ] },
{ "name": "_RotAngle",      "values": [ 30.0 ] }
If _RotGlobal is set to 1.0, the values of _RotOrigin determine the (x,y) position of the origin relative to the output buffer. Here we rotate about the bottom center of the output buffer.
{ "name": "_Scale",         "values": [ 0.5, 0.5 ] },
{ "name": "_RotGlobal",     "values": [ 1.0 ] },
{ "name": "_RotOrigin",     "values": [ 0.0, -1.0 ] },
{ "name": "_RotAngle",      "values": [ 30.0 ] }
If _RotPixel is set to 1.0, the values of _RotOrigin determine the (x,y) position of the origin in pixels. By default it is relative to the image in pixels. Here we rotate about the right top corner of the image.
{ "name": "_Scale",         "values": [ 0.5, 0.5 ] },
{ "name": "_RotPixel",      "values": [ 1.0 ] },
{ "name": "_RotOrigin",     "values": [ 128.0, 128.0 ] },
{ "name": "_RotAngle",      "values": [ 30.0 ] }
If _RotPixel and _RotGlobal are set to 1.0, the values of _RotOrigin determine the (x,y) position of the origin in pixels relative to the output buffer in pixels. Here we rotate about the right center of the output buffer.
{ "name": "_Scale",         "values": [ 0.5, 0.5 ] },
{ "name": "_RotPixel",      "values": [ 1.0 ] },
{ "name": "_RotGlobal",     "values": [ 1.0 ] },
{ "name": "_RotOrigin",     "values": [ 560.0, 0.0 ] },
{ "name": "_RotAngle", "values": [ 30.0 ] }_SkewPixel: Skew by pixels instead of ratios (accepted values: 0, 1)_Skew: Skew top corners and their opposite corner by values xy and zw (set values to 0 to skip)
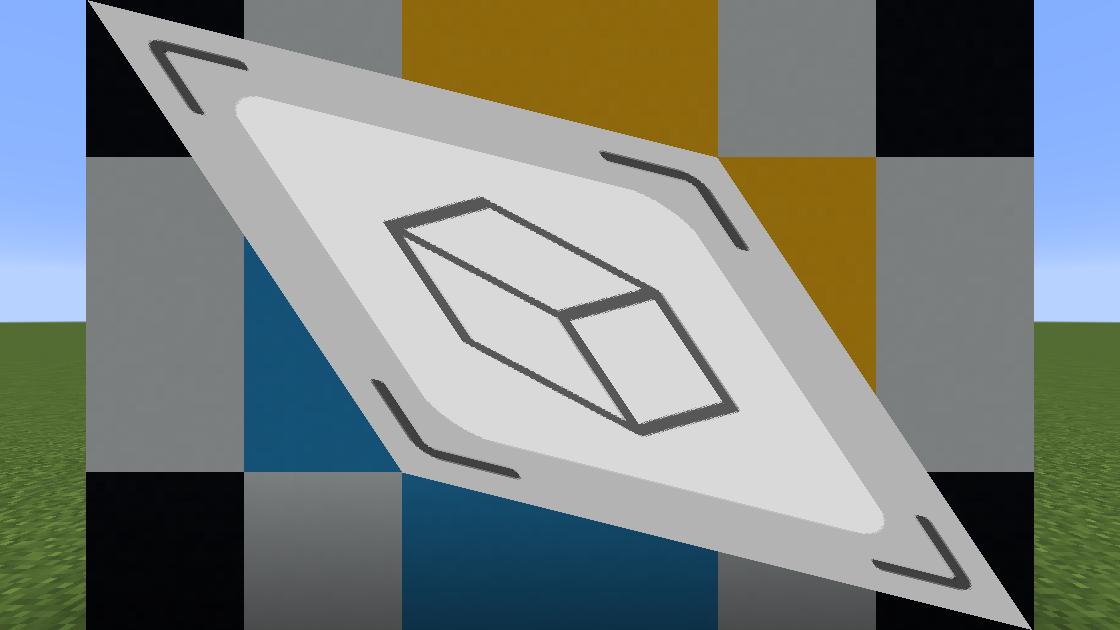
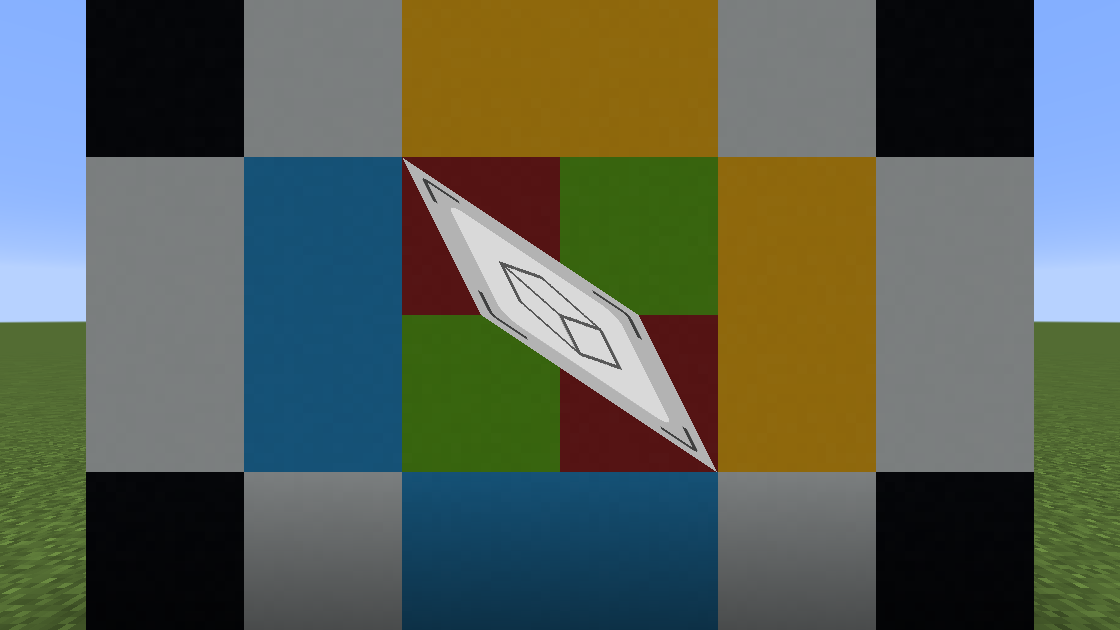
The values of _Skew correspond to the offsets of the top two corners of the image as well as the mirrored offset of the opposite corner. The first two values are the offset of the left top corner, which will be mirrored by the right bottom corner. The second two values are the offset of the right top corner, which will be mirrored by the left bottom corner. In this example, we offset the left top corner by (-1.0, 0.5).
{ "name": "_Scale",         "values": [ 0.5, 0.5 ] },
{ "name": "_Skew",          "values": [ -1.0, 0.5, 0.0, 0.0 ] }
In this example, we offset the right top corner by (-0.25, -0.5).
{ "name": "_Scale",         "values": [ 0.5, 0.5 ] },
{ "name": "_Skew",          "values": [ 0.0, 0.0, -0.25, -0.5 ] }
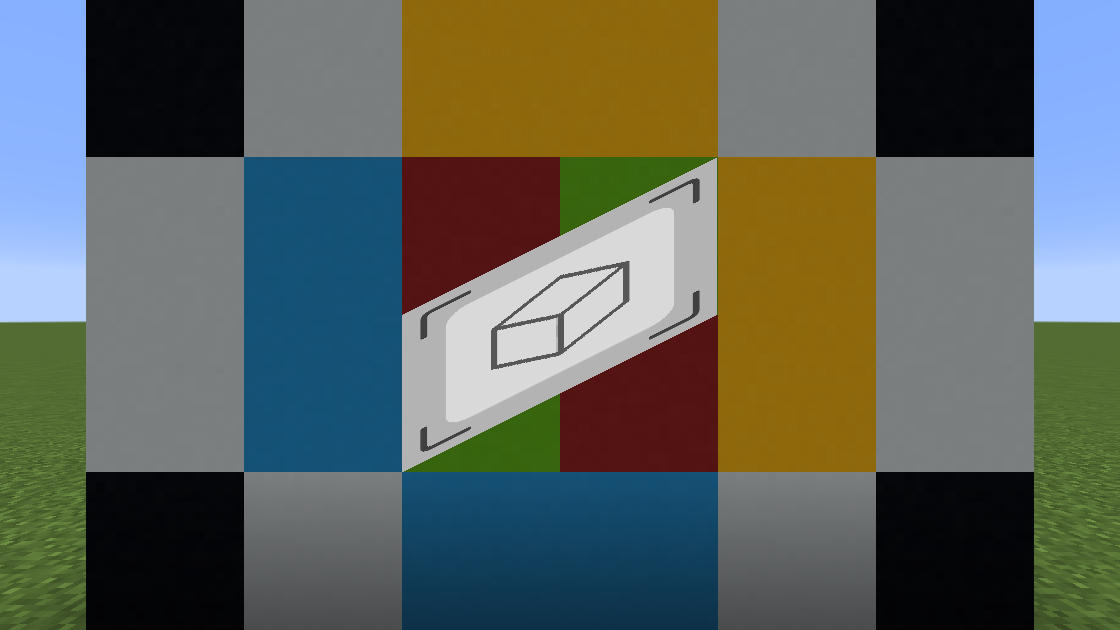
If _SkewPixel is set to 1.0, the offset will be relative to the original image in pixels instead of by ratio. In this case we are offsetting the left top corner by (0.0, -128.0) in pixels.
{ "name": "_Scale",         "values": [ 0.5, 0.5 ] },
{ "name": "_SkewPixel",     "values": [ 1.0 ] },
{ "name": "_Skew", "values": [ 0.0, -128.0, 0.0, 0.0 ] }This project is made available under the Creative Commons CC0 Public Domain license.
