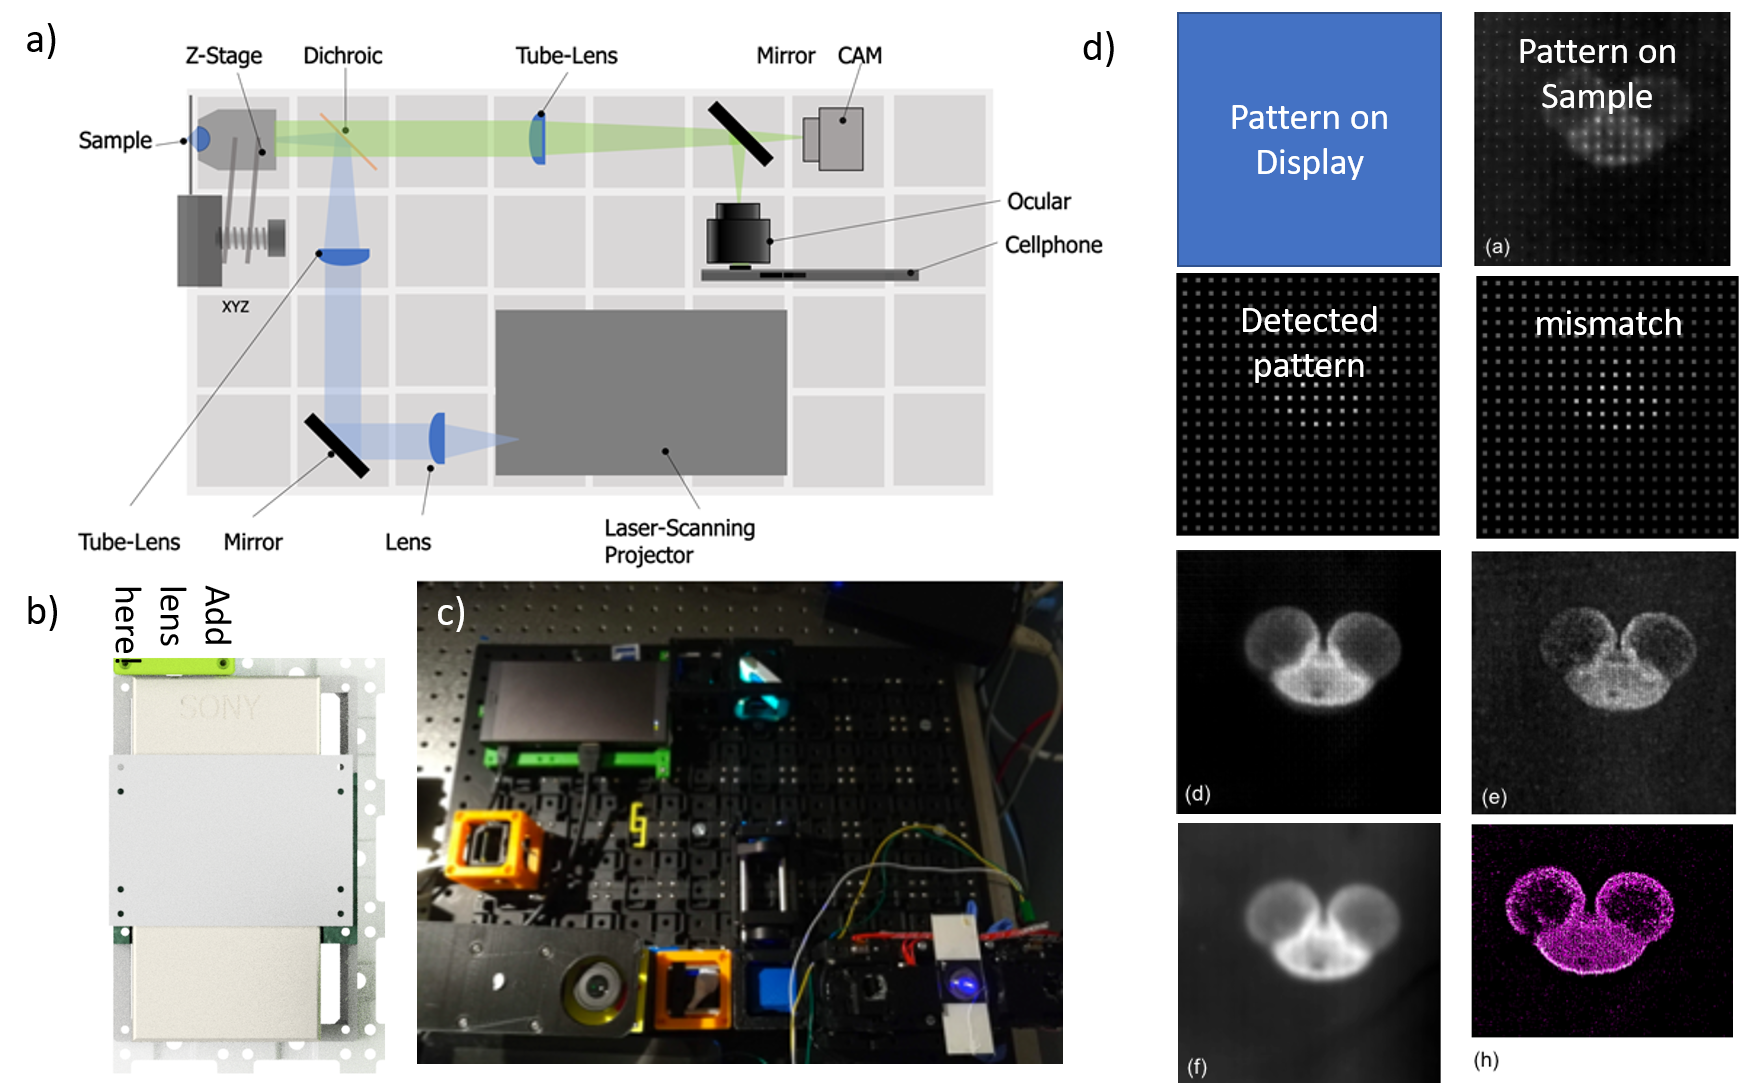
This is the repository for the openISM project which integrates a laser-scanning module for image-scanning microscopy (ISM) to the UC2-system.
🧾 The manuscript for the openISM and openSIM can be found under the DOI:10.1101/2021.01.08.425840
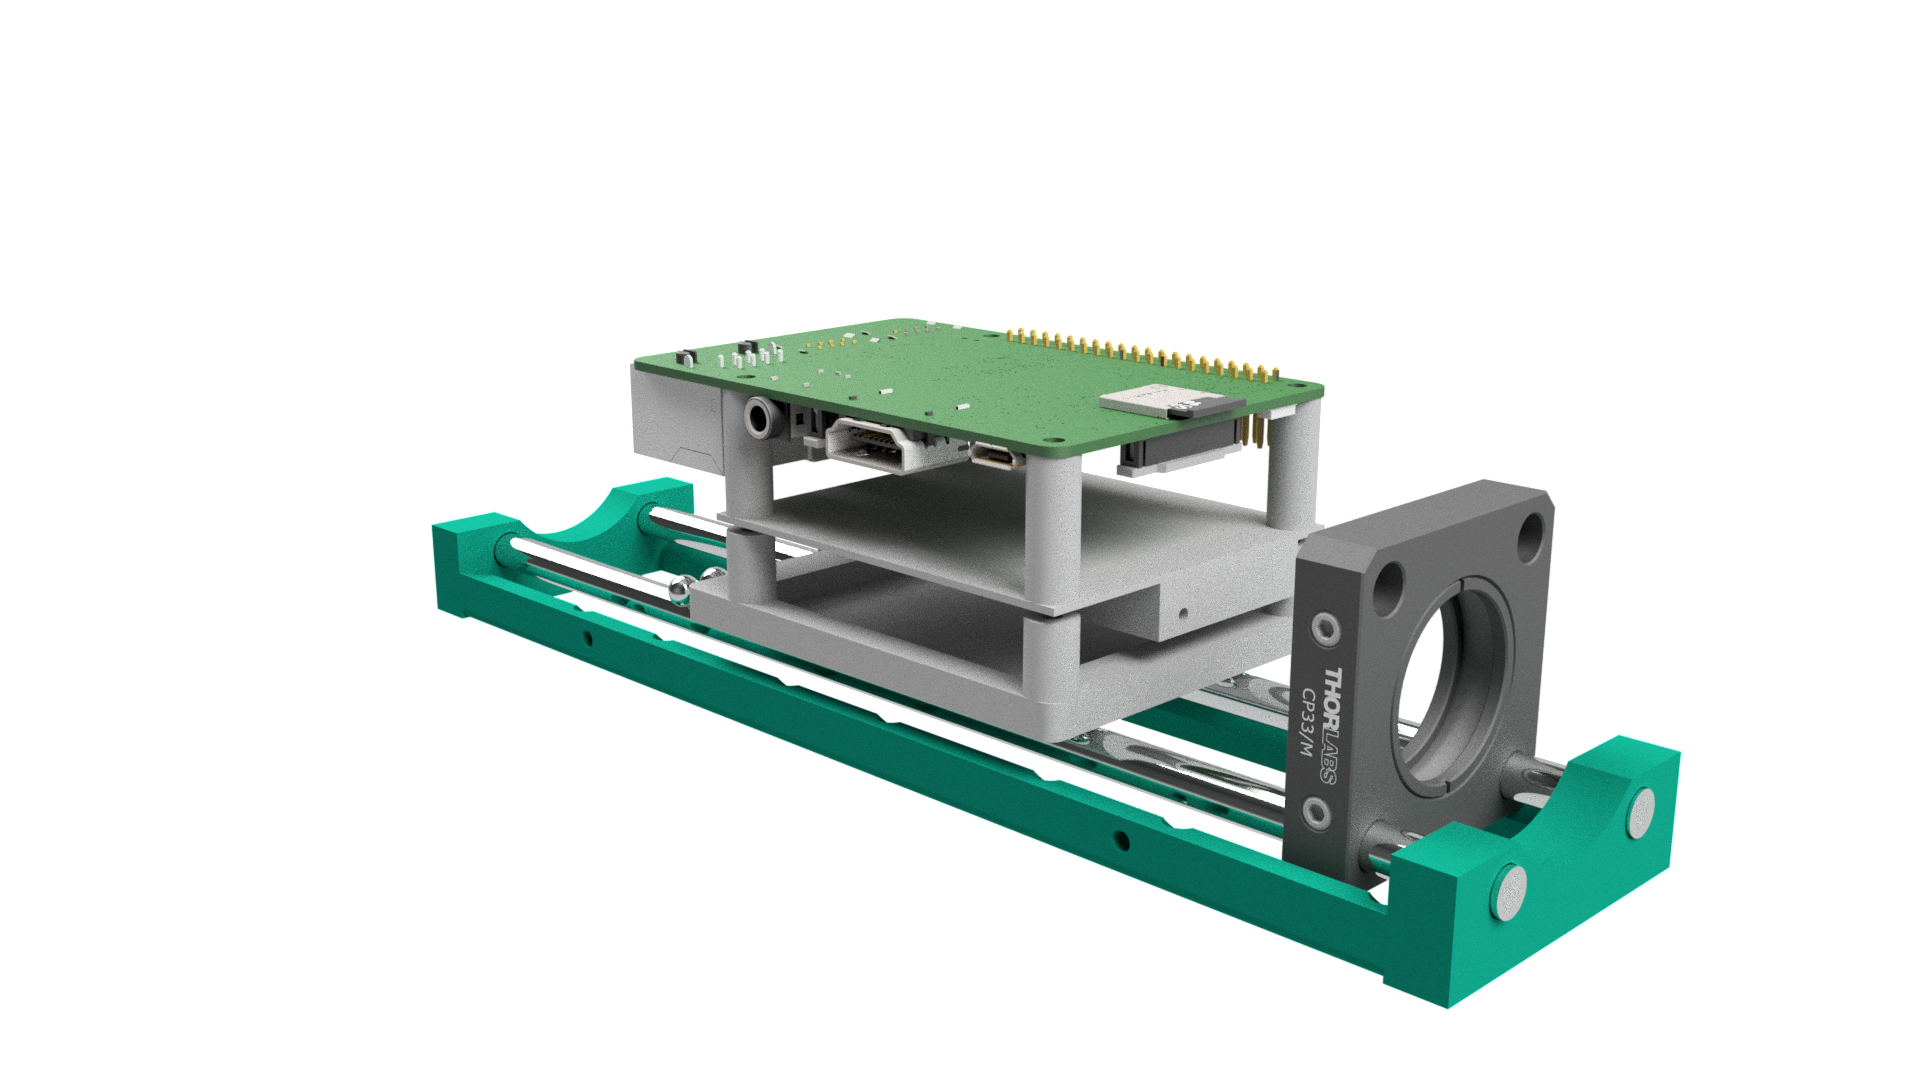
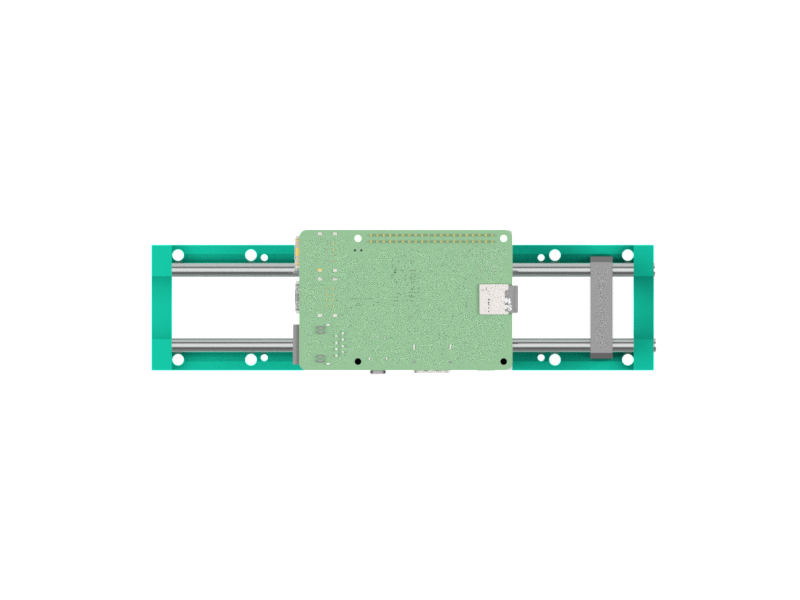
Fig 1: This is the ready-to-print module which clicks into the UC2-system. It hosts the Nebra AnyBeam HAT with a Raspberry Pi as a control unit
This module is based on the work about Image Scanning Microscopy (ISM) by Enderlein et al. [1] and instant Structured Illumination Microscopy (iSIM) by A. York et al. [2]. It uses a low-cost MEMS-based laser-scanning video-project (Sony CL1A, Tokyo, Japan, 300€; Anybeam HAT, UK, 200€) to generate a structured illumination for microscopy. We apply a point-wise incoherent lattice/grid-like pattern to increase lateral and axial resolution. The overall gain in resolution is limited, hence more suitable for educational purposes or data generation.
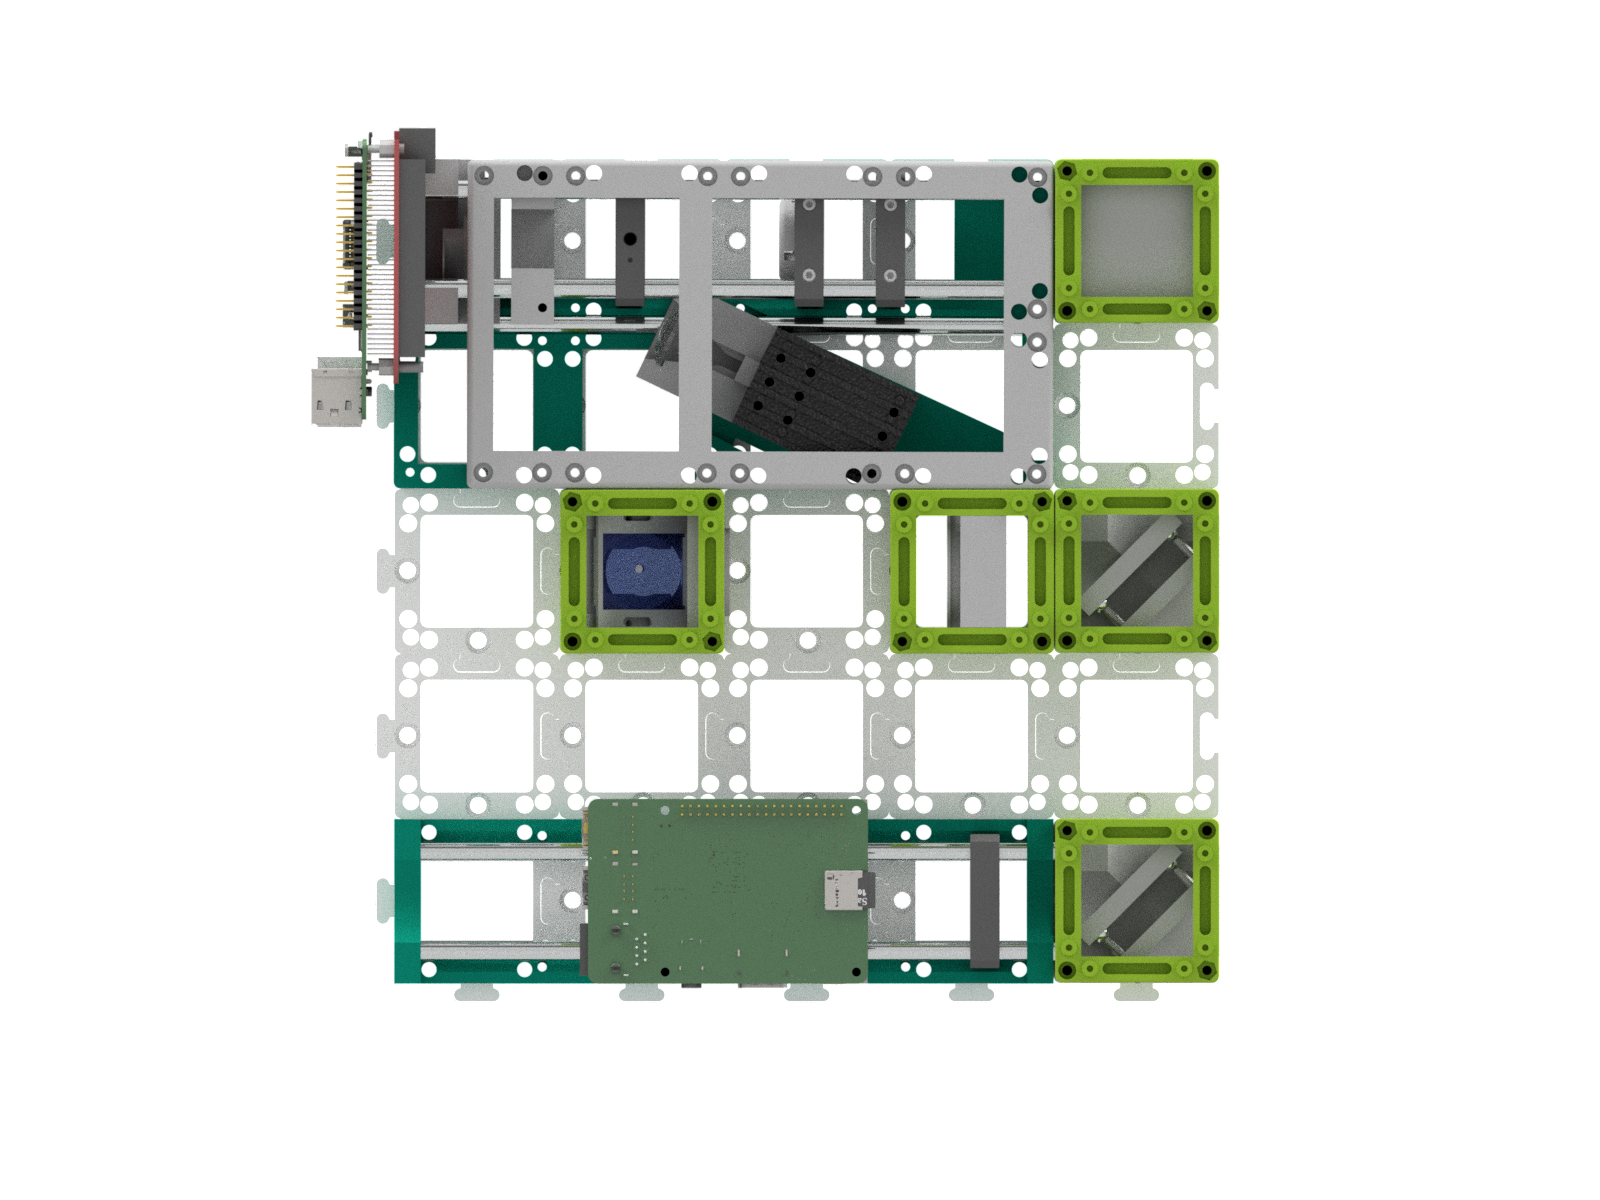
Fig 2: This shows the optical assemlby; the laser beam deflected by the scanning mirror is "collimated" and stired by a set of two kinematic mirror mounts before a tube lens (f'=165mm) forms a magnified image in back focal plane (BFP) of the objective lens (not shown) which follows the dichroic mirror
In recent years portable devices to experience entertainment "on-the-go" like video-projectors or movie screens have found their ways to the consumer market. Many of these produce like portable projectors share the same components as their scientific counterparts (e.g. digital mirror devices, DMD) but for a much lower price since components are mass-produced. Besides wide-field projection system based on LCoS (liquid crystal on silica), LCD or DMD displays, more exotic laser-scanning based systems like the here used Sony MP.CL1A (Japan) enable the creation of laser-scanning microscopes for a very low price (e.g. 300€).
To display a color image on a screen (e.g. wall), a small MEMS (Micro-Electro-Mechanical Systems) scans a set of RGB Blue=450nm, Green}=530, Red = 650, laser-beams over the 2D (e.g. X/Y) plane with a frame-rate of 60fps at a spatial resolution of 1920720 pixel^2. This device can easily be integrated in the UC2-system by providing a customized adapter which makes the device compatible with the 505 mm^2 grid. Following the work by Enderlein et al. (ISM) (Muller2010a) and York et al. (iSIM) (York2012) we displayed an incoherent grid of point sources in the sample plane, which can be used to create a better optical sectioning and improve optical resolution. This is done in a post-processing step, where each 2D image gets divided in a series of tiles of the size of the PSF-extend around one illumination position. Each tile corresponds to a confocal-like measurement, where the information can computationally be confined, when a de-centred detection pinhole is assumed. The resulting signal is placed on a canvas with twice the sampling of the original measurement, which creates an optical super-resolution up to a factor of sqrt(2) (McGregor2015).
Since this device is not meant to be used for scientific instrumentation, there are only limited information available. Also, since the resolution of 1920*720 pixels^2 is not very common, ordinary computers to generate a display on this device where interpolating the images. Connecting the device to a Apple Macbook (USA) at a display-resolution of 720p ensured a one-to-one pixel mapping, where we created a customized Python-script to generate and display the ISM-patterns full-screen. The monochromatic cellphone-camera (Huasei P20, China) was driven using the open-source software FreeDCam (Fuchs2018), where the exposure time t=1/60s matches the frame-rate of the laser-scanning projector in order to reduce bouncing effects of both refresh-rates.
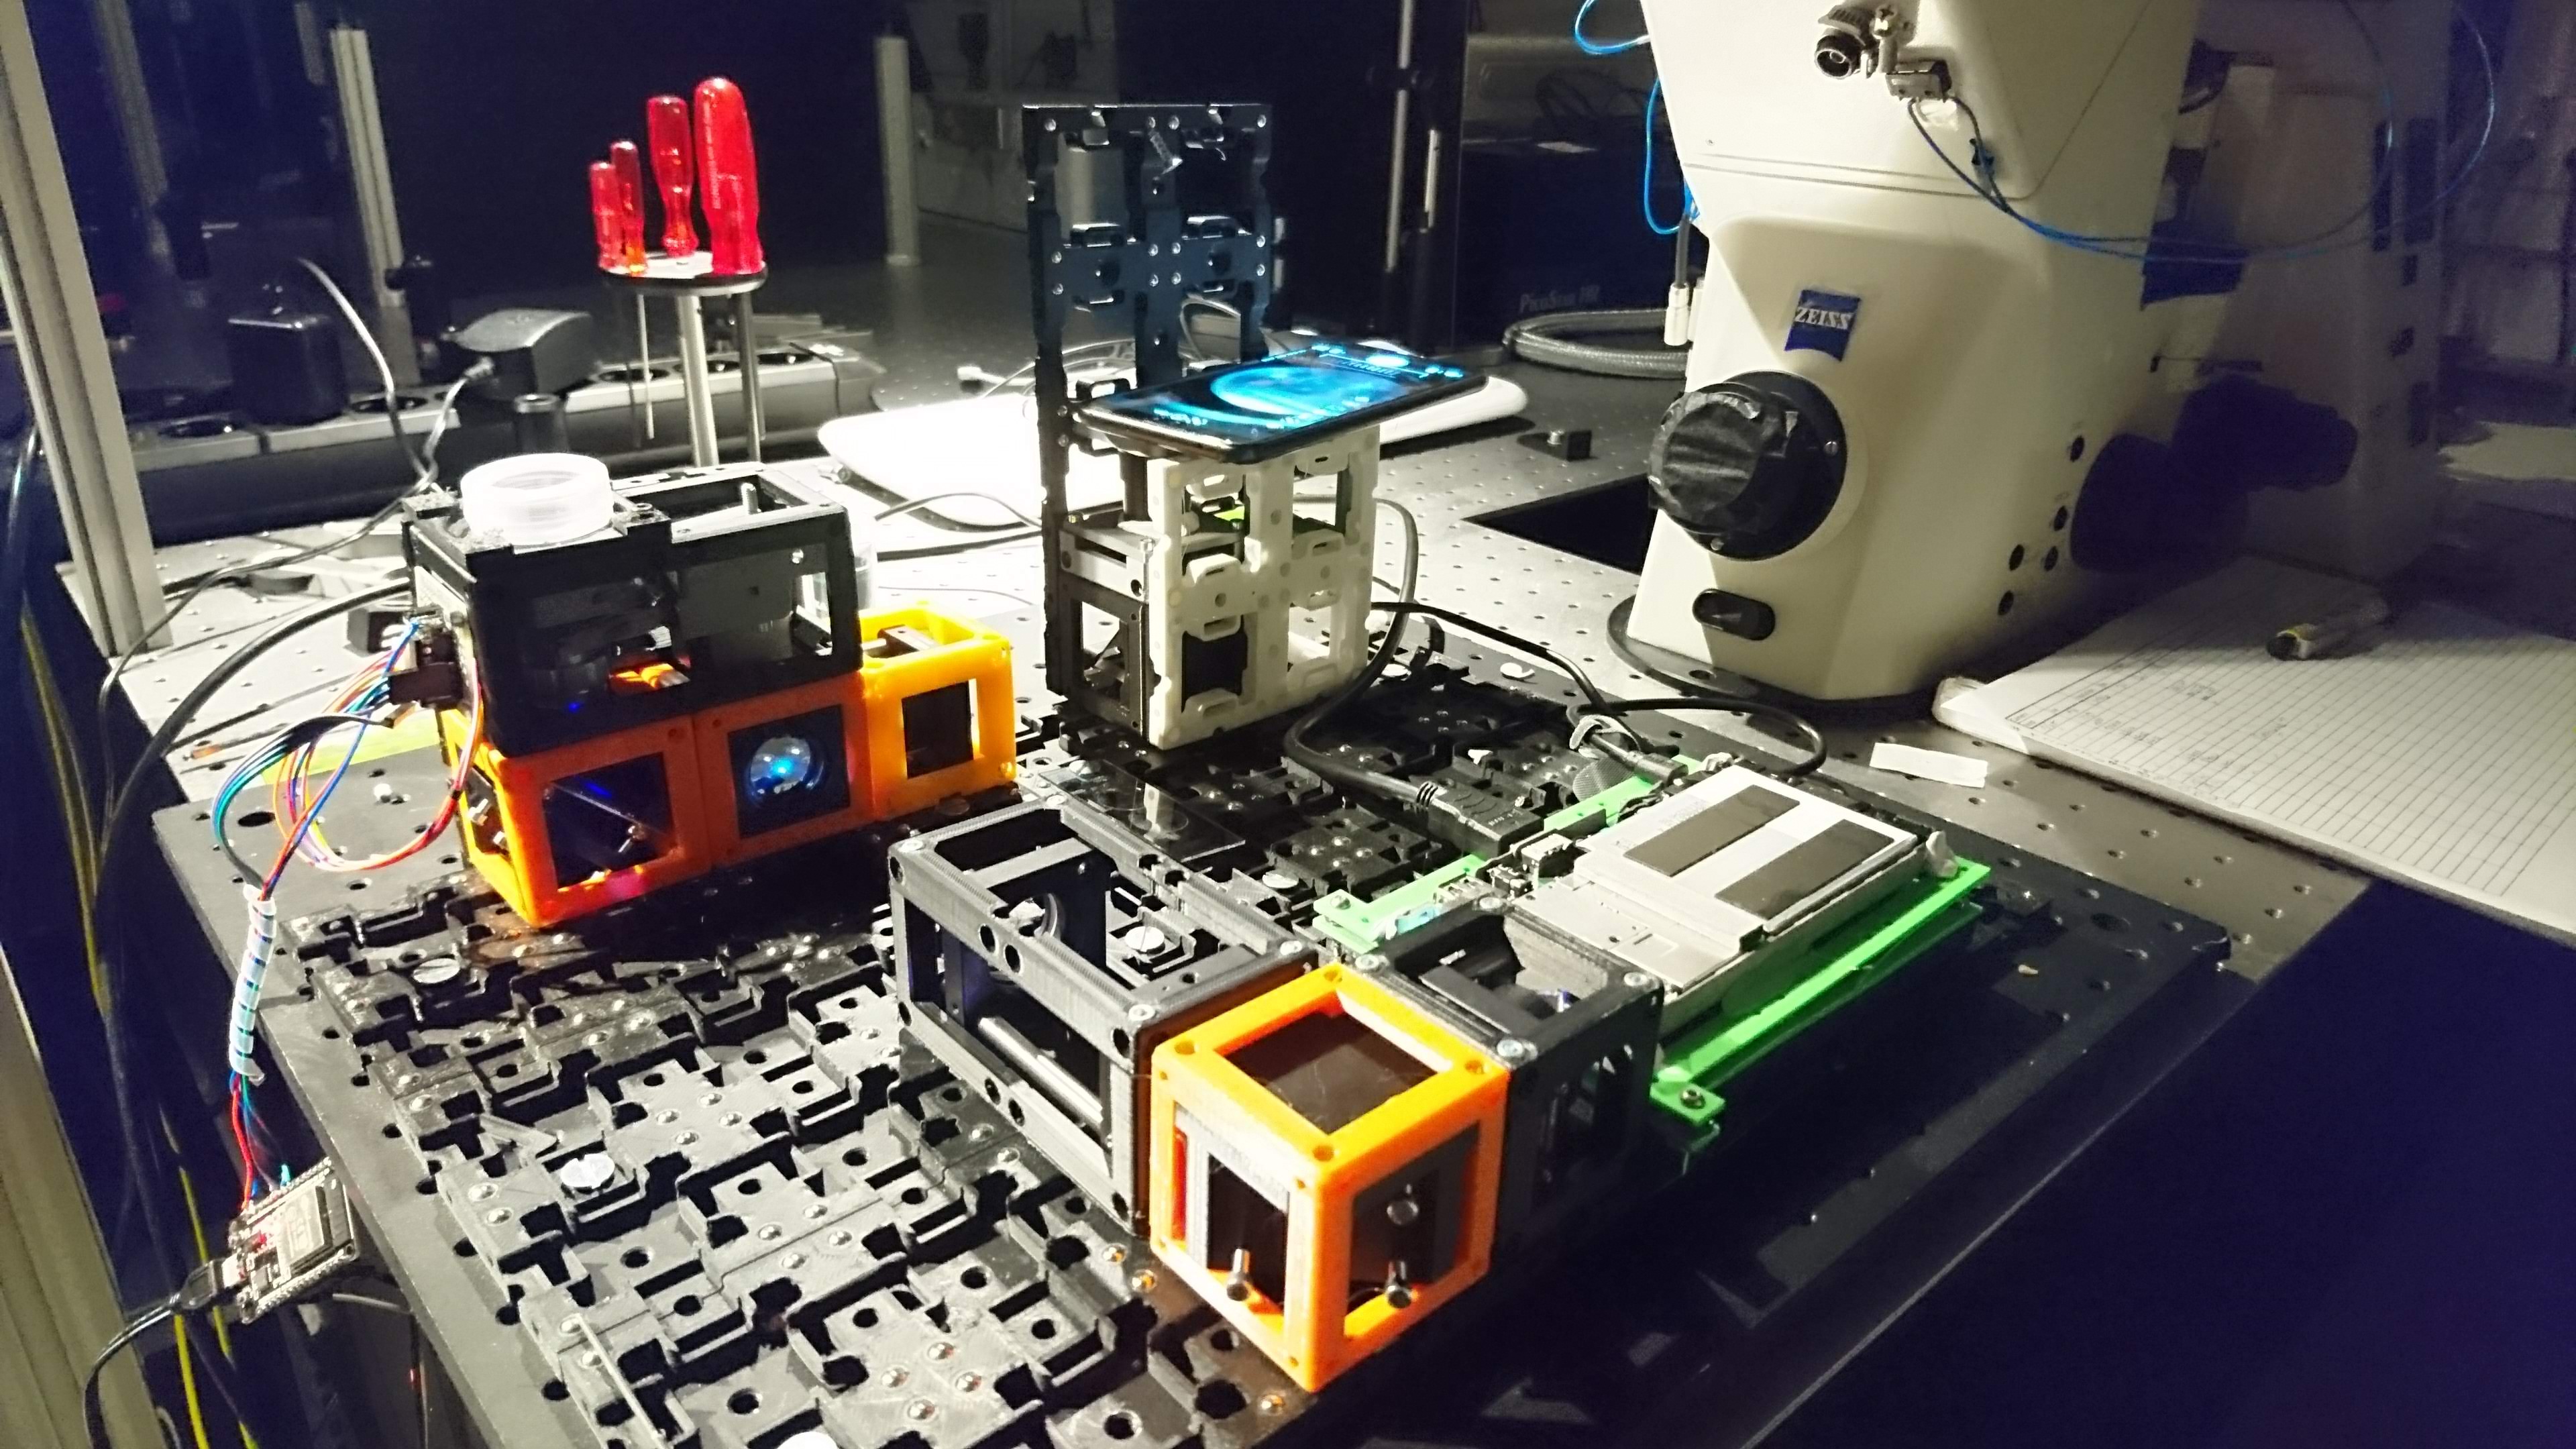
Fig 3: The full system based on the modular cubes. This variant is based on a cellphone camera as the detection system. Also instead of the AnyBeam MEMS projector, we use the SONY device
Features:
- Increased optical sectioning and higher resolution
- Very low cost: ~300€
- Easy to align
- Open-Source
- Three wavelengths
NEED TO BE UPDATED
The optical setup shown in Fig. 1 is straight-forward. The resonating MEMS in the projector needs to be imaged into the BFP of the microscope objective lens. In order to get high-resolution images, the BFP is over-filled by the mirror ideally. We assumed a diameter of the aluminium mirror of d_{mirror}=1.5mm and a diameter of the BFP of around d_{BFP}=5.5mm which requires a telescope, created by a lens f'_1=30mm and a following tube-lens f'_2=180mm. The low-cost infinity-corrected microscope objective (Optika, 20x, NA=0.4, N-plan, here was put in a motor-driven Z-stage to allow focussing the objective relative to the sample. A set of different dichroic-mirror cubes with suitable filters allows the switching between different fluorophores and excitation wave-lengths.
Please follow the steps mentioned on the AnyBeam HAT github page.
Open the file /boot/config.txt and add the following lines:
# Additional overlays and parameters are documented /boot/overlays/README
dtoverlay=dpi24
overscan_left=0
overscan_right=0
overscan_top=0
overscan_bottom=0
framebuffer_width=1280
framebuffer_height=720
enable_dpi_lcd=1
display_default_lcd=1
dpi_group=2
dpi_mode=85
dpi_output_format=0x070027
Below we describe how the device can be build and assembled in order to replicate the whole system as shown in the rendering above. One needs additional parts that can be found in the core openUC2 repository.
Fig 1: The assembly faeatures three laser wavelengths fused with a complicated assembly of optical parts to remove speckles
Fig 2: Funnily, the polarization beamsplitter from a bluray drive fits in there to enable any kind of descanning arrangement
Fig 3: Beam coming out of the projector
Below you will find all components necessary to build this device
All these files need to be printed. We used a Prusa i3 MK3 using PLA Prusament (Galaxy Black) at layer height x.x mm and infill xx%.
Parts to print:
This is used in the current version of the setup
(This is for the Anybeam, since the Sony projector seems to be discontinued)
| Type | Details | Price | Link |
|---|---|---|---|
| MEMS | Nebra AnyBeam HAT | 200 € | Pi Supply |
| Raspberry Pi | Raspi+SD-Card+Case+Powersupply(for DMD+Raspi, 5V, >=3A!) | 70 € | Reichelt |
| "Scan" lens | 1x Achromatic 1 inch Lens, f=30mm | 82 € | Thorlabs |
| 5mm ball magnets | 8x Neodym Ball Magnets | 5 € | Various |
| 6mm Rods | 20mm Rods (ferromagnetic/galvanized), 6mm diameter | 40 € | Thorlabs, Edmund Optics ? |
| M3 Screws | Various | 1 € | Various |
The original design files are in the INVENTOR folder. FOR ANOTHER FORMAT, GET YOUR OWN FOLDER.
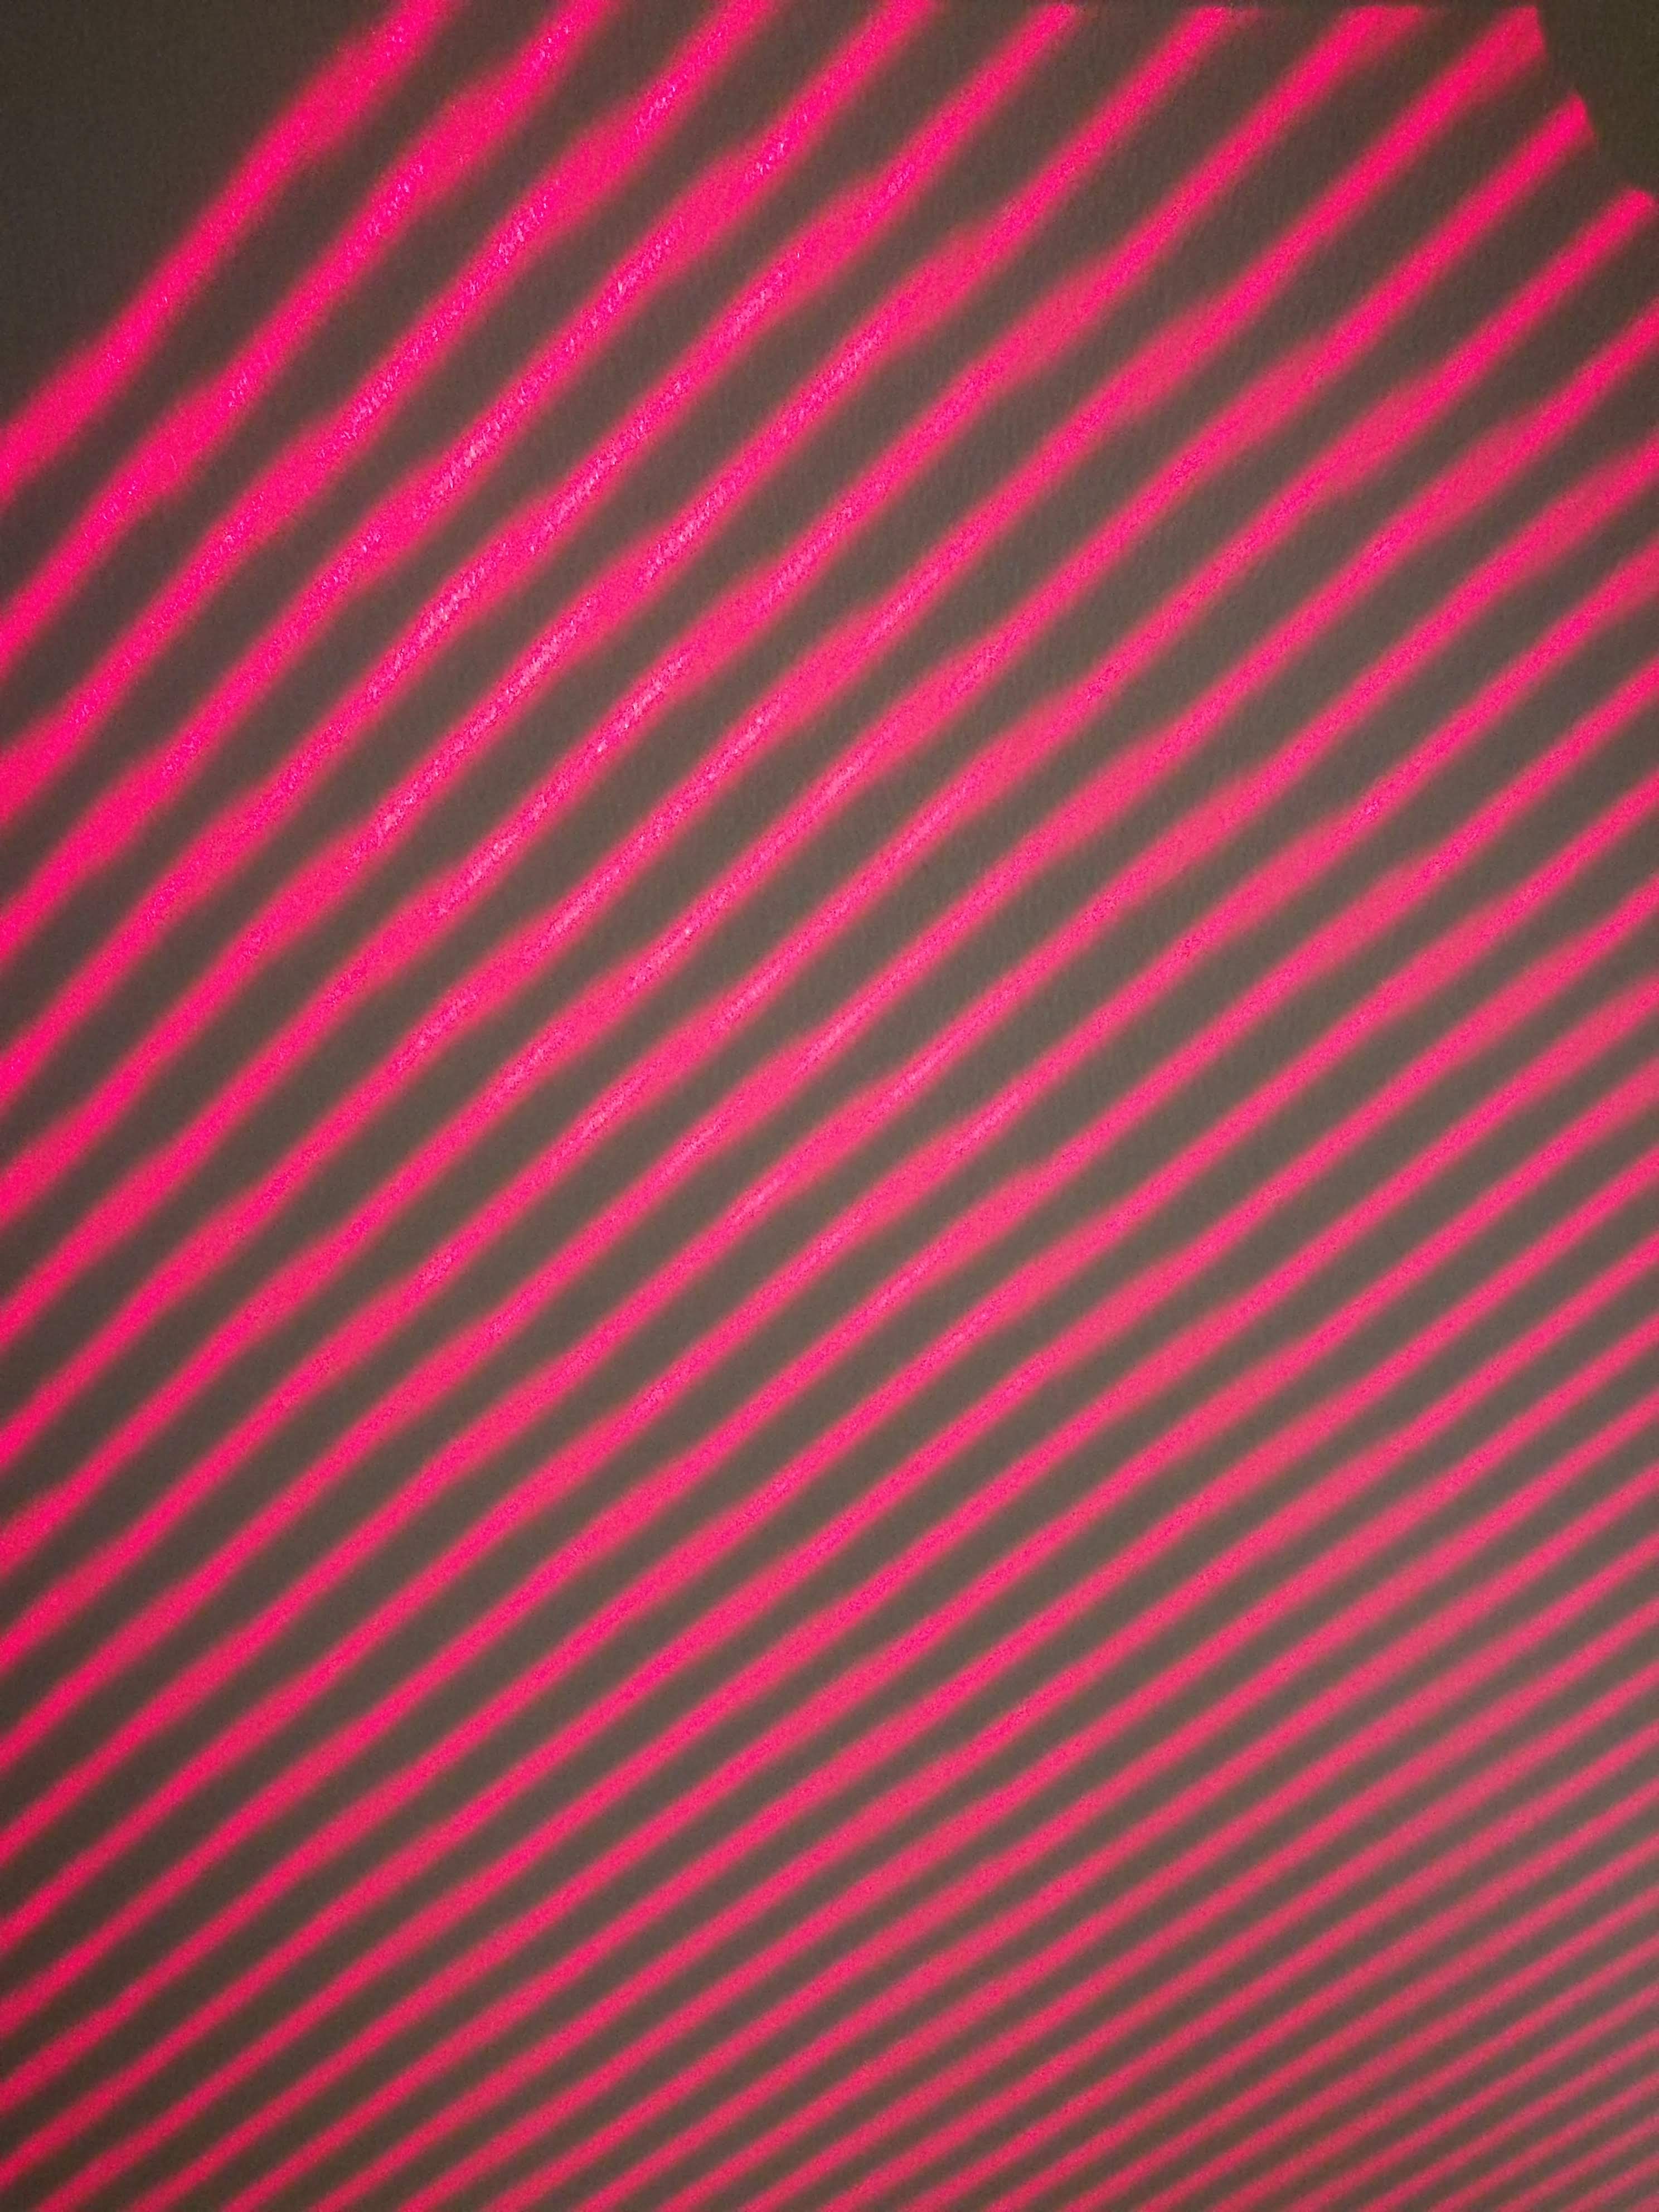
The pattern of the Nebra Anybeam HAT seems to fluctuate temporally. We believe this is due to the scanning scheme of the MEMS. Read more here.
Fig 1: One can observe a gitter which moves temporally
Fig 2: The three different wavelenghts are not in-line
Fig 3: Inhomogenities due to bouncning of the pixels
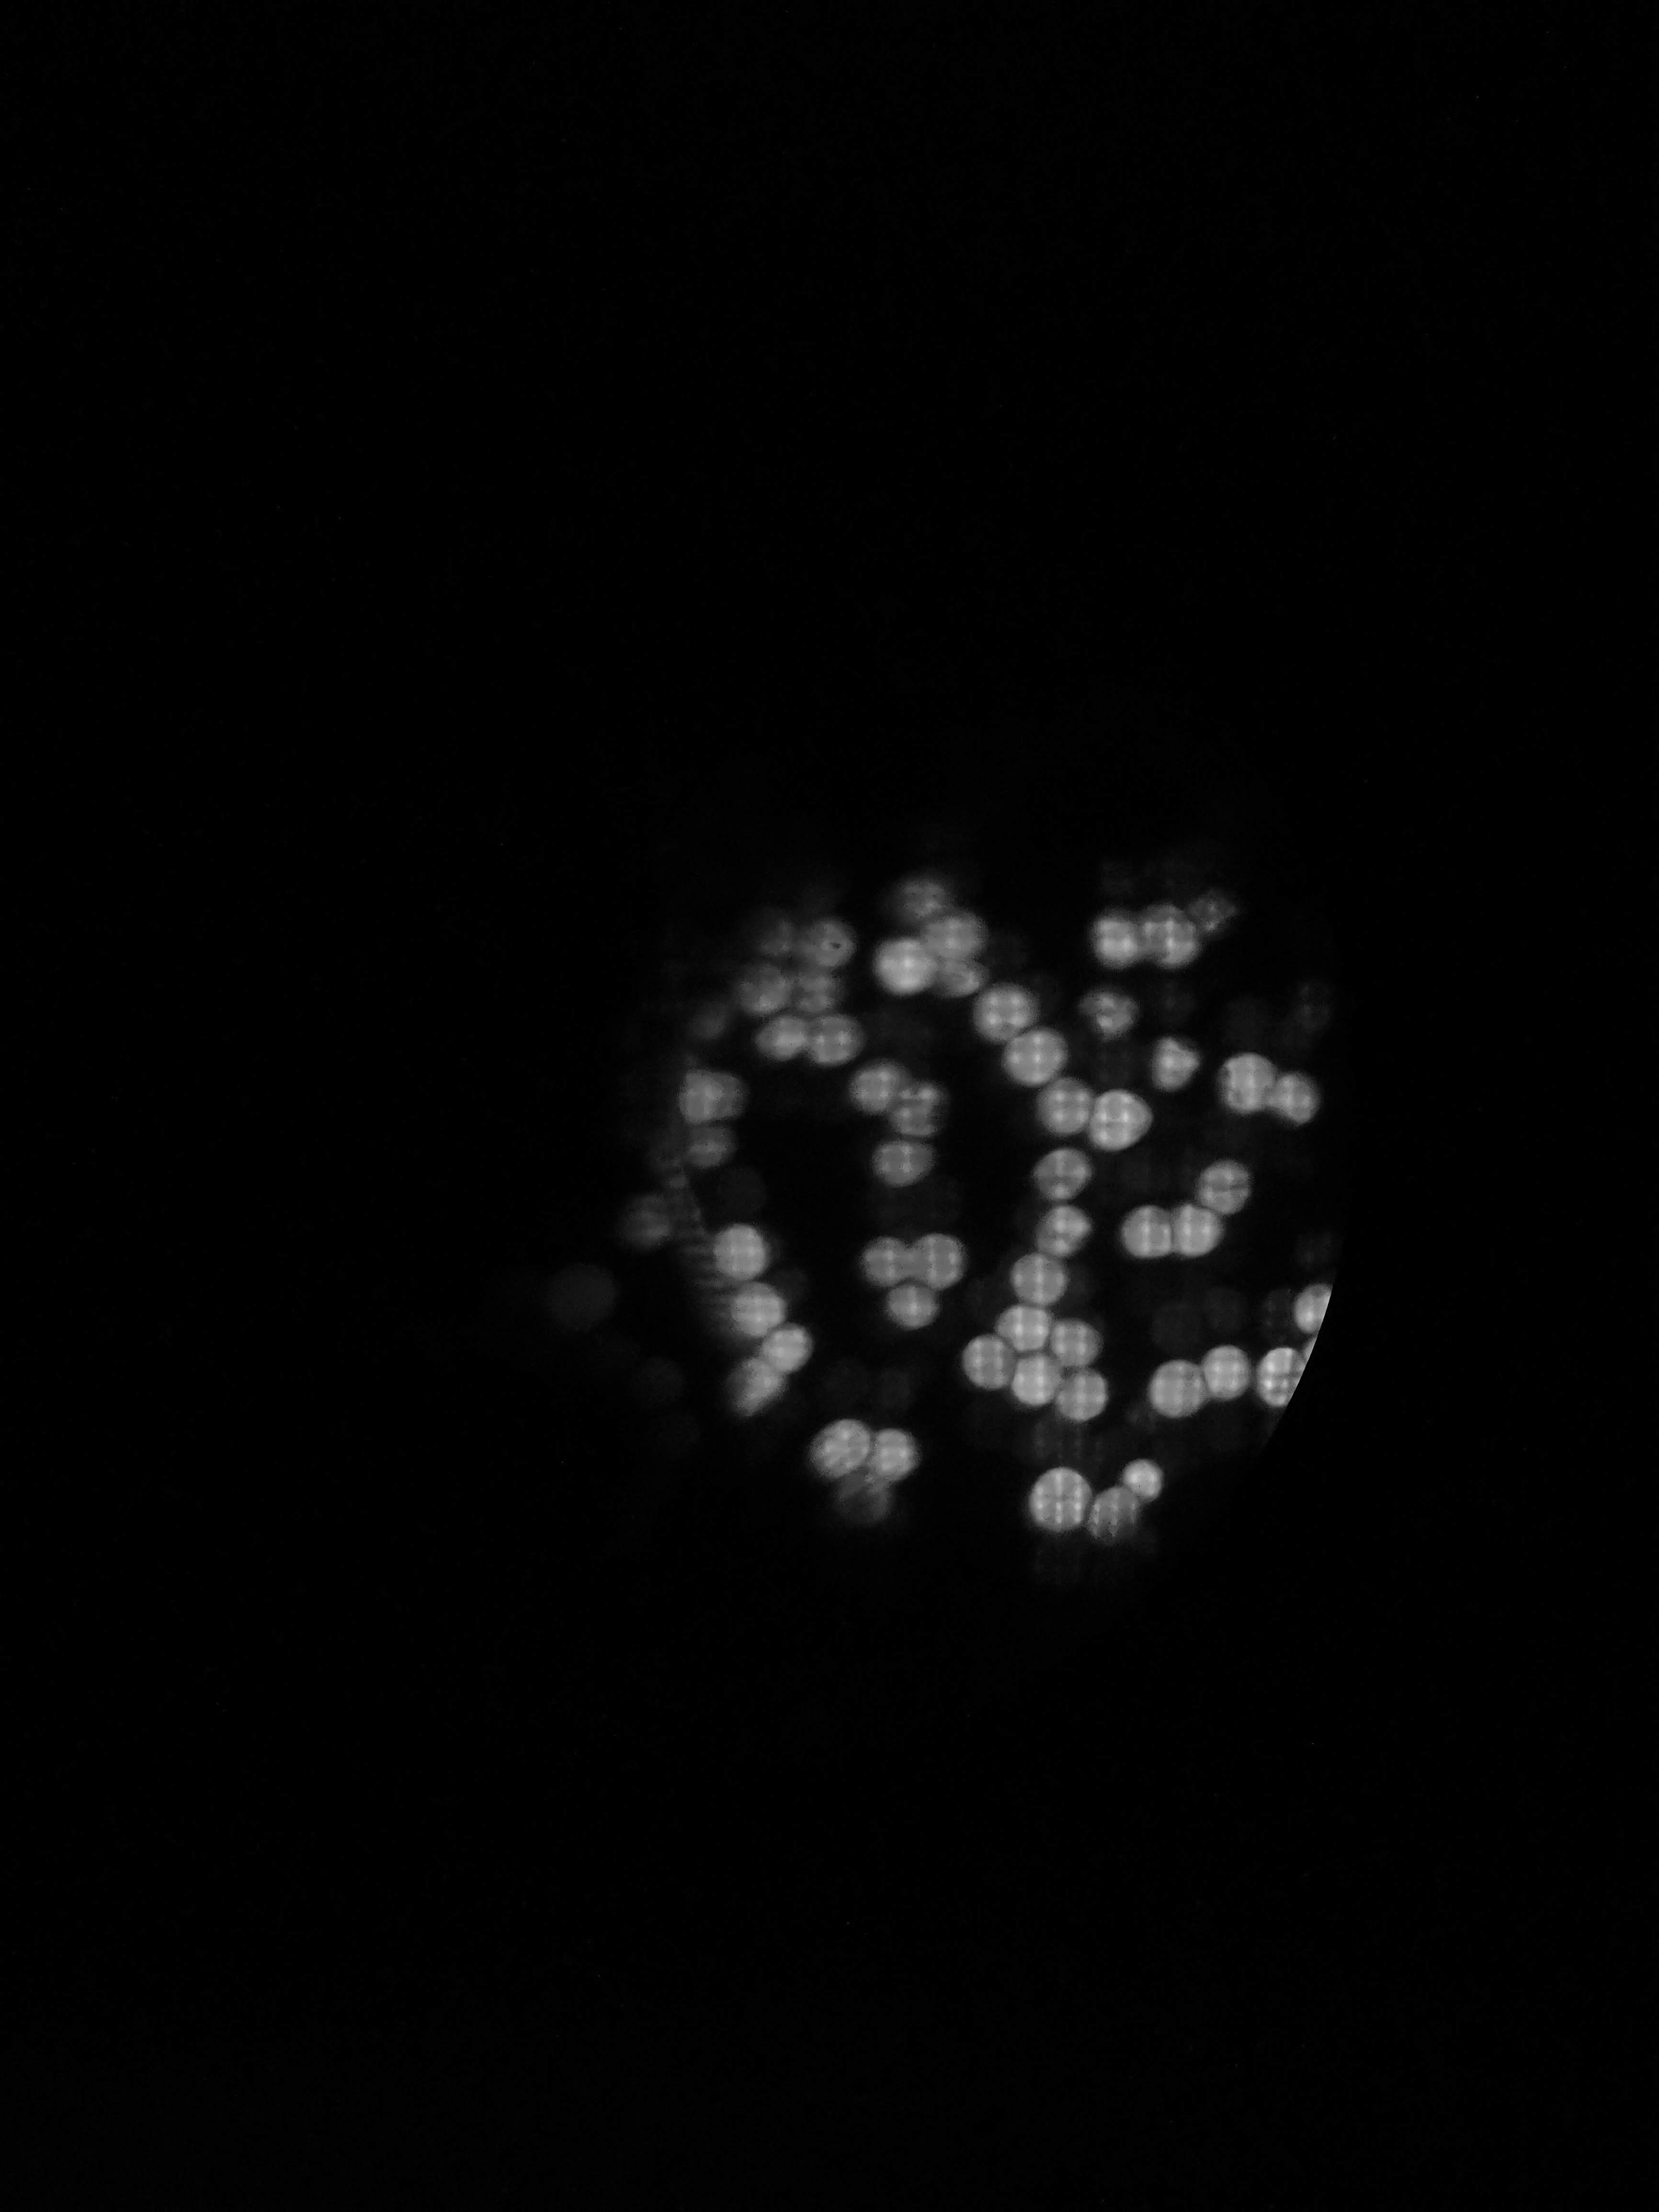
This is just one frame of some fluorescent pollen grains:
This project is open so that anyone can get involved. You don't even have to learn CAD designing or programming. Find ways you can contribute in CONTRIBUTING
This project is open-source and is released under the CERN open hardware license. Our aim is to make the kits commercially available. We encourage everyone who is using our Toolbox to share their results and ideas, so that the Toolbox keeps improving. It should serve as a easy-to-use and easy-to-access general purpose building block solution for the area of STEAM education. All the design files are generally for free, but we would like to hear from you how is it going.
You're free to fork the project and enhance it. If you have any suggestions to improve it or add any additional functions make a pull-request or file an issue.
Please find the type of licenses here
REMARK: All files have been designed using Autodesk Inventor 2019 (EDUCATION)
If you find this project useful, please like this repository, follow us on Twitter and cite the webpage! :-)

