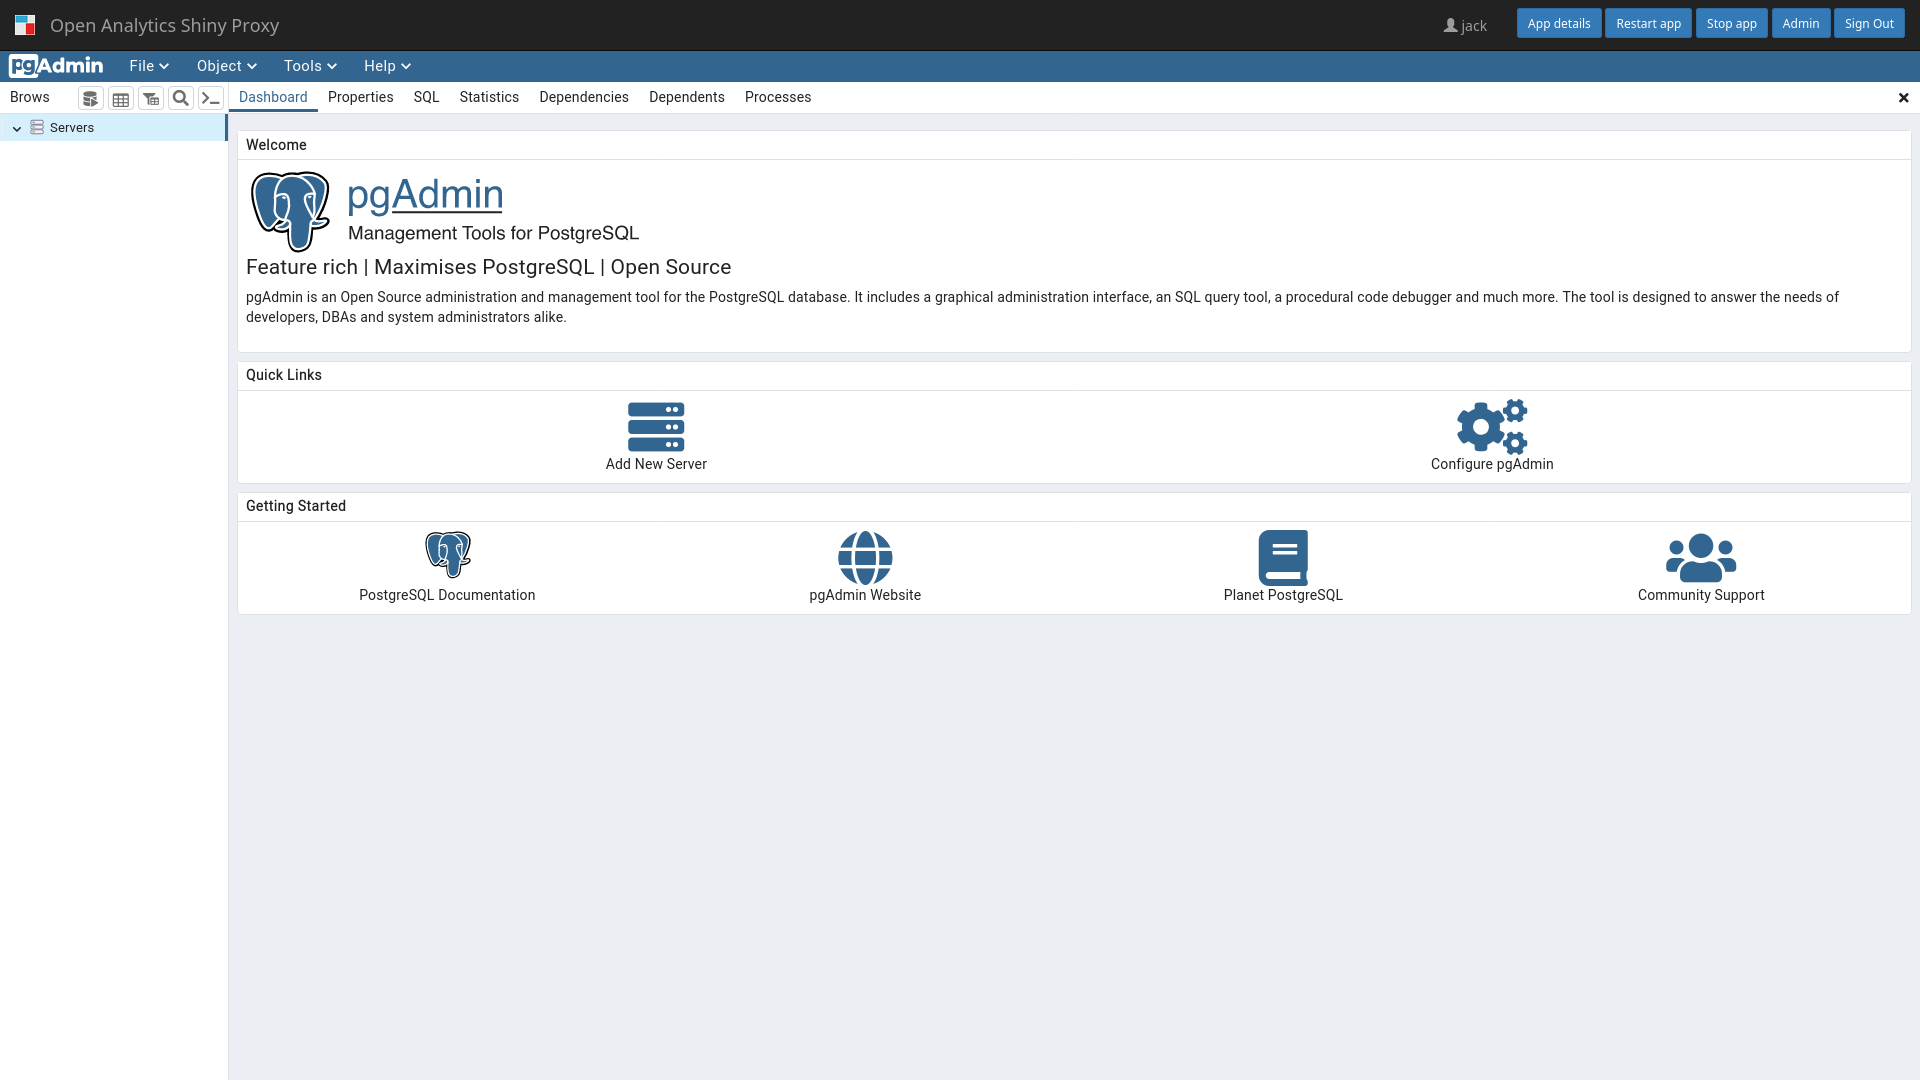
ShinyProxy can run pgAdmin using their official Docker images. For most use cases there is no need to make changes to this Docker image.
Note: ShinyProxy 2.6.0 or later is required for running pgAdmin notebooks.
Create a ShinyProxy configuration file (see application.yml for a complete file)
- id: pgadmin
  container-image: dpage/pgadmin4:latest
  port: 80
  target-path: "#{proxy.getRuntimeValue('SHINYPROXY_PUBLIC_PATH')}"
  container-env:
    SCRIPT_NAME: "#{proxy.getRuntimeValue('SHINYPROXY_PUBLIC_PATH').replaceFirst('/$','')}"
    PGADMIN_CONFIG_MASTER_PASSWORD_REQUIRED: "False"
    PGADMIN_CONFIG_SERVER_MODE: "False"
    PGADMIN_DEFAULT_EMAIL: "user@example.com"
PGADMIN_DEFAULT_PASSWORD: "password"Note: pgAdmin takes some time to startup, therefore
the container-wait-time
parameter must be changed to a higher value, e.g.:
proxy:
container-wait-time: 60000It is possible to add some default configuration to the Dockerfile. This config file can be generated using the pgAdmin UI:
- create a connection in the pgAdmin ui
- click on
Tools,Import/Export servers - in the dialog choose
Export - provide a filename, e.g.
/tmp/servers.json - click
Next - choose the servers to export
- click
Finish
Next copy the /tmp/servers.json file from the running Docker container:
docker ps
docker cp <container_id>:/tmp/servers.json servers.json
Finally, create a custom Dockerfile:
FROM dpage/pgadmin:latest

COPY servers.json /pgadmin4/servers.json(c) Copyright Open Analytics NV, 2023.
