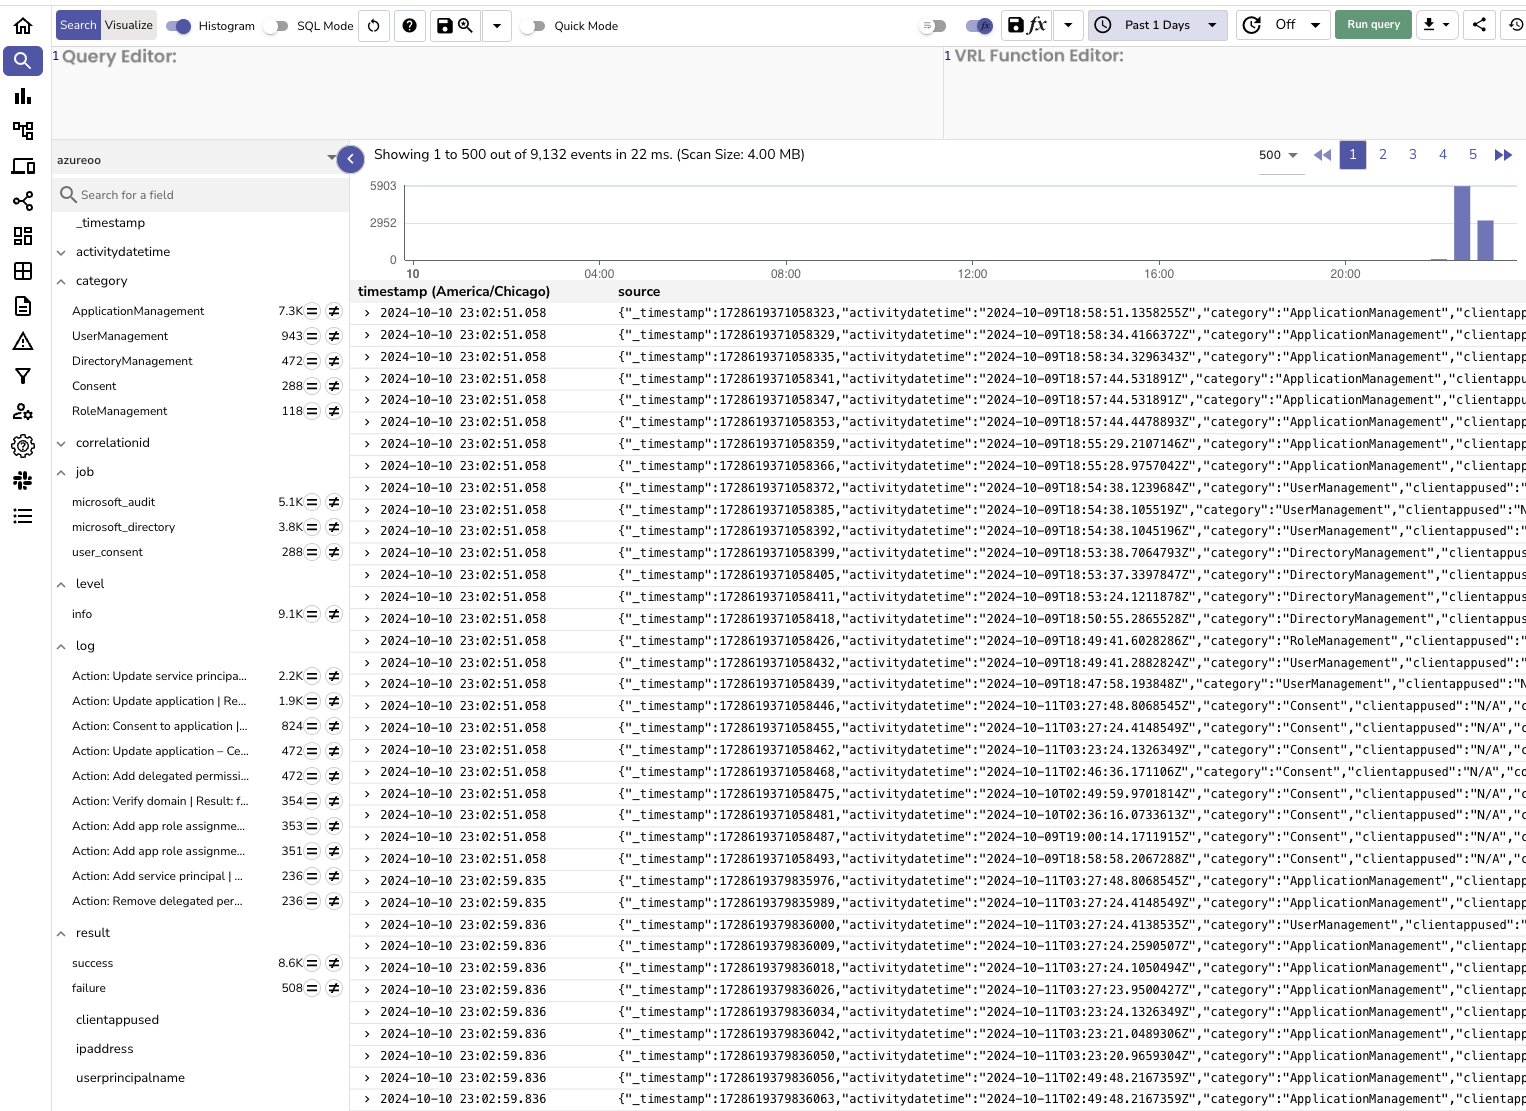
This Go-based connector fetches logs from Microsoft Graph API, including audit logs, directory logs, sign-in activity, and consent approvals, and pushes them to OpenObserve for analysis.
- Microsoft App Registration: How to set up the application in Azure and configure the required permissions.
- OpenObserve Details: Instructions on how to retrieve access token from O2 dashboard.
- Environment Variables: Instructions on how to use
.envto store sensitive data and load it into the application. - Running the Code: Commands to run the Go program locally and in the background using
nohup. - Troubleshooting and Logs: Instructions to monitor the logs of the connector.
- Fetches audit, directory, sign-in, and user consent logs.
- Continuously runs in the background, fetching logs every 5 seconds.
- Environment variables for configuration to protect sensitive data.
- Outputs logs to OpenObserve for monitoring and security insights.
- Go (version 1.16 or higher)
- An Azure AD App Registration with API permissions
- OpenObserve instance running and accessible
To use this connector, you'll first need to register an application in Microsoft Azure to access the Graph API.
- Log in to Azure Portal at Azure Portal.
- Navigate to Azure Active Directory > App registrations > New registration.
- Provide the following details:
- Name:
GraphAPIConnector - Supported account types: Choose Single tenant or the option that fits your setup.
- Redirect URI: Leave it blank for now.
- Name:
- Click Register.
- Go to API Permissions in the app you just registered.
- Click Add a permission > Microsoft Graph > Application permissions.
- Add the following permissions:
- AuditLog.Read.All
- Directory.Read.All
- SignInActivity.Read.All
- Grant Admin Consent to these permissions.
- Navigate to Certificates & secrets > New client secret.
- Copy the Client Secret value as you will need it to configure the connector.
- Tenant ID: Found in Azure Active Directory under Properties.
- Client ID: Found in the Overview section of your registered app.
- Client Secret: The value generated when creating the client secret.
- Log in to Open Observe
- Navigate to Ingestion > Custom > OTEL Collector.
- Grab the token from Authorization header
- Save this token to use in the next step
You can configure the connector using environment variables to keep your credentials secure.
Create a .env file in the root directory of the project with the following content:
TENANT_ID=your-tenant-id
CLIENT_ID=your-client-id
CLIENT_SECRET=your-client-secret
ORG_ID=your-OpenObserve-org-name
STREAM_NAME=OpenObserve-stream-name-you-chose
OPEN_OBSERVE_HOST=your-OpenObserve-url
BASE64_CREDS=token-you-copied-from-above-stepgo get github.com/joho/godotenvOnce you have set up the environment variables, run the connector using:
go run main.goTo run the connector in the background and ensure it continues running, use nohup
nohup go run main.go > log.txt 2>&1 &- Logs: When the connector is run with
nohup, the output will be logged tolog.txt. To check the logs, run:tail -f log.txt
