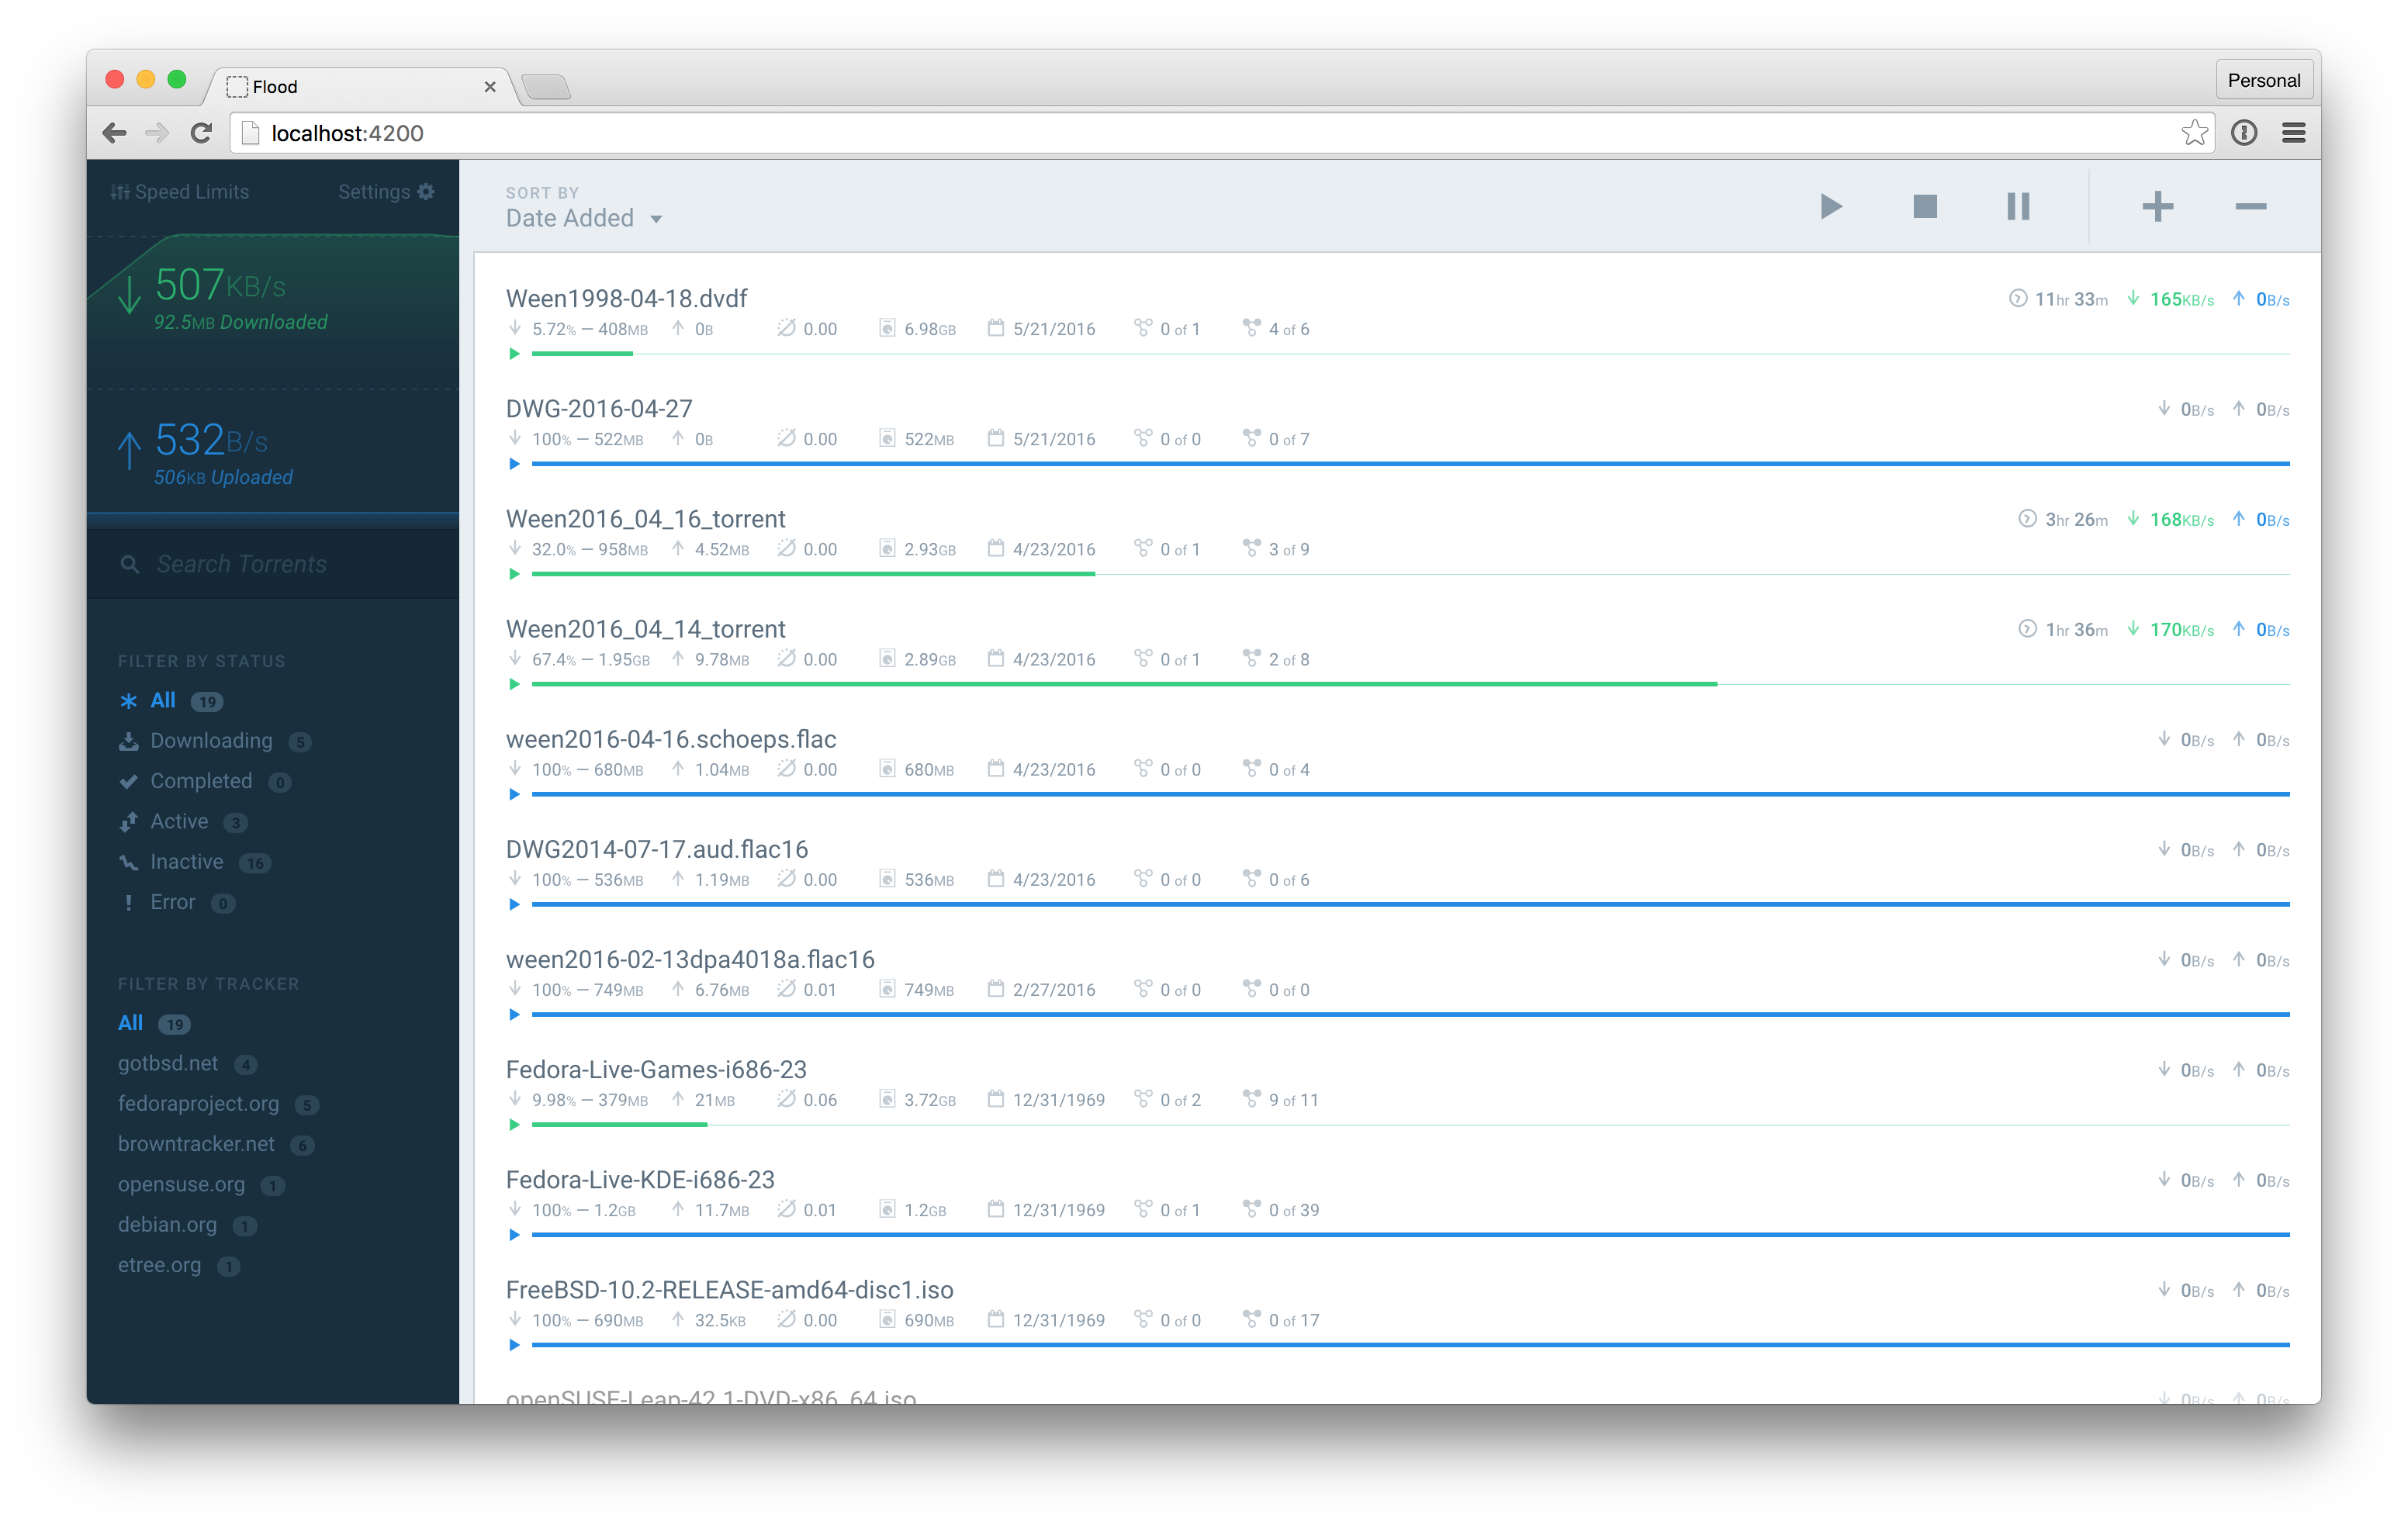
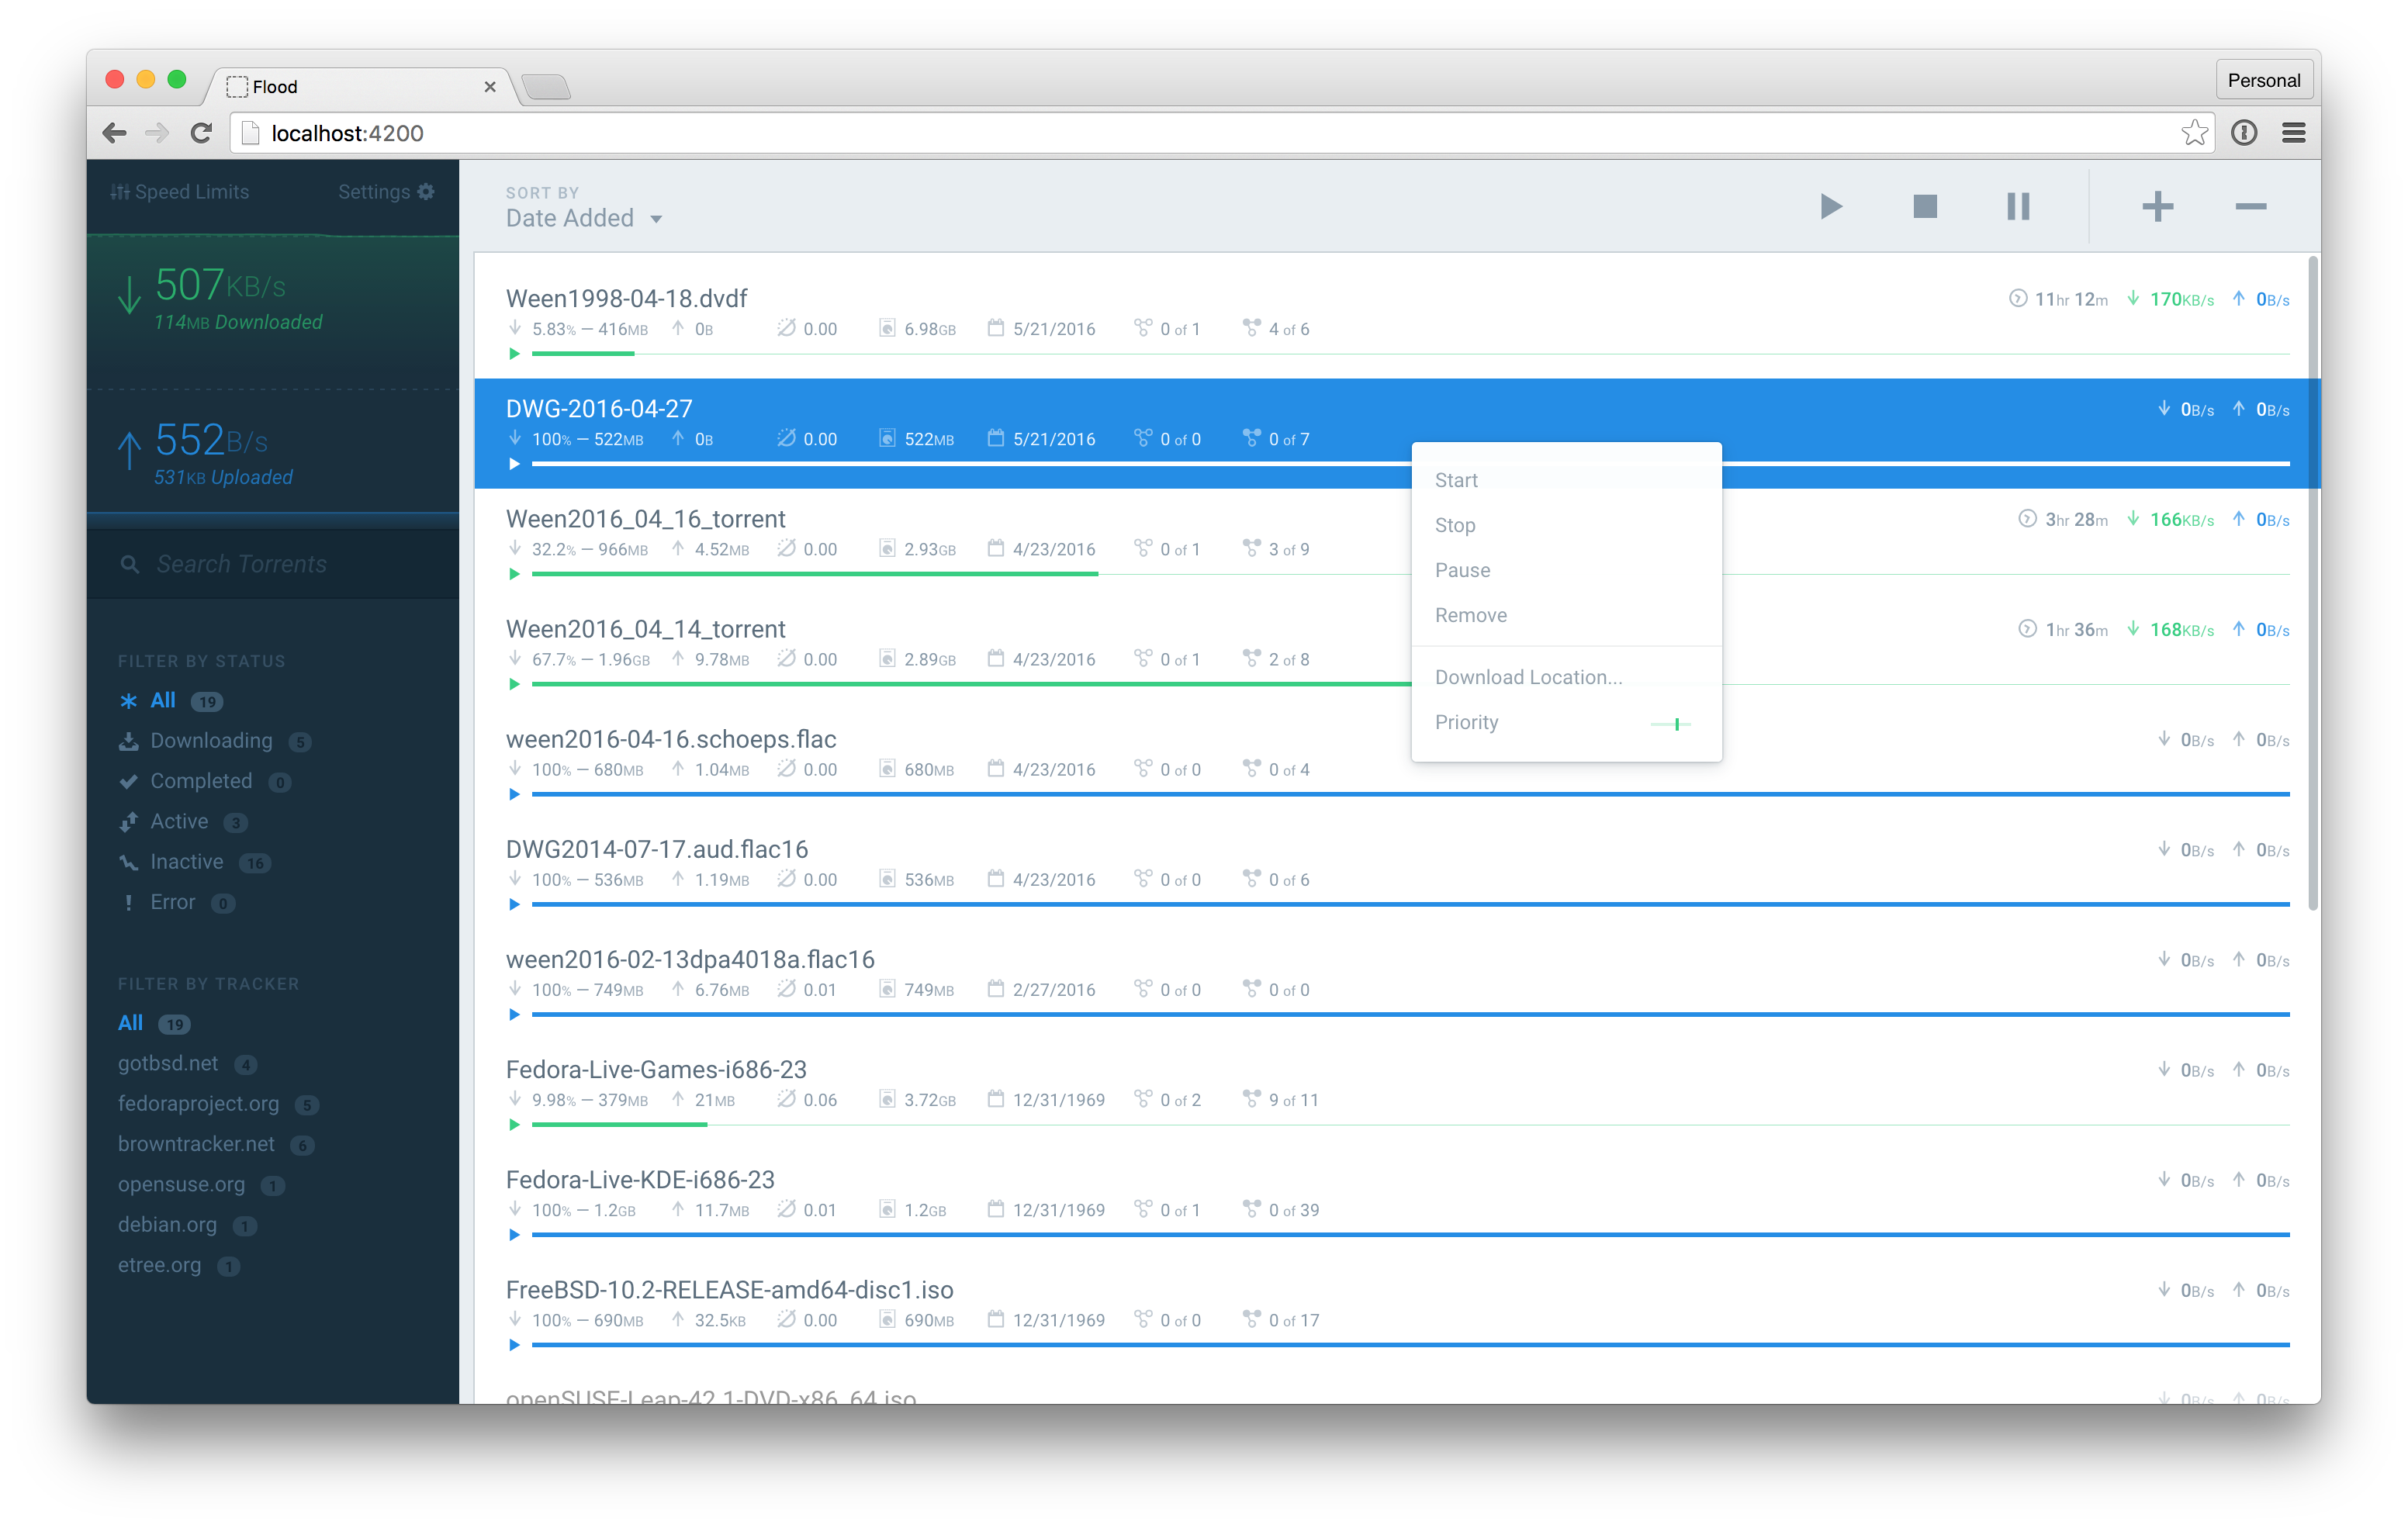
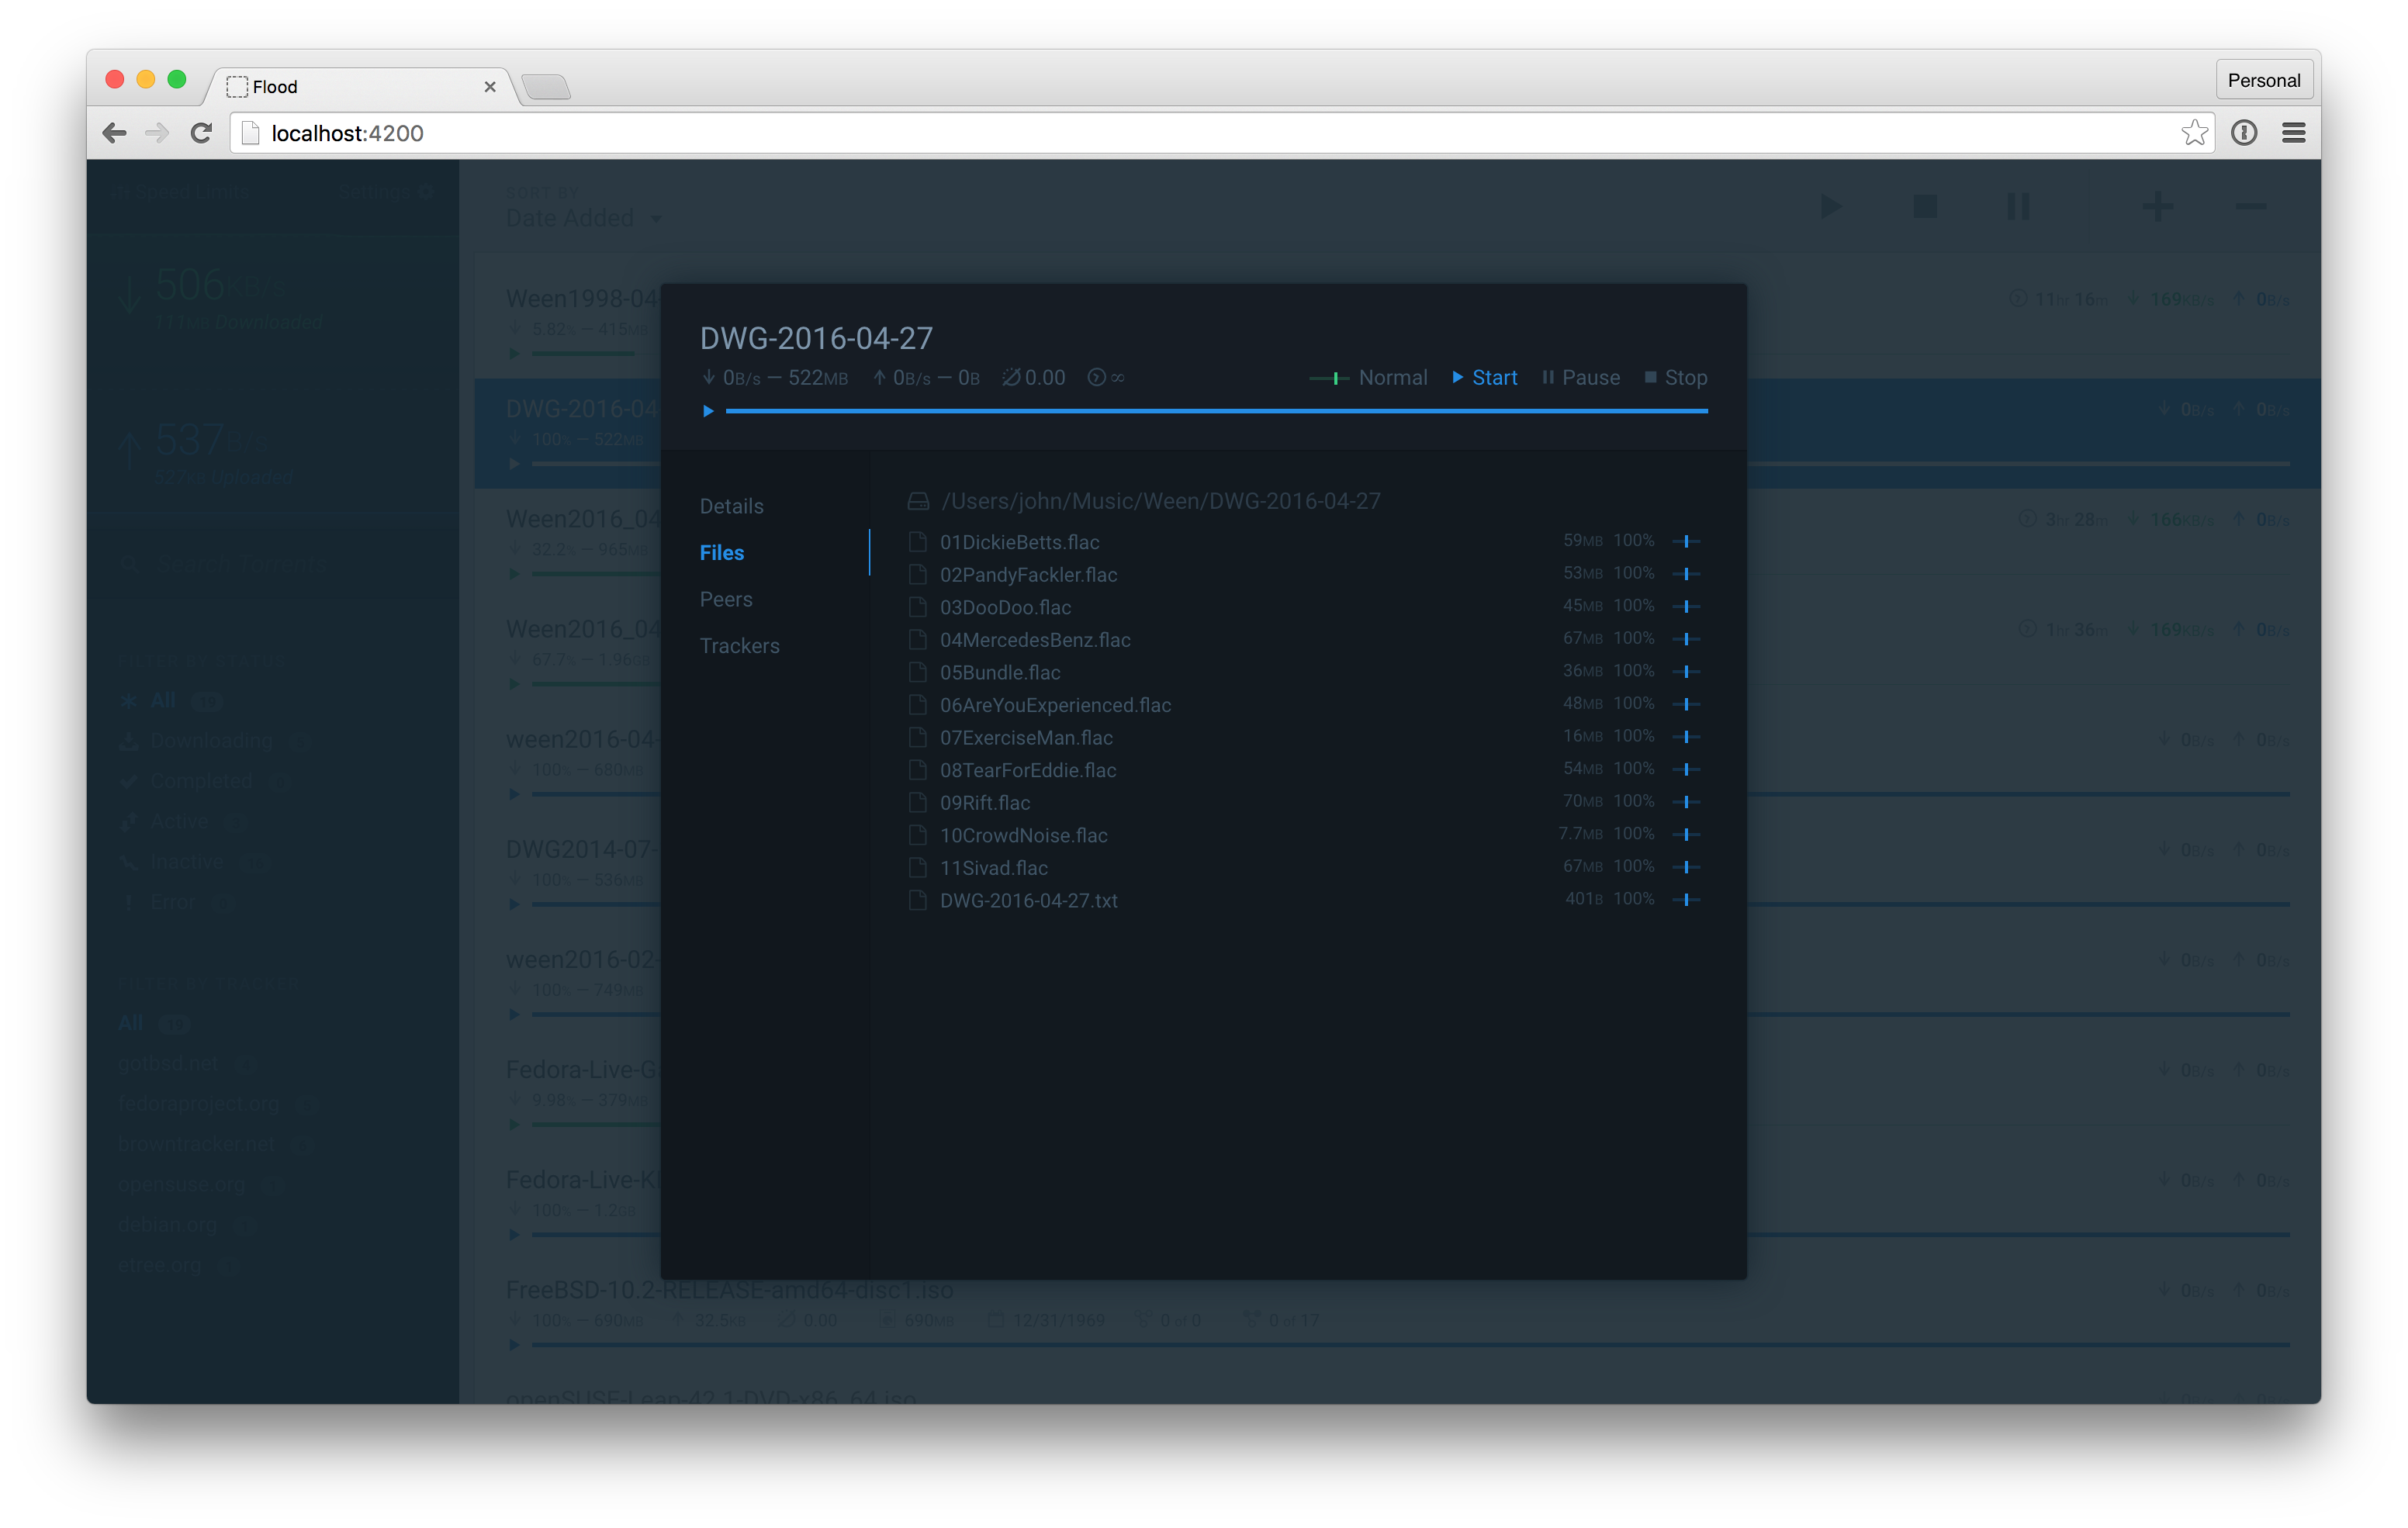
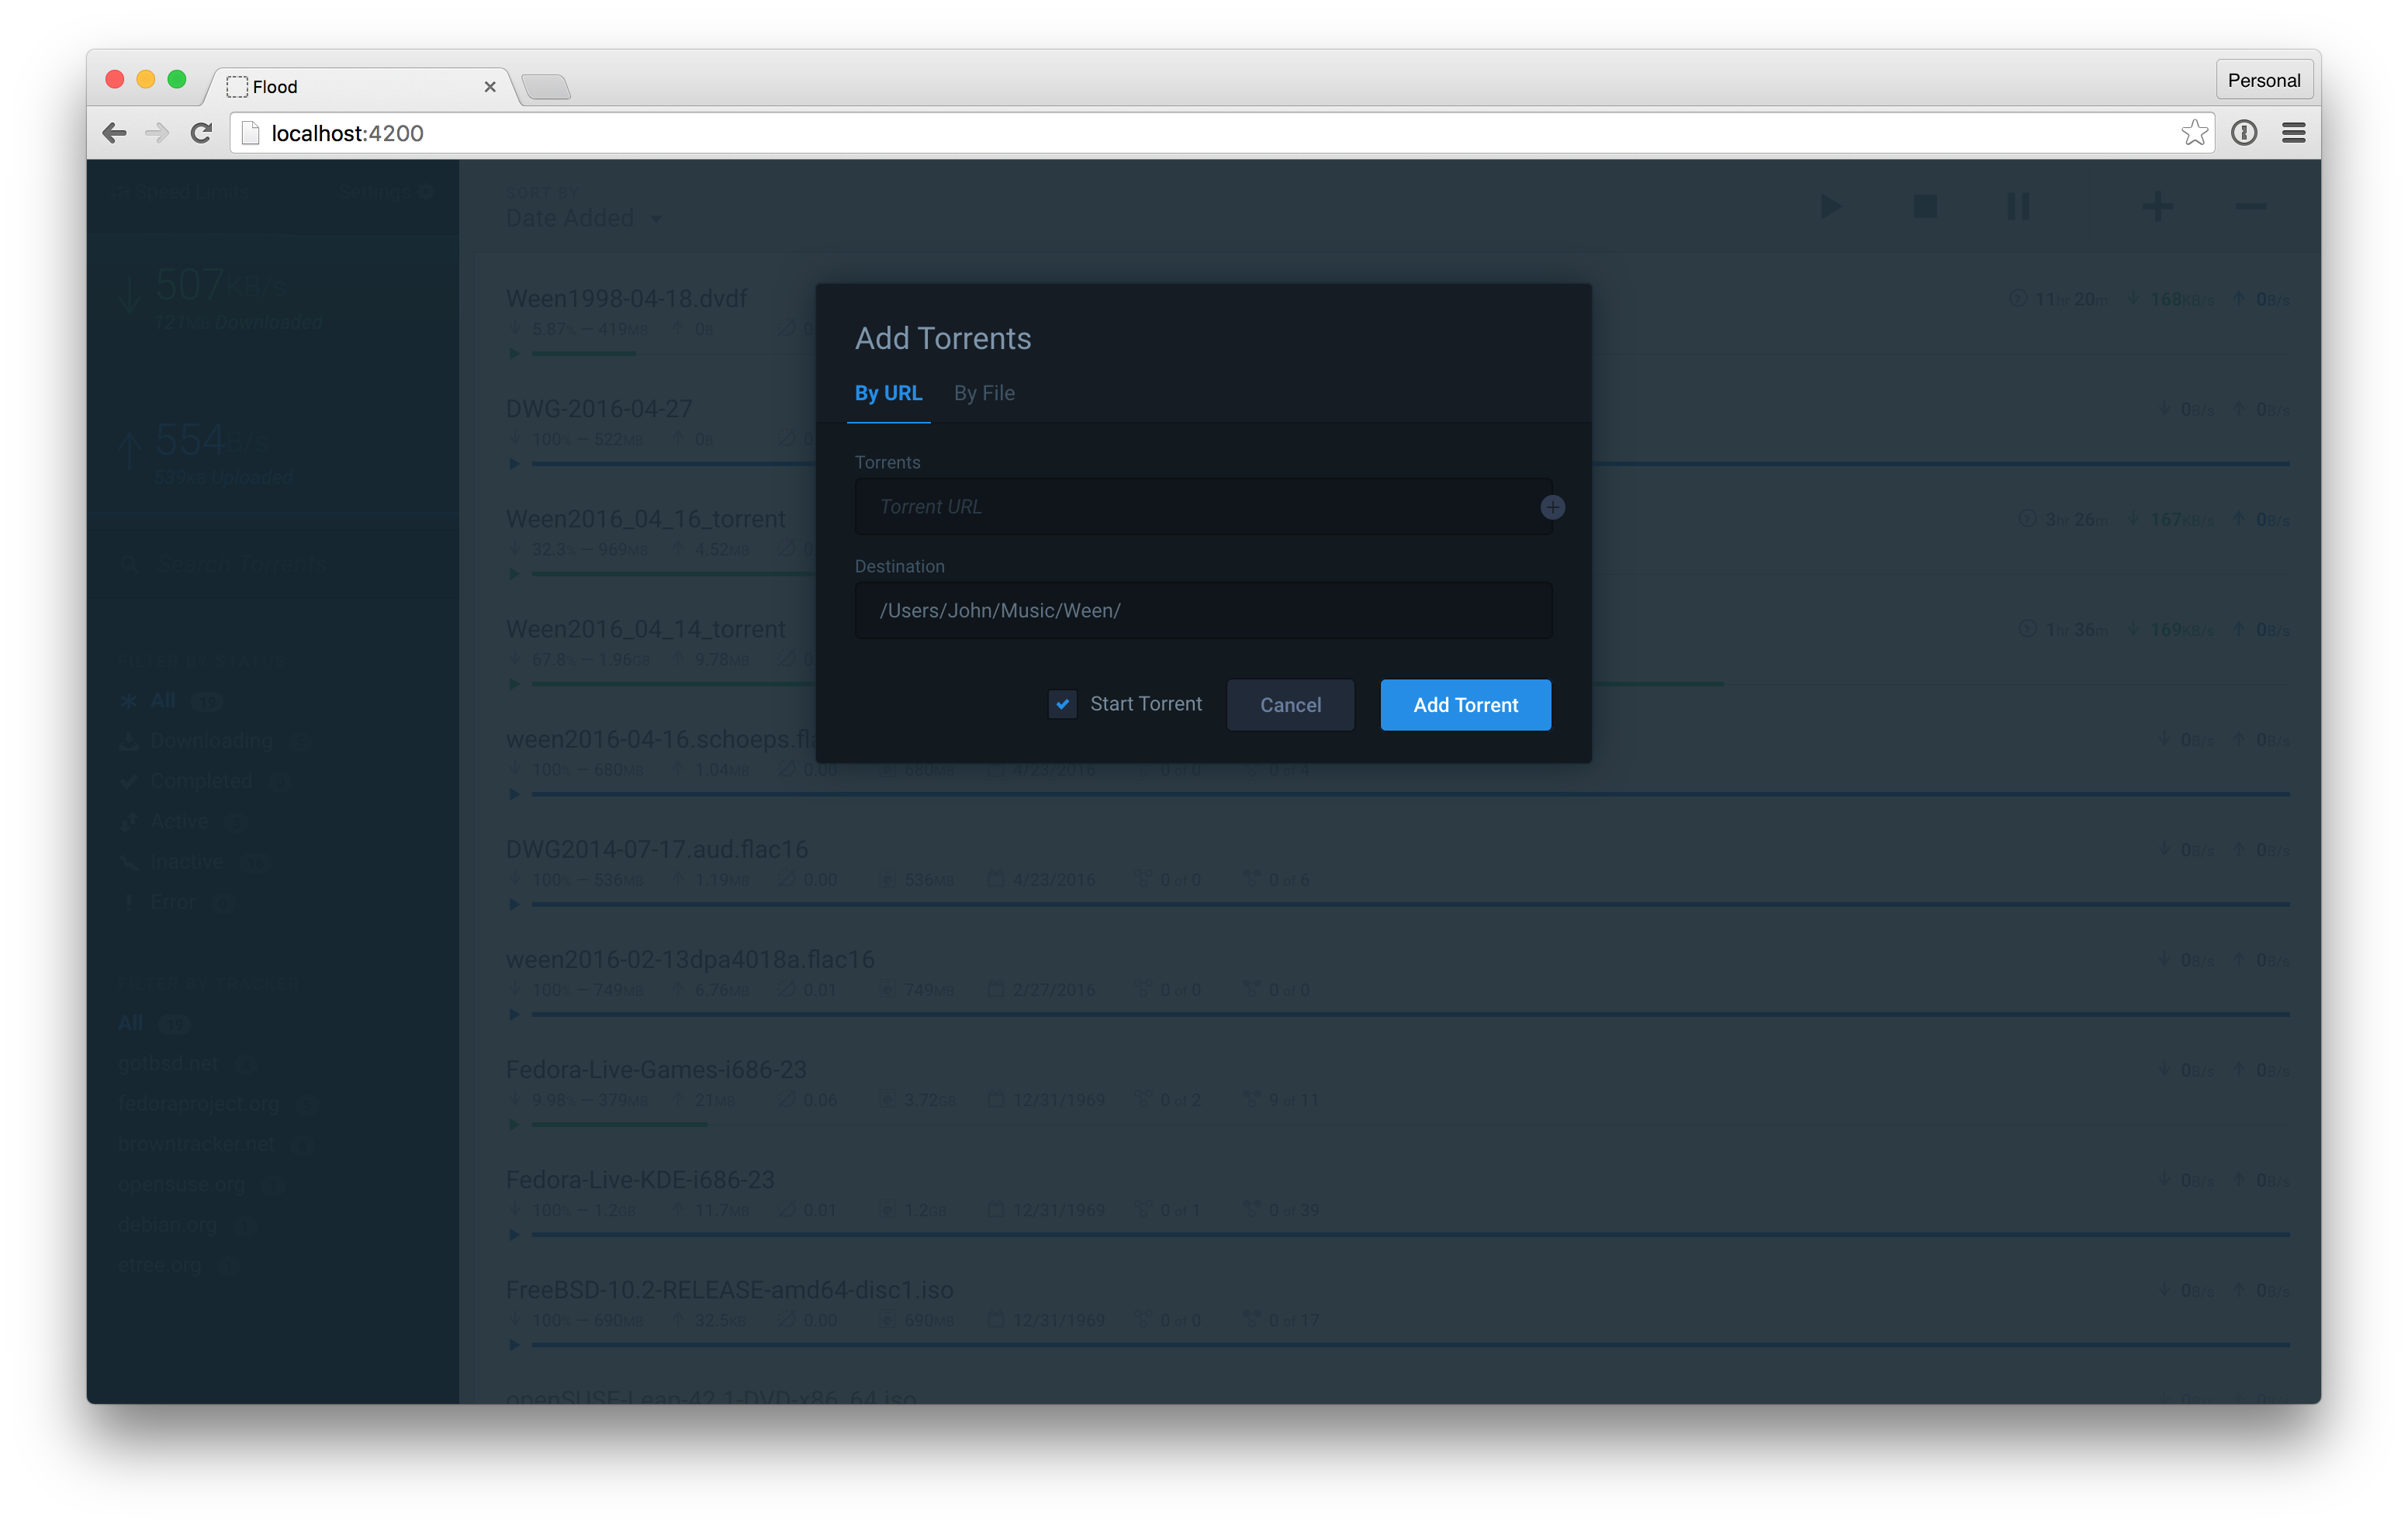
Flood is another web interface for rtorrent. It implements a Node.js server for communicating with the rTorrent API, storing historical data, and serving the web UI.
It's a work-in-progress, and it might not have all of the features you want (yet). However, new features are added frequently. Feel free to file an issue and I'll try to prioritize your feature requests.
If you have a specific issue or bug, please file a Github issue. If you want to participate in discussions about Flood's future, please join the Flood Slack team (get an instant invite first).
- rTorrent needs to be installed with XMLRPC configuration. If you are currently using a web UI for rTorrent, you've already done this.
- For Linux & OS X, check out rTorrent's installation wiki and/or this third-party tutorial. When you run
./configure, be sure to run with the--with-xmlrpc-cflag. - For Windows, try this guide (I haven't tested this, let me know if you have problems).
- Install NodeJS version
4.x:
- Copy
config.template.jstoconfig.js. This is required. - Set your rTorrent SCGI hostname and port in
config.js. Defaults arelocalhostand5000.
- If you want to use a socket, change
socketto true and setsocketPathto the absolute file path of your rTorrent socket. Make sure Flood has read/write access. Specify the socket path in.rtorrent.rc. Example:scgi_local = /Users/flood/rtorrent.sock - If you wish to access an rTorrent instance running on a separate host from Flood (or in a Docker container), allow for incoming connections from external IPs by setting the host in
scgi_portto0.0.0.0in.rtorrent.rc. Example:scgi_port = 0.0.0.0:5000
- Create a long, unique secret (used to sign JWT auth tokens) in
config.js.
- Run
npm install --production. - Run
npm run start:production. - Access the UI in your browser. Defaults to
localhost:3000.
- You may change the default port in
config.js.
- Upon loading the UI the first time, you will be prompted to create a user account.
- To update, run
git pullin this repository's directory. - Check
config.template.jsfor configuration changes that you may wish to incoporate in yourconfig.js. - Kill the running Node server.
- Run
npm install --productionto update dependencies. - Restart it with
npm run start:production.
- Static client-side assets are transpiled and compressed before starting the server.
- I run the web server with
screento keep the web server running independently of the terminal session. - Ubuntu users will need to install
nodejs-legacy(sudo apt-get install nodejs-legacy) for dependencies to install successfully. You can read more on this Stack Overflow post.
- Run
npm install. - Run
npm startandnpm run start:watchin separate terminal instances.
npm startuses nodemon to watch for changes to the server-side JavaScript.npm run start:watchwatches for changes in the client-side source.
- Access the UI through the browser-sync proxy at localhost:4200.