LOKI Battle Management System (BMS) is a free, open-source radar scope for use with DCS World. It aims to replicate the tools and styles found in real-world radar scopes.

- Download and extract the files from a Release package, then run "LOKI BMS.exe"
- The DCS Server you're connecting to must have the DCS GRPC server installed and the relevant ports for GRPC opened
- Run "LOKI BMS.exe"
- Click on the Sources Button (SRC) at the left end of the top row of buttons to open the Sources window
- Use the + button at the bottom left of this window to add a new Data Source
- Select the new data source in the list on the left, then edit its details like the web/IP address, port, and polling rates
- You can change how the raw data from this server will look on your scope using the Symbology pane on the right
- To activate a source, check the "Active" box near the top of the Source Details pane
- Data Sources will automatically attempt to reconnect if they are unable to connect or lose the connection (often due to the mission restarting). By default, DataSources will attempt to connect 5 times, with a 5 second delay after a connection failure. This behavior can be adjusted in the
DataSources.xmlfile as of 23 Nov 2022.
- Data Sources will automatically attempt to reconnect if they are unable to connect or lose the connection (often due to the mission restarting). By default, DataSources will attempt to connect 5 times, with a 5 second delay after a connection failure. This behavior can be adjusted in the
- Data Sources will remember if they were active or not when you closed the application, allowing them to automatically connect when you start the application!
- Data sources are stored in
%AppData%/Loki-BMS/DataSources.xml
- Click on the Geometry button (GEO) in the top row of buttons to import and customize KML files that will be displayed on the scope
- Click "Import" to open a file browser that will let you locate and load in KML files (you can select multiple!)
- Select the geometry you want to adjust from the list on the left in order to rename it, change its stroke and fill colors, or remove it from the list
- A geometry can be made invisible without removing it by toggling the checkbox next to its name in the list
- Geometry does not persist through application close/reopen as of 23 Nov 2022
- Geometry does not import colors from the source KML as of 23 Nov 2022


- The Main Scope's view is determined by a central view position and a vertical field of view
- At the bottom left of the scope is an incremented slider, representing the logarithmically-scaling vertical field of view (acceptable values are all real numbers from 0-16)
- The zoom level can be incremented by using the scroll wheel or touchpad's scroll function (this increments the zoom by 1.0)
- Zoom Presets are available through the number keys 1 through 0
- Press and hold the button for 0.75 seconds or more to SET a zoom preset
- Press and release the same button quickly to RECALL a zoom preset
- Zoom presets store the view position and zoom level
- Rubber band zoom, a concept that may be familiar to real-world controllers, is not implemented as of 23 Nov 2022.
- Zoom presets and the current view are persistent through application close/reopen
- These presets and the current view position are stored in
%AppData%/Loki-BMS/Views.xml
- These presets and the current view position are stored in
- By default, Tracks will display their altitude in hundreds of feet in the tags to their lower right
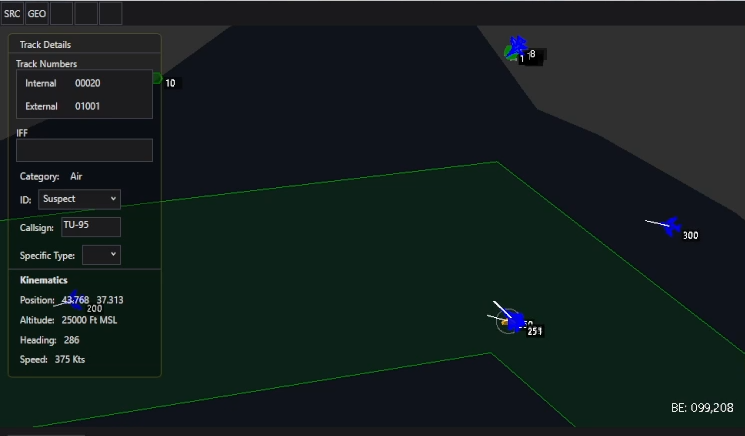
- Click on a track on-screen to select it and view its details
- The currently selected track will be highlighted with a light gray ring
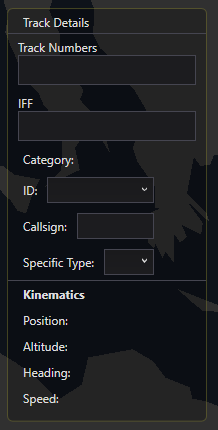
- Viewable Details as of 23 Nov 2022
- Track Numbers (Internal to LOKI and External, from DCS)
- IFF Table - currently blank, pending SRS integration
- Category (air/sea/land/other)
- ID (Friend/AssumedFriend/Neutral/Suspect/Hostile/Unknown/Pending)
- Callsign
- Specific Type (changes the track's symbol on the scope)
- Kinematic details
- If multiple tracks are visually stacked, you can click multiple times on the stack to iterate through the tracks at that point

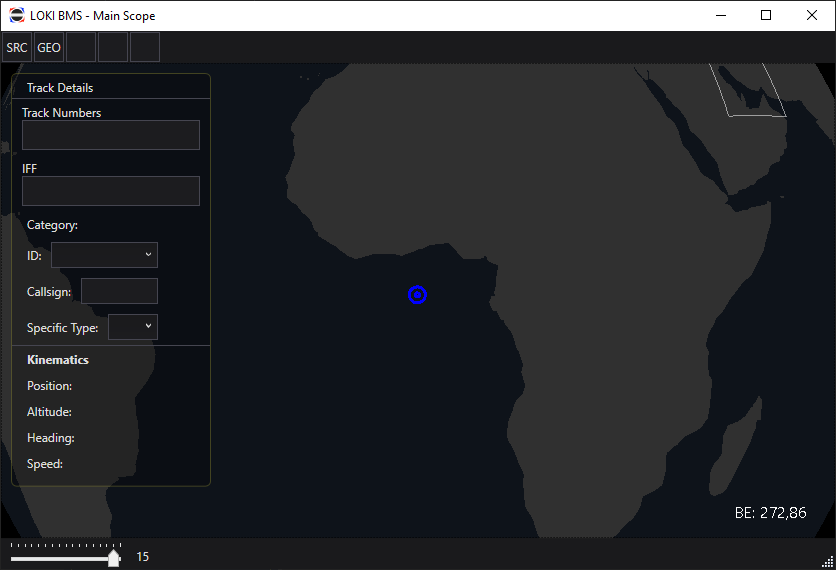
- By default, the Bullseye will be at 0 North, 0 East (null island)
- Clicking "Use Bullseye" in the Sources Window will move the Bullseye to that server's BlueFor bullseye position
- This behavior is temporary, but current as of 23 Nov 2022
- The "BE" field at the bottom right of the screen will show the Mouse cursor's bearing and range from Bullseye in degrees and Nautical Miles, computed via Great Circle distance
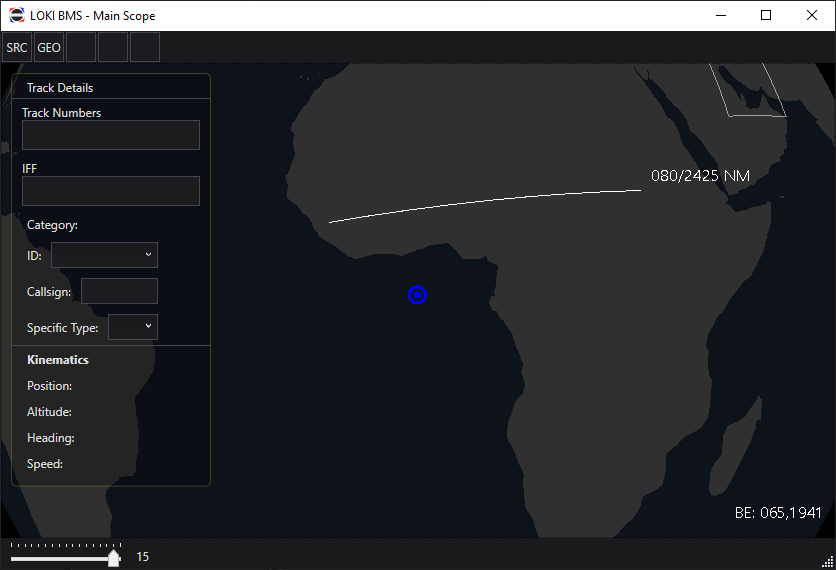
- Clicking anywhere on the scope (except on the Track Details pane) and dragging will draw a measure line, displaying the mouse cursor's position relative to the initial click point

