---> Cover\ ---> TOC
###Quick start Guide
- Connect the power plug to your wall outlet.
- Install the Moodlight app to your Android smart phone.
- Connect the Moodlight via Bluetooth in the general settings section of the Android phone.
- Control the Moodlight via app.
- Enjoy the unique star projection.
The Moodlight comes plug and playable out of the Box. The only additional connection that needs to be made is to plug the powercable into a wall socket. As soon as the power cable is connected the lamp will quickly blink to indicate that everything is connected properly.
Some problems which might occure and a possible solution:
-
The Wall plug is connected properly but the Moodlight does not power up.
- Check the connection between the cable and the 2.1mm Barrel Plug is the connection solid.
- Make sure that the Arrow with the Plus sign is pointing to the CEN mark on the cable.
- Check the connection between the cable and the 2.1mm socket on the power socket on the controller board.
-
Star projector dome is not turning
- Check the connection of the Black and Red cable coming from the motor and the screw terminals on the controller board.
- Try to run the motor without the dome. If it works then the dom might be too tightly screewed down.
-
Wrong color assignement.
- Check the screew terminals and the cables comming from the star power led and assign them correctly if necessary.
-
Bluetooth does not work.
- Check the Bluetooth power jumper. It needs to be plugged in to have a power connection between the Voltage Regulator and Bluetoot module.
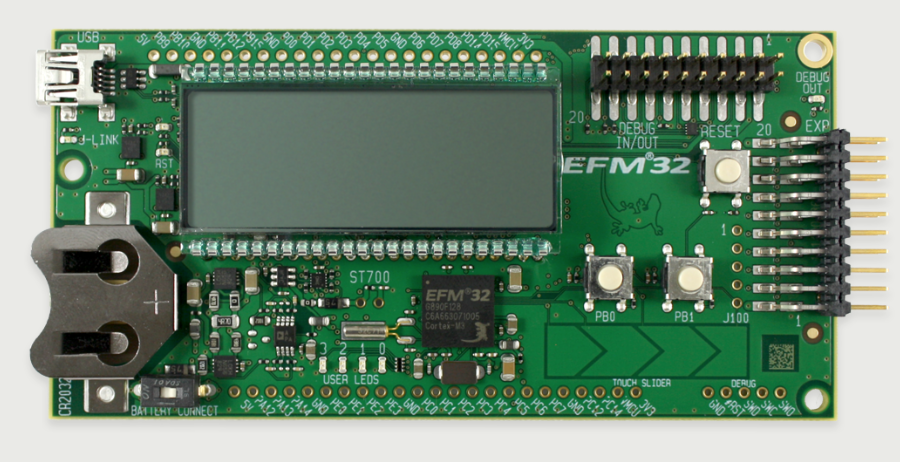
The micro controller Interface is controlled via the two push Buttons and the touch slider. The Gecko touch button can be used to reset the controller.
After Startup the uC is in the idle state. Using the left button allows to switch between idle, local and remote. Local allows to control the Moodlight directly via the controls on the controller board. Remote is needed to allow contol via Bluetooth or Web UI.
Here is the tree view of the Menustructure:
- IDLE
- Local
- Red
- Green
- Blue
- White
- RGBW
- Motor
- Remote
- Bluetooth
- Wireless
To Switch between the three main states idle, local and remote the left tactile push button (PB0) is used. To dive one level deeper into the menu structure the right tactile push button (PB1) is used. At the second level either "red, green, blue, white, rgbw, motor" or "bluetooth, wireless" the left button can be used again to switch between the states. To get back to the main three states use the right button again.
The current state is always visible on the display.
Here the 2nd level states in more detail:
States: Red, Green, Blue, White In the four states mentioned above the touch slider can beused to control the value of the specific color. The color value is displayed next to the color name on the LCD. Changing the value in one of the four states does immediately change the color of the Moodlight.
State: Motor Within the Motor state the motor speed can be via touch slider the corresponding value is displayed on the LCD screen.
State: RGBW is a state with a simple test pattern to check the funtionality of all four leds by blinking them individualy for a short amount of time.
State: Bluetooth in this state the bluetooth module and its corresponding UART controller is initialized. This is indicated with three short flashes of the blue led.
State: Wireless in this state the wireless uart is initialized.
The installation of the android app is a multi step process.
- Connect the smartphone with the development computer via USB.
- Search the Smartphoneo on the computer (system preferences) and check that the connection is established.
- Open Android Studio.
- Open the provided project folder into android studio.
- Select the app folder.
- Click the run app icon on the top of the android studio.
- Search for devices under connected devices if it's not present there try to find the phone directly via the system preferences point (1).
- As soon as the device is found click click ok.
- The Application is loaded onto the phone and started automatically. It will not start because there is no Moodlight paired yet. How to do that is described in the next section.
To pair the moodlight with your smartphone go to the general android settings of the phone and turn bluetooth on. Depending on the Android version installed the exact naming and procedure might vary a little. It this is the case please check with the official documentation of your android version. As the procedere is very similar for all version here a short section for that.
Go to the android settings, in there choose the Bluetooth section and turn Bluetooth on. There is a button on the top right which allows to search for nearby devices. Make sure that the Moodlight is plugged in and the Bluetooth functionality is turned on by goining into the remote bluetooth menu on the uC interface (see below).
The Smartphone is now scanning for the device and will show new ones in the list. To pair the moodlight with the phone simply click pair.
If there are multiple ones compare the label which pops up in the bluetooth menuand the mac address printed on a lable directly on the bluetooth module which is soldered onto the controller board.
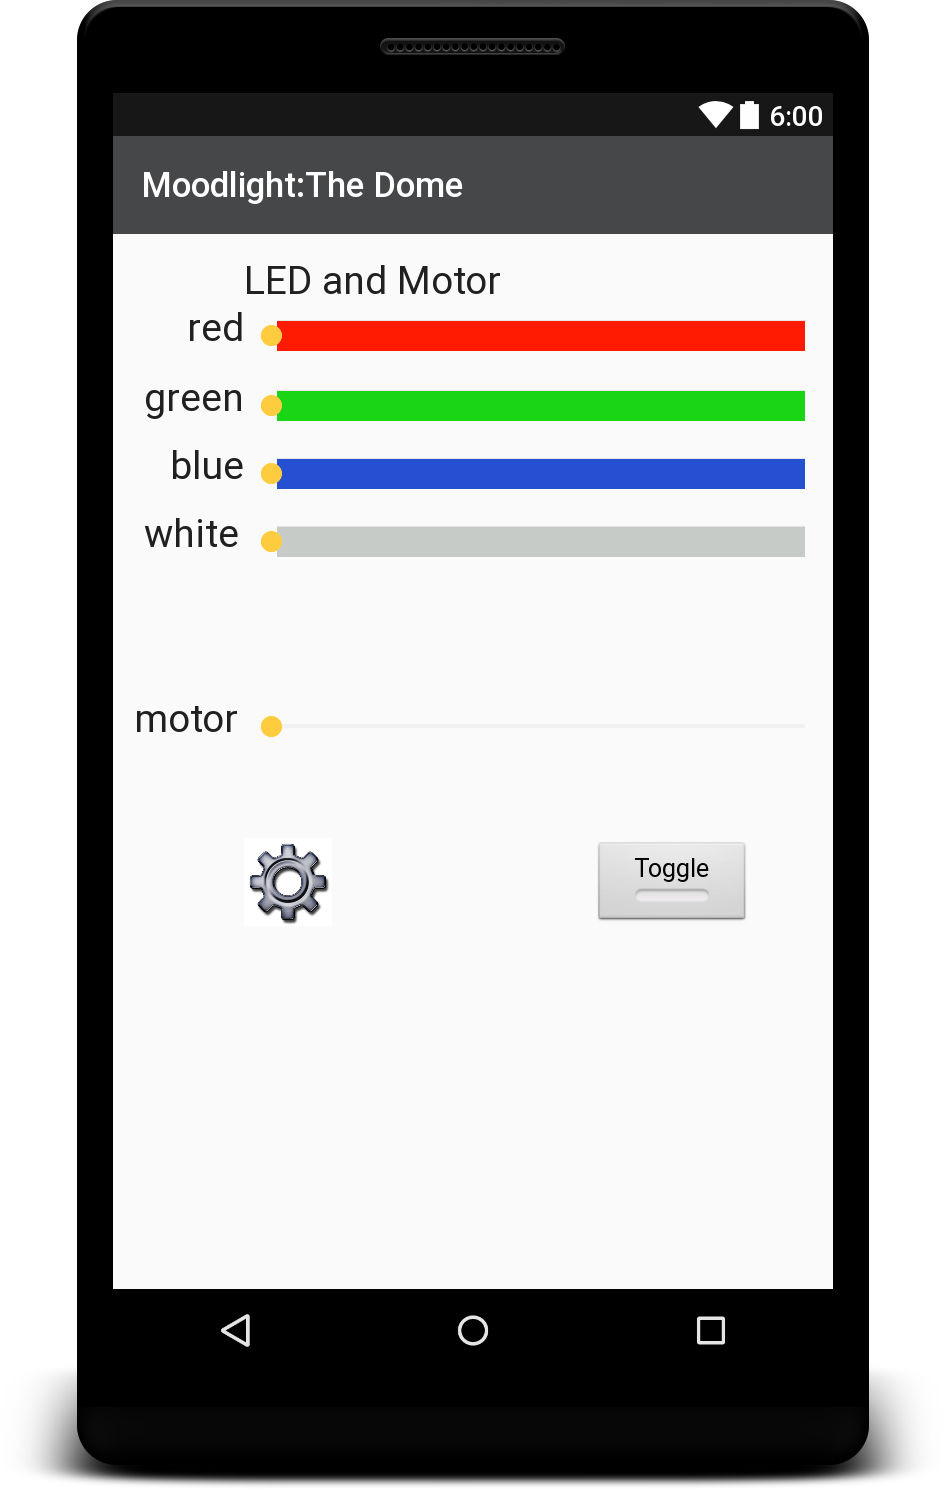
The Android Moodlight App is devided into three tabs: RGB+W, HSV and Service.
Open the Moodlight controller application "The Dome" by clicking on the corresponding Icon on the home screen of the smartphone.
How to use the app with the different tabs:
Within the RGB+W tab the red, green, blue and white values are directly controllable. The values can be entered with four independent horizontal sliders. Move any of the four sliders from left to right to increase the brightness of its represented color.
The horizontal Motor Sllider below the RGBW sliders allows to controll the Motor speed directly. Move the Slider from left to right to increase the rotation rate of the Star dome.
On the bottom is Coq-wheel turning when ever new data is sent to the Moodlight this sent to the Moodlight. The Button on the Right of the Coq-wheel allows to toggle the Light on and off and is also indicating the color that has been set for the light.
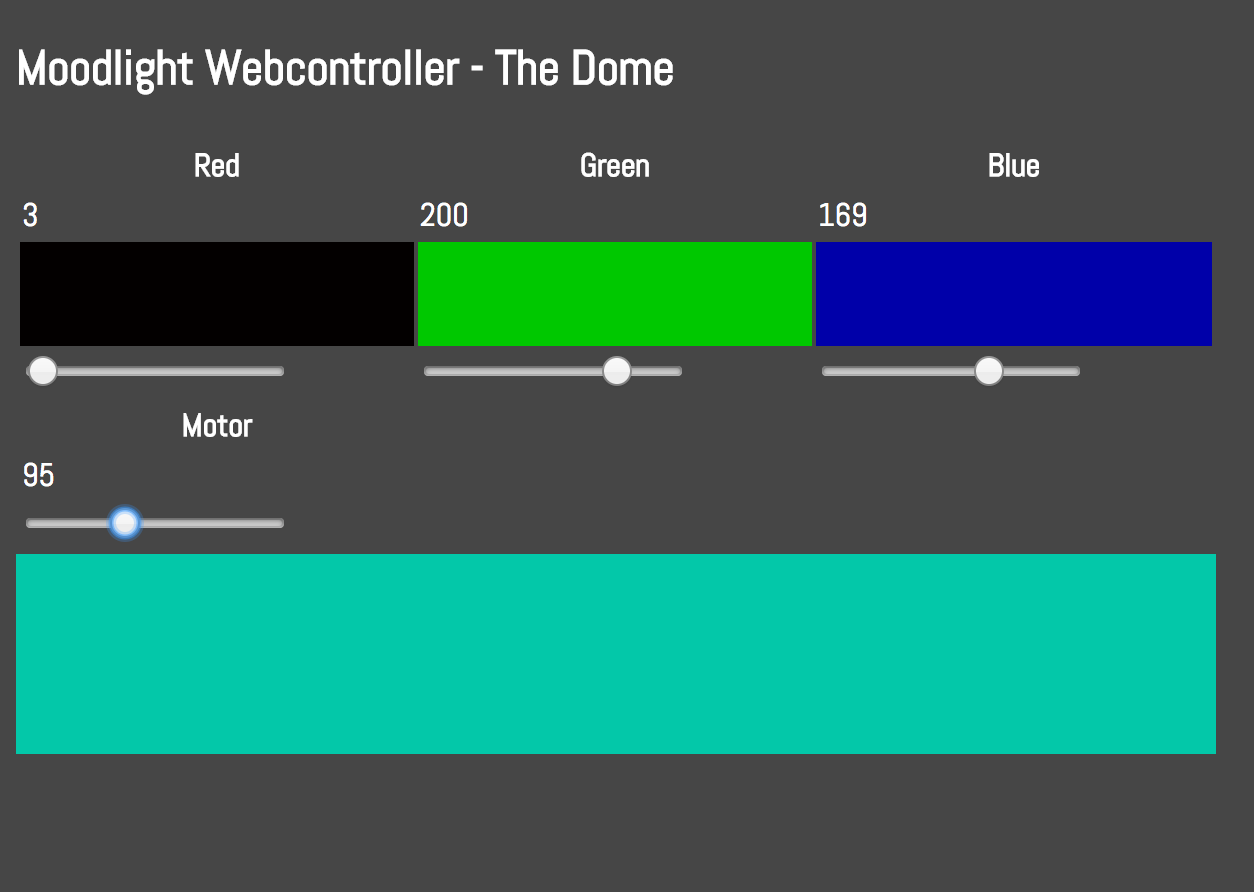
Within the HSV tab the three parameters for Hue, Saturation and Value can be set by sliding the three sliders horizonaly. The actual representation of what the current slider possition means is represented as a strip behind the slider. Just below the three sliders are the calculated RGB values.
There is the option to include the white LED or leave it out. The option is represented by a rectangular checkbox. Checking the box includes the white led leave the box empty to not use the white led.
The color field on the bottom shows a preview of the set color. It changes as soon as one of the three slider changes.

The service tab is used to connect and disconnect to the Moodlight. It can also be used to synchronize data and use the send this: section to send commands directly. This can help to find problems and or check additional functionalitites. The data received from the moodlight is also written into the text field on the bottom of the Service tab.

Any additional informations and messages are displayed as little pop ups on the bottom of the application screen. There is one popup for showing that there is no Moodlight connected.
moodlight.homedns.org


