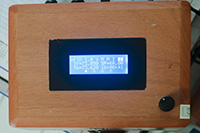
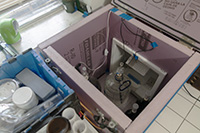
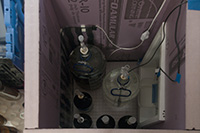
PID fermentation control for AVR platforms
notorious PID is an open source fermentation temperature control program for homebrew use. The code has been developed with the arduino IDE.
###Contents
- Control Overview
- LCD Character Display
- Main Display
- User Menu
- Additional Features
- Future Features
- Build Aspects
- List of Components
- Logical Connections
- Logical Schematic
- Power Schematic
- Build Photos
###Control Overview A standard PID control algorithm computes the air temperature necessary to maintain a desired fermentation setpoint. Controller output of the main PID cascades into two additional control algorithms for heating and cooling. Final control elements consist of the refrigerator compressor and resistive heating element. Temperature sensing of fermenting beer and chamber air is performed by the Dallas OneWire DS18B20. The sensor's on-board DAC performs a conversion to deg C with up to 12-bit resolution (requiring approximately 650ms for conversion at room temperature). With careful tuning of control parameters, energy efficient, precision control of desired fermentation setpoint within +/- 0.1 deg C is possible.
Cooling -- The refrigerator compressor is switched by a differential control algorithm with time-based overshoot prediction capabilities. Cycles are timed to minimize compressor motor stress.
Heating -- A second PID instance outputs a duty cycle for time proportioned control of a resistive heating element lining the inner chamber walls.
###LCD Character Display
#####Main Display
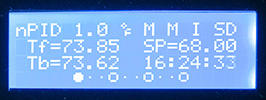
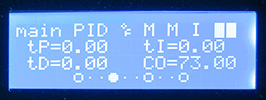
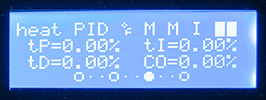
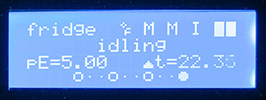
The main display is divided amongst 4 pages. A scroll bar on the bottom line of the LCD tracks page selection. The first page displays an overall view consisting of program version, chamber air temperature, beer tempterature, main PID setpoint and time. The second and third pages are dedicated to the main and heat PIDs respectively. These pages allow the user to monitor the individual PID terms (proportional/integral/derivative) and controller output. The fourth page displays fridge status (idle/cooling/heating), status duration and peak estimator value. The various program states are displayed across the top line on all main views:
- display units - (C)elsius | (F)arenheit
- main PID mode - (M)anual | (A)utomatic
- heat PID mode - (M)anual | (A)utomatic
- fridge state - (I)dling | (C)ooling | (H)eating
- sd status
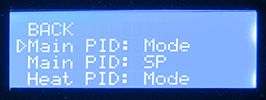
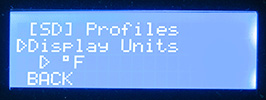
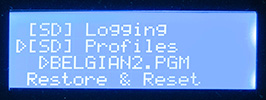
Pressing the rotary encoder pushbutton activates the user menu. Normal PID and fridge tasks continue to run in the background. The current menu item is indicated by the right arrow and the rotary encoder allows the user to rotate through the list of options and make a selection with the pushbutton:
- main PID mode - manual / automatic
- main PID output (manual mode required)
- main PID setpoint
- heat PID mode - manual / automatic
- heat PID output (manual mode required)
- display units - celsius / farenheit
- sd data logging - enable / disable
- sd temp profiles - select file / disable
- restore & reset - restore EEPROM settings to defaults and reset AVR
- back - finalize setting changes and leave user menu
###Additonal Features EEPROM storage -- notorious PID stores vital program states and settings in non-volatile EEPROM memory space. If power is lost or the arduino reboots via the reset button, previous settings can be recalled from EEPROM at startup.
Data Logging -- Logging functionality is provided by the Adafruit data logging shield. The shield includes an SD card slot and a real time clock for accurate timestamping of data and files. Logfiles are formatted as simple CSV with headers. Logging operations may be enabled/disabled by the end user at any time via the menu.
Temperature Profiles -- The program includes support for end-user created temperature profiles. Profiles in CSV format may be placed in the /PROFILES/ directory of the SD card used for data logging. Files use the 8.3 filename format with .PGM file extension and consist of comma separated pairs of setpoint temperature (deg C) and duration (hours). During profile operation, main PID setpoint is varied according to the pairs included in the .PGM file. Profiles may be enabled/disabled via the menu.
Watchdog Failsafe -- An infinite loop or other AVR lock-up could lead to a loss of control of the final control elements. To prevent an AVR failure from leading to unsafe operation, notorious PID makes use of the Watchdog timer feature of arduino (and similar) boards. The Watchdog is an onboard countdown timer that will reboot the arduino if it has not recieved a reset pulse from the AVR within a set time.
###Future Features WiFi Connectivity -- Connectivity to be acomplished via the Adafruit wifi breakout with external antenna. Data will be viewable online via the Xively service.
###Build Aspects #####List of Components
- Arduino MEGA 2560
- Adafruit data logging shield
- 20x4 character LCD
- Rotary encoder with pushbutton
- SainSmart 2 channel relay board
- 2x DS18B20 Dallas OneWire digital temperature sensor
- 3/8" stainless thermowell
- A refrigerator or chest freezer
- Flexwatt heat tape
#####Logical Connections
| Hardware | AVR Pin | Hardware | AVR Pin | |
|---|---|---|---|---|
| LCD Enable | 8 | Rotary A Channel | 3 | |
| LCD Reset | 9 | Rotary B Channel | 2 | |
| LCD ChipSelect | 10 | Rotary Pushbutton | A0 | |
| LCD MOSI (SPI) | 11 | OneWire Data | A1 | |
| LCD MISO (SPI) | 12 | Relay 1 (fridge) | A2 | |
| LCD SCK (SPI) | 13 | Relay 2 (beer) | A3 | |
| LCD D7 | 4 | |||
| LCD D6 | 5 | |||
| LCD D5 | 6 | |||
| LCD D4 | 7 |
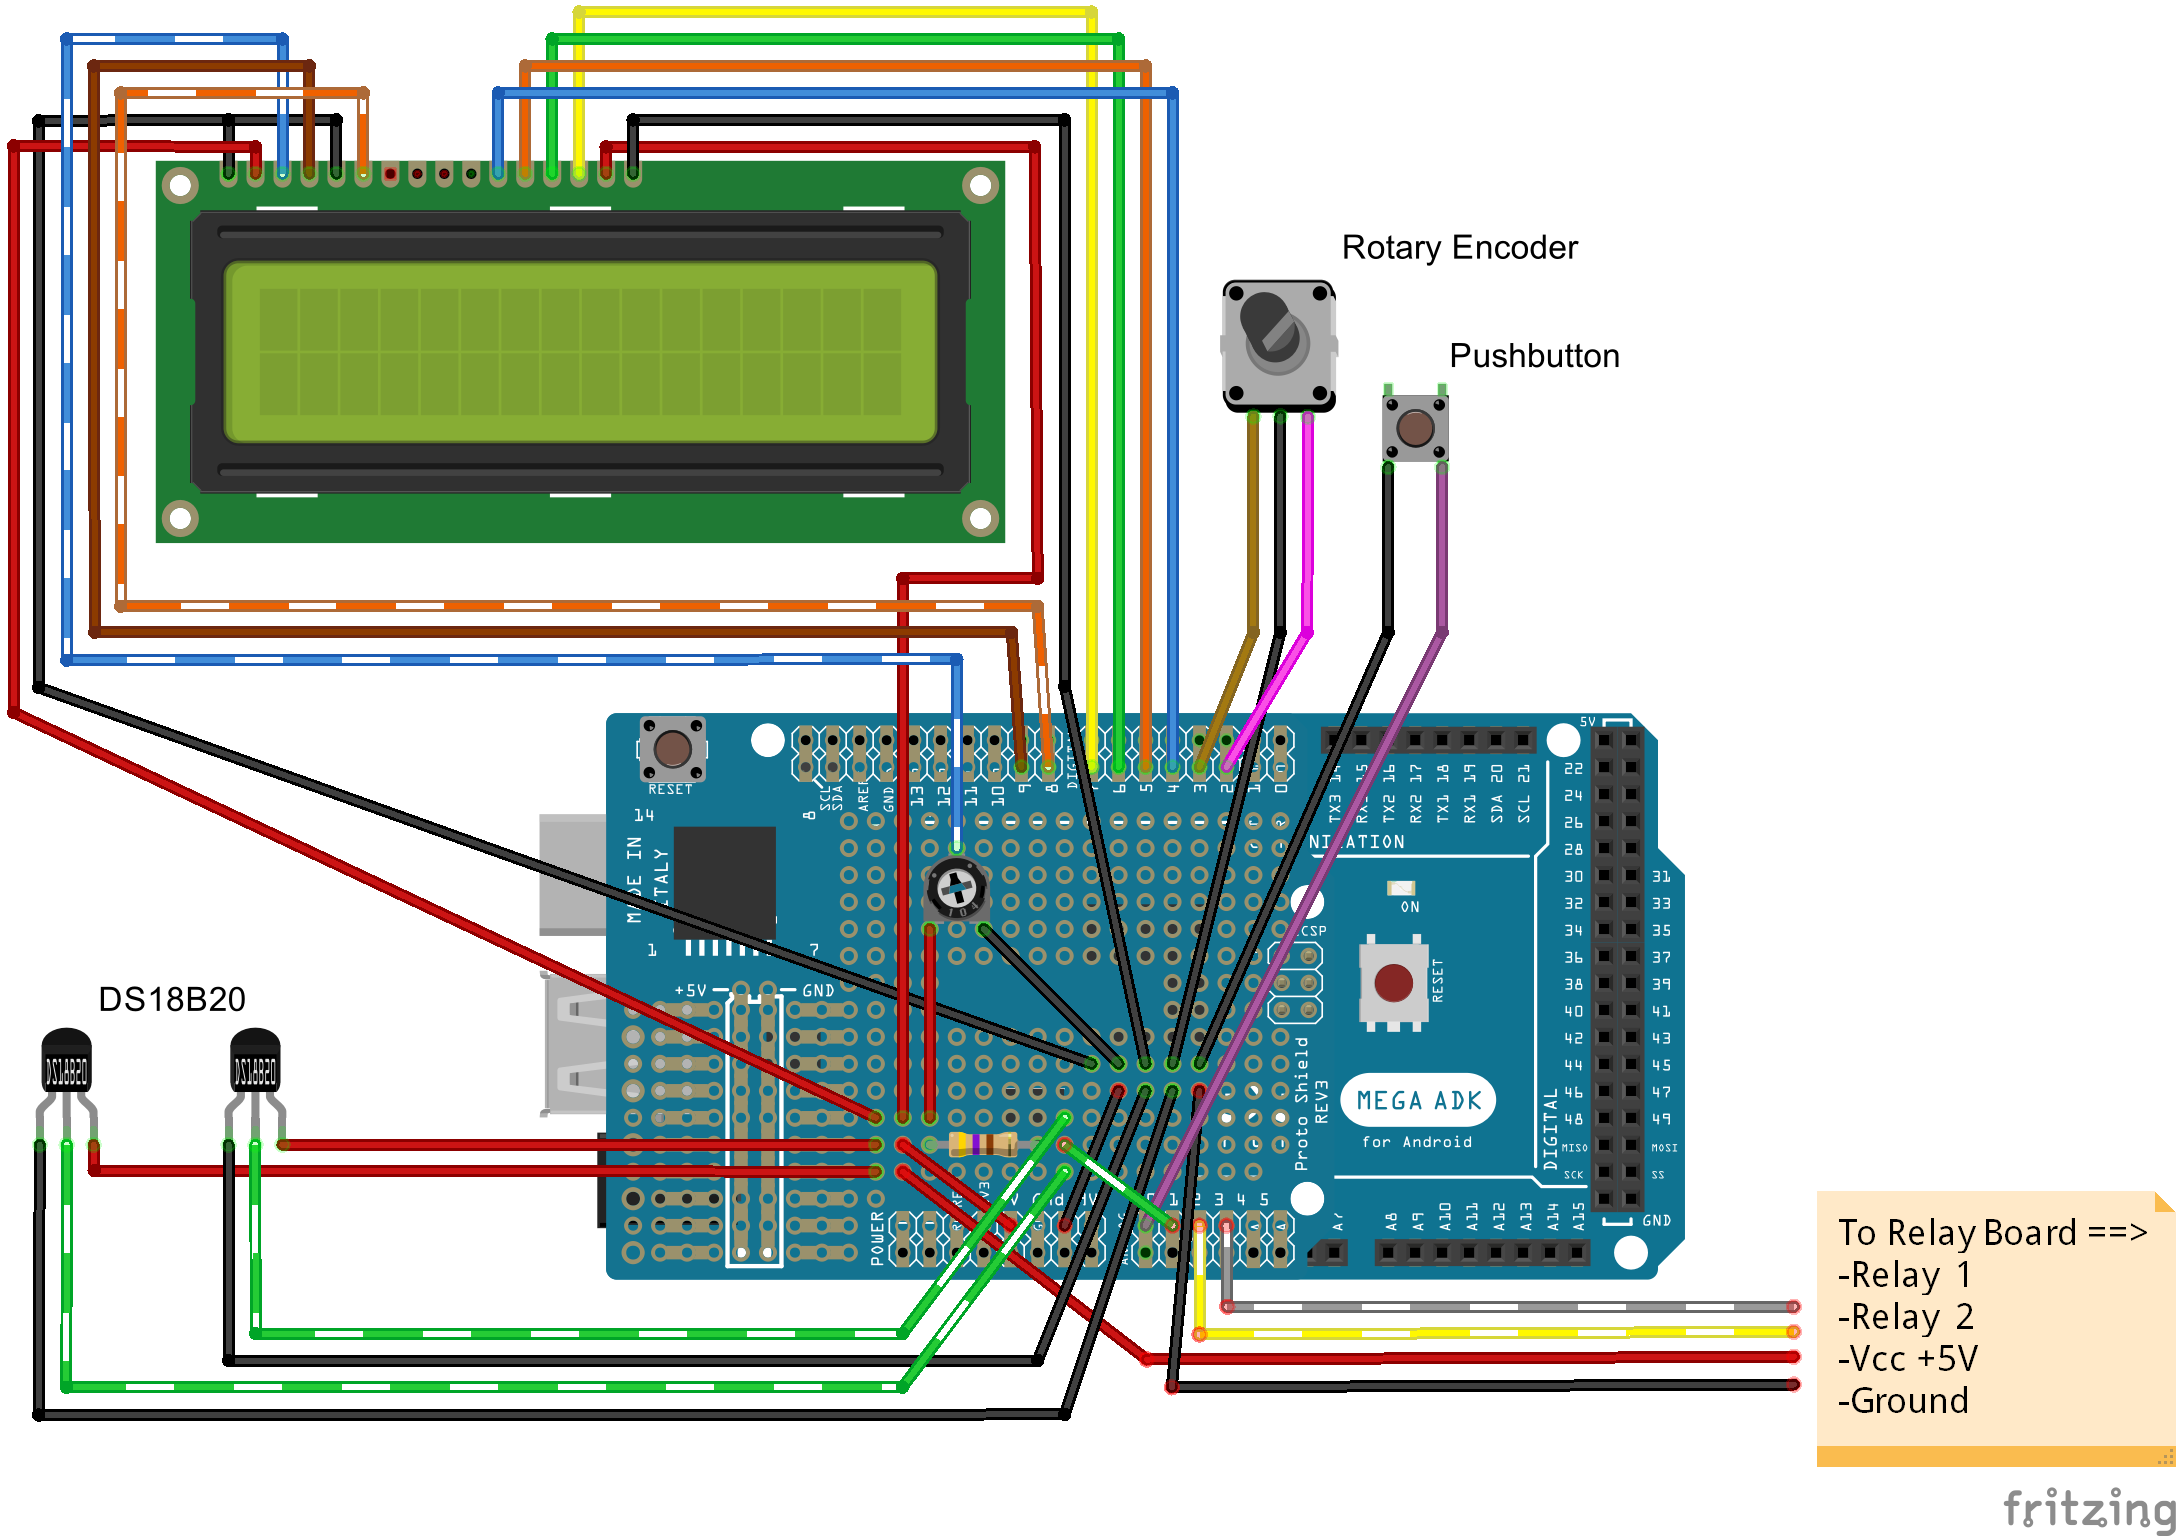
a couple notes about the above diagram:
- the prototyping shield has been substituted for the adafruit data logging shield (same footprint)
- this project uses a 20x4 character lcd with backlight (shown is the stock 16x2)
- the lcd utilizes a trim-pot to adjust contrast (dashed blue wire)
- the rotary encoder from adafruit incorporates a pushbutton (shown seperate)
- the onewire data line requires a 4.7kohm pullup (dashed green wire)
- external power must be supplied to the onewire sensors (cannot use parasite power)
- there is no template for the sainsmart relay board but wiring should be straight-forward
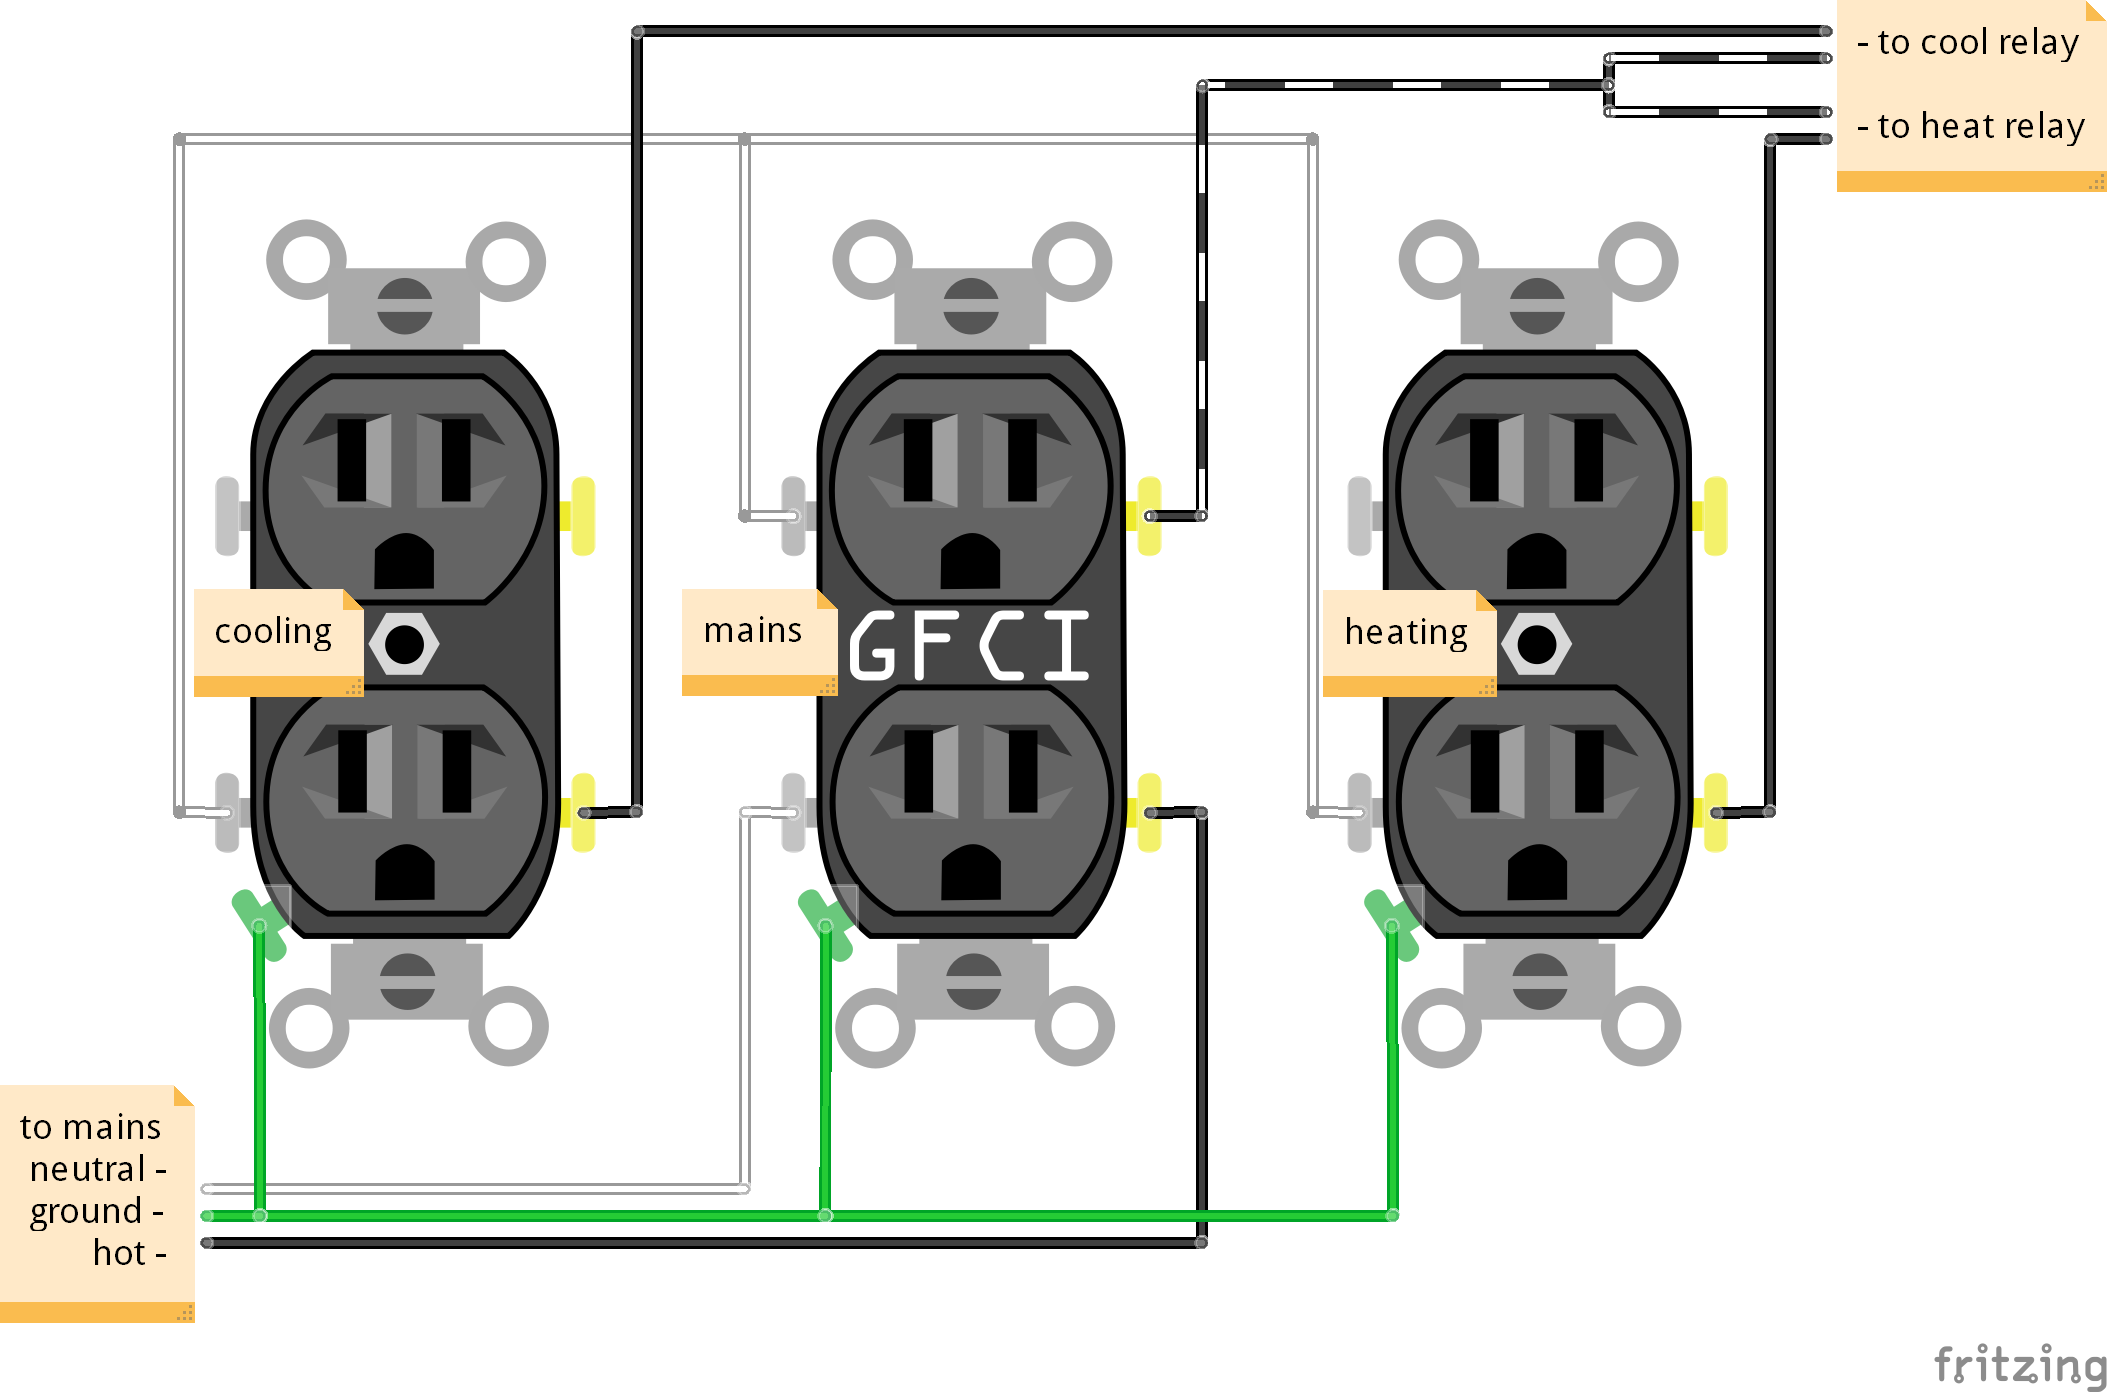
a couple notes about the above diagram:
- mains outlet provides project-wide GFCI protection
- plug refrigerator into cooling outlet (duh)
- plug heat element into heating outlet (duh)
- plug arduino (and optional fans, etc.) into mains outlet
Many thanks go to Elco Jacobs who, without even knowing it, greatly influenced the direction of this project with his work on both UberFridge and brewPI. Also, thanks to the many helpful users on both the Arduino and Adafruit forums!
