- Download git here.
- Git Bash will be installed along with Git.
- Use Git Bash to enter git commands.
After installing git.
Open Git Bash and enter user config for git.
Enter the GitHub email you used.

Commands:
git config --global user.email "<your-email>"
git config --global user.name "<your-name>"

Example:
- Create a GitHub Account and add your username here. You will be invited as a collaborator in this repository.
1. Deploy your personal website to GitHub Pages.
2. Submit your personal website link and the source code link.
Steps:
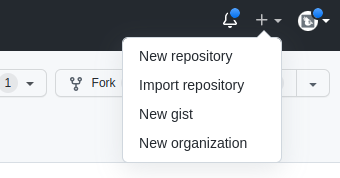
1. Create new repository on GitHub.
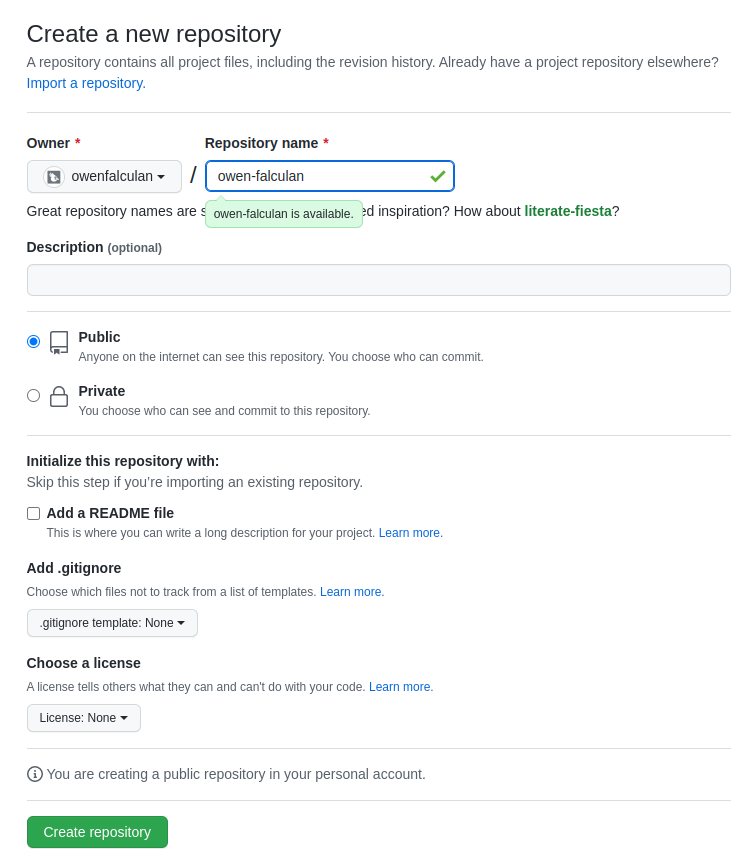
2. Add repository name. Repository must be public. Click create.
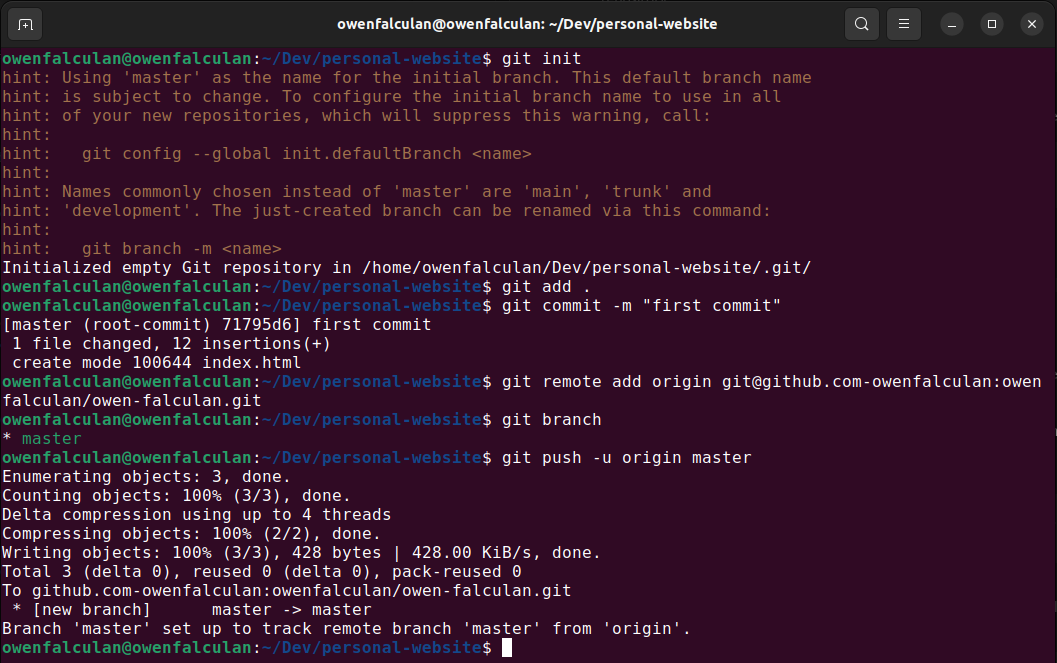
3. Upload your project to GitHub. Ignore the following commands:
echo "# owen-falculan" >> README.me
git add README.me

Note:
Execute these commands inside your project folder!
Use commands cd and ls to navigate.
cd - used to navigate between folders.
ls - list files and folders
Sample terminal commands
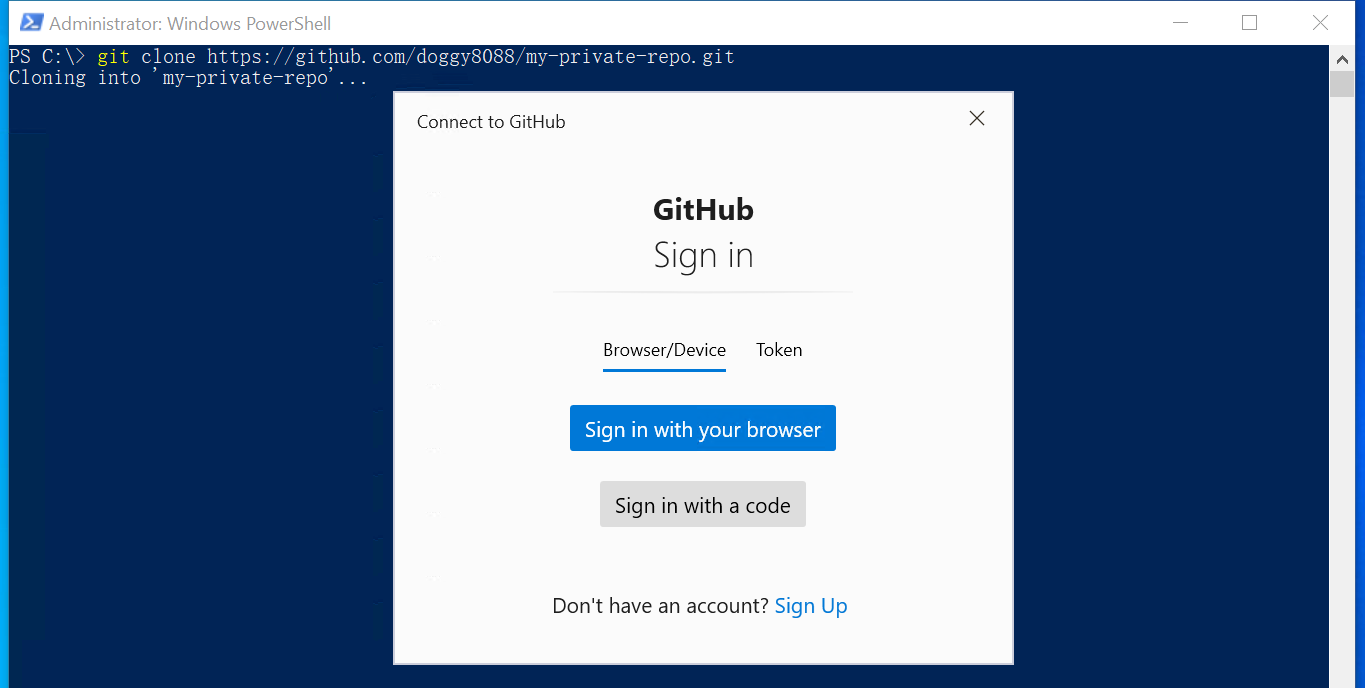
4. For windows users, if this window pops out when pushing your branch.
Just sign in with your browser and authorize git.
5. After pushing, your project files should be uploaded to your created GitHub repository.
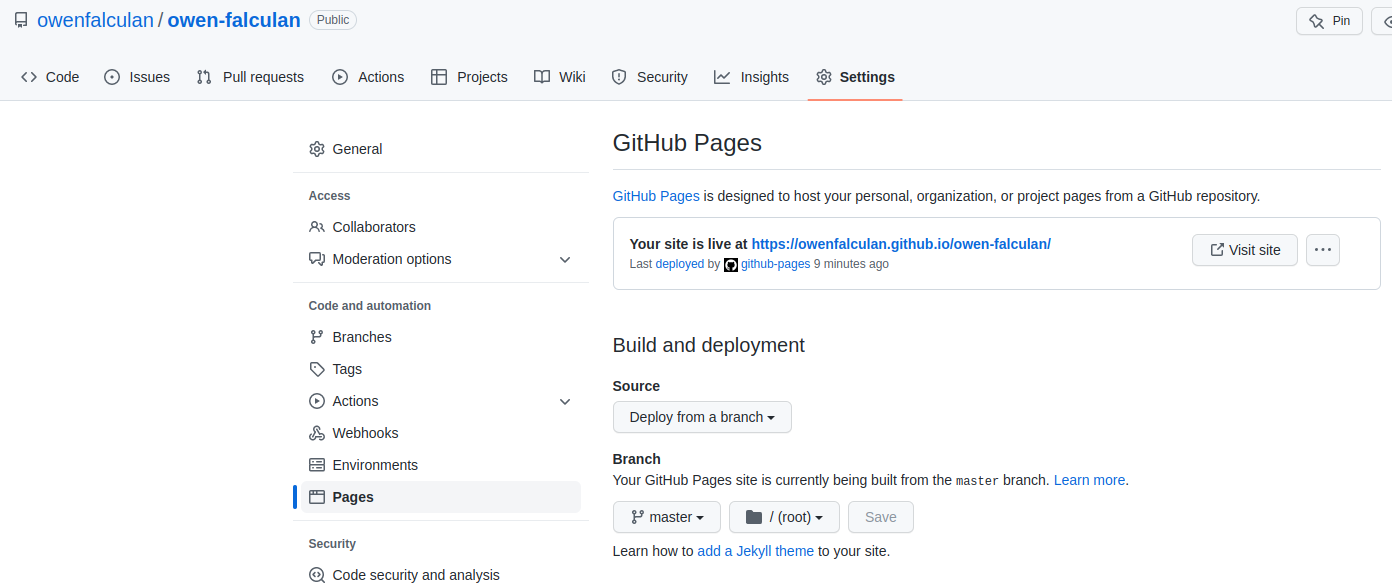
6. Deploy your branch using GitHub Pages.
Click settings > pages > deploy master/main branch > save.
Your website link will be available after 30 seconds.
Note:
Your main HTML file should be named index.html
Steps:
1. Open Git Bash (installed along with git) and clone our course repository.
Then navigate to the project using cd command.

Note:
Do not clone inside your personal website project!
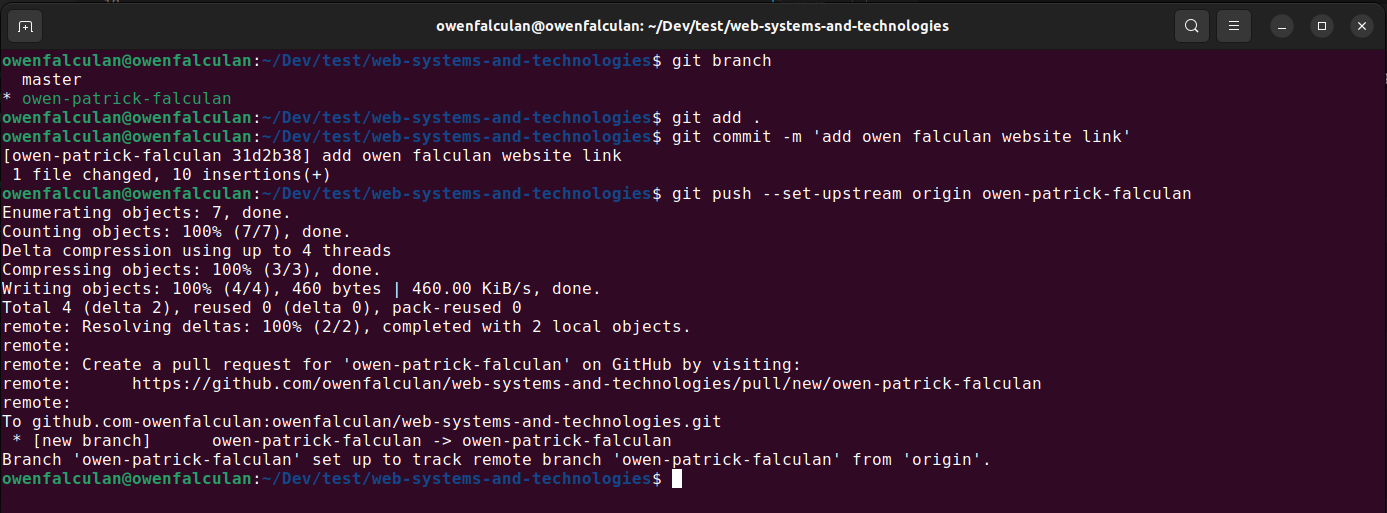
1. Create a branch. Use your name as branch name (eg. owen-patrick-falculan).
Make sure that you are in your newly created branch.
To check, type "git branch" and your branch should be highlighted.
Do not make changes in master branch!
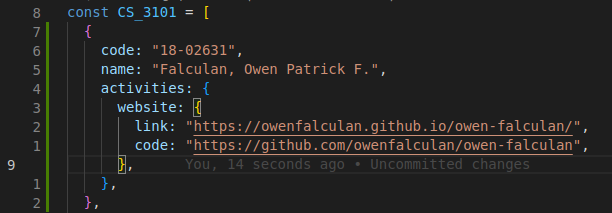
3. Edit variables.js file inside utils folder.
Look for your name and add your personal website link and source code link.
4. Add your changes to staging area.
Commit your changes.
Push your branch.

Commands:
git add .
git commit -m "<commit-message>"
git push --set-upstream origin <branch-name>
5.  After you pushed your branch in our repository.
Click compare and pull request.
Then click create pull request.
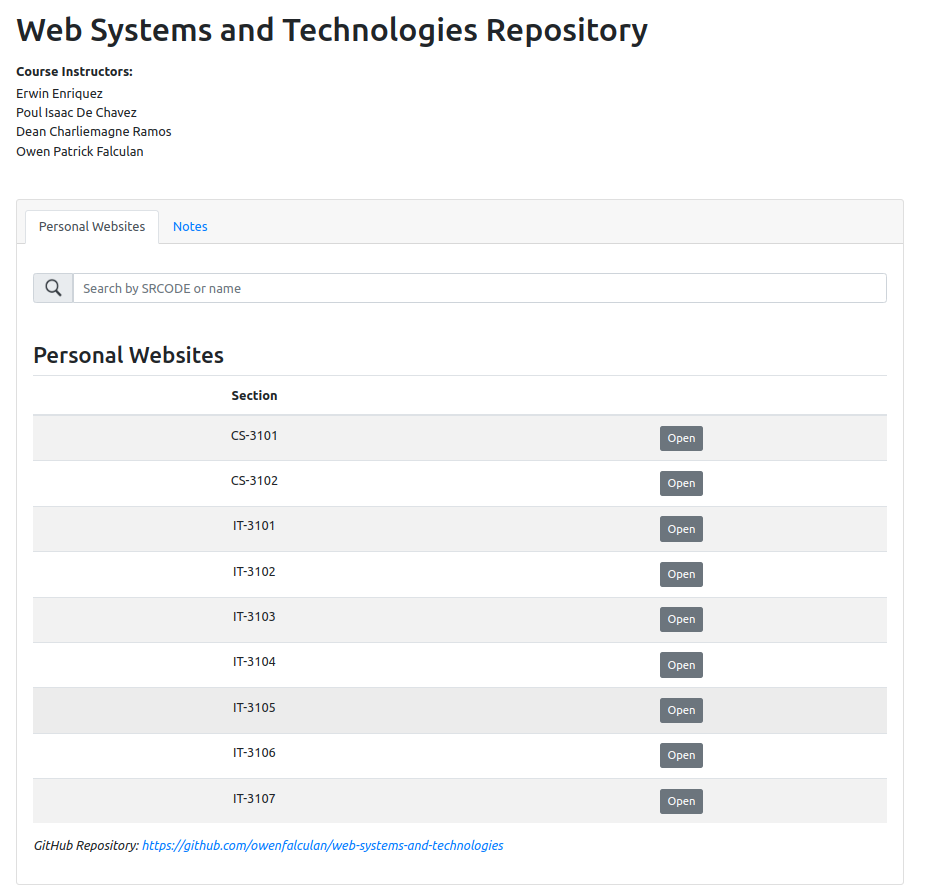
After I merged your pull request. Your website will be available here.

