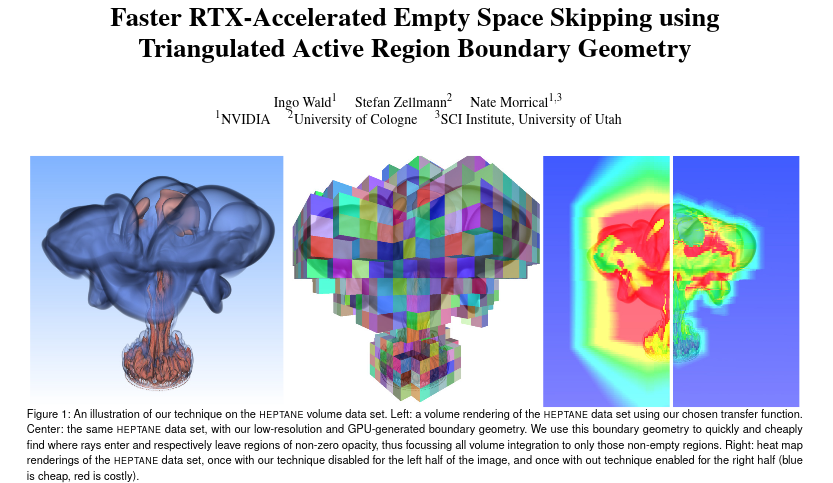
This repository contains sample code for our EGPGV 2021 Paper on (OWL-based) OptiX-Accelerated Space Skipping for Direct Volume Rendering (DVR):
Ingo Wald, Stefan Zellmann, Nate Morrical. "Faster RTX-Accelerated Empty Space Skipping using Triangulated Active Region Boundary Geometry". Eurographics Symposium on Parallel Graphics and Visualization (EGPGV 2021).` https://www.researchgate.net/publication/351428822_Faster_RTX-Accelerated_Empty_Space_Skipping_using_Triangulated_Active_Region_Boundary_Geometry
In addition to allowing readers of that paper to see what exactly our system is doing, this also serves as a nice little example for how to use OWL.
All rendering code in this paper uses OWL (https://github.com/owl-project/owl); for the interactive Transfer Function editor we use another helper project (using QT), named cuteeOWL (https://github.com/owl-project/cuteeOWL). Both should be pulled in via git submodules (ie, you want to clone with "--recursive" flag,
git clone --recursive https://github.com/owl-project/owlDVR_SpaceSkip
or if you forgot the '--recursive', you can also do
git submodule init
git submodule update
after the initial clone.
You will obviously also need CUDA, OptiX, and QT, to build this.
Building is done with cmake; if you're not familiar with cmake I suggest starting with the OWL project first, which has step by step instructions on using cmake to build it.
All code found in this repository is made available free of charge, using an Apache 2 licence.
To run the sample, you'll first need to get/find a 3D volume data set such as the flower, LLNL, etc. Once you have that, you can launch the viewer as follows:
./owlDVRViewer /space/structured/flower/flower_uint.raw -t uchar -dims 1024 1024 1024
This assumes a "raw" binary volume format (ie, no header in that data
set; dimensions and type are specified via -dims and -t,
respectively).
Once the viewer opens, you can then 'draw' into the transfer function
editor with the mouse to change the alpha value(s) of the transfer
fucntions. You can also save a transfer function (press "T"), and
specify a saved one during launch (-xf <savedXF.xf>).
Similarly, you can create a screenshot (press "!"), or print the
current camera config (press "C"); copy and pasting the printed camera
config (--camera .... -fovy ...) will then initialize the next run's
camera to what it was when printed.
