The minimum system requirement for this application to run is any system(PC) that possess the following attributes
- Hardware Requirements
- 1gb ram system
- 20gb rom
- 1.2ghz processor and above
- Sofware Requirements
- A Web Server e.g wamp,xamp, laragon etc.
- PHP V8 and above
- MySQL Database
- Composer
- Git (optional if you are cloning from github)
System architecture is a high-level design or blueprint that outlines the structure, components, and interactions of a system, helping to define how it will function and meet its objectives. It serves as a roadmap for designing and building complex systems, providing a clear and organized framework for development
A use case diagram is a diagram that shows the interaction between users and a system, it also helps to understand how the system is used and different actions it can perform.
A Data flow diagram shows how data moves through a system. It illustrates the flow of information between different processes, data sources and data destinations.
This diagram shows the relationship between entities in a database. It helps to understand the structure and organisation of data in a database system.
To install this software the system(PC) should possess the system requirements listed above.
Running this software project from GitHub involves a few steps. You can do this by either cloning the repository using Git or by downloading the project as a ZIP file.
STEP 1: Clone project
## Open your terminal and navigate to your project directory

cd your_project_directory

git clone https://github.com/oyenet1/course_allocation.git

# Navigate to the project folder
cd course_allocation
STEP 2: Set Up the Environment Configuration
#Copy the .env.example file to a new .env file:
cp .env.example .env
STEP 3: Install Project Dependencies
#Run composer install
composer install
STEP 4: Set Up the Environment Configuration
#Generate an application key:
php artisan key:generate
STEP 5: Create the Database
Create a new database on your local database server. Update the database connection information in the .env file:
DB_CONNECTION=mysql
DB_HOST=127.0.0.1
DB_PORT=3306
DB_DATABASE=your_database_name
DB_USERNAME=your_database_username
DB_PASSWORD=your_database_password
Step 6: Run Database Migrations and Seeders
The command below below will create tables and seed the tables with dummy data
php artisan migrate:fresh --seedStep 7: Start the Local Development Server
php artisan serveStep 8: Access Your Laravel Application
Open a web browser and navigate to http://127.0.0.1:8000 or the URL provided by the Laravel development server. You should see your Laravel application up and running locally
By default, Laravel will start the development server on http://127.0.0.1:8000
Step 1: Go to the github repositoty
#Navigate to the GitHub repository of the project
Download the project as a ZIP file.
Step 2: Extract and save the file
Extract the ZIP file
Into the the www folder of laragon
After successful download of the project, Follow from step 2 of method 1.As the admin here are some of the features of the software.
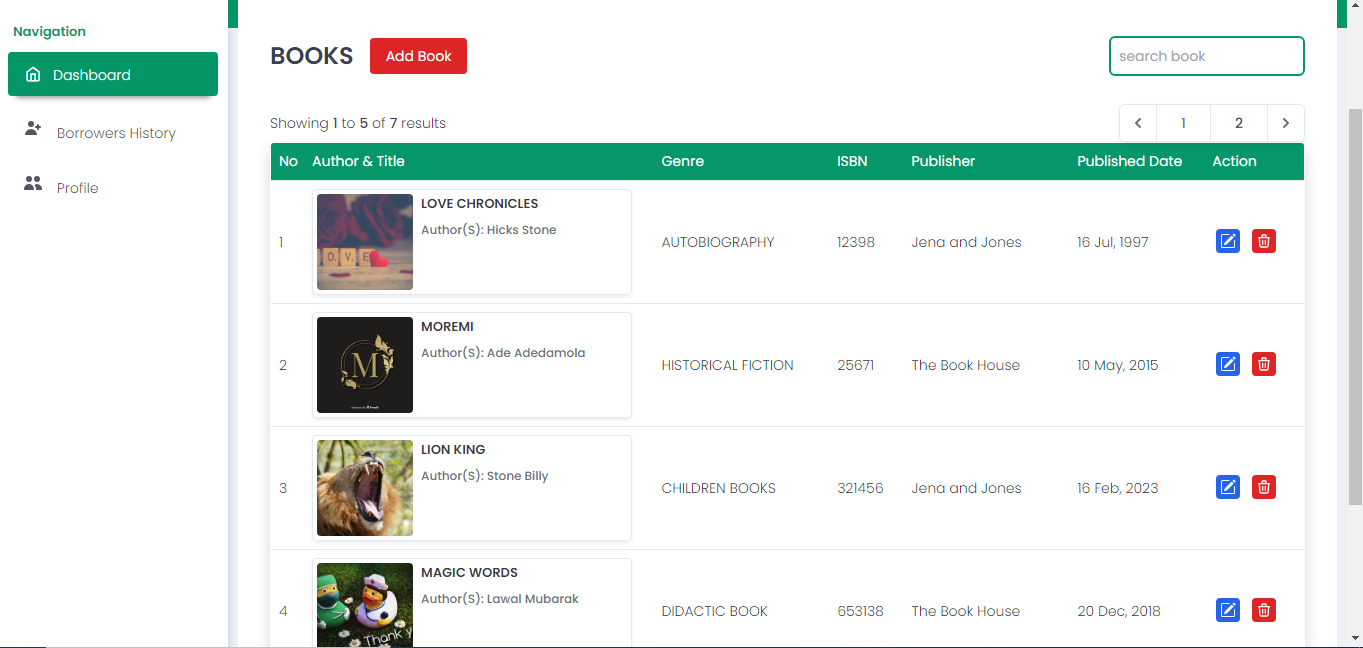
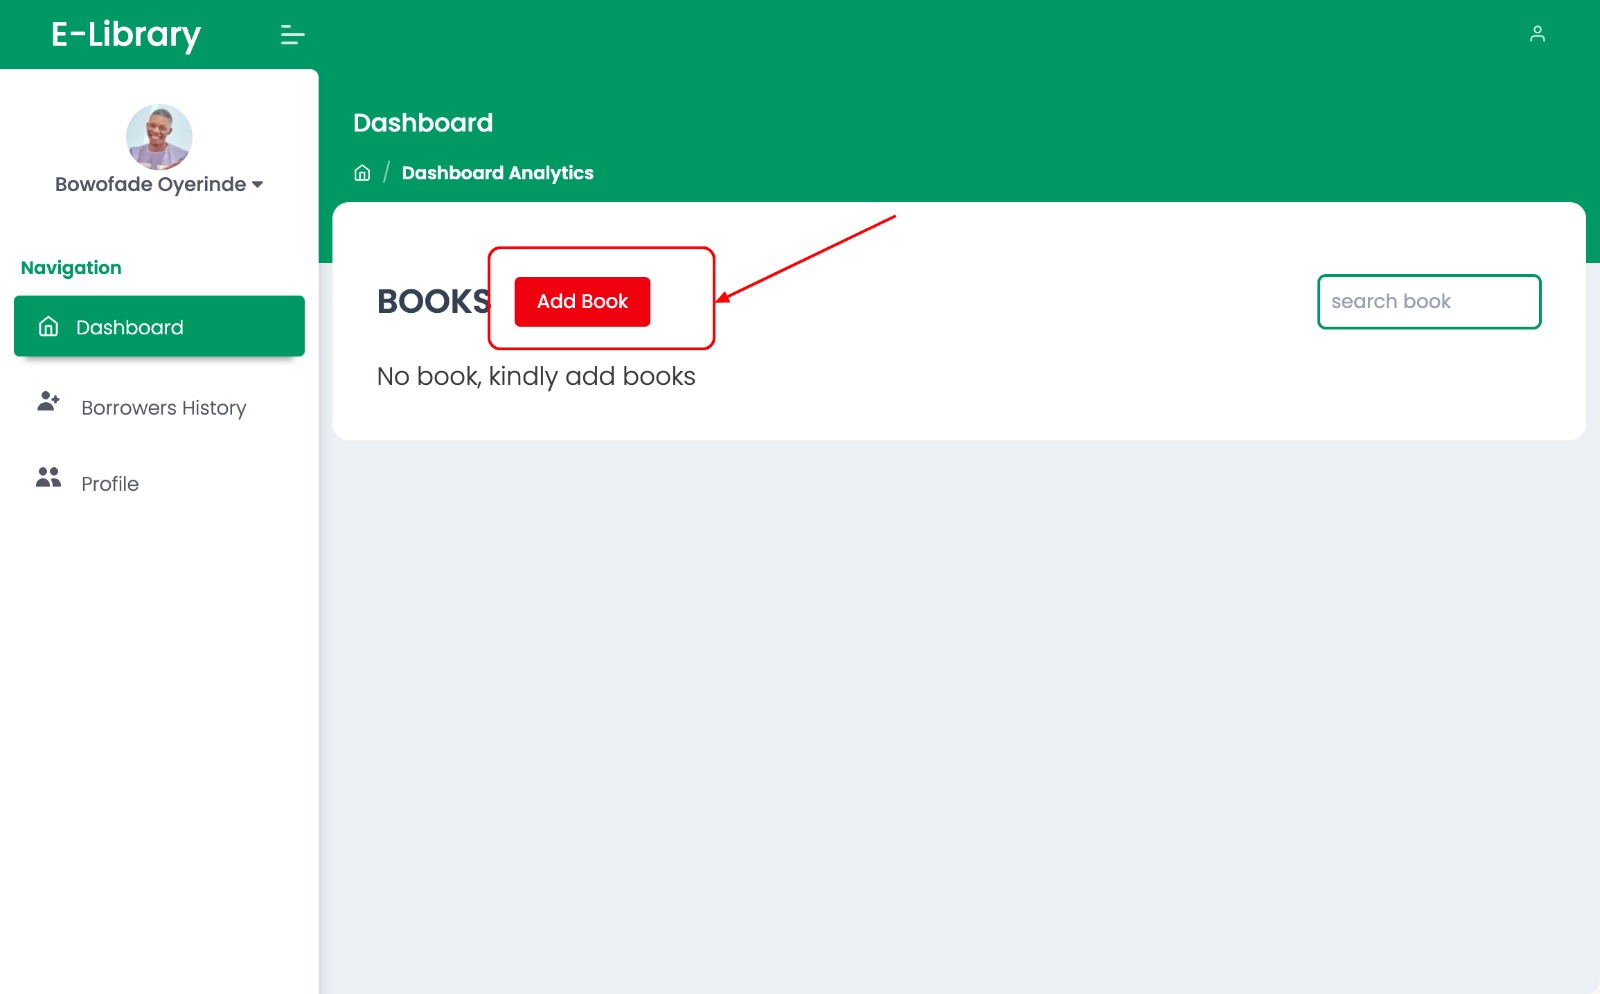
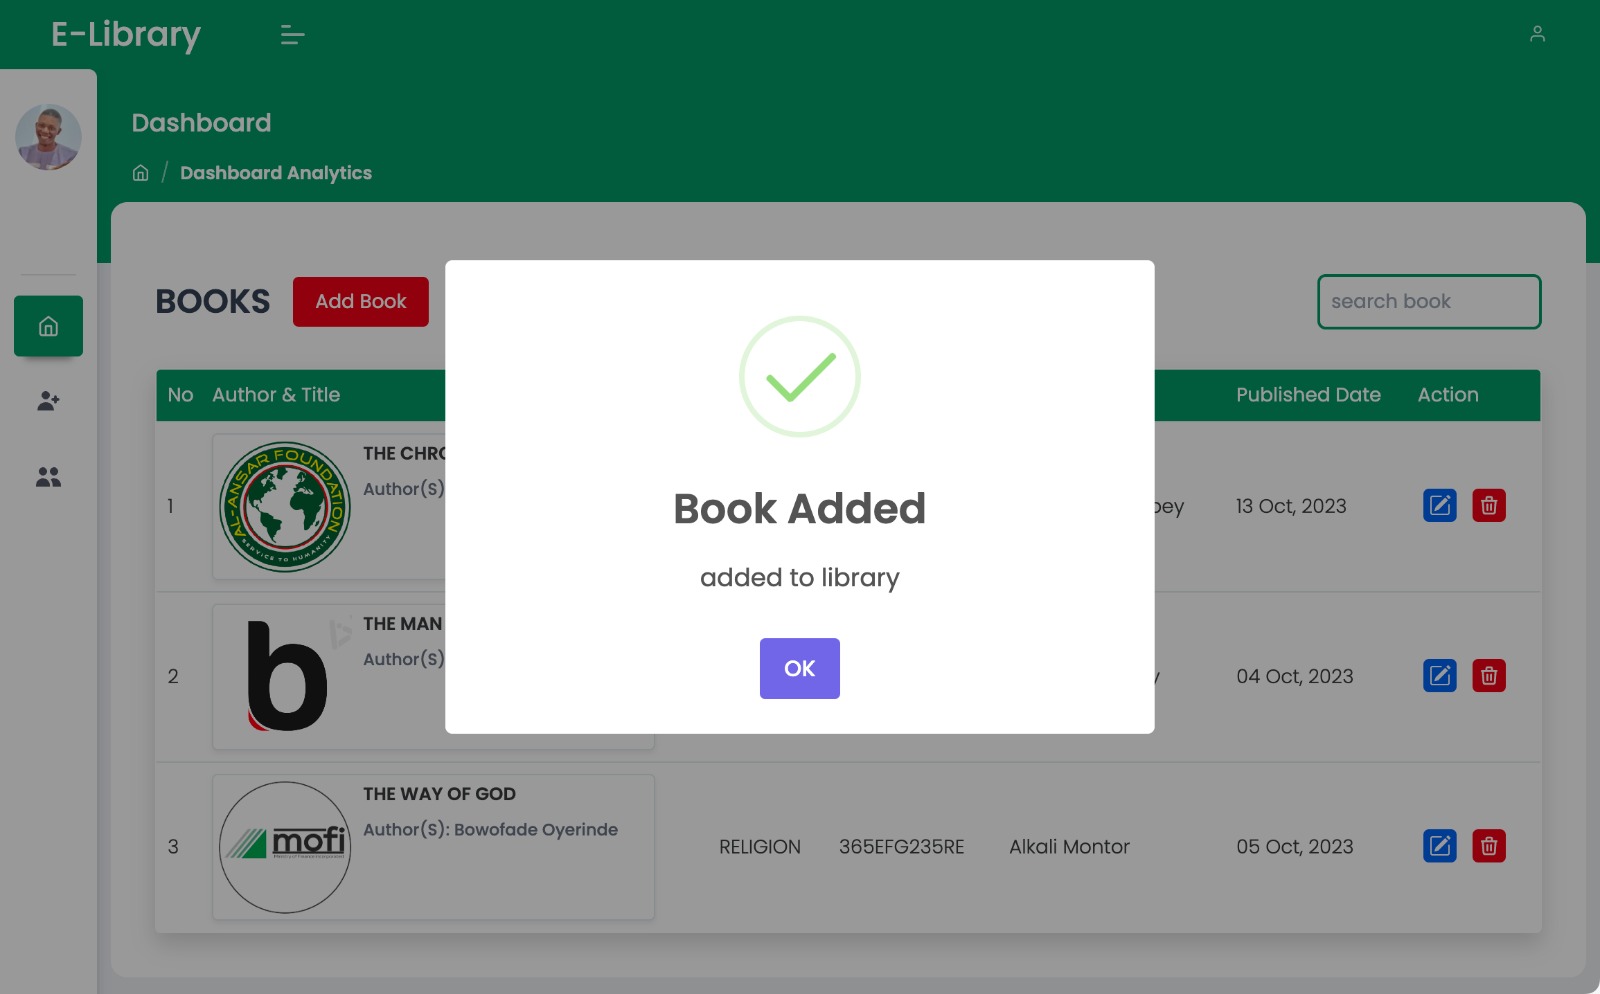
Add book
The admin can upload different books of different genres to the catalog of the software thereby giving users numereous choices.
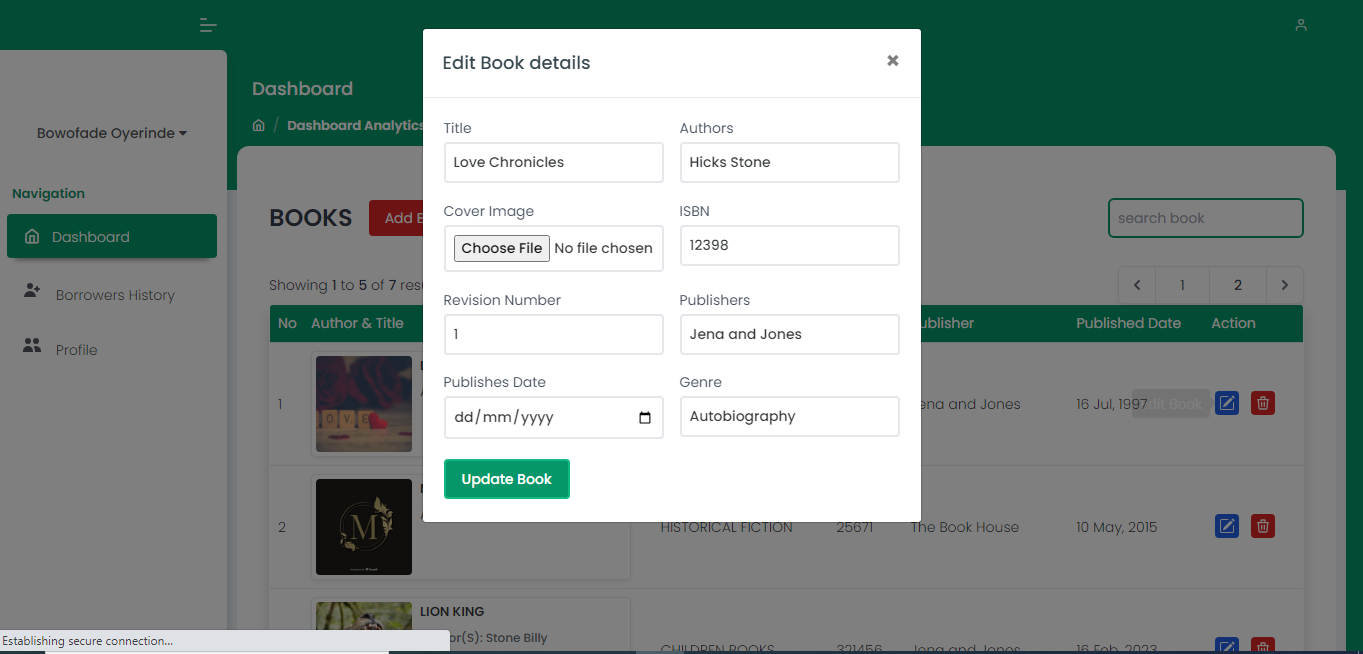
Edit Book details
The admin can also edit the details of books already added to the software. This gives room for rectifying mistakes if any or updating the information about such book.
Delete book The admin can also delete any book that has become irrelevant on the software.
Check out a user The admin is saddled with the responsibility of checking our a user when that user returns any book borrowed, this makes such user eligible to borrow another book.
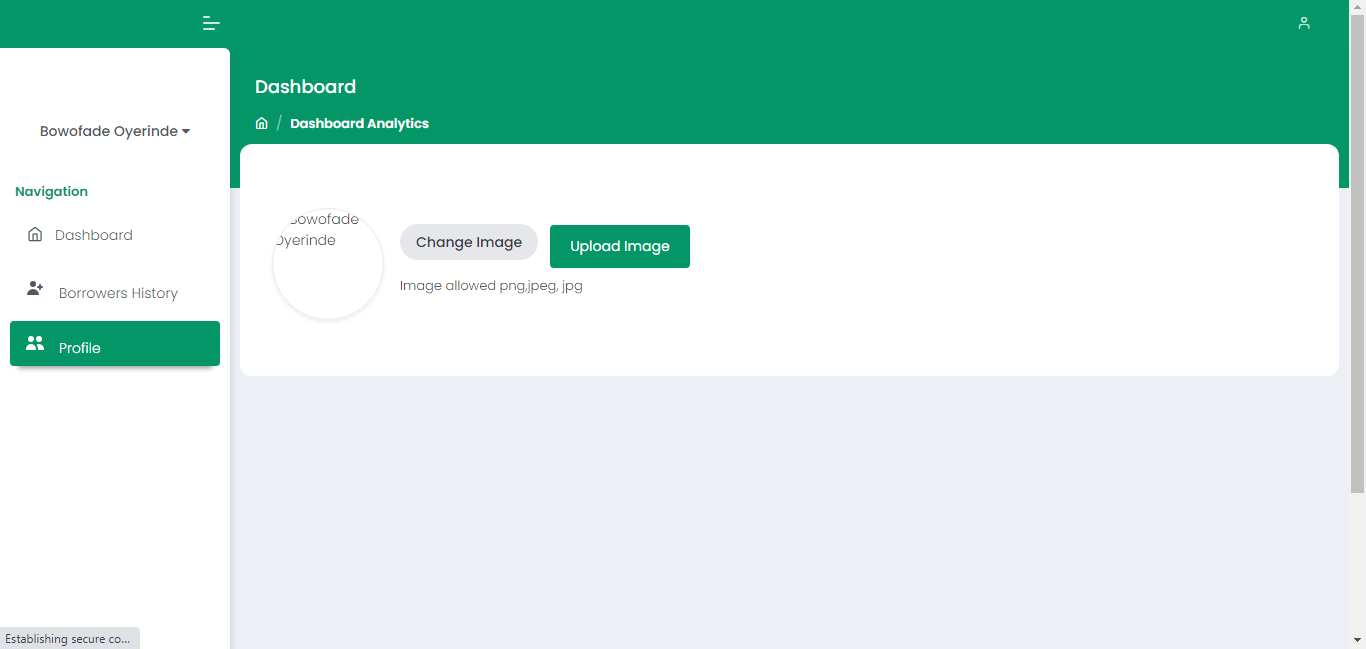
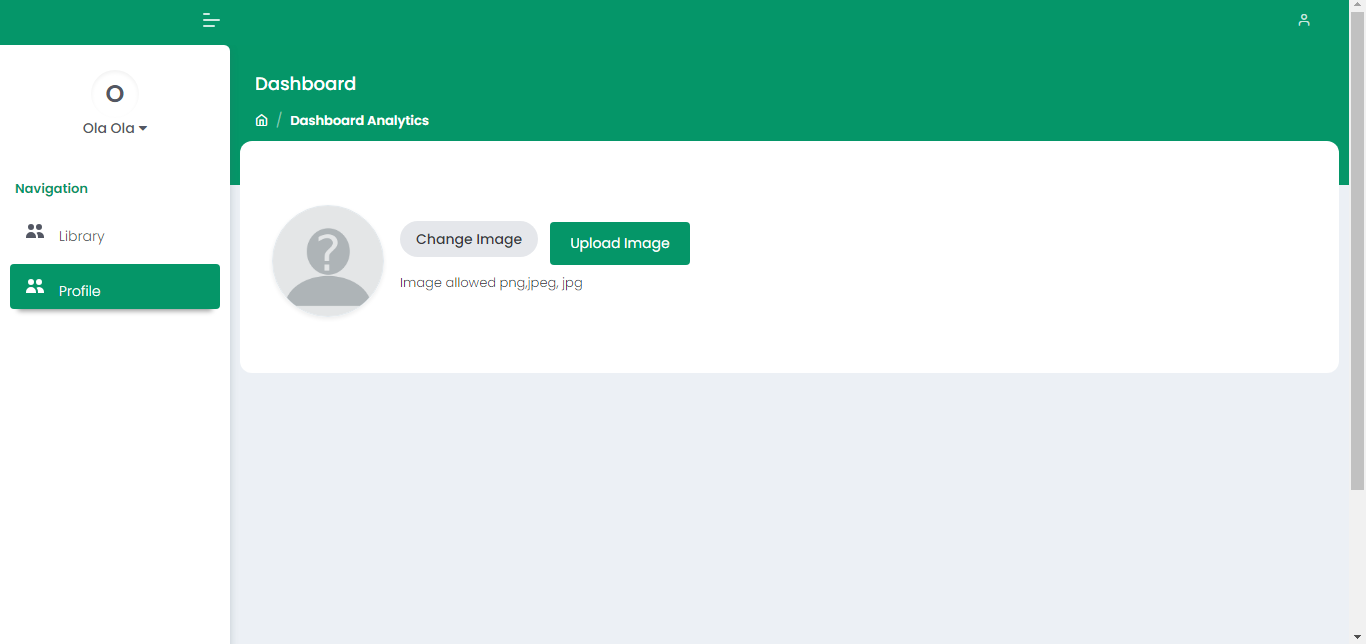
Edit profile
The admin can personalise his/her profile to their liking, username of choice can be chosen and a profile picture can also be added.
As a user here are some of the features of the software.
Borrow Book
As a user on the software, you have the opportunity to to borrow any book from our catalog which houses various books to the liking of the users.
%20success.PNG)
