Android application for remote control vehicle via WIFI.
This application is part of the project: ESP32-CAM-car-server, where you can mount a remote control vehicle using an ESP32-CAM micro-controller.
If you have already built the vehicle and want to drive it with this application, please read this file completely as it can be of great help to you.
Click aquí para leame en español
If you do not know the WIFI remote control vehicle, here is a video of the result:
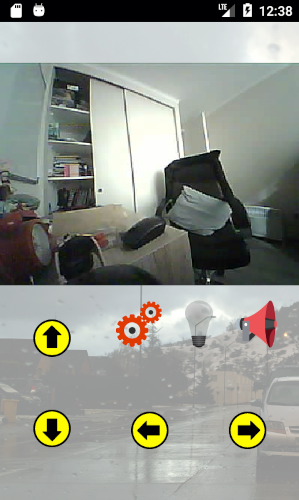
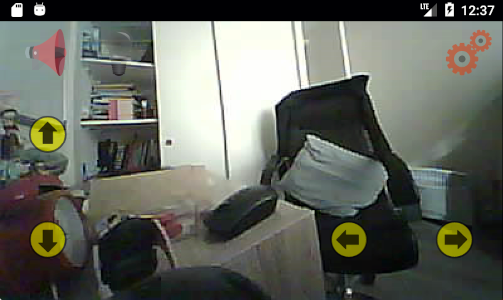
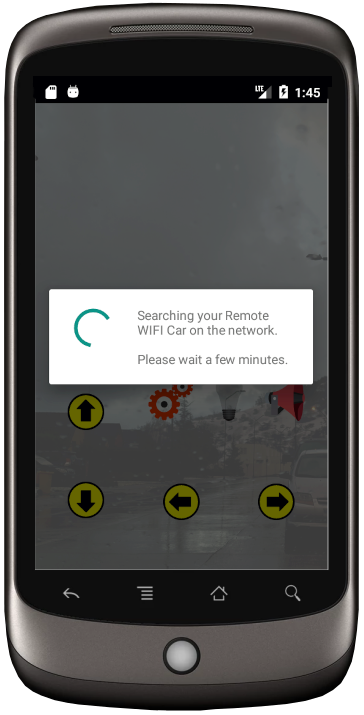
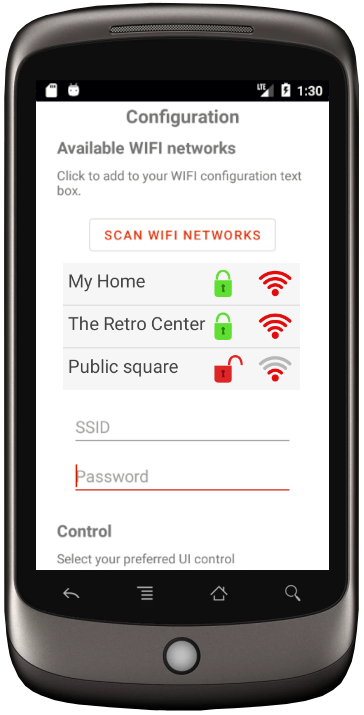
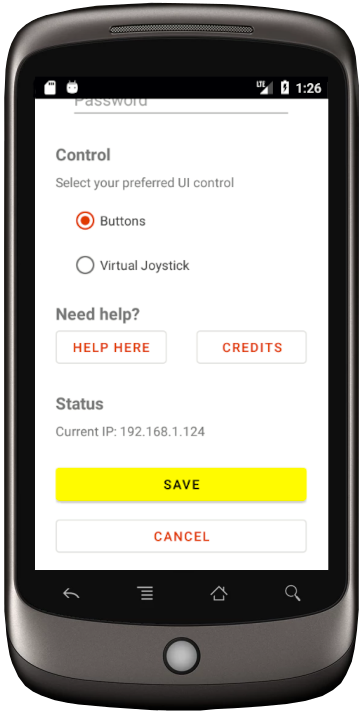
Some screenshots of this application:
- Android Estudio
- Physical or virtual device with minimum Android Jelly Bean 4.1 (API 16), recommended Android Oreo 8.0 (API 26)
Run the following command on your console
git clone https://github.com/pablotoledom/ESP32-CAM-car-android-app.gitAfter opening the project verify that the dependencies have been downloaded correctly, otherwise you can rerun your Gradle file.
Method 1: You can download the APK file and install it directly on your device, download it from the releases section.
Method 2: Compile the executable using the Android Studio IDE, this method may be more useful for those who have knowledge of Android application programming or the Java language, you can also make changes or improvements to this application.
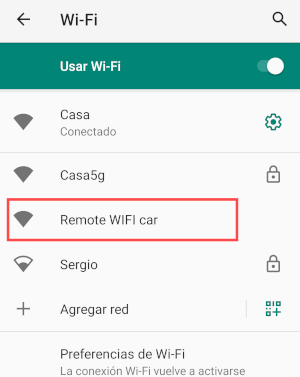
When you start the vehicle and it cannot connect to a Wi-Fi network within 10 seconds, it will automatically pick up a Wi-Fi access point called "Remote WIFI Car".
After you connect to that network, you must open the application on your device.
If after 10 seconds you do not see this WIFI access point, it is possible that the vehicle is already linked to a WIFI network.
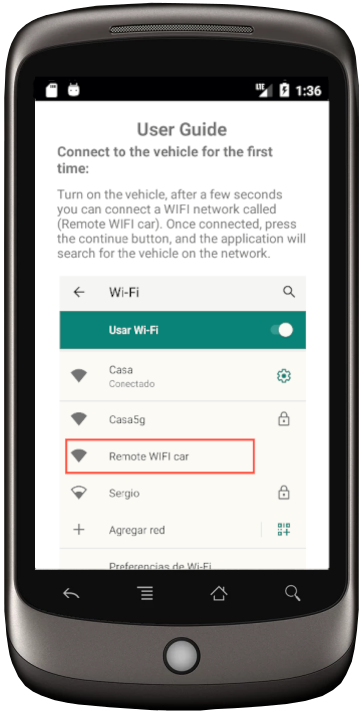
When you open the application, the first thing you will see is a user guide in Spanish or English, the language will change depending on the language configured on your device.
This guide provides quick help to get started with the application. Press the button at the end of the guide to go to the vehicle control screen.
The first thing the application will do is search for the vehicle on the network, whether it is connected to the WIFI of your home or the WIFI of the vehicle, the application will go through the range of IPs until it finds the correct one.
When the application recognizes the vehicle's IP, it is enabled to control it, the control view is as follows:
This screen allows you to move the vehicle, turn on the light, honk the horn, and change some settings.
In the configuration section you can scan the nearby WIFI networks, once you see yours, select it and enter the password if applicable. After saving the changes it is necessary to restart the vehicle and this application.
You can also set the user interface that best suits you, you can choose between buttons or virtual joystick.
If you have a gamepad or keyboard connected to the device, it will be configured automatically, simply operate the vehicle using the buttons or analog axes.
Configured buttons, you can use any of the following buttons:
Forward: Analog Up - Button Up - R1 - R2
Backward: Analog Down - Down Button - L1 - L2
Rotate Left: Analog Left - Left Button
Rotate Right: Right Analog - Right Button
Light On / Off: X button
Honk: Button A
Enter Configuration: Start Button
Forward: Up Key
Backward: Down Key
Rotate Left: Left Key
Rotate Right: Right Key
Light On / Off: Q key
Honk: Space Key
Enter Configuration: W key
Pablo Toledo
This project is under the Apache License, Version 2.0 - see the file LICENSE for details.

