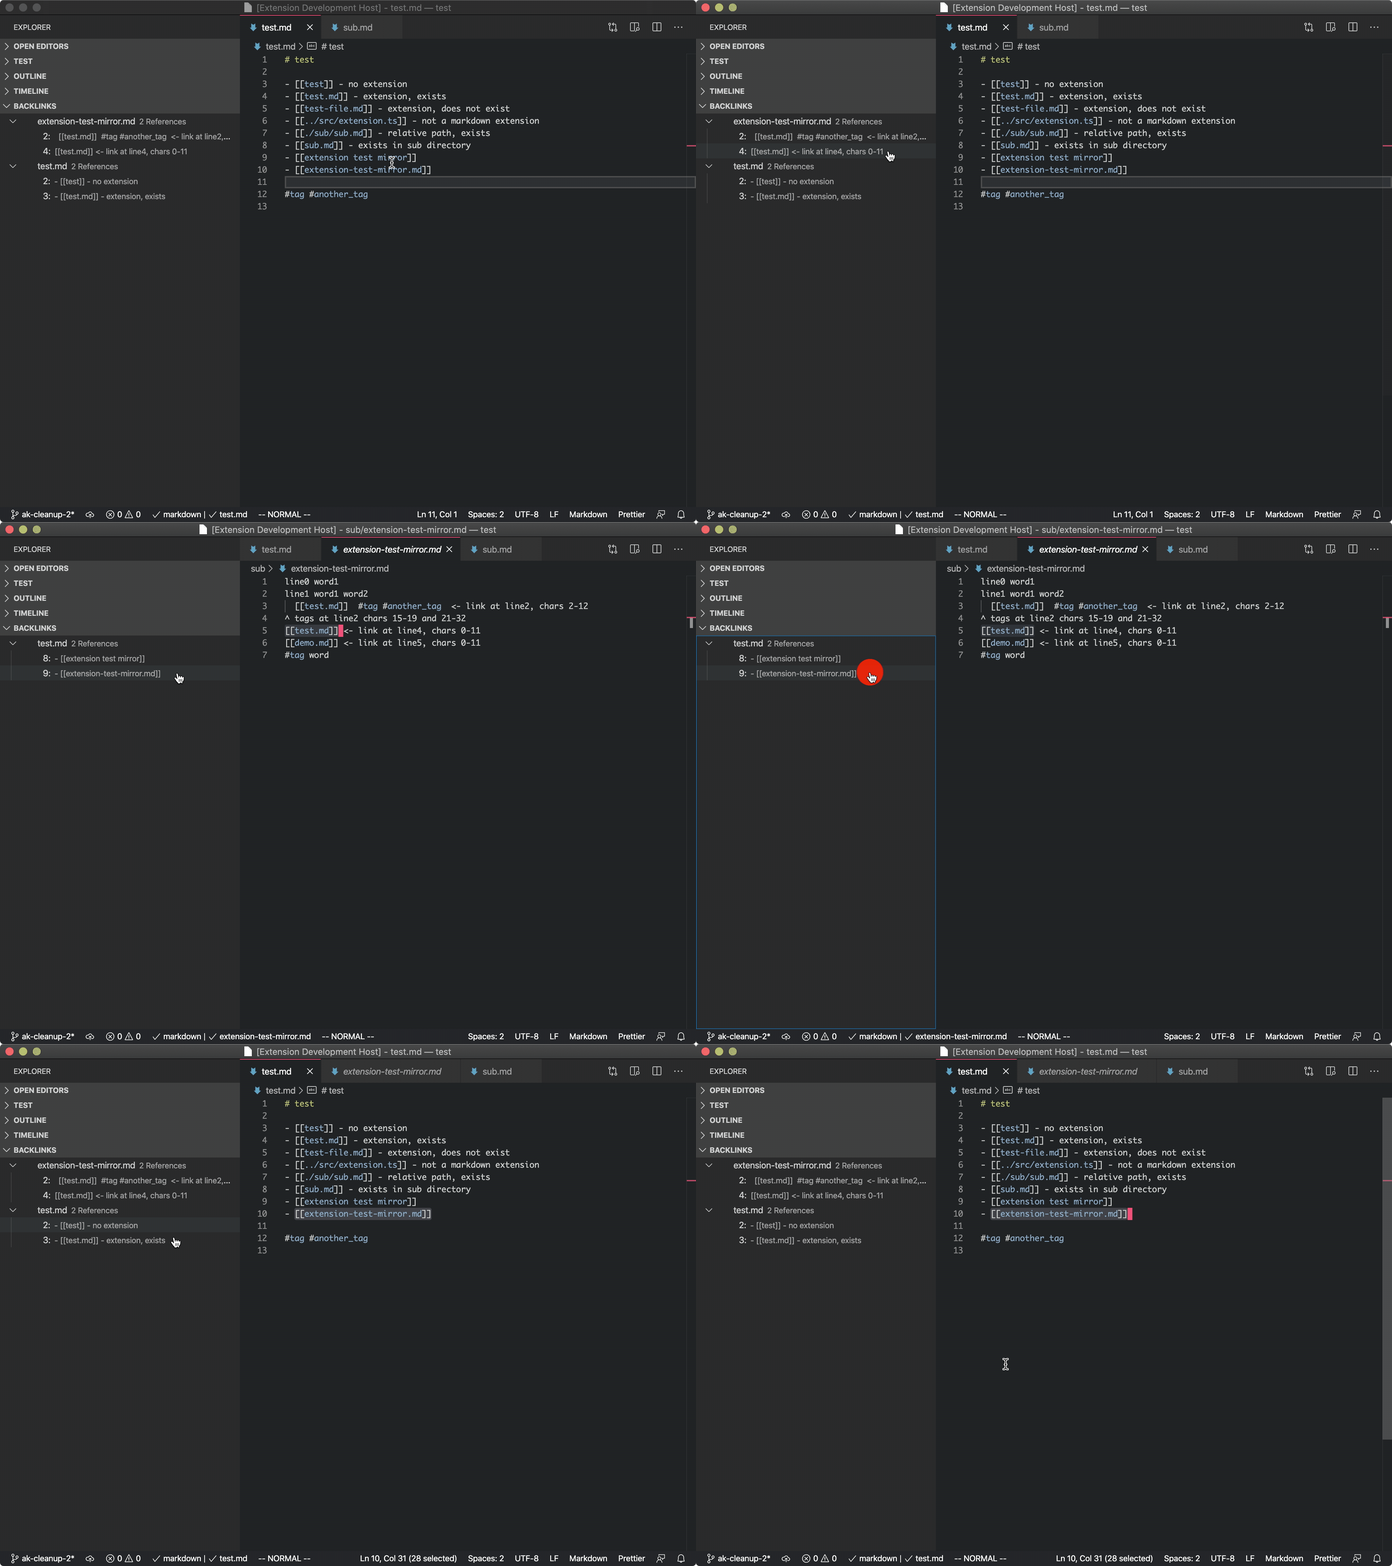
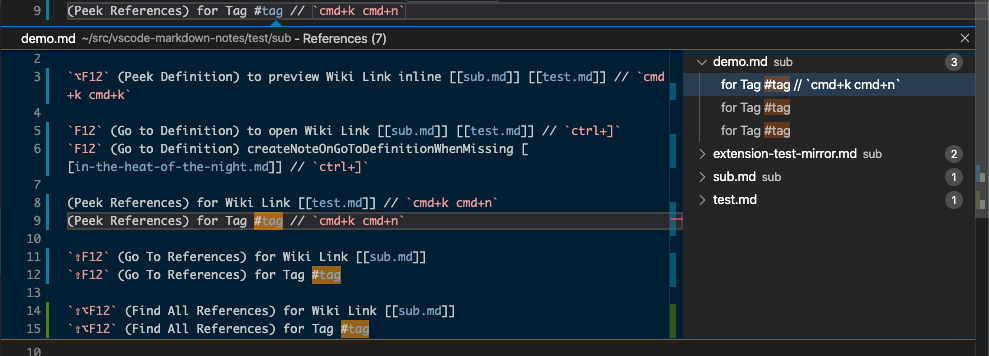
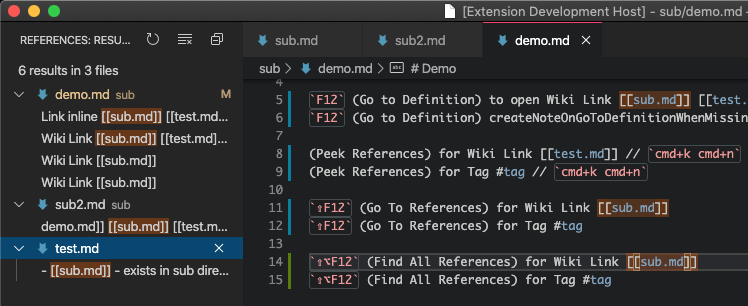
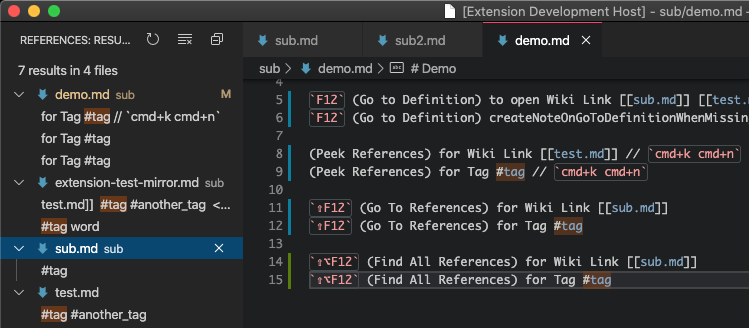
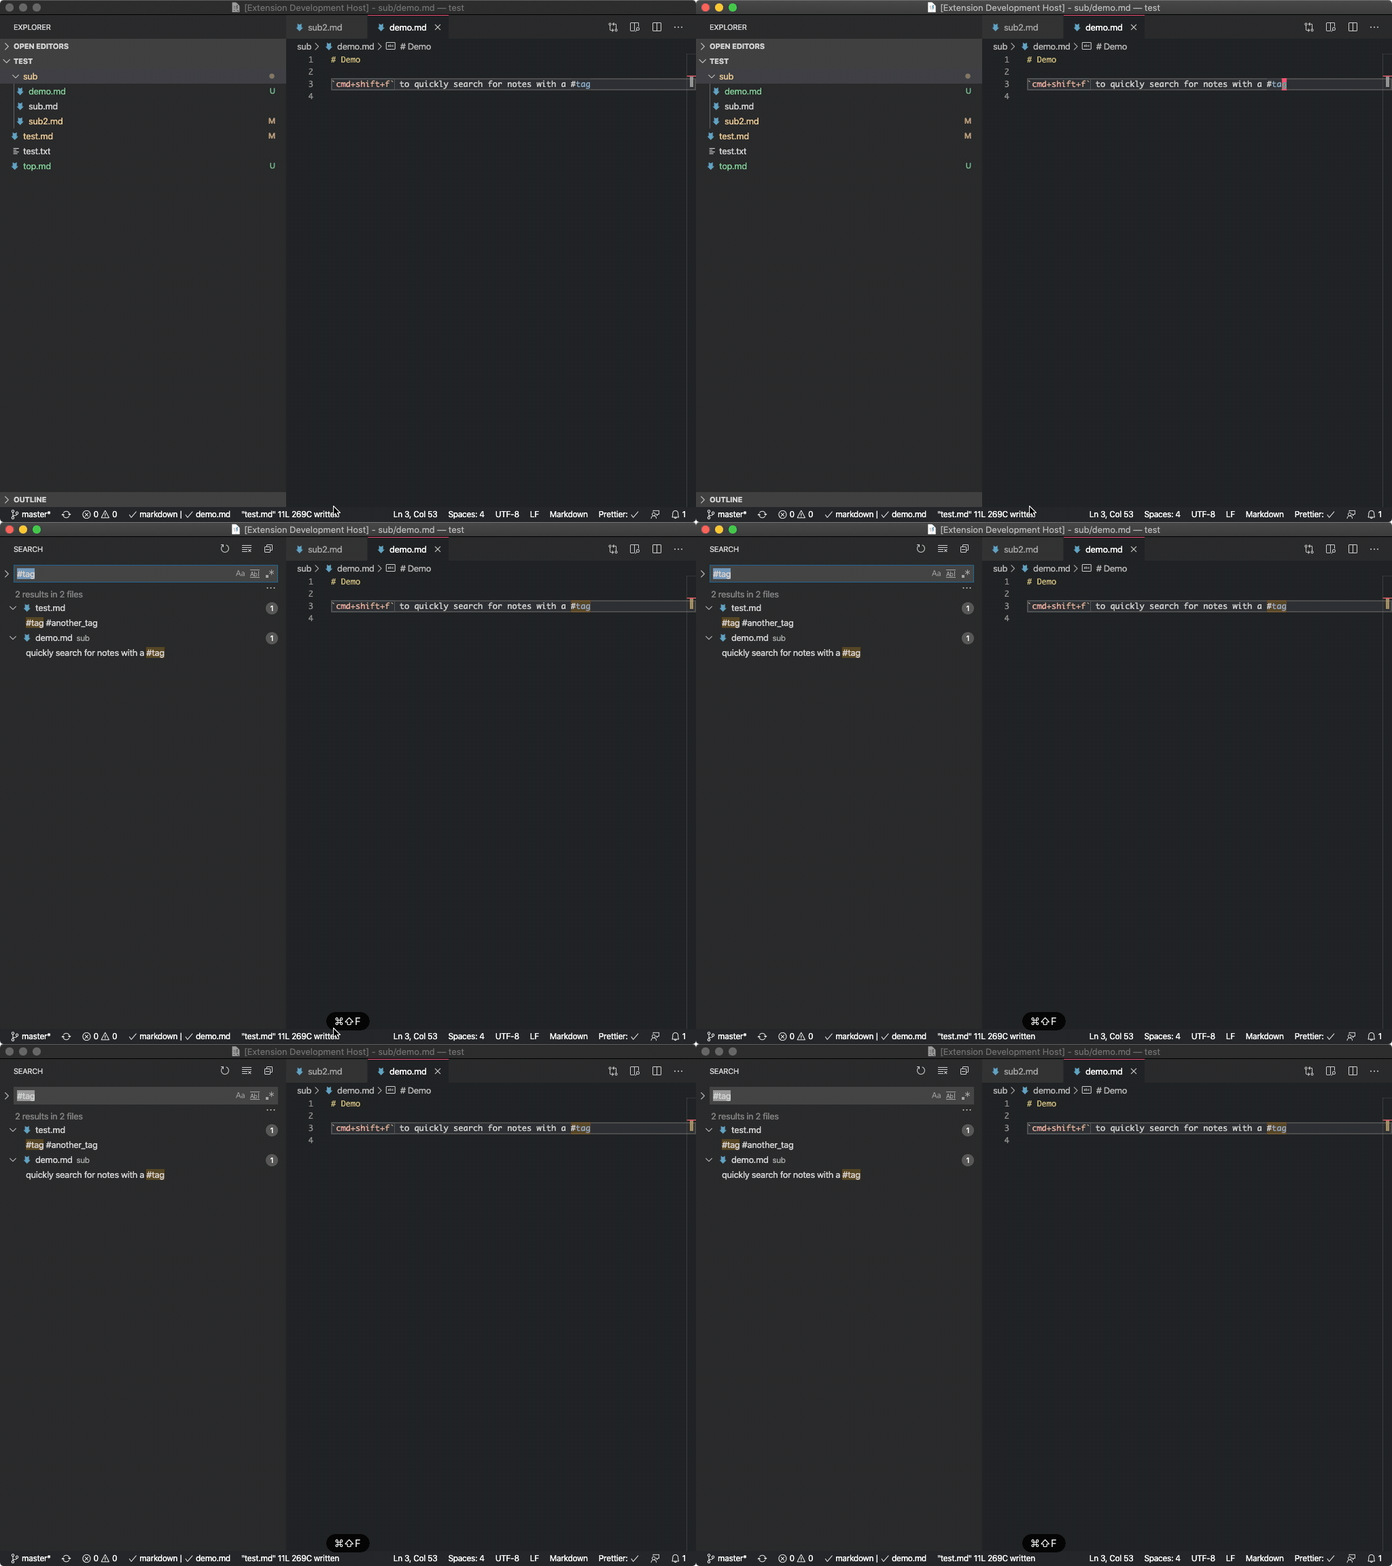
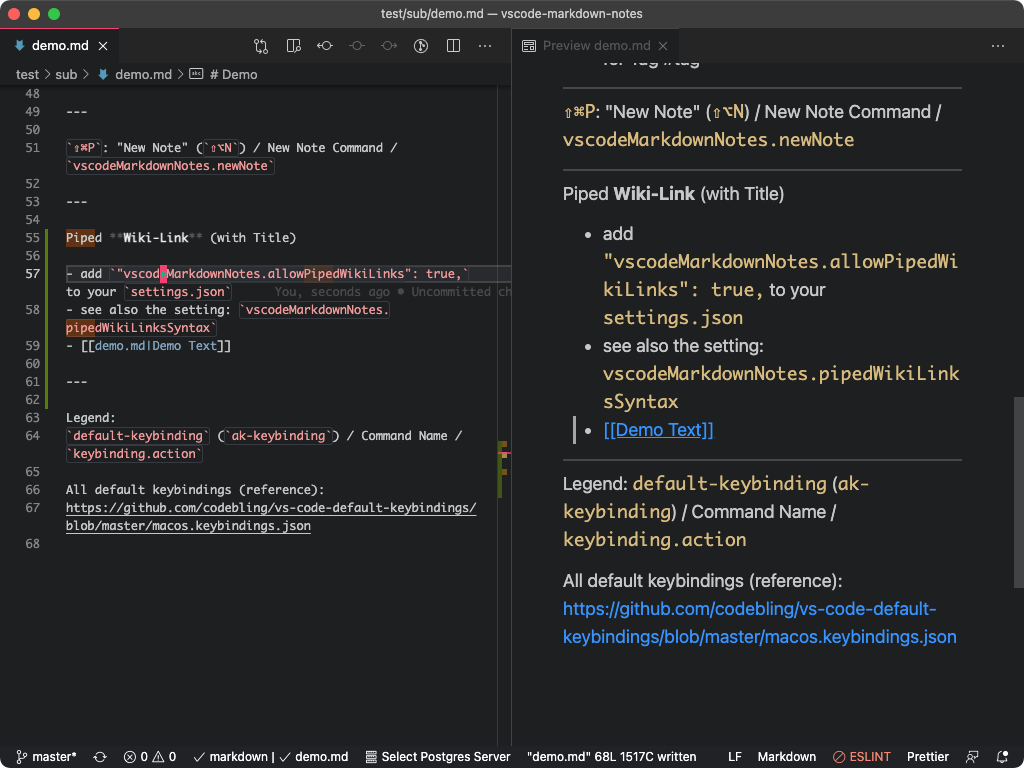
Use [[wiki-links]], backlinks, #tags and @bibtex-citations for fast-navigation of markdown notes.
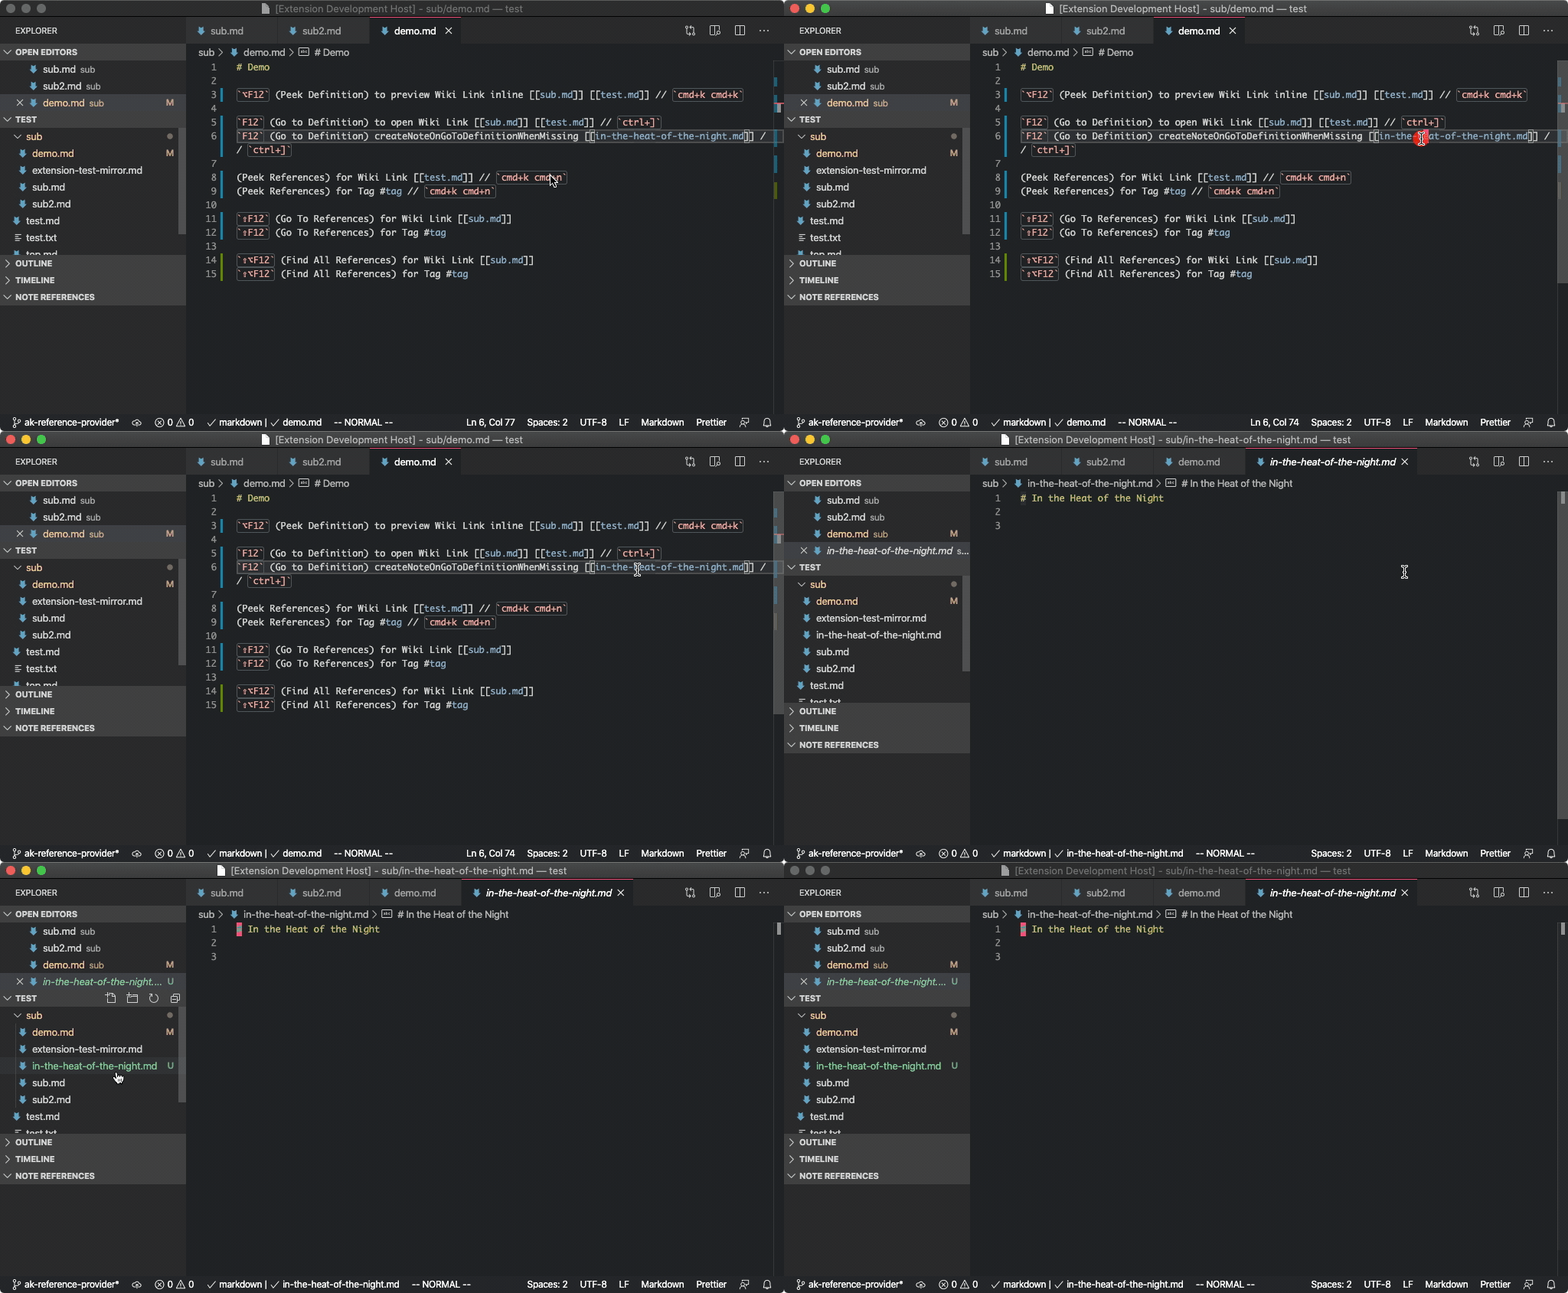
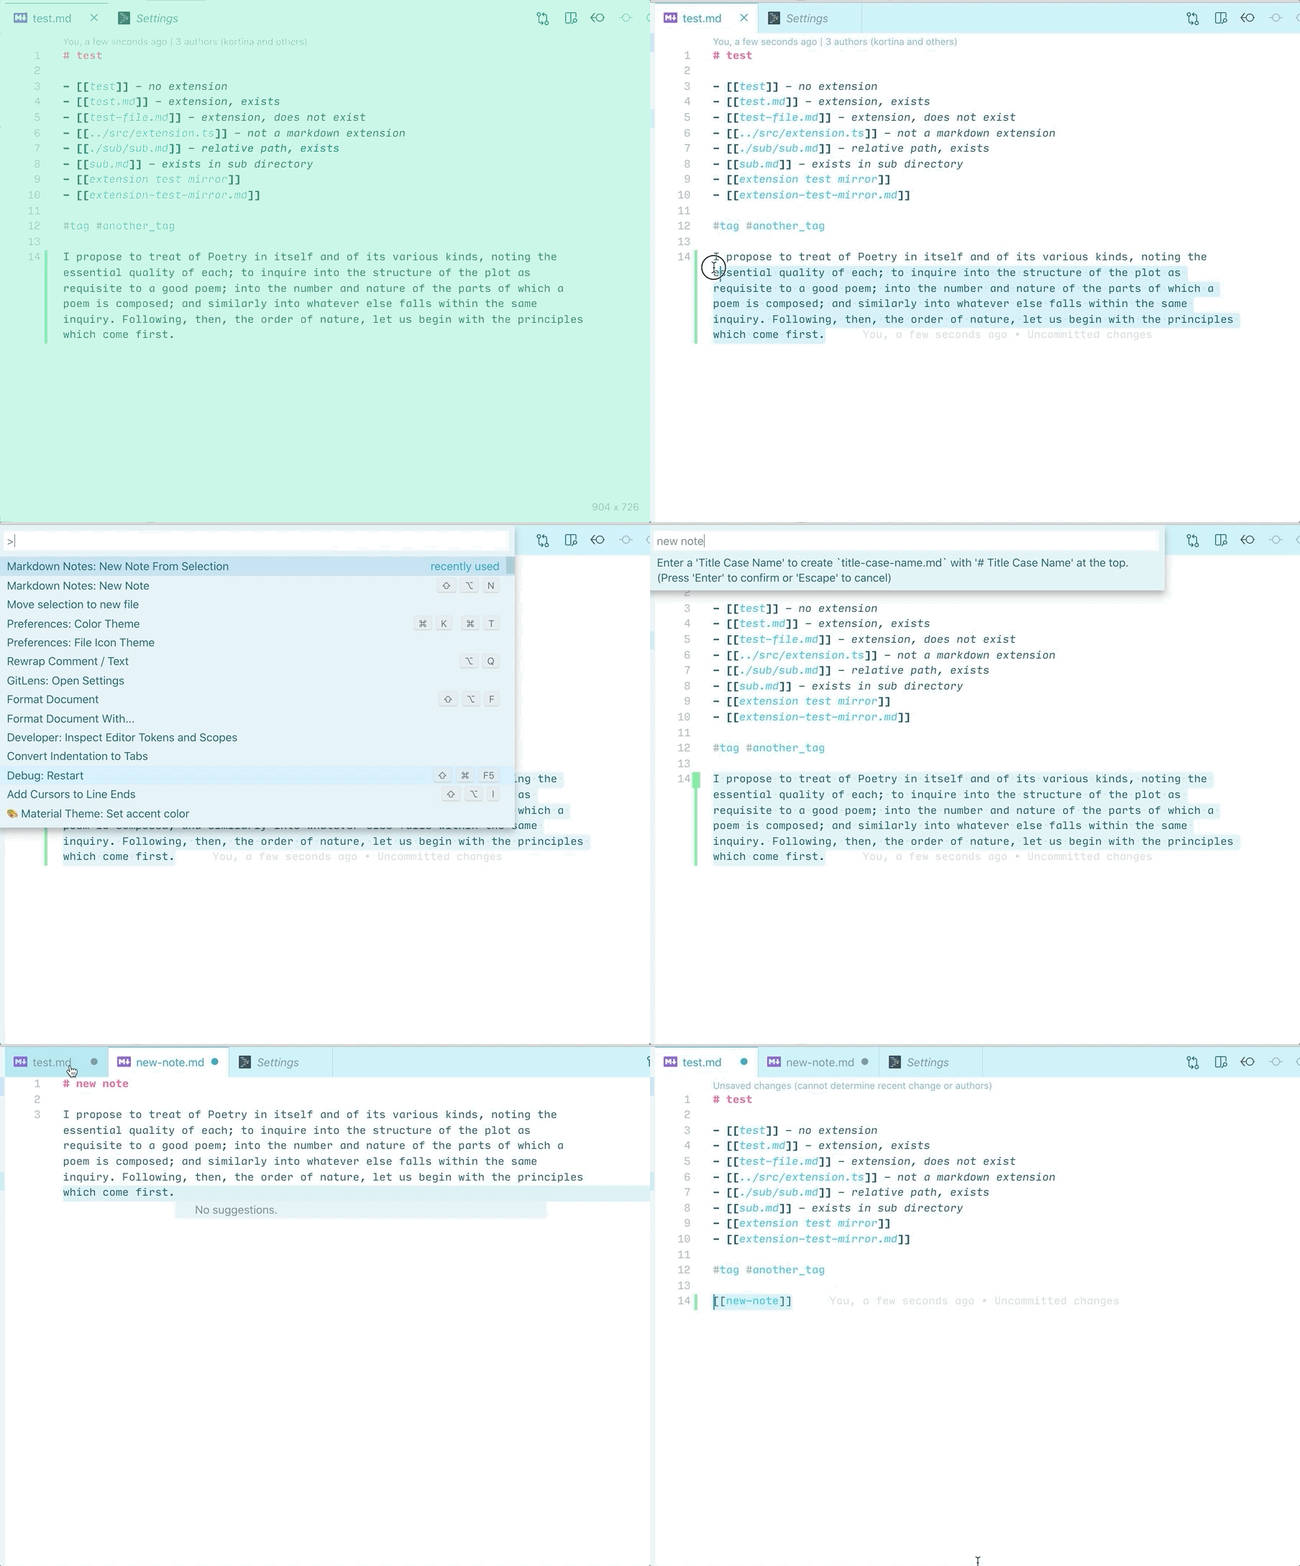
Automatically create notes from new inline [[wiki-links]].
Bring some of the awesome features from apps like Notational Velocity, nvalt, Bear, FSNotes, Obsidian to VS Code, where you also have (1) Vim key bindings and (2) excellent extensibility.
Install from the VSCode Marketplace. See more in the blog post: Suping Up VS Code as a Markdown Notebook.
For common issues / workarounds, please see TROUBLESHOOTING-FAQ.md
Also, take a look at the RECOMMENDED-SETTINGS.md
A popular feature in Roam Research and Bear is the ability to quickly reference other notes using "Cross-Note Links" in the [[wiki-link]] style.
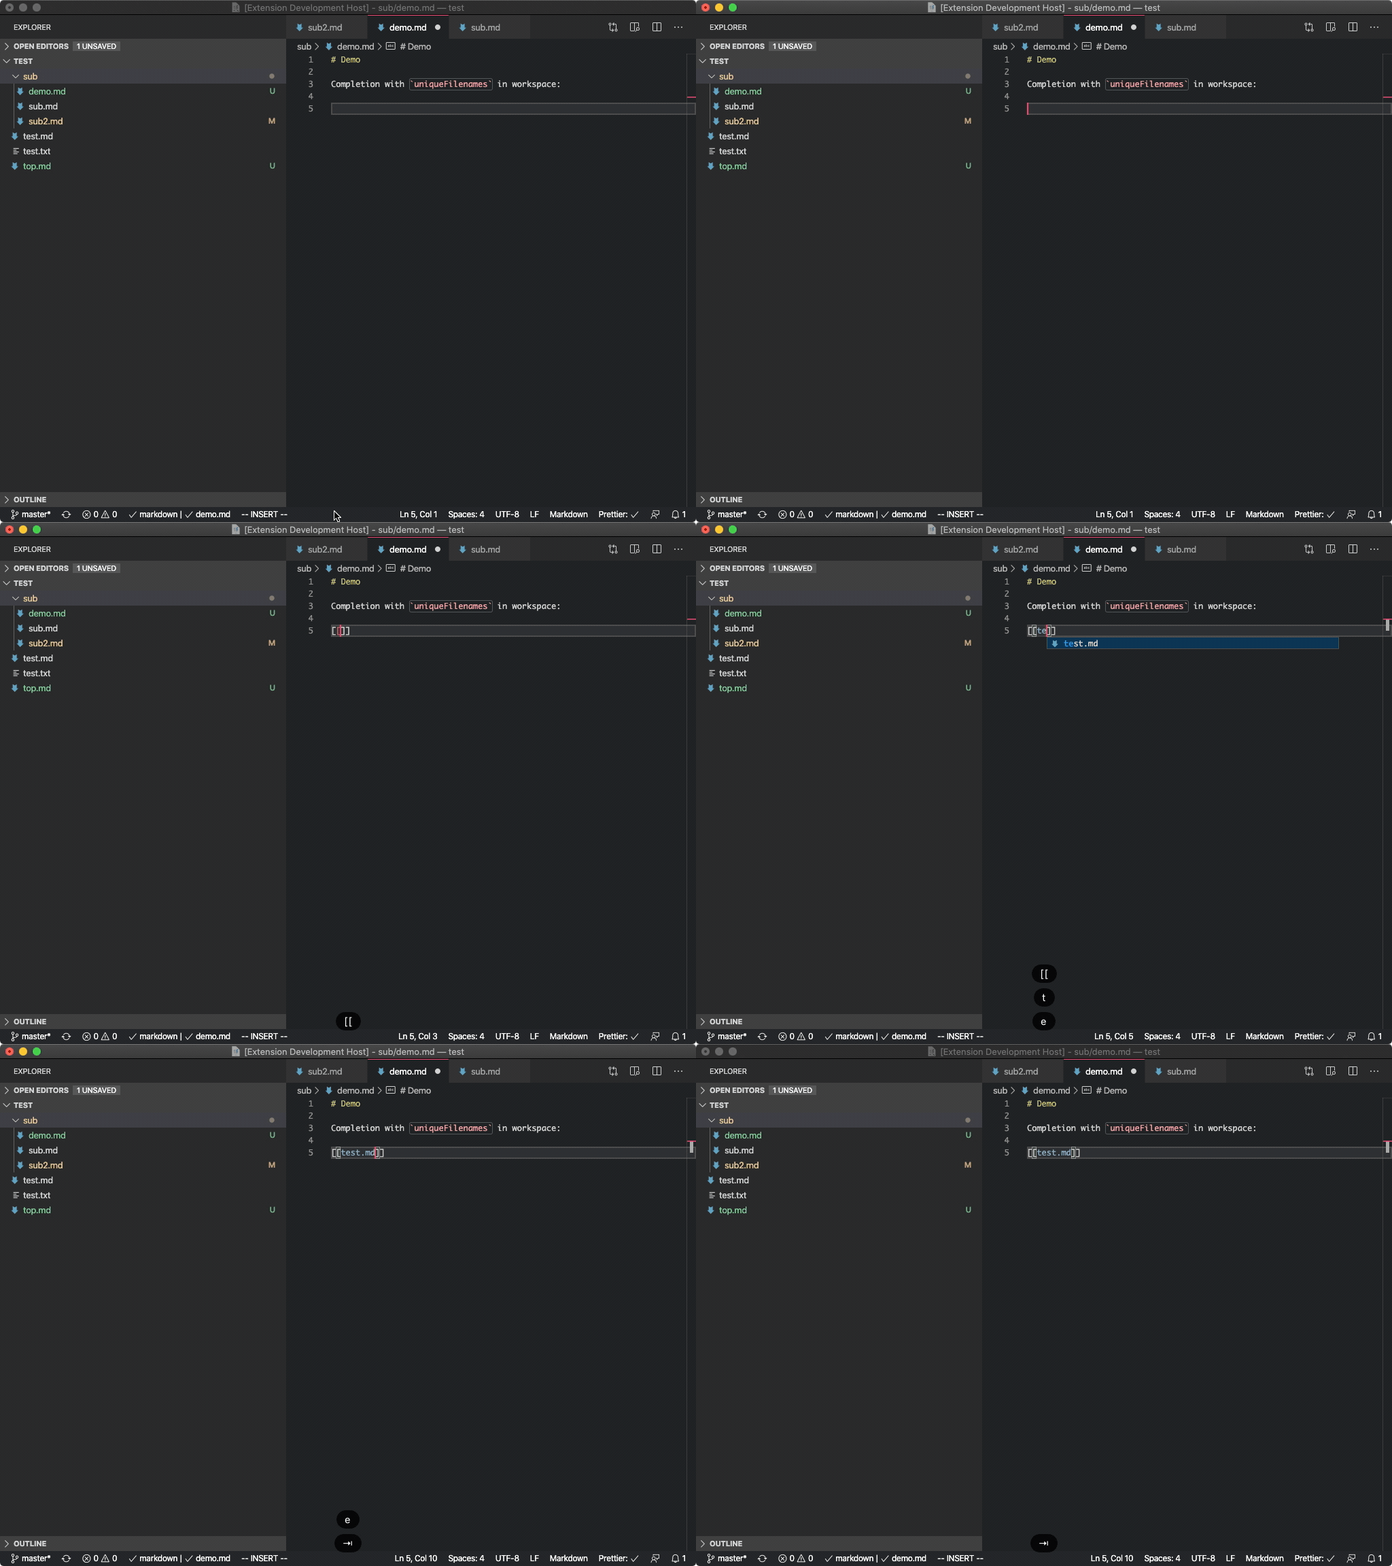
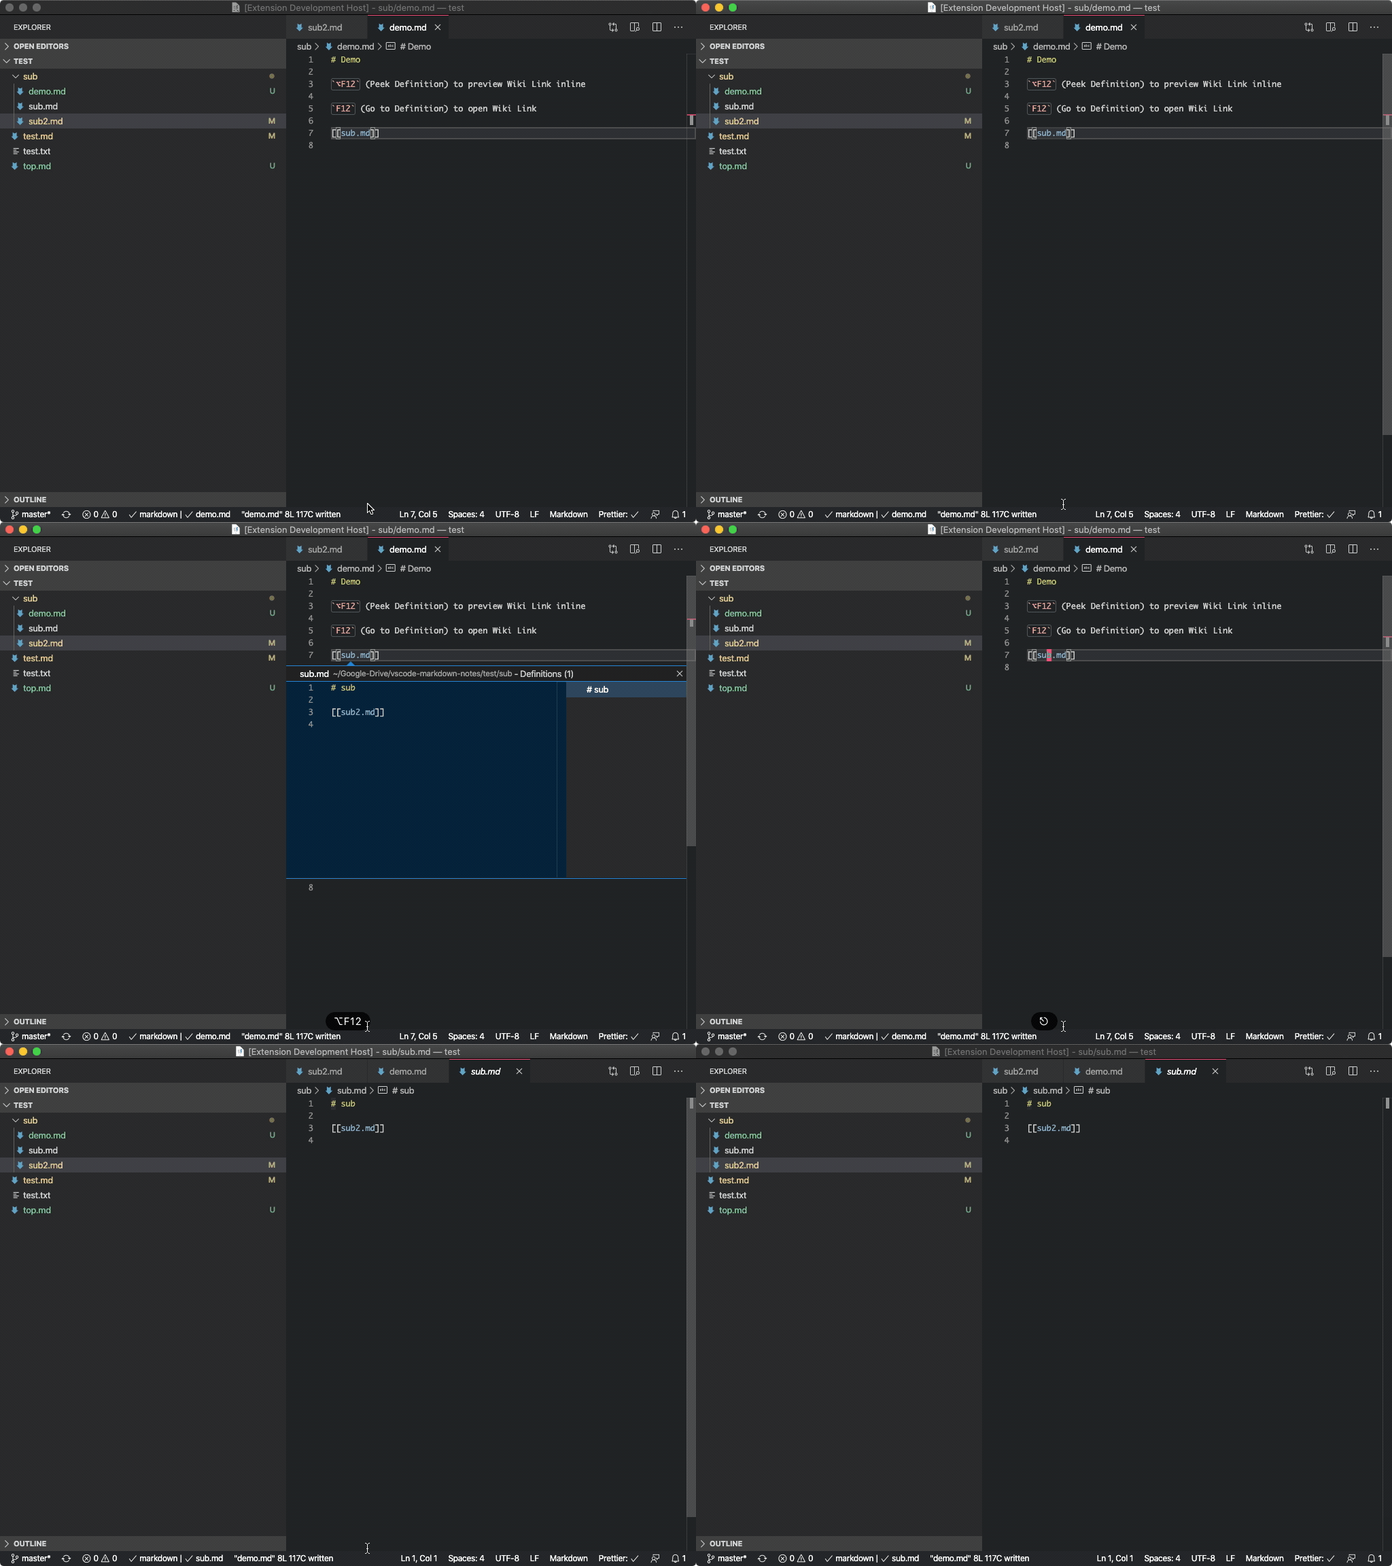
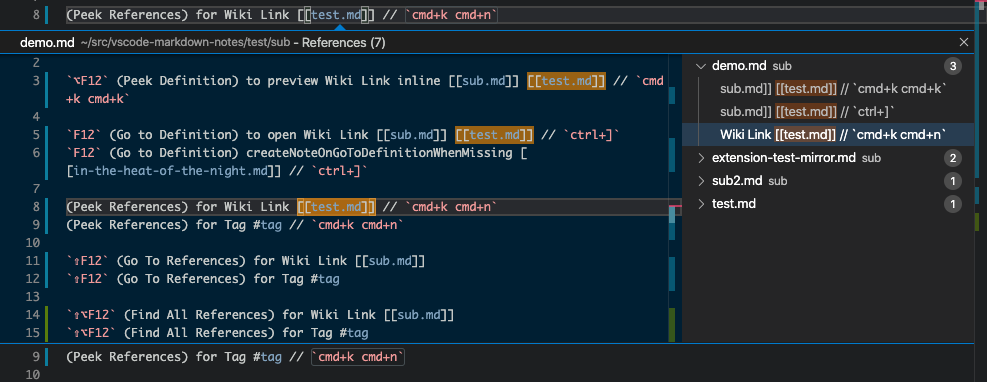
Markdown Notes provides syntax highlighting, auto-complete, Go to Definition (editor.action.revealDefinition), and Peek Definition (editor.action.peekDefinition) support for wiki-links to notes in a workspace.
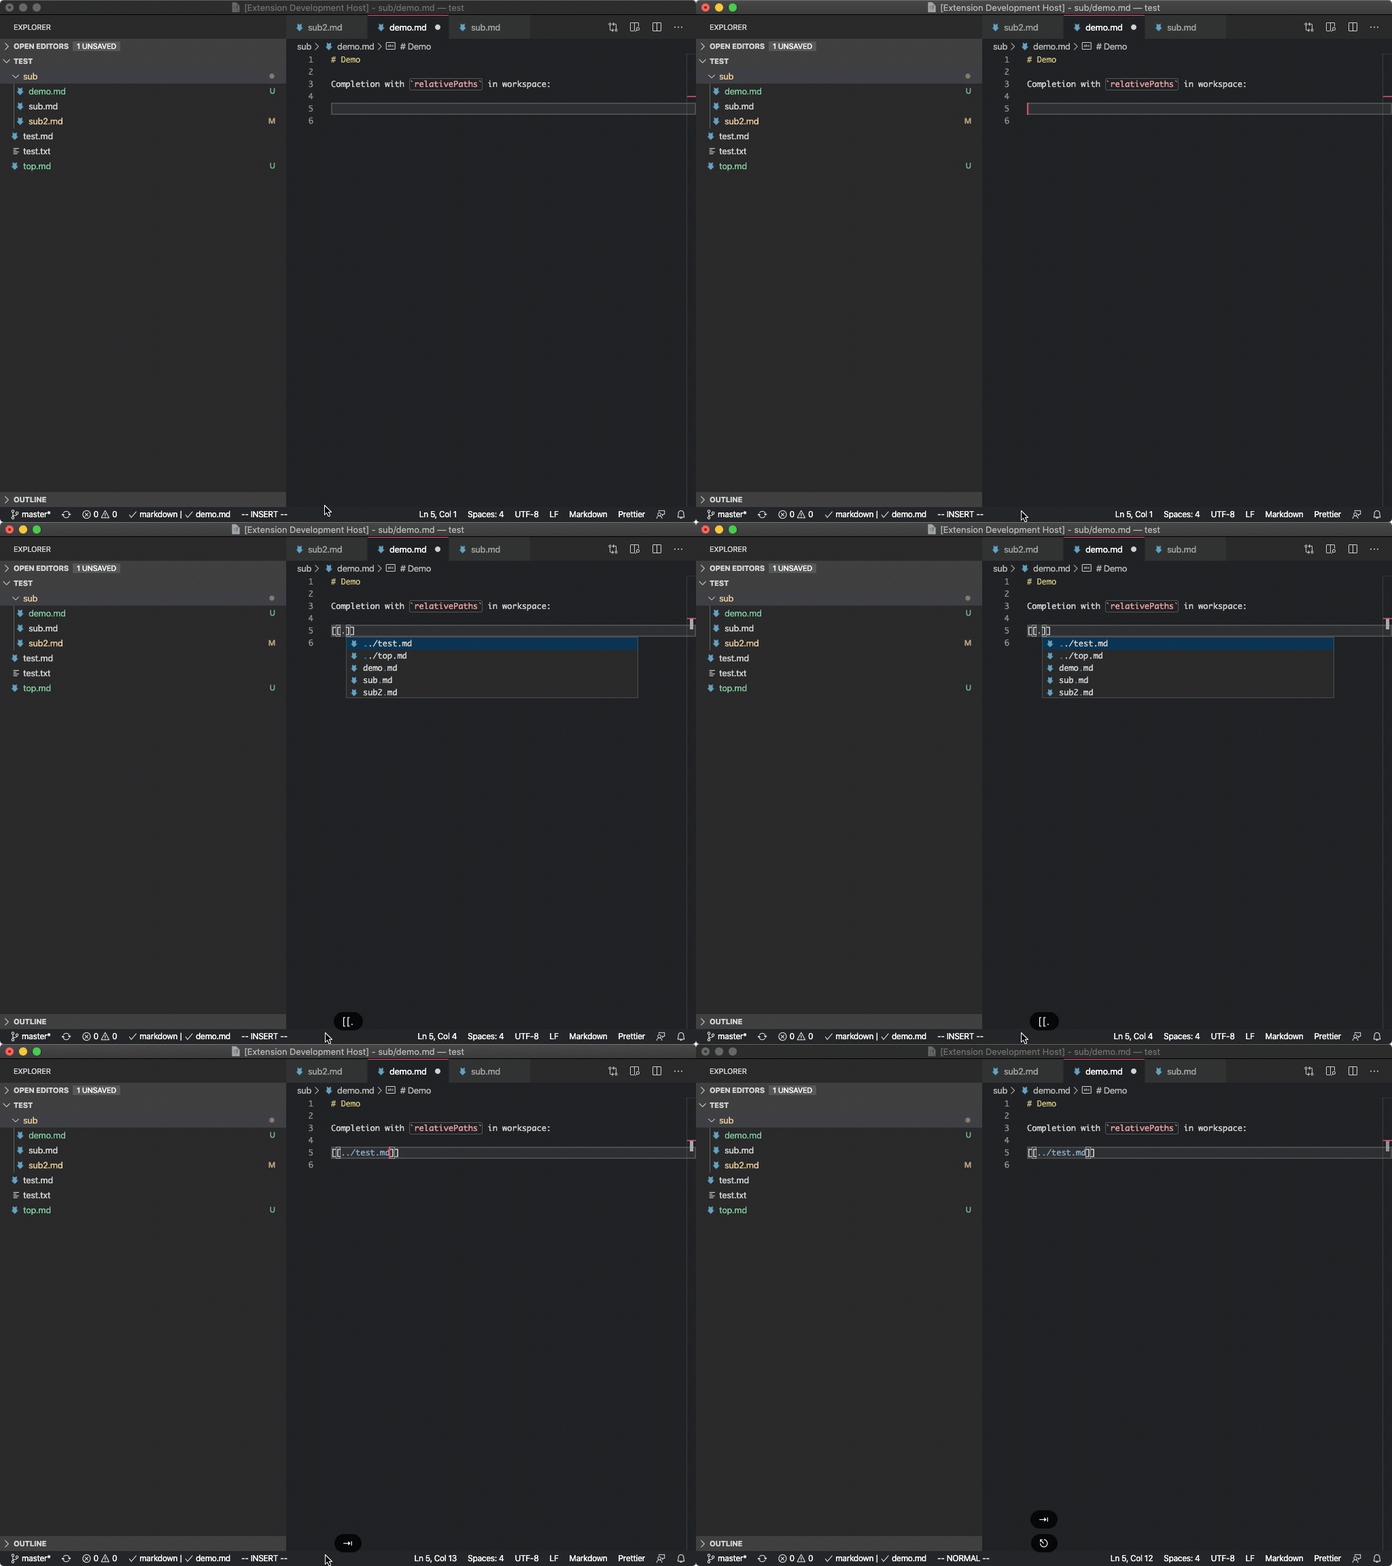
By default, the extension assumes each markdown file in a workspace has a unique name, so that note.md will resolve to the file with this name, regardless of whether or not this file exists in any subdirectory path. This tends to be a bit cleaner, but if you want support for multiple files with the same name, in settings.json set "vscodeMarkdownNotes.workspaceFilenameConvention": "relativePaths", and you'll get completions like note1/note.md and ../note2/note.md.
You can configure piped wiki-link syntax to use either [[file|description]], or [[description|file]] format (to show pretty titles instead of filenames in your rendered HTML).
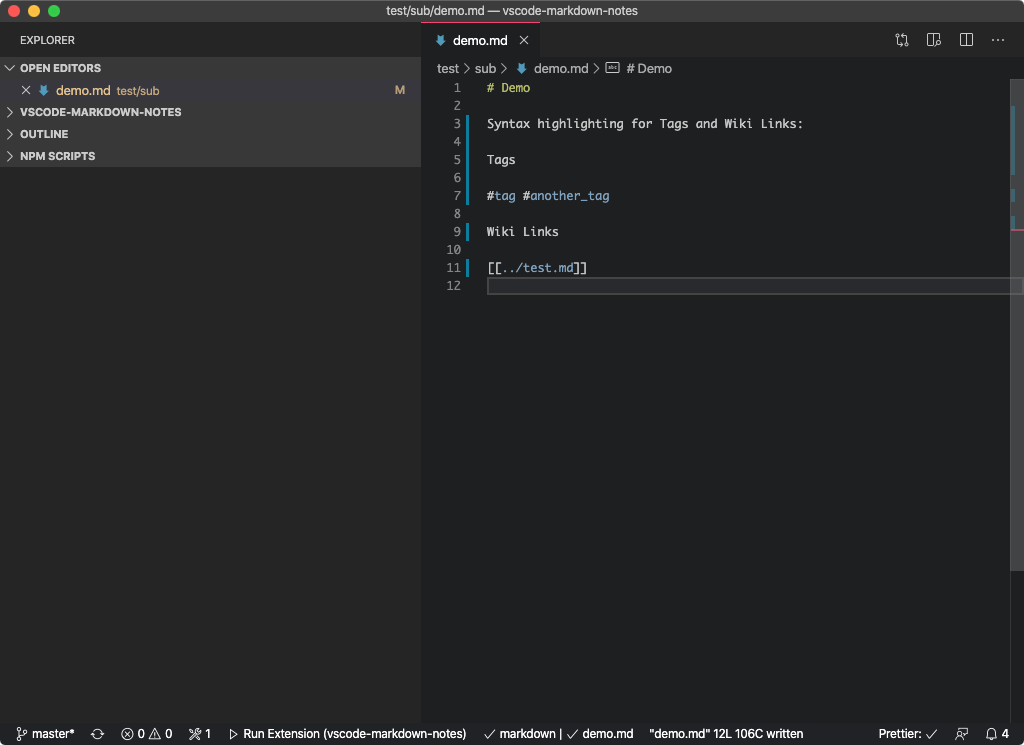
Syntax highlighting for #tags.
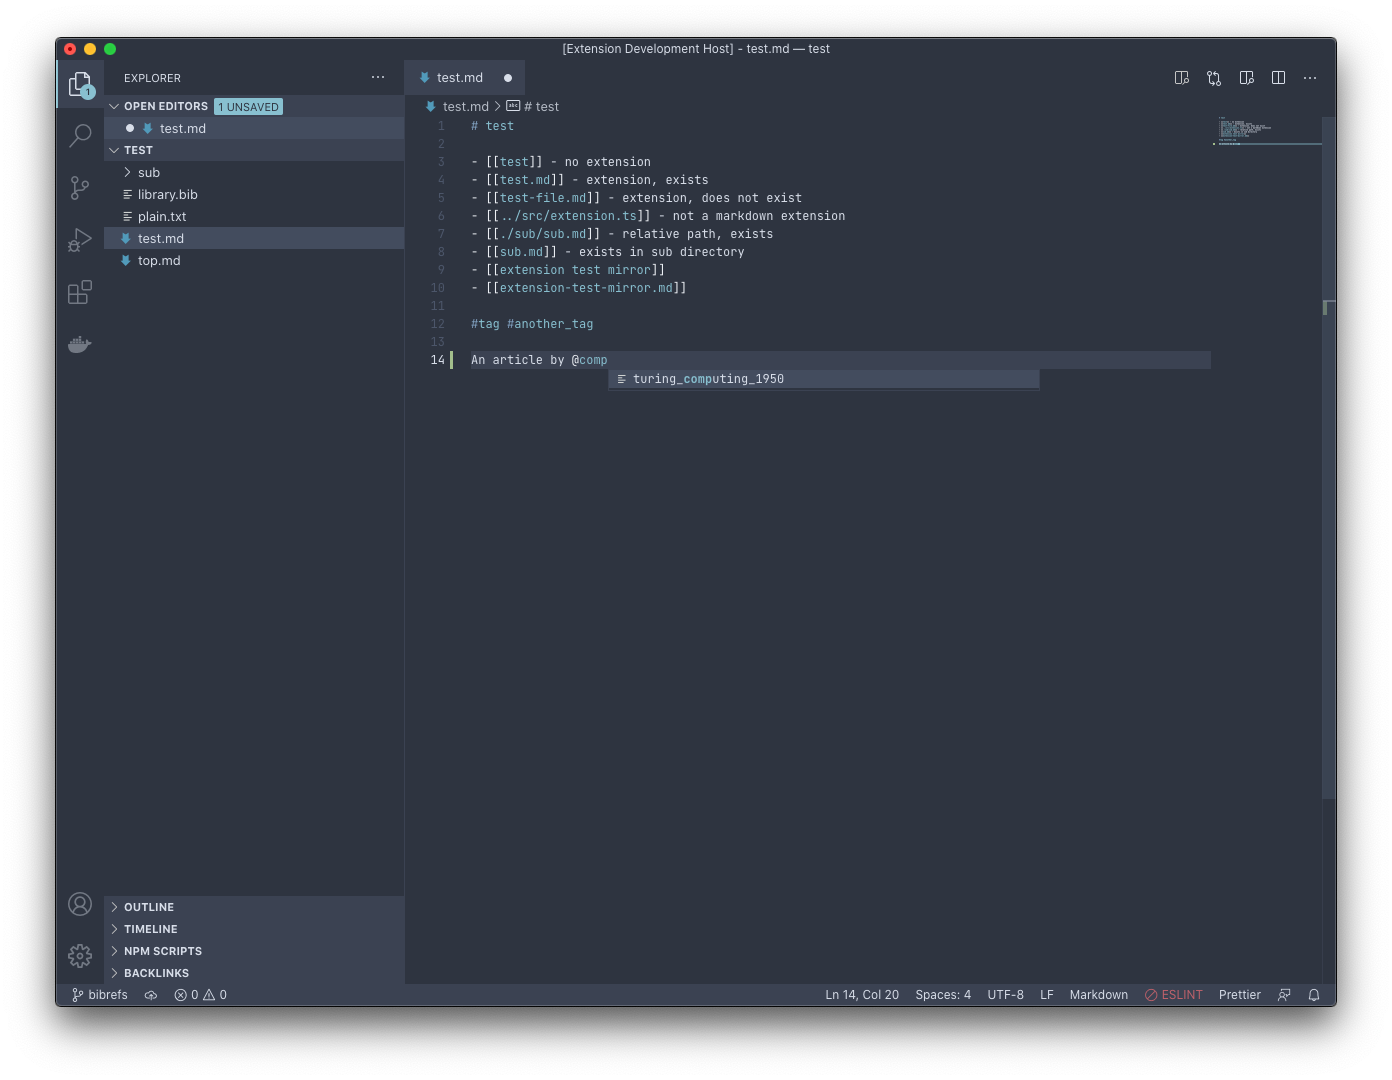
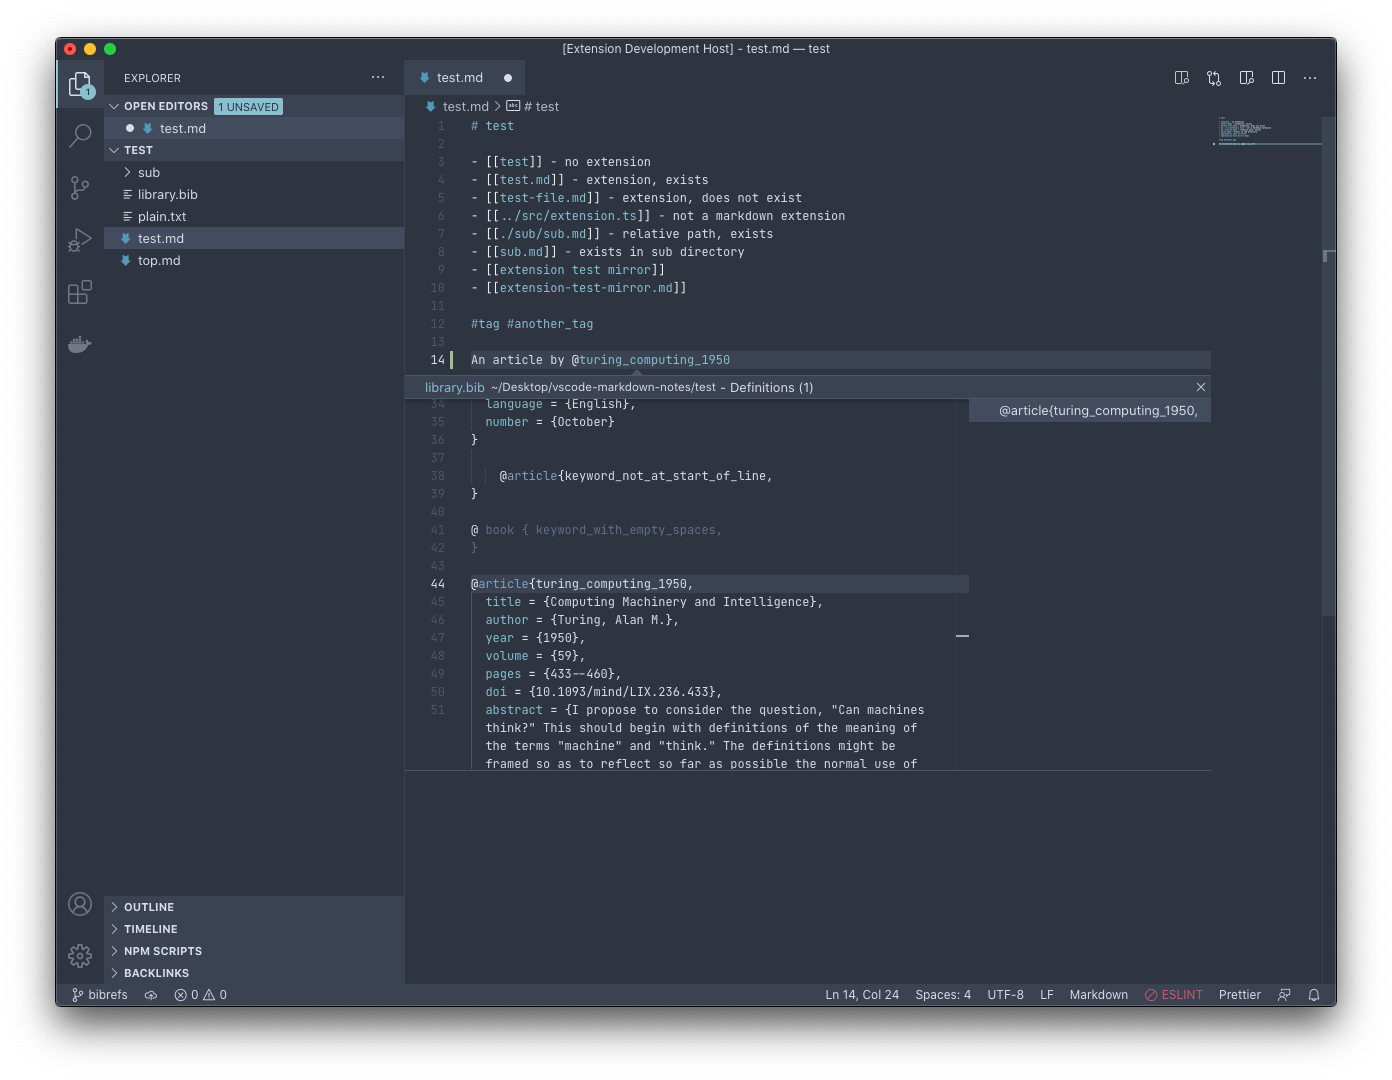
Use pandoc-style citations in your notes (eg @author_title_year) to get syntax highlighting, autocompletion and go to definition, if you setup a global BibTeX file with your references.
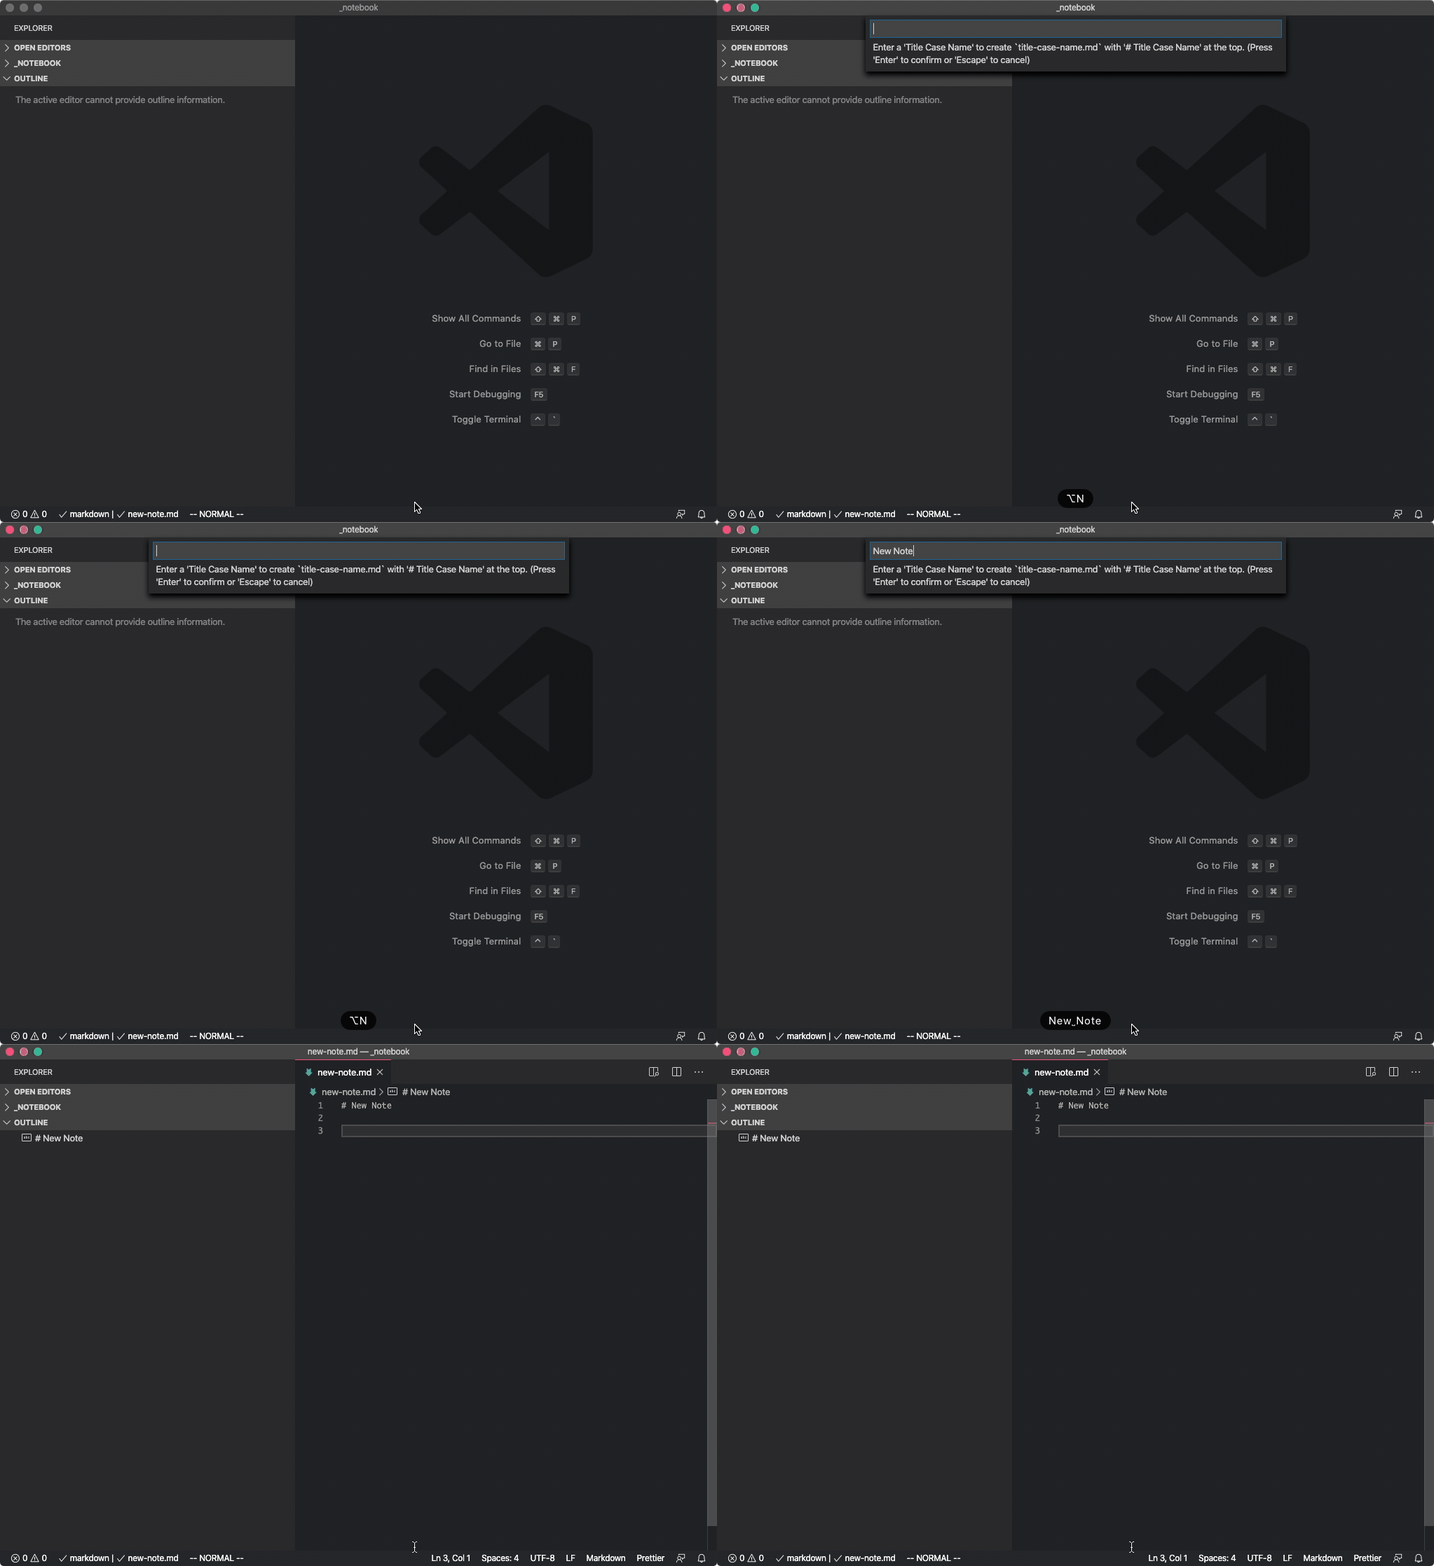
Provides a command for quickly creating a new note.
You can bind this to a keyboard shortcut by adding to your keybindings.json:
    {
        "key": "alt+shift+n",
        "command": "vscodeMarkdownNotes.newNote",
    },
NB: there is also a command vscodeMarkdownNotes.newNoteFromSelection which will "cut" the selected text from the current document, prompt for a note name, create a new note with that name, and insert the new text into that note.
Run npm install first.
- Provide better support for ignore patterns, eg, don't complete
file.mdif it is withinignored_dir/ - Add option to complete files without extension, to
[[file]]vsfile.md - Should we support links to headings? eg,
file.md#heading-text?
For focused jest tests,
- install: https://marketplace.visualstudio.com/items?itemName=kortina.run-in-terminal
- and https://marketplace.visualstudio.com/items?itemName=vscodevim.vim
Run a focused test with ,rl on a line in a test file, eg line 8, which will make a call to:
./jest-focused.sh ./src/test/jest/extension.test.ts:8to run only the test at that line. NB, you will also need these bindings for ,rl
To run all tests,
npm run testAll tests are headless.
To create a new release,
npm install
# bump version number in package.json
npm run vpackage # package the release, creates vsix
npm run vpublish # publish to store, see https://code.visualstudio.com/api/working-with-extensions/publishing-extension
# Will prompt for Azure Devops Personal Access Token, get fresh one at:
# https://dev.azure.com/andrewkortina/
# On "Error: Failed Request: Unauthorized(401)"
# see: https://github.com/Microsoft/vscode-vsce/issues/11
# The reason for returning 401 was that I didn't set the Accounts setting to all accessible accounts.
To install the vsix locally:
- Select Extensions
(Ctrl + Shift + X) - Open
More Actionmenu (ellipsis on the top) and clickInstall from VSIX… - Locate VSIX file and select.
- Reload VSCode.
- completion: https://github.com/microsoft/vscode-extension-samples/blob/master/completions-sample/src/extension.ts
- syntax: https://flight-manual.atom.io/hacking-atom/sections/creating-a-legacy-textmate-grammar/
- vscode syntax: https://code.visualstudio.com/api/language-extensions/syntax-highlight-guide
