Employee Directory with Ionic and Node
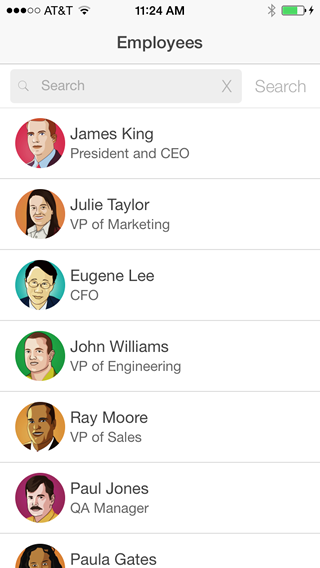
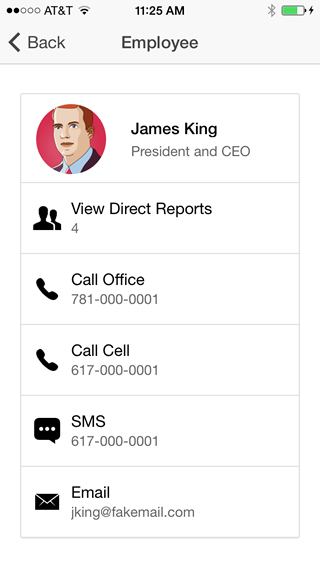
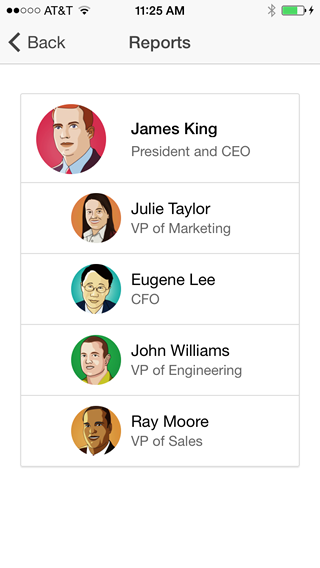
Employee directory is a sample application that allows you to look up employees by name, view the details of an employee, call, text, or email an employee, and navigate up and down the org chart.
This version of Employee Directory is built with Ionic and Node.js.
You can test the application in your browser:
- Using the hosted version
- By running the application's Node.js server locally
- By deploying the application's Node.js server on Heroku
You can also run the application as a hybrid app in Cordova.
Hosted Version
Click here to run the hosted version in your browser.
Running the Node.js Server Locally
-
Make sure you have an up-to-date version of Node.js installed on your system. If you don't have Node.js installed, you can install it from here.
-
Clone this repository
-
On the command line, navigate (cd) to the directory-ionic-nodejs folder
-
Install the server dependencies
npm install
- Start the server
node server
- Open a browser and access: http://localhost:5000
Deploying the Node.js Server to Heroku
Click the "Deploy to Heroku" button at the top of this page to deploy the application to your own Heroku instance.
Running in Cordova
Step 1: Install Ionic
-
Make sure you have an up-to-date version of Node.js installed on your system. If you don't have Node.js installed, you can install it from here.
-
Open a terminal window (Mac) or a command window (Windows), and install Cordova and Ionic:
npm install -g cordova ionic
On a Mac, you may have to use sudo depending on your system configuration:
sudo npm install -g cordova ionic
- If you already have Cordova and Ionic installed on your computer, make sure you update to the latest version:
npm update -g cordova ionic
or
sudo npm update -g cordova ionic
Step 2: Create the application
- Using the Ionic CLI, create an application named employee-directory:
ionic start employee-directory
-
Delete the default www folder in the employee-directory folder that was just created
-
Copy the www folder from this repository to the Ionic project's employee-directory folder
-
Modify www/js/services.js and specify the URL where your Node.js server is running. For example:
angular.module('directory.services', ['ngResource'])
    .factory('Employees', function ($resource) {
        return $resource('http://ionic-directory.herokuapp.com/employees/:employeeId/:data');
    });
Step 3: Building for iOS
You need the iOS SDK installed on your computer to build an iOS version of your application using the steps below.
-
On the command line, make sure you are in the employee-directory folder
-
Add support for the iOS platform:
ionic platform add ios -
Build the project:
ionic build ios -
Open employee-directory.xcodeproj in the employee-directory/platforms/ios folder
-
In Xcode, run the application on a device connected to your computer or in the iOS emulator
Step 4: Building for Android
You need the Android SDK installed on your computer to build an Android version of your application using the steps below.
-
Make sure the Android SDK and the ant build tool are available on your system. The Android SDK is available here. Both the android and ant tools must be available in your path. To test your configuration, you should be able to execute both android and ant from the command line.
-
On the command line, make sure you are in the employee-directory folder
-
Add support for the Android platform:
ionic platform add android -
Build the project:
ionic build androidThe project is built in the employee-directory/platforms/android folder
-
To build and run the application on an Android device connected to your computer using a USB cable:
ionic run android -
To build and run the application in the Android emulator:
ionic emulate android


