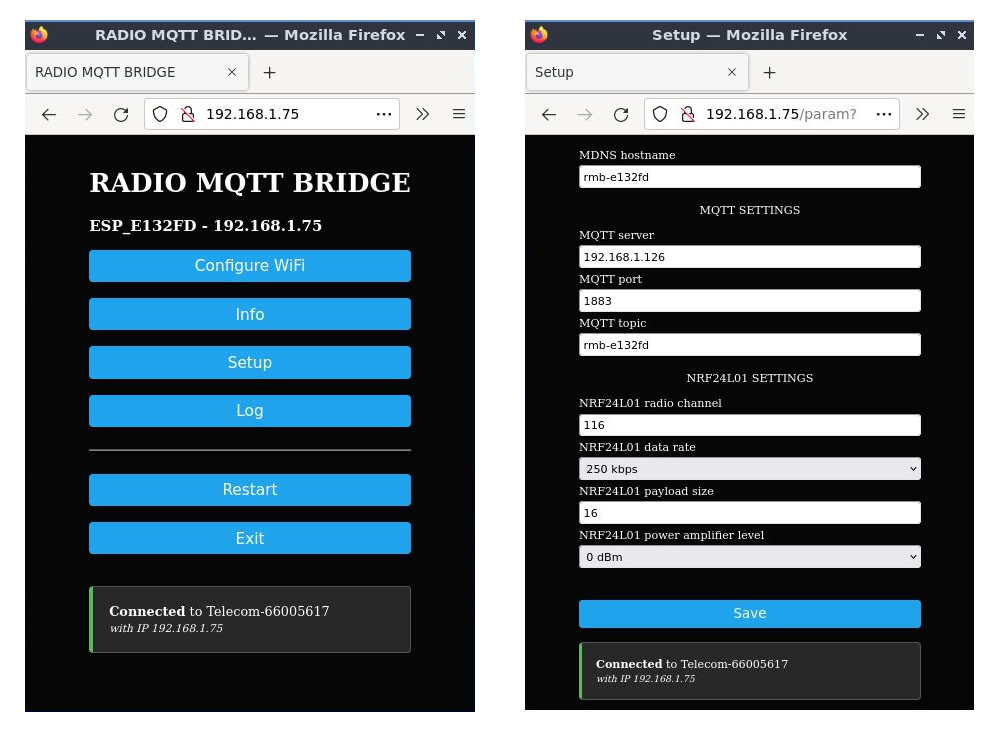
ESP8266 based module which receives signals from a NRF24L01+ radio transmitter and sends them to a MQTT server
Tested on a NodeMCU board
Works with the ESP8266 Arduino platform
COMPILE THE FIRMWARE
Install the required libraries:
async-mqtt-client (tested with version: 0.9.0)
WiFiManager (tested with version: 2.0.11-beta)
ArduinoJson (tested with version: 6.19.4)
RF24 (tested with version: 1.4.4)
WiFiManager, ArduinoJson and RF24 can be installed with Arduino's Library Manager. async-mqtt-client must be installed manually (see instructions in the website); after installing it, you MUST patch it by replacing, in AsyncMqttClient.cpp, the following line:
if (_state != CONNECTED || GET_FREE_MEMORY() < MQTT_MIN_FREE_MEMORY) return 0;
with:
if (_state != CONNECTED) return 0;
CIRCUIT LAYOUT
- Pin connections
NodeMCU D3  <-> NRF24L01+ CSN
NodeMCU D8  <-> NRF24L01+ CE
NodeMCU D5  <-> NRF24L01+ SCK
NodeMCU D6  <-> NRF24L01+ MISO
NodeMCU D7  <-> NRF24L01+ MOSI
NodeMCU 3V3 <-> NRF24L01+ VCC
-
Add a button between GND and D2
-
Add a 103 capacitor between D3 and GND
RUN THE FIRMWARE
-
NodeMCU goes into Access Point mode, after booting, if WiFi is not configured or if a WiFi connection can't be established after some attempts. The access point SSID is in the form: rmb-xyz (IP: 192.168.4.1). Connect to the access point and configure the module by setting, through the web interface, the MQTT parameters (server address, port and topic) and the NRF24L01 radio parameters (radio channel, payload size, power amplifier level, data rate). After booting, the module listens to incoming radio messages and publishes the received messages on the configured MQTT topic.
-
The log of the bridge is provided by a console embedded in the web interface or through the serial line (baudrate = 115200). The builtin LED of NodeMCU provides some infos as well:
*) ACCESS POINT MODE ON -> one long blink *) WiFi connected -> four short blinks *) WiFi disconnected -> four long blinks *) MQTT connected -> three short blinks *) MQTT disconnected -> three long blinks *) NRF24L01 configuration OK -> five short blinks *) NRF24L01 configuration OK -> five long blinks *) Reset to factory settings -> a series of very short blinks *) Radio message received -> two short blinks -
The NRF24L01 configuration log or blink event is useful for understanding if the NRF24L01+ radio module is correctly connected and correctly communicates with the NodeMCU module.
-
The bridge can be reset to factory settings by keeping the button between GND and D2 pressed for about three seconds.
