You can use this file as a template for your writeup if you want to submit it as a markdown file, but feel free to use some other method and submit a pdf if you prefer.
Behavioral Cloning Project
The goals / steps of this project are the following:
- Use the simulator to collect data of good driving behavior
- Build, a convolution neural network in Keras that predicts steering angles from images
- Train and validate the model with a training and validation set
- Test that the model successfully drives around track one without leaving the road
- Summarize the results with a written report
I considered the rubric points individually and described how I addressed each point in my implementation.
My project includes the following files:
- model.py containing the script to create and train the model
- drive.py for driving the car in autonomous mode
- model.h5 containing a trained convolution neural network
- README.md summarizing the results
Using the Udacity provided simulator and my drive.py file, the car can be driven autonomously around the track by executing
python drive.py model.h5The model.py file contains the code for training and saving the convolution neural network. The file shows the pipeline I used for training and validating the model, and it contains comments to explain how the code works.
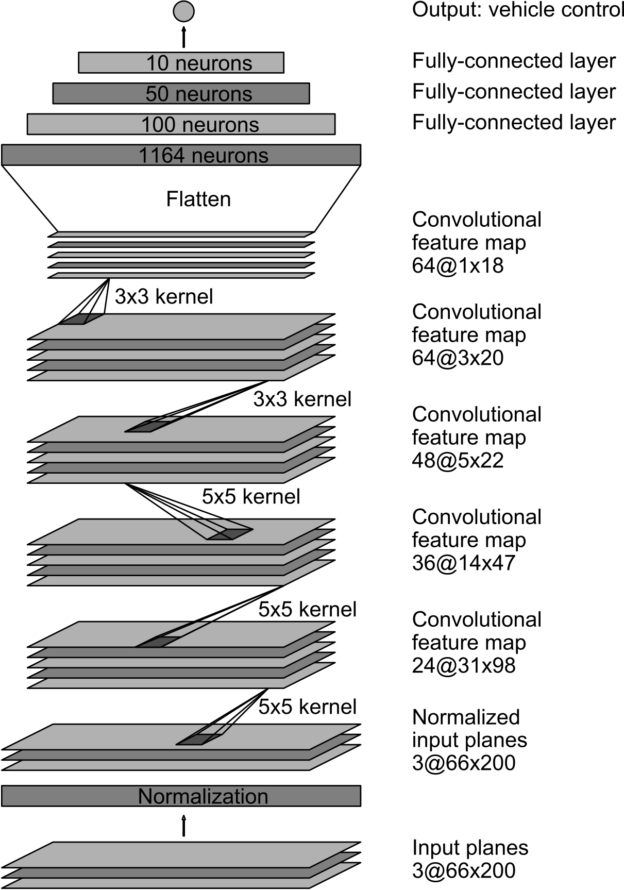
My model consists of a convolution neural network with 3x3 filter sizes and depths between 24 and 64 (model.py lines 68-80)
The model includes RELU layers to introduce nonlinearity (code lines 68-73), and the data is normalized in the model using a Keras lambda layer (code line 62).
The model contains dropout layers in order to reduce overfitting (model.py lines 71 and 65).
The model was trained and validated on different data sets to ensure that the model was not overfitting (code line 18-35). The model was tested by running it through the simulator and ensuring that the vehicle could stay on the track.
The model used an adam optimizer, so the learning rate was not tuned manually (model.py line 82).
Training data was chosen to keep the vehicle driving on the road. I used a combination of center lane driving, recovering from the left and right sides of the road.
I used 3 laps in the normal direction, and 1 lap on the opposite direction.
For details about how I created the training data, see the next section.
The overall strategy for deriving a model architecture was to train and increment the findings until I found something that works.
My first step was to use a convolution neural network model similar to the LeNet used in the tutorials. This did OK, but the car had difficulty making the sharp right turn 2/3 of the track.
In order to gauge how well the model was working, I split my image and steering angle data into a training and validation set. I found that my first model had a low mean squared error on the training set but a high mean squared error on the validation set. This implied that the model was overfitting.
To combat the overfitting, I modified the model so that the images are cropp
The final step was to run the simulator to see how well the car was driving around track one. There were a few spots where the vehicle fell off the track. Biggest issue was first with the are that was missing the side yellow line and the right hand turn.
To improve the driving behavior in these cases, I recorded a few laps going backwards and I also flipped the images
At the end of the process, the vehicle is able to drive autonomously around the track without leaving the road.
The final model architecture (model.py lines 50-80) consisted of a convolution neural network similar to the Nvidia's self driving car architecture.
Output from the tensorflow log. Only 4 epochs were used the 2nd time, as the loss rate dropped rapidly.
(carnd-term1) carnd@ip-172-31-84-17:~/CarND-Behavioral-Cloning-P3$ python model.py
Getting data....
Using TensorFlow backend.
I tensorflow/stream_executor/dso_loader.cc:128] successfully opened CUDA library libcublas.so locally
I tensorflow/stream_executor/dso_loader.cc:128] successfully opened CUDA library libcudnn.so locally
I tensorflow/stream_executor/dso_loader.cc:128] successfully opened CUDA library libcufft.so locally
I tensorflow/stream_executor/dso_loader.cc:128] successfully opened CUDA library libcuda.so.1 locally
I tensorflow/stream_executor/dso_loader.cc:128] successfully opened CUDA library libcurand.so locally
Train on 36004 samples, validate on 9002 samples
Epoch 1/4
I tensorflow/stream_executor/cuda/cuda_gpu_executor.cc:937] successful NUMA node read from SysFS had negative value (-1), but there must be at least one NUMA node, so returning NUMA node zero
I tensorflow/core/common_runtime/gpu/gpu_device.cc:885] Found device 0 with properties:
name: GRID K520
major: 3 minor: 0 memoryClockRate (GHz) 0.797
pciBusID 0000:00:03.0
Total memory: 3.94GiB
Free memory: 3.91GiB
I tensorflow/core/common_runtime/gpu/gpu_device.cc:906] DMA: 0
I tensorflow/core/common_runtime/gpu/gpu_device.cc:916] 0:   Y
I tensorflow/core/common_runtime/gpu/gpu_device.cc:975] Creating TensorFlow device (/gpu:0) -> (device: 0, name: GRID K520, pci bus id: 0000:00:03.0)
36004/36004 [==============================] - 93s - loss: 0.0870 - val_loss: 0.1344
Epoch 2/4
36004/36004 [==============================] - 70s - loss: 0.0713 - val_loss: 0.1291
Epoch 3/4
36004/36004 [==============================] - 71s - loss: 0.0617 - val_loss: 0.1331
Epoch 4/4
36004/36004 [==============================] - 71s - loss: 0.0538 - val_loss: 0.1452To capture good driving behavior, I first recorded three laps on track one using center lane driving.
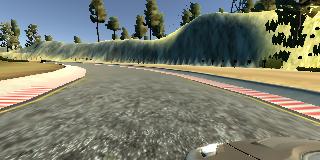
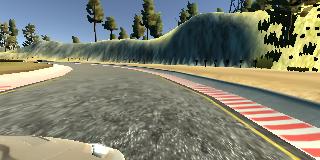
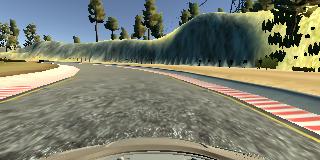
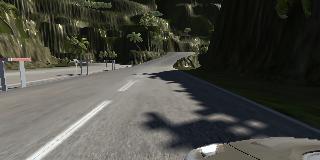
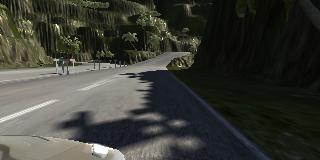
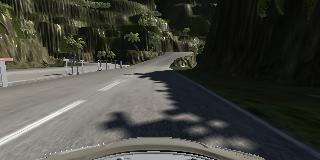
Here are some sample images:
And here are some sample images from the test track
I then recorded the vehicle recovering from the left side and right sides of the road back to center so that the vehicle would learn to recover when going close to the edge.
In the run4.mp4 there is an awesome recovery at 0:50 of the video. This recovery turned out to be not accepted, so I made improvements to the model so that the car doesn't go outside the track
To augment the data sat, I also flipped images and angles thinking that this would provide more data
I then preprocessed this data by normalizing it and cropping it. Also, converted the data from BRG to RBG
I finally randomly shuffled the data set and put 20% of the data into a validation set.
I had issues with the car making the right turn, so I went back and recorded a few recoveries from left to right. This helped.
I used this training data for training the model. The validation set helped determine if the model was over or under fitting. The ideal number of epochs was 20 as evidenced by the loss rate stabilizing.
In the second submission I only used 4 epochs, as the loss rate dropped really fast.
I used an adam optimizer so that manually training the learning rate wasn't necessary.
