Sure, here's a clear documentation of the API endpoints along with setup instructions:
- URL:
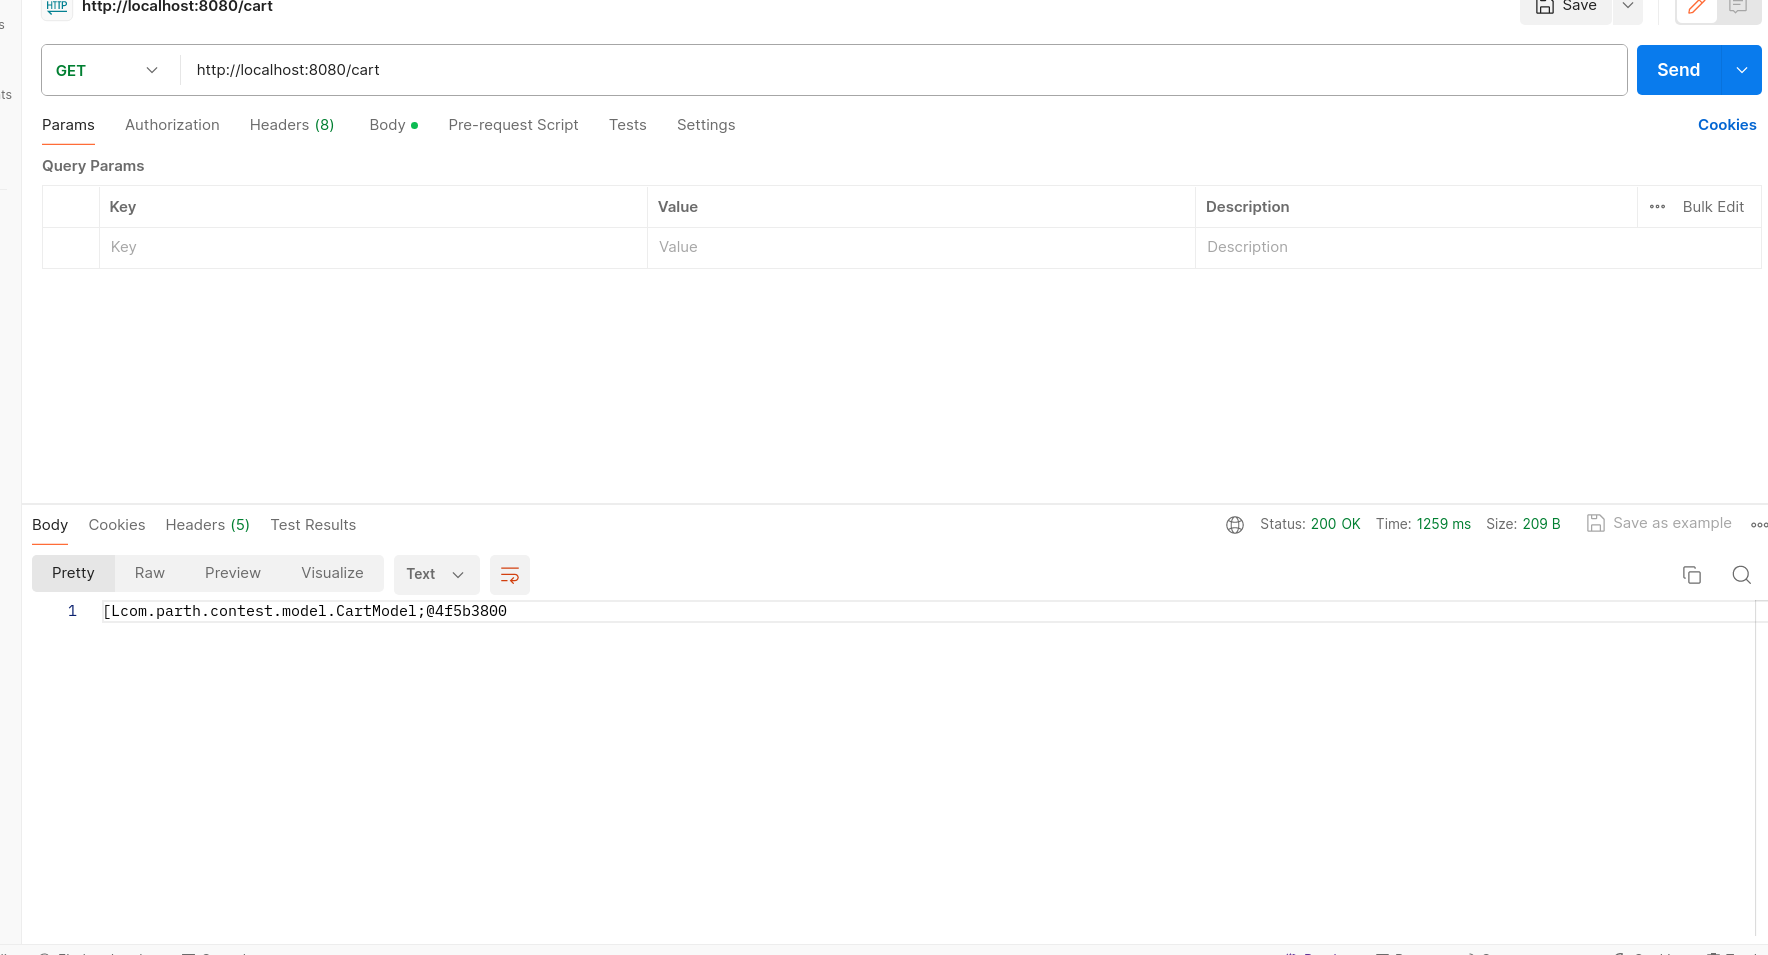
/cart - Method: GET
- Description: Retrieves all carts.
- Response: JSON array of CartModel objects representing all carts.

- URL:
/cart/{id} - Method: GET
- Description: Retrieves a single cart by its ID.
- Parameters:
{id}: Integer - ID of the cart to retrieve.
- Response: JSON object representing the specified cart.


- URL:
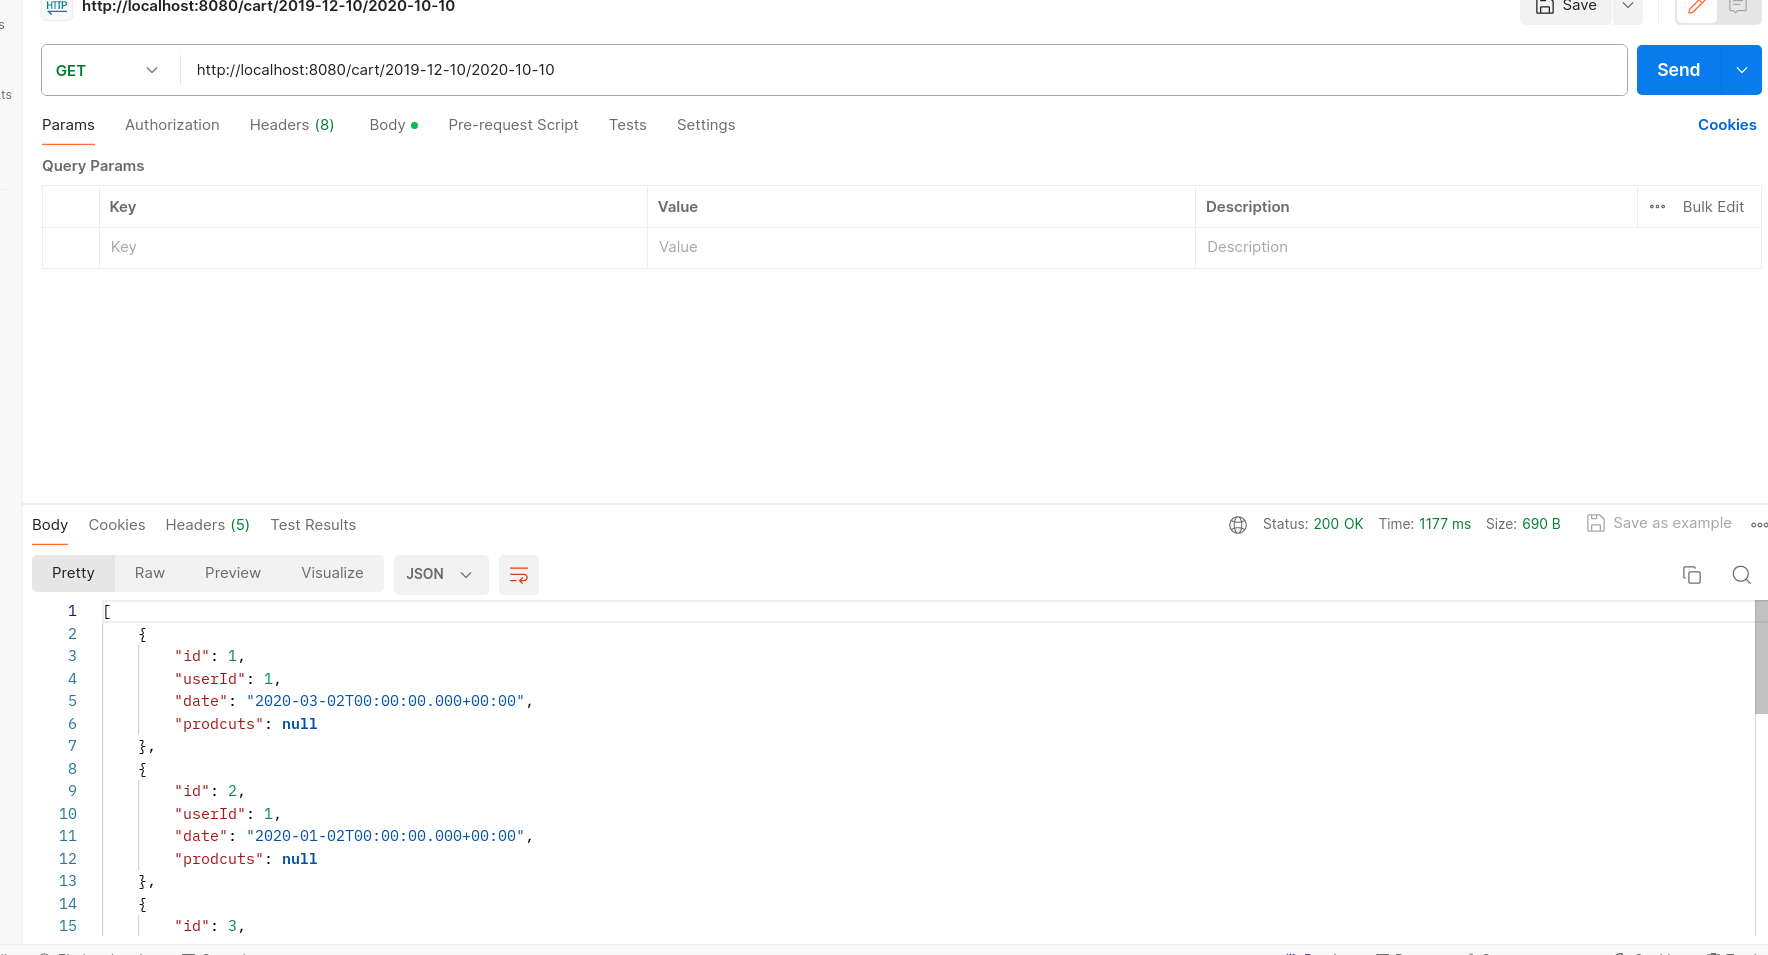
/cart/{start}/{end} - Method: GET
- Description: Retrieves all carts within a specified date range.
- Parameters:
{start}: String - Start date of the range (format: YYYY-MM-DD).{end}: String - End date of the range (format: YYYY-MM-DD).
- Response: JSON array of CartModel objects representing carts within the specified date range.

- URL:
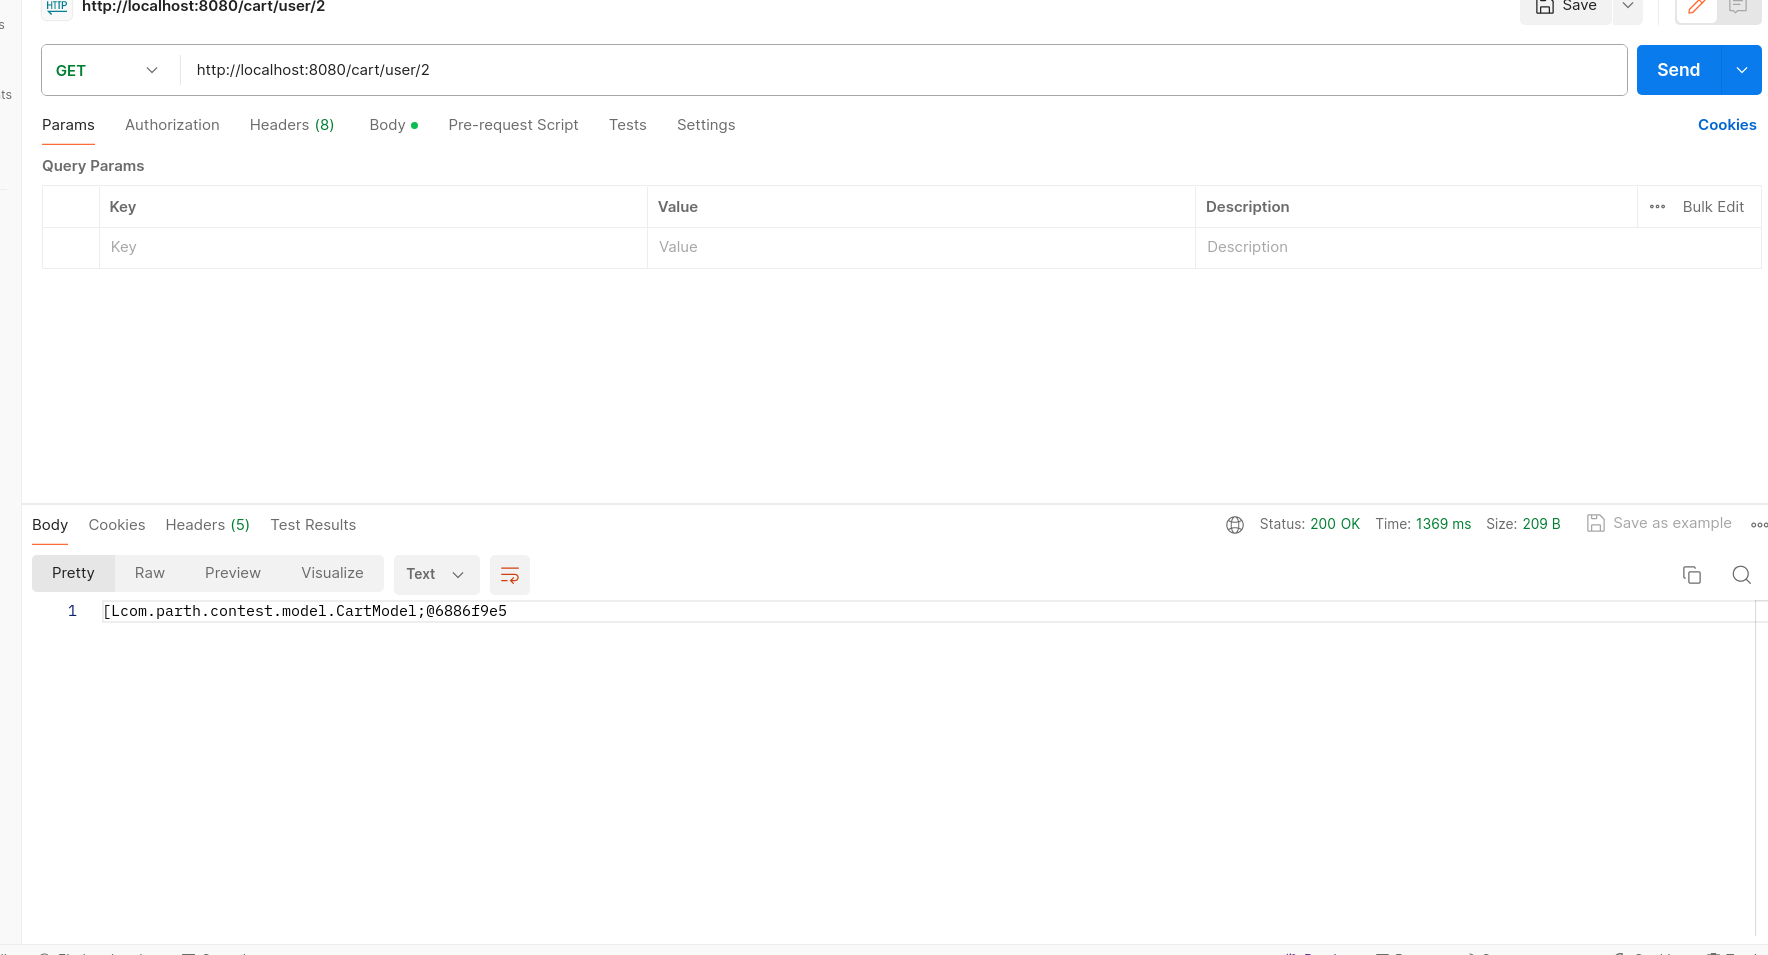
/cart/user/{name} - Method: GET
- Description: Retrieves all carts of a specified user.
- Parameters:
{name}: Integer - User's ID.
- Response: JSON array of CartModel objects representing carts of the specified user.

- URL:
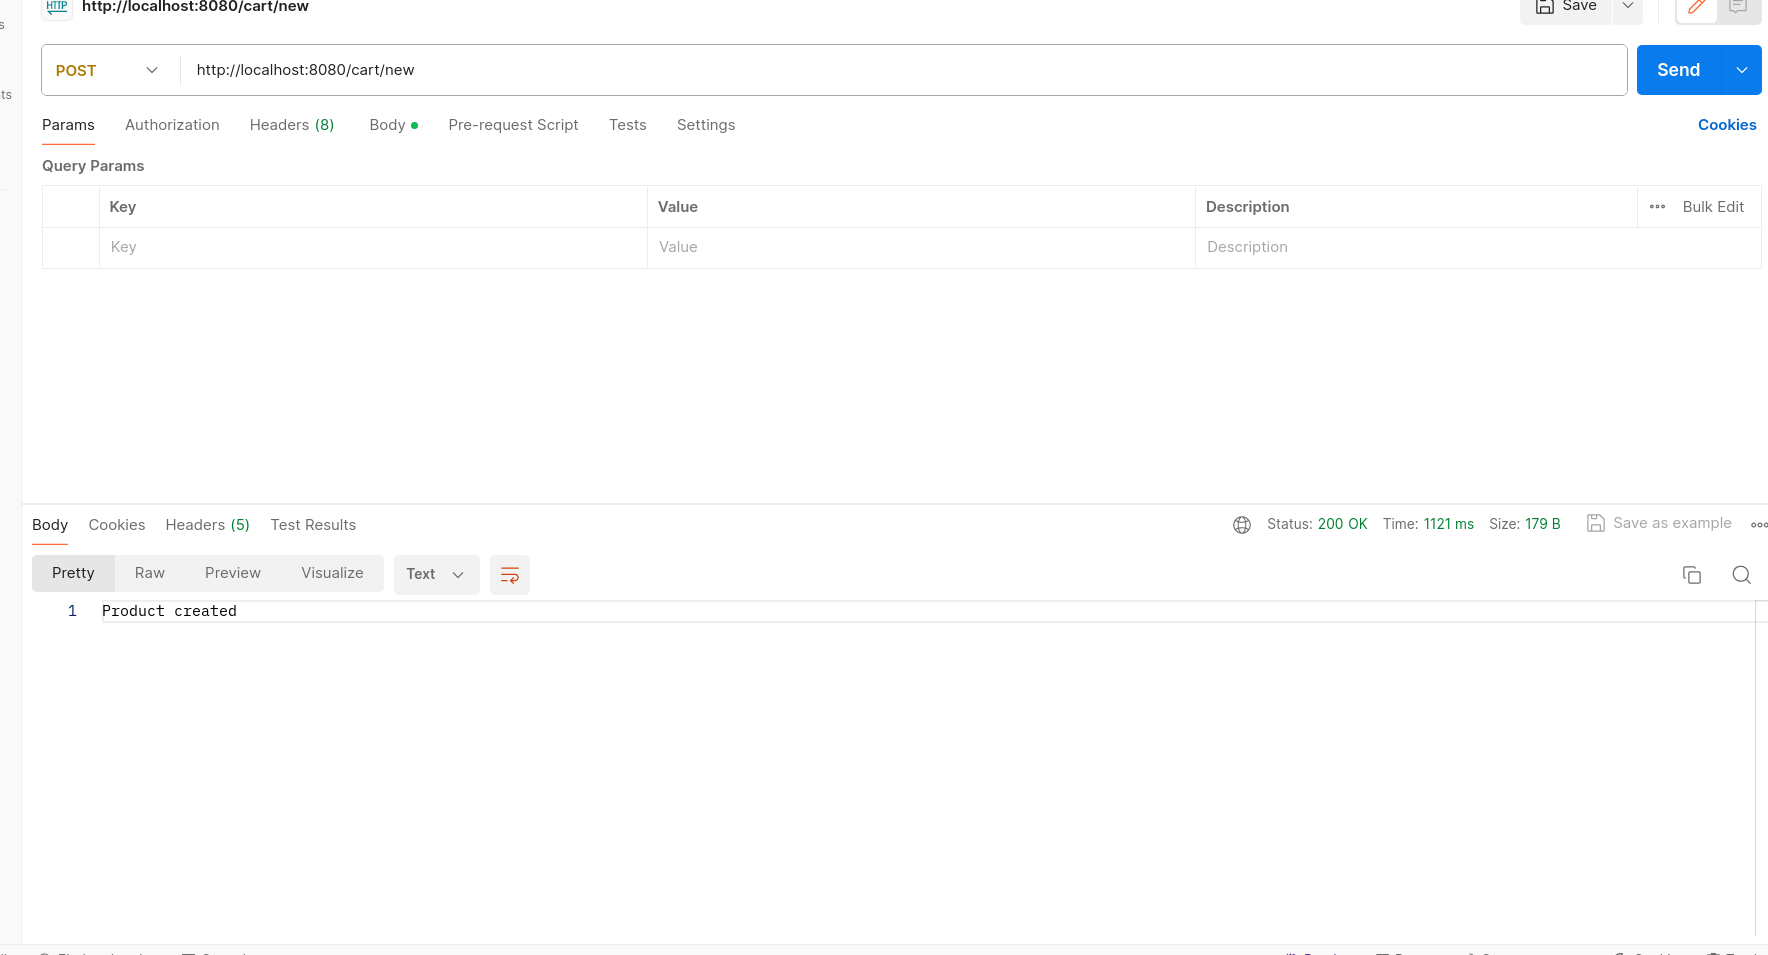
/cart/new - Method: POST
- Description: Adds a new cart.
- Request Body: JSON object representing the new cart (CartModel).
- Response: Success message indicating the cart creation.

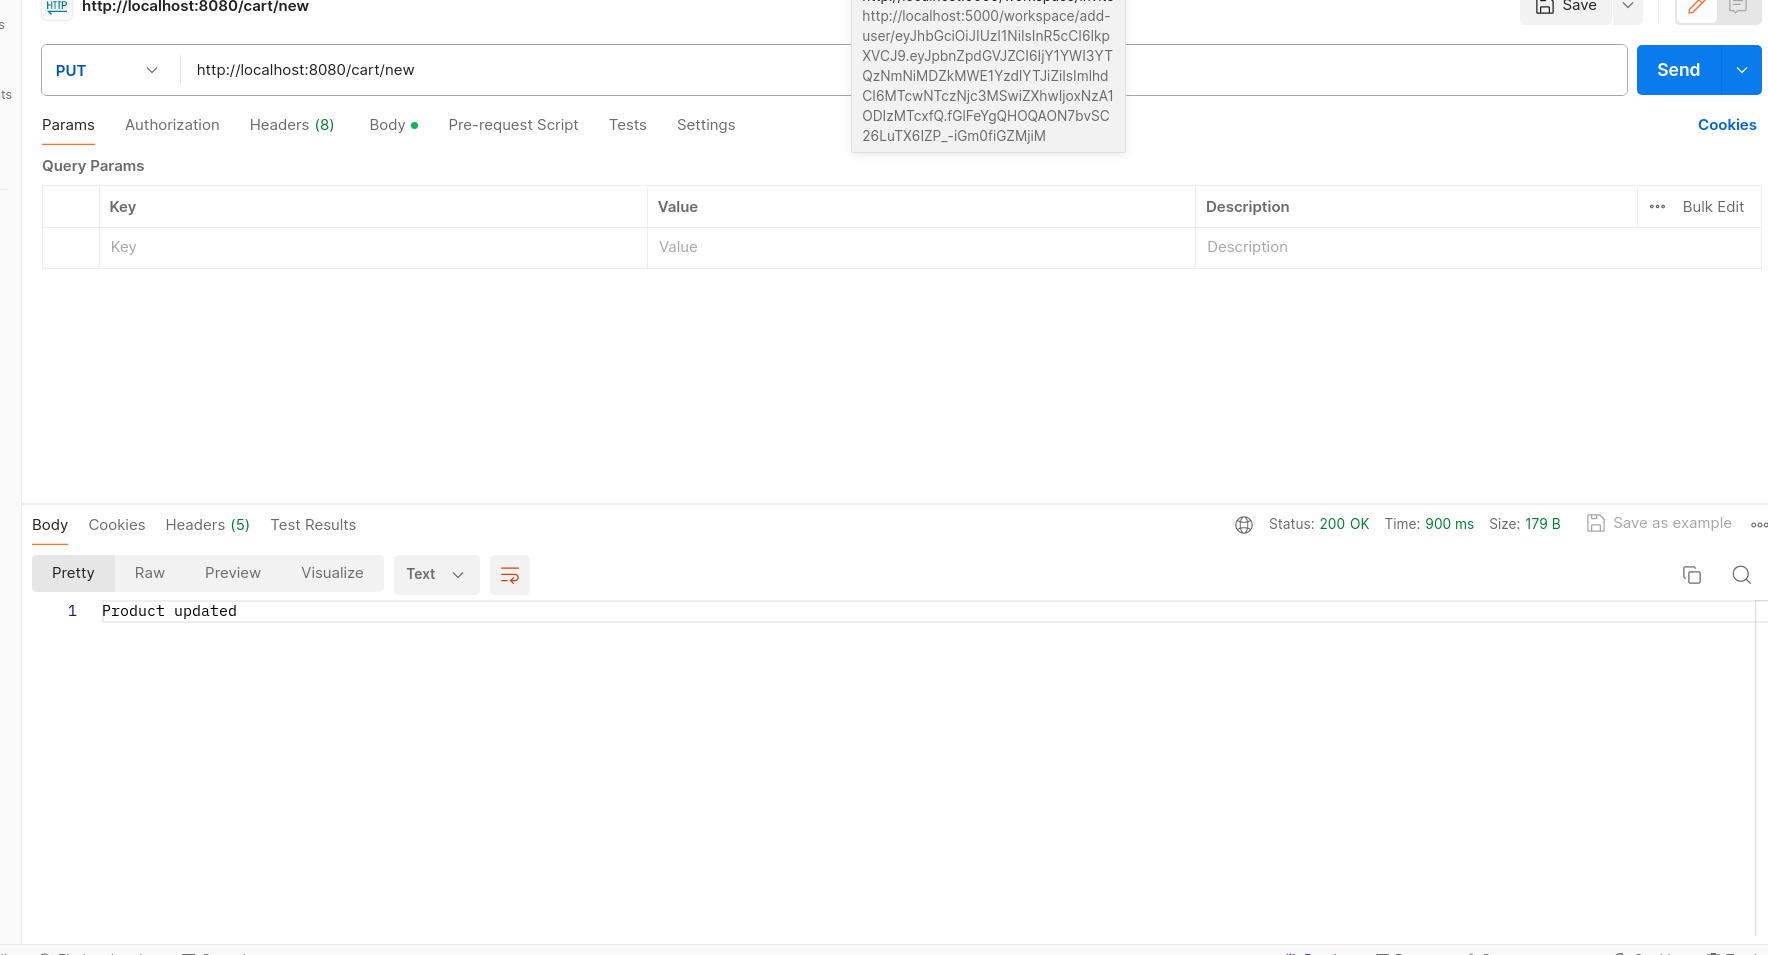
- URL:
/cart/{id} - Method: PUT
- Description: Updates an existing cart.
- Parameters:
{id}: Integer - ID of the cart to update.
- Request Body: JSON object representing the updated cart (CartModel).
- Response: Success message indicating the cart update.

- URL:
/cart/{id} - Method: DELETE
- Description: Deletes an existing cart.
- Parameters:
{id}: Integer - ID of the cart to delete.
- Response: Success message indicating the cart deletion.


-
Clone the repository: Clone the project repository containing the REST API code.
-
Build the project: Use Maven or Gradle to build the project.
-
Set up database: Ensure that you have a database configured and modify the database configuration in the application accordingly.
-
Run the application: Run the application using an IDE or command-line interface.
-
Test the endpoints: Use tools like Postman or cURL to test the API endpoints mentioned above.
-
Optional: Authentication/Authorization: Implement authentication and authorization mechanisms if required for your application.
By following these setup instructions, you should be able to deploy and use the provided REST API endpoints effectively.