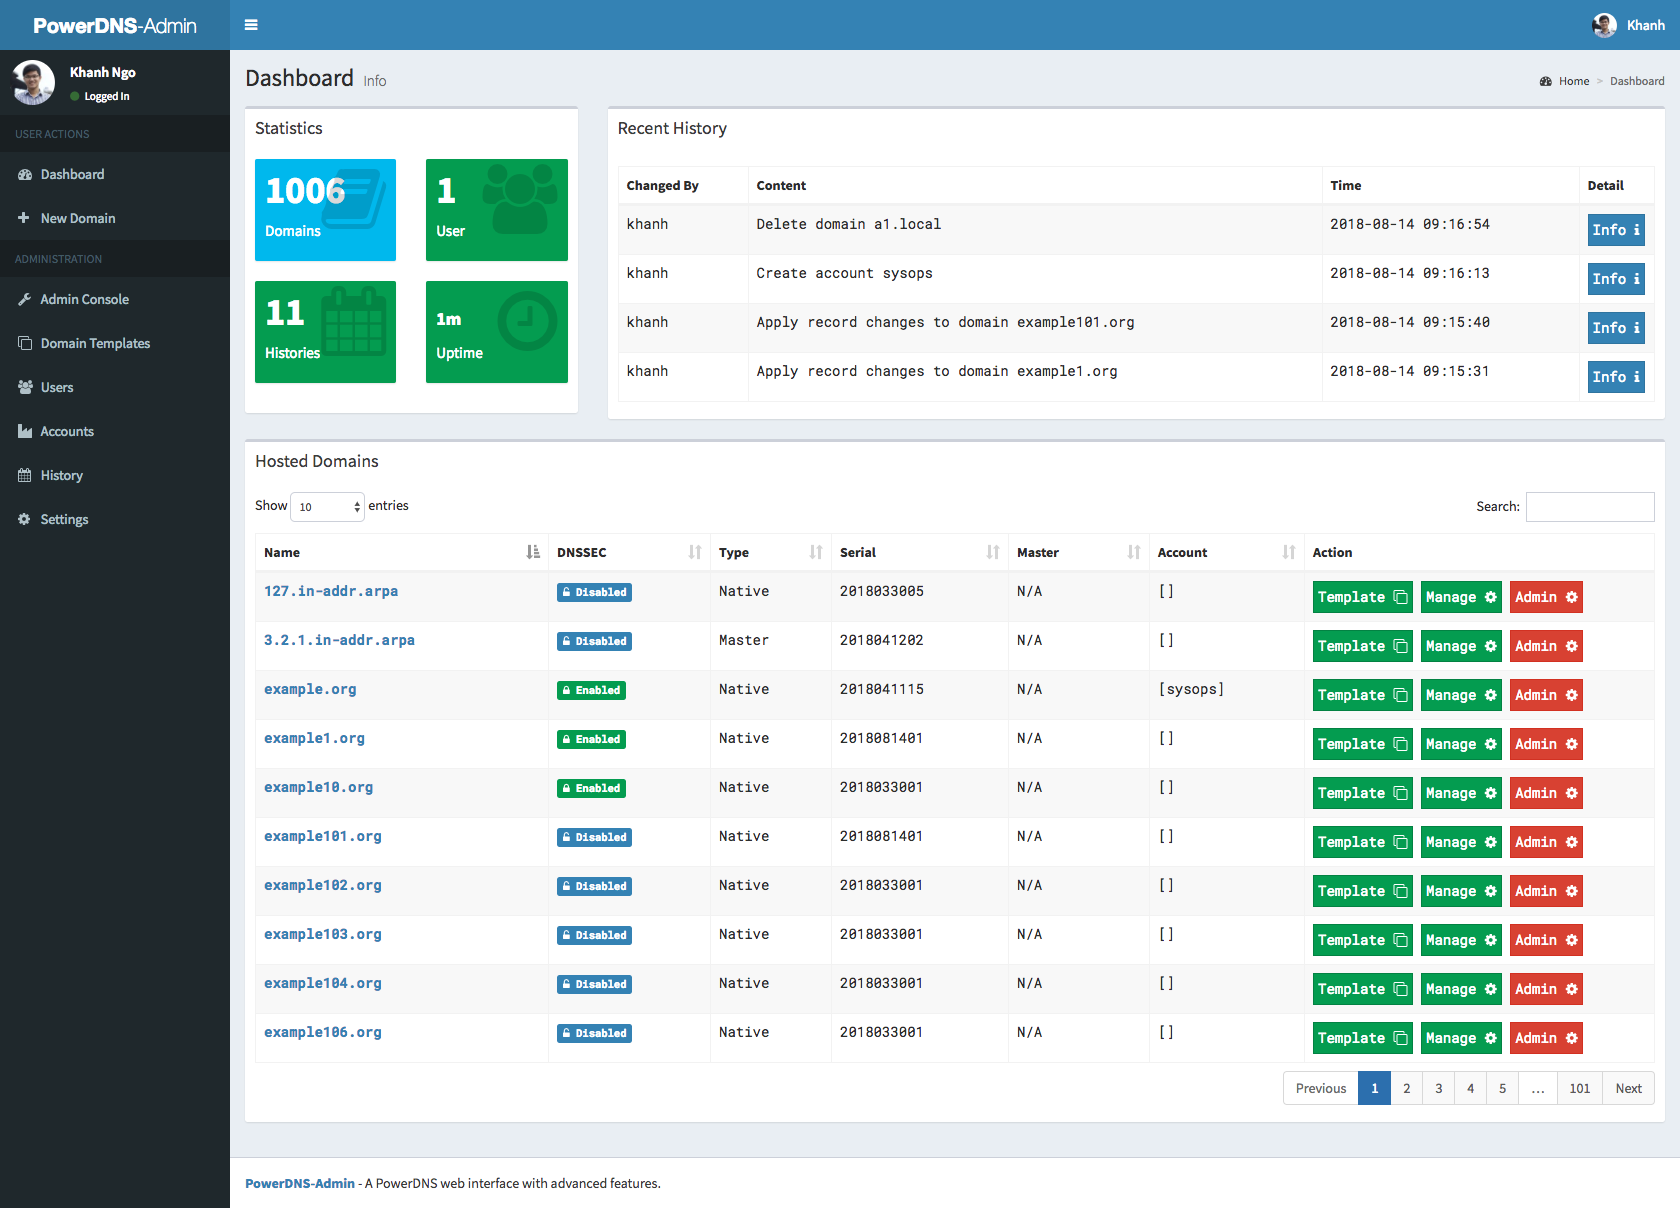
A PowerDNS web interface with advanced features.
- Multiple domain management
- Domain template
- User management
- User access management based on domain
- User activity logging
- Support Local DB / SAML / LDAP / Active Directory user authentication
- Support Google / Github / Azure / OpenID OAuth
- Support Two-factor authentication (TOTP)
- Dashboard and pdns service statistics
- DynDNS 2 protocol support
- Edit IPv6 PTRs using IPv6 addresses directly (no more editing of literal addresses!)
- Limited API for manipulating zones and records
- Full IDN/Punycode support
There are several ways to run PowerDNS-Admin. The easiest way is to use Docker. If you are looking to install and run PowerDNS-Admin directly onto your system check out the Wiki for ways to do that.
This are two options to run PowerDNS-Admin using Docker. To get started as quickly as possible try option 1. If you want to make modifications to the configuration option 2 may be cleaner.
The easiest is to just run the latest Docker image from Docker Hub:
$ docker run -d \
    -e SECRET_KEY='a-very-secret-key' \
    -v pda-data:/data \
    -p 9191:80 \
    ngoduykhanh/powerdns-admin:latest
This creates a volume called pda-data to persist the SQLite database with the configuration.
-
Update the configuration
Edit thedocker-compose.ymlfile to update the database connection string inSQLALCHEMY_DATABASE_URI. Other environment variables are mentioned in the legal_envvars. To use the Docker secrets feature it is possible to append_FILEto the environment variables and point to a file with the values stored in it.
Make sure to set the environment variableSECRET_KEYto a long random string (https://flask.palletsprojects.com/en/1.1.x/config/#SECRET_KEY) -
Start docker container
$ docker-compose up
You can then access PowerDNS-Admin by pointing your browser to http://localhost:9191.
- Create virtualenv
- Install all needed dev libraries:
brew install mysql-connector-c
export PATH="/usr/local/opt/mysql-client/bin:$PATH"
brew install Libxmlsec1
pip install -r requirements.txt
brew install node
brew install yarn
change default config to add SQLLite and change bind IP address
export FLASK_APP=run.py
flask db upgrade
yarn install
MIT. See LICENSE


