This extension contains Azure Pipelines tasks for automatically deploying your Azure DevOps project to Vercel.
- Create a Vercel Project
- Create a Vercel Personal Access Token with permissions to deploy the project created on step 1 (see the Vercel PAT Set Up guide for more information)
- If you're planning on using the Pull Request Commenting Task, create an Azure DevOps Personal Access Token with permissions to Read/Write Pull Request threads (see the Azure PAT set up guide for more information)
- Store the tokens as secret variables in your preferred methodology. Azure recommends using the UI, Variables Groups, or Azure Key Vault. Whichever methodology you use, make sure it is accessible from Azure Pipelines.
- Navigate to the Vercel Deployment Extension Visual Studio Marketplace page and add the extension to your organization.
Note: This step will not work until the extension is shared with the user or we make the extension public.
- With the extension added, you are now ready to use the tasks in your Azure Pipeline. The tasks are referable using
vercel-deployment-taskandvercel-azdo-pr-comment-task.Note: Within a pipeline definition, the tasks will be used like
- task: vercel-deployment-task@1. The@1represents the Major version of the task that the pipeline should use. Make sure to indicate the latest major version of the task when creating your pipeline.
Explore the following pipeline guides for further set up instructions:
This short guide will demonstrate how the extension can be used to automatically deploy the main branch to production. Make sure the steps in Extension Set Up have been completed.
-
Start by creating a new pipeline file in your repo called
basic-pipeline.yml. Either use the in-browser editor, or in your local file editor. -
Add a
trigger:,pool:, andsteps:declarations:trigger: - main pool: vmImage: ubuntu-latest steps: # - task: ...
The
trigger:declaration states that this pipeline should run for all commits to themainbranch. -
Now add the extension's task
vercel-deployment-task:steps: - task: vercel-deployment-task@1 name: Deploy inputs: vercelProjectId: "<project-id>" vercelOrgId: "<org-id>" vercelToken: "<vercel-token>" # '$(VERCEL_TOKEN)' production: true
- The
vercelTokenshould reference the secret variable defined in Extension Set Up.
- The
-
Commit, and push the pipeline to the repository.
-
Navigate to Azure Pipelines and run the task for the first time if it doesn't run automatically.
-
Make a change to your project and commit to the
mainbranch, a new deployment pipeline run should automatically kick off in Azure Pipelines, and the Vercel Project should automatically update.
This guide will demonstrate how to improve the Basic Pipeline Set Up pipeline in order to deploy from main to production and deploy from pull requests to preview.
- Starting with the pipeline file created in Basic Pipeline Set Up, duplicate, rename, or open it in your editor of choice.
- Add a variable above the
stepsblockvariables: isMain: $[eq(variables['Build.SourceBranch'], 'refs/heads/main')]
- Update the
production: trueinput to beproduction: $(isMain) - Below
inputs:, add acondition:inputs: # ... condition: or(eq(variables.isMain, true), eq(variables['Build.Reason'], 'PullRequest'))
- Then add a new task step immediately after the
vercel-deployment-taskstep, adding the PR commenting feature:- task: vercel-azdo-pr-comment-task@1 inputs: azureToken: $(AZURE_PAT) deploymentTaskMessage: $(Deploy.deploymentTaskMessage)
- The
vercel-deployment-tasksets an output variable calleddeploymentTaskMessage. The reference$(Deploy.deploymentTaskMessage)comes from thename: Deployon thevercel-deployment-taskstep.
- The
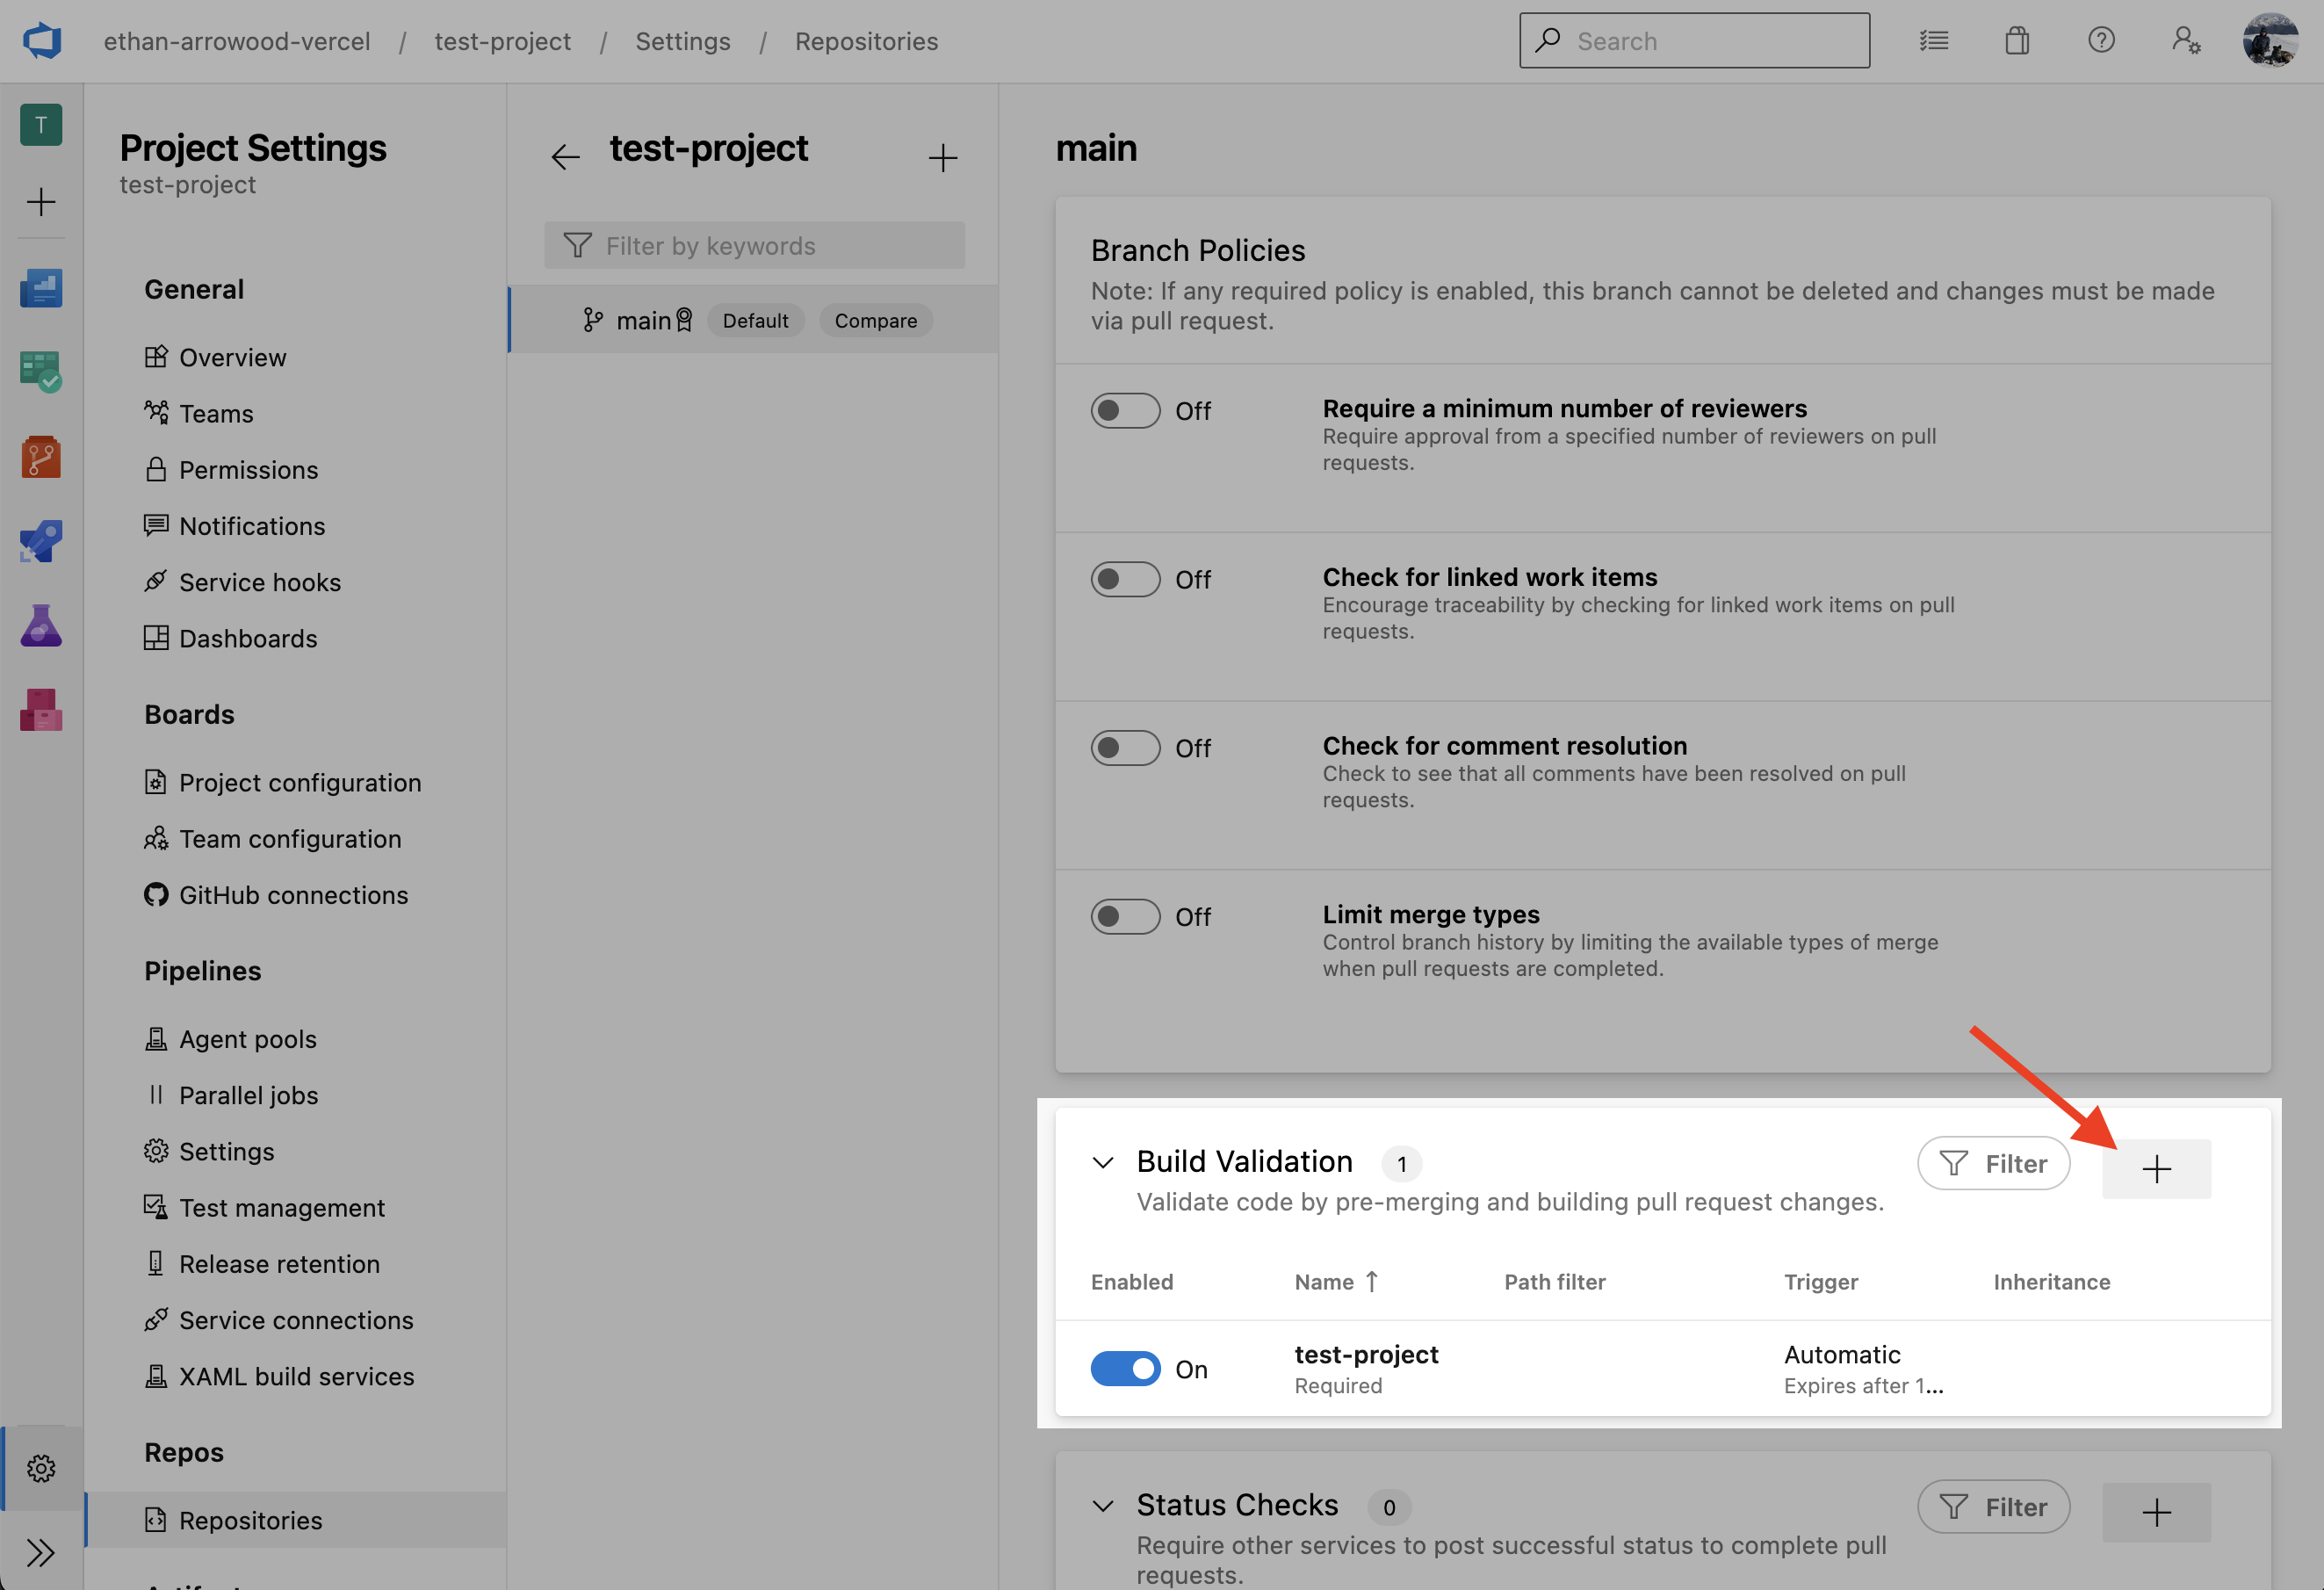
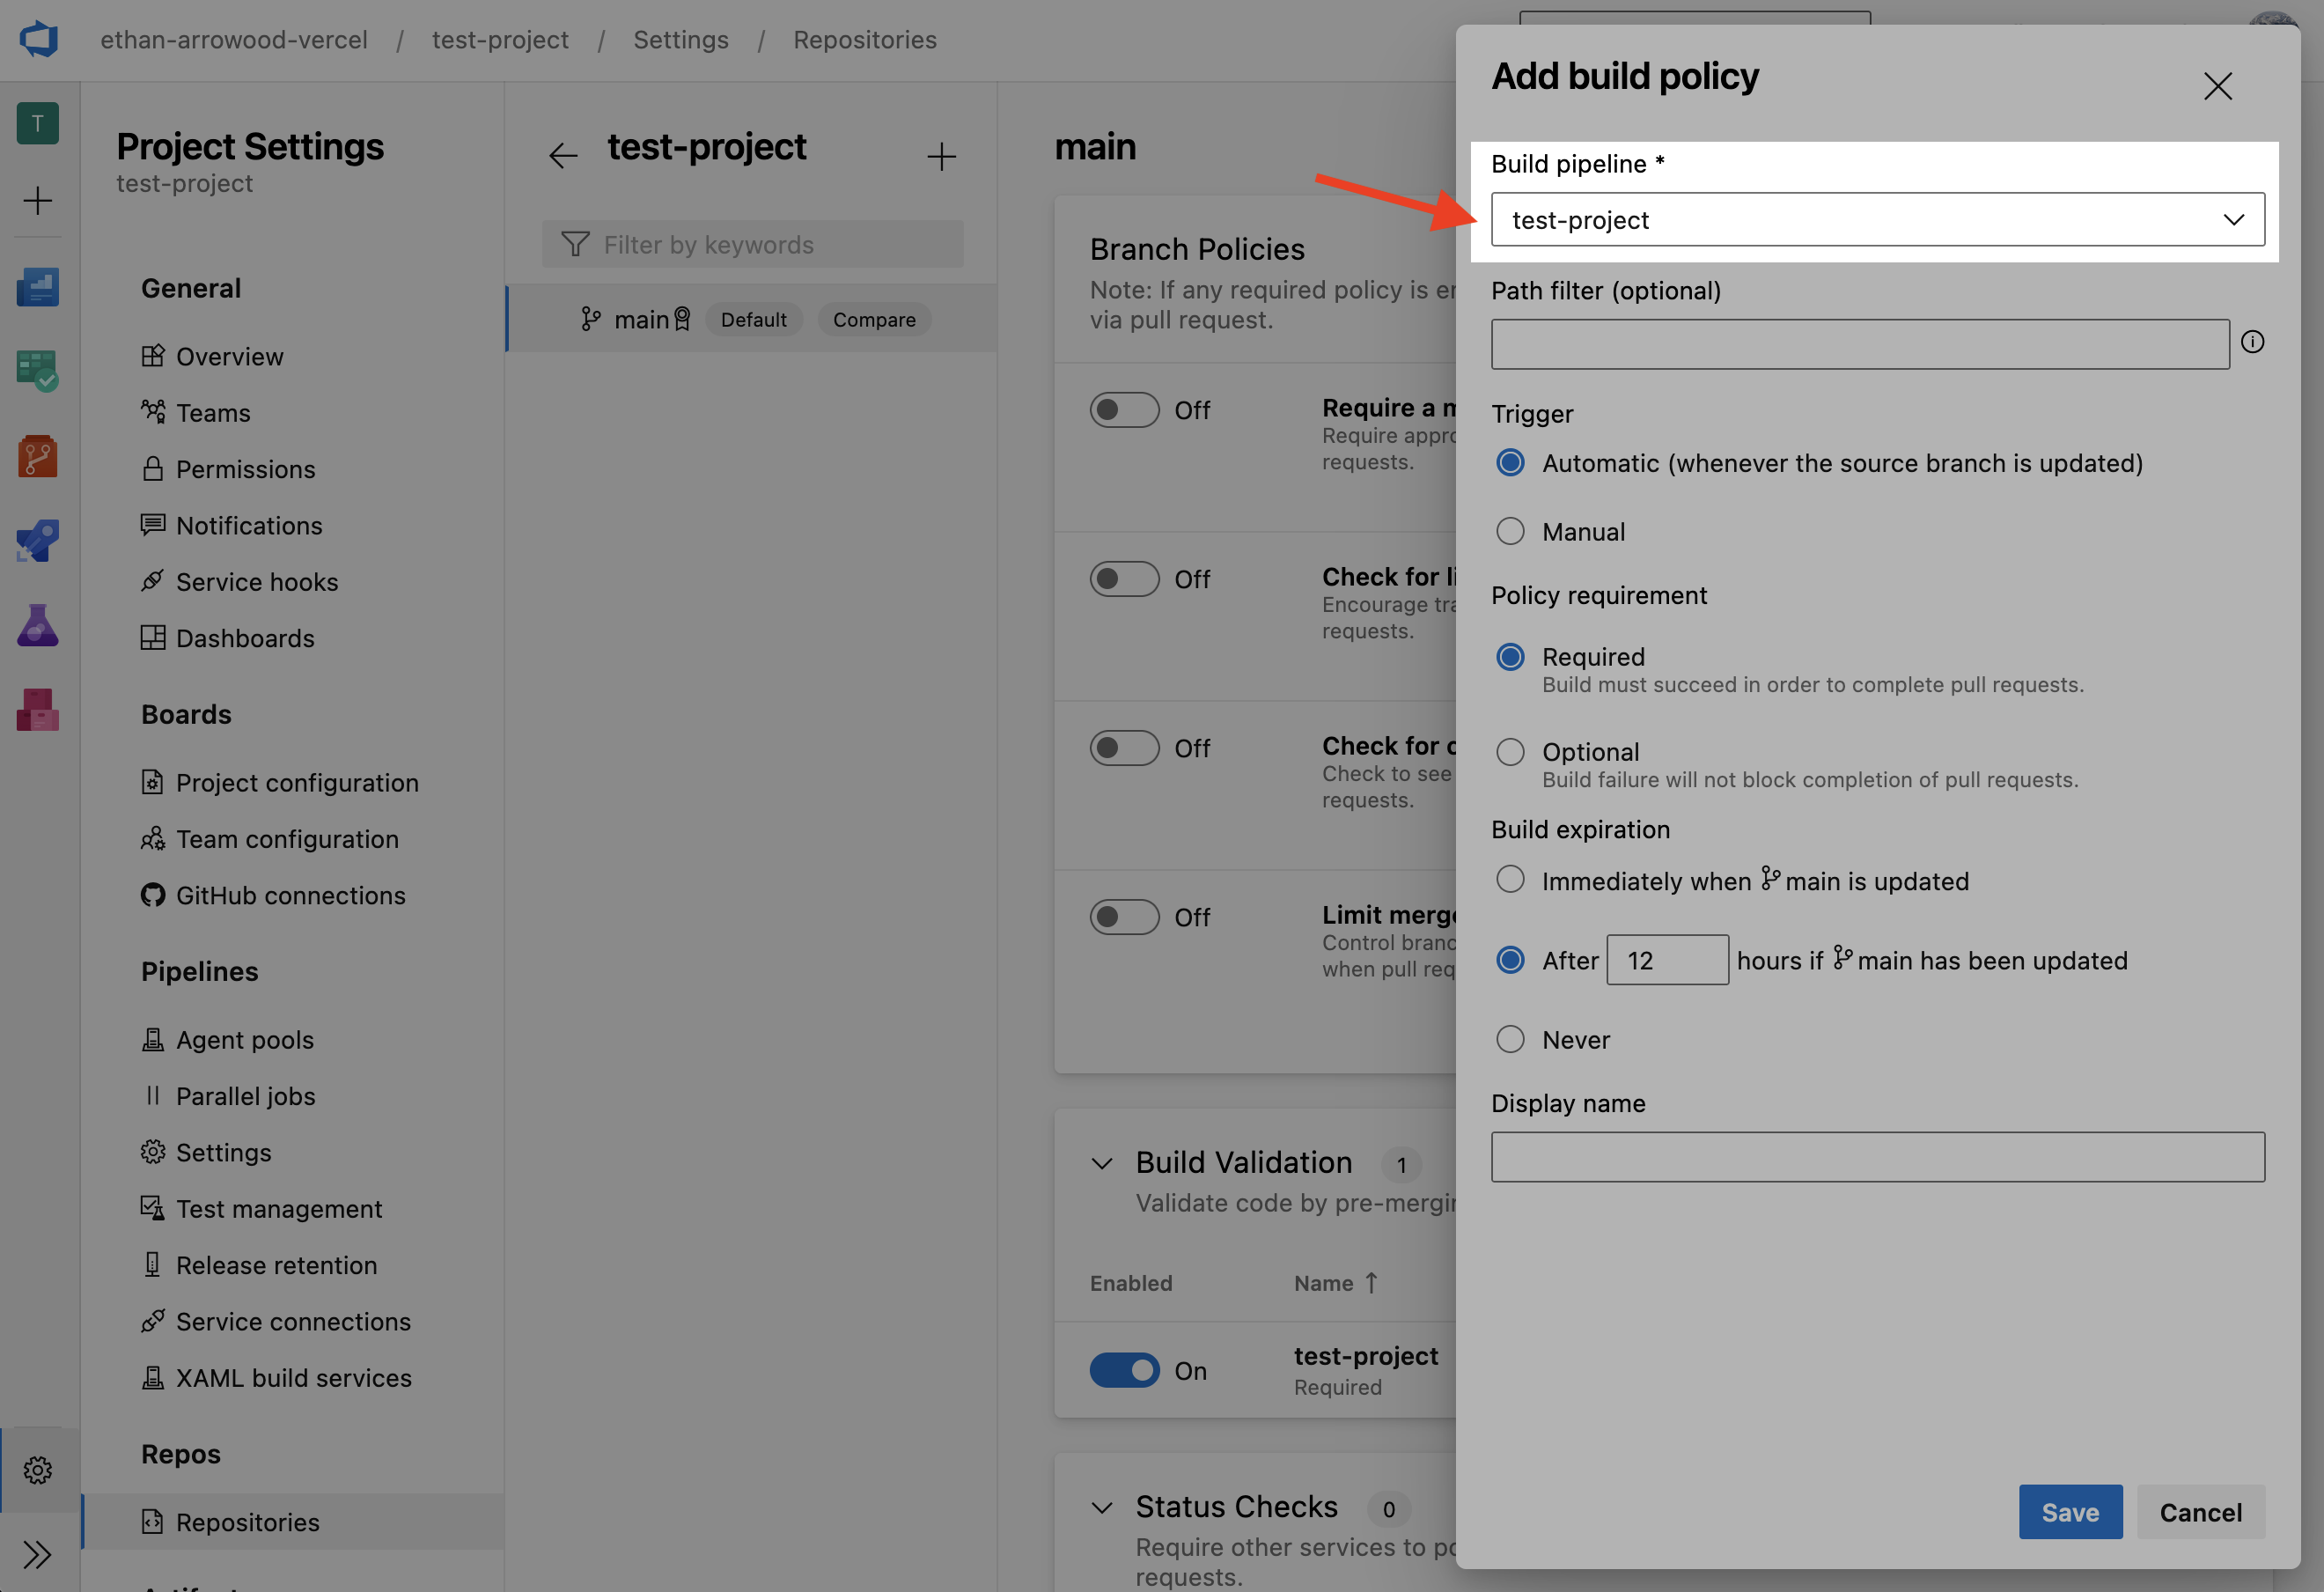
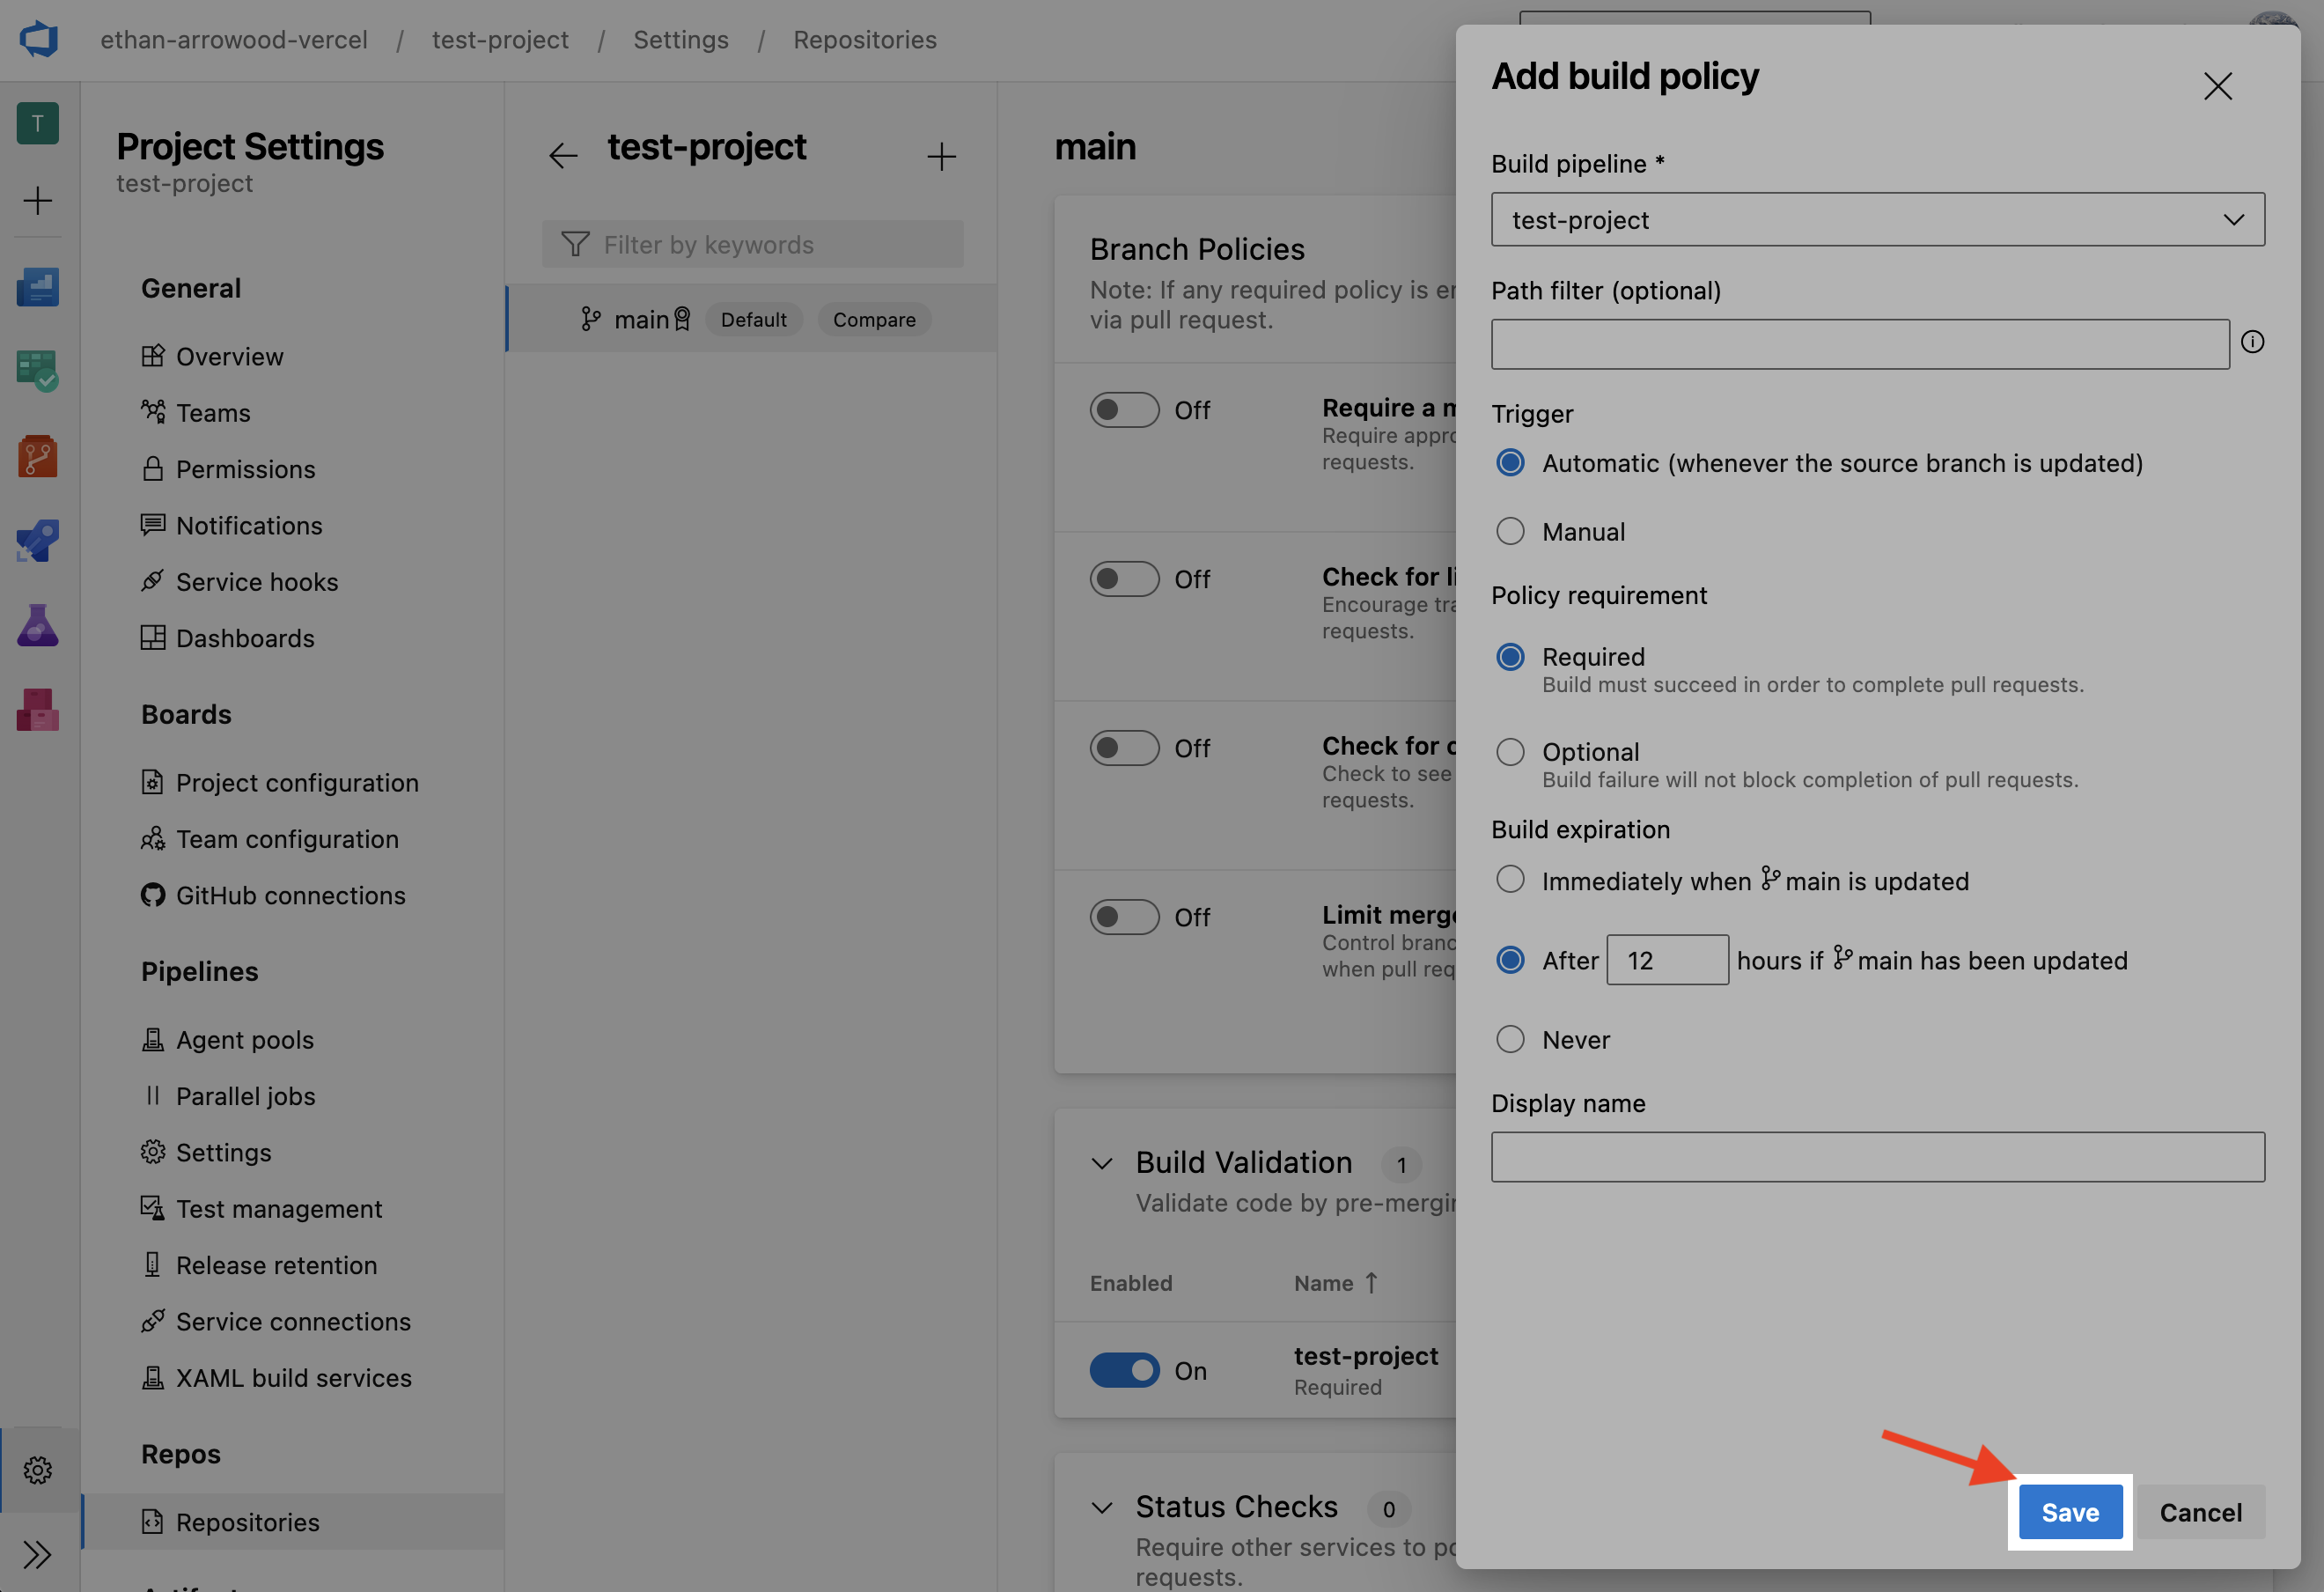
- Push these changes to the repository, and set a Build Policy for the
mainbranch. - Now create a new branch, push a commit, and open a PR against
main. A new pipeline execution should trigger and it should create a preview deployment on Vercel as well as comment back on the PR with the preview URL.
An Azure Pipelines Task Extension for automatically deploying to Vercel.
The configuration inputs vercelProjectID, vercelOrgID, and vercelToken can all be replaced with environment variables. See their respective property sections for more details.
-
vercelProjectIdThe ID of your Vercel Project.
Can alternatively be set as the environment variable
VERCEL_PROJECT_ID.Type:
stringRequired:
false -
vercelOrgIdThe ID of your Vercel Org.
Can alternatively be set as the environment variable
VERCEL_ORG_ID.Type:
stringRequired:
false -
vercelTokenA Vercel personal access token with deploy permissions for your Vercel Project. Guide
Can alternatively be set as the environment variable
VERCEL_TOKEN.Type:
stringRequired:
falsevercelCwd
The Current Working Directory option can be used to provide a working directory (that can be different from the current directory) when running Vercel deployment task.
This option can be a relative or absolute path. Guide
Can alternatively be set as the environment variable
VERCEL_CWD.Type:
stringRequired:
false -
productionShould the task deploy to production? When omitted, or set to
false, the task will create preview deployments.Type:
booleanDefault:
falseRequired:
false -
debugEnable
--debugoutput for the internal Vercel CLI operations.Type:
booleanDefault:
falseRequired:
false
-
deploymentURLThe URL of the deployment.
Type:
string -
deploymentTaskMessageThe output from the deployment. Can be passed to Vercel Azure DevOps Pull Request Comment Task.
Type:
string
-
azureTokenAn Azure personal access token with the Git 'PullRequestContribute' permission for your Azure DevOps Organization. Guide
Type:
stringRequired:
true -
deploymentTaskMessageThe message to be commented on the Pull Request. Generally is created by the Vercel Deployment Task.
Type:
stringRequired:
true
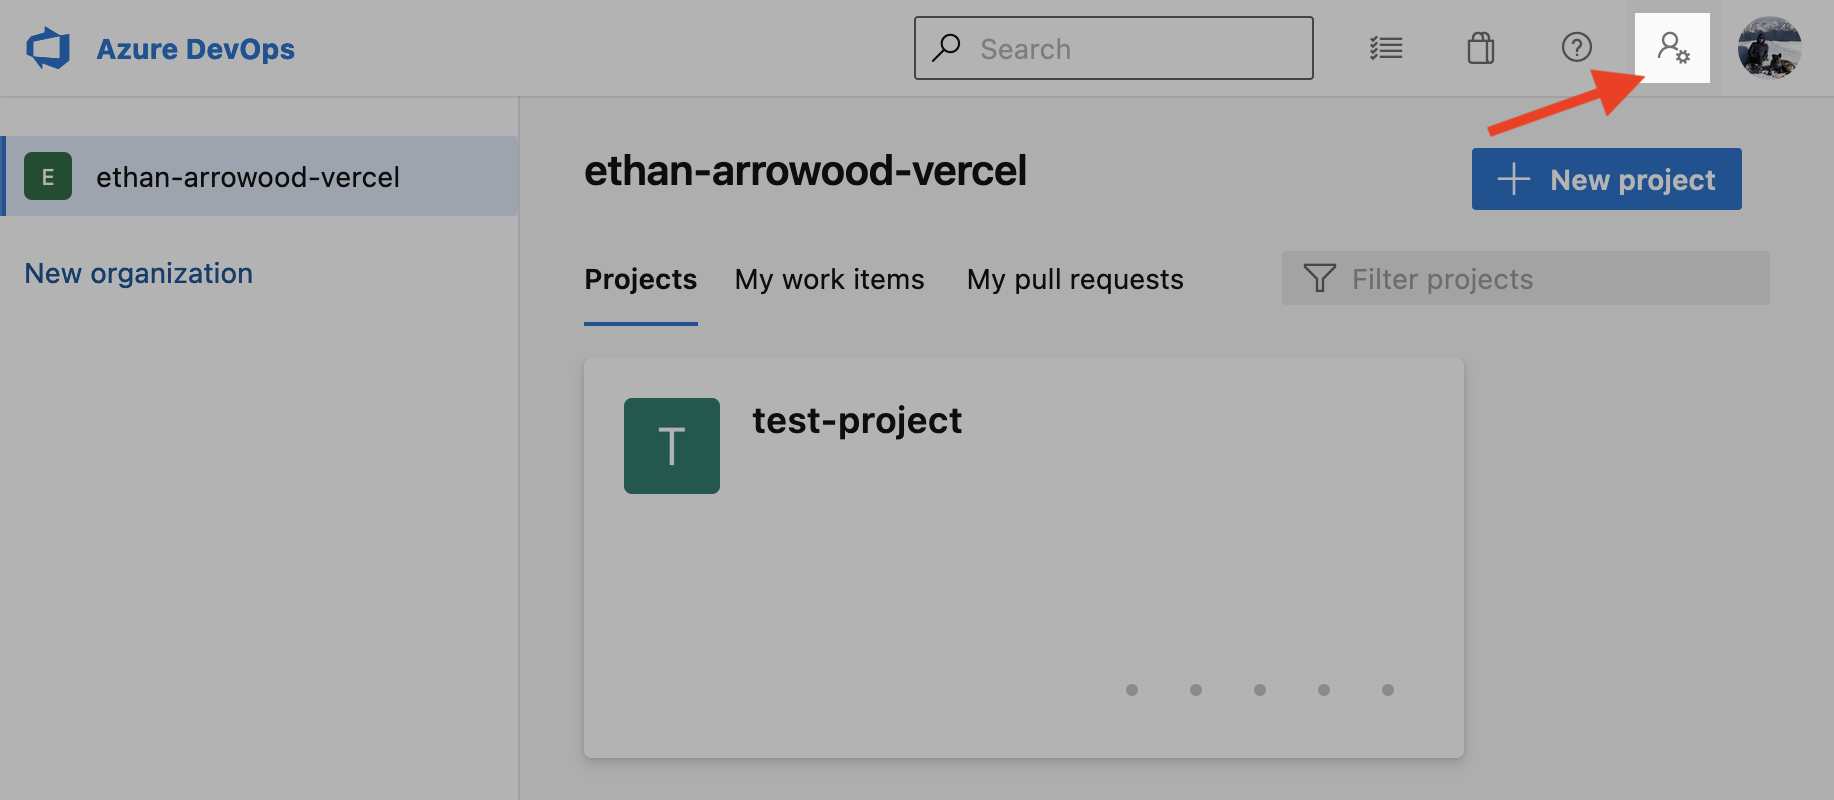
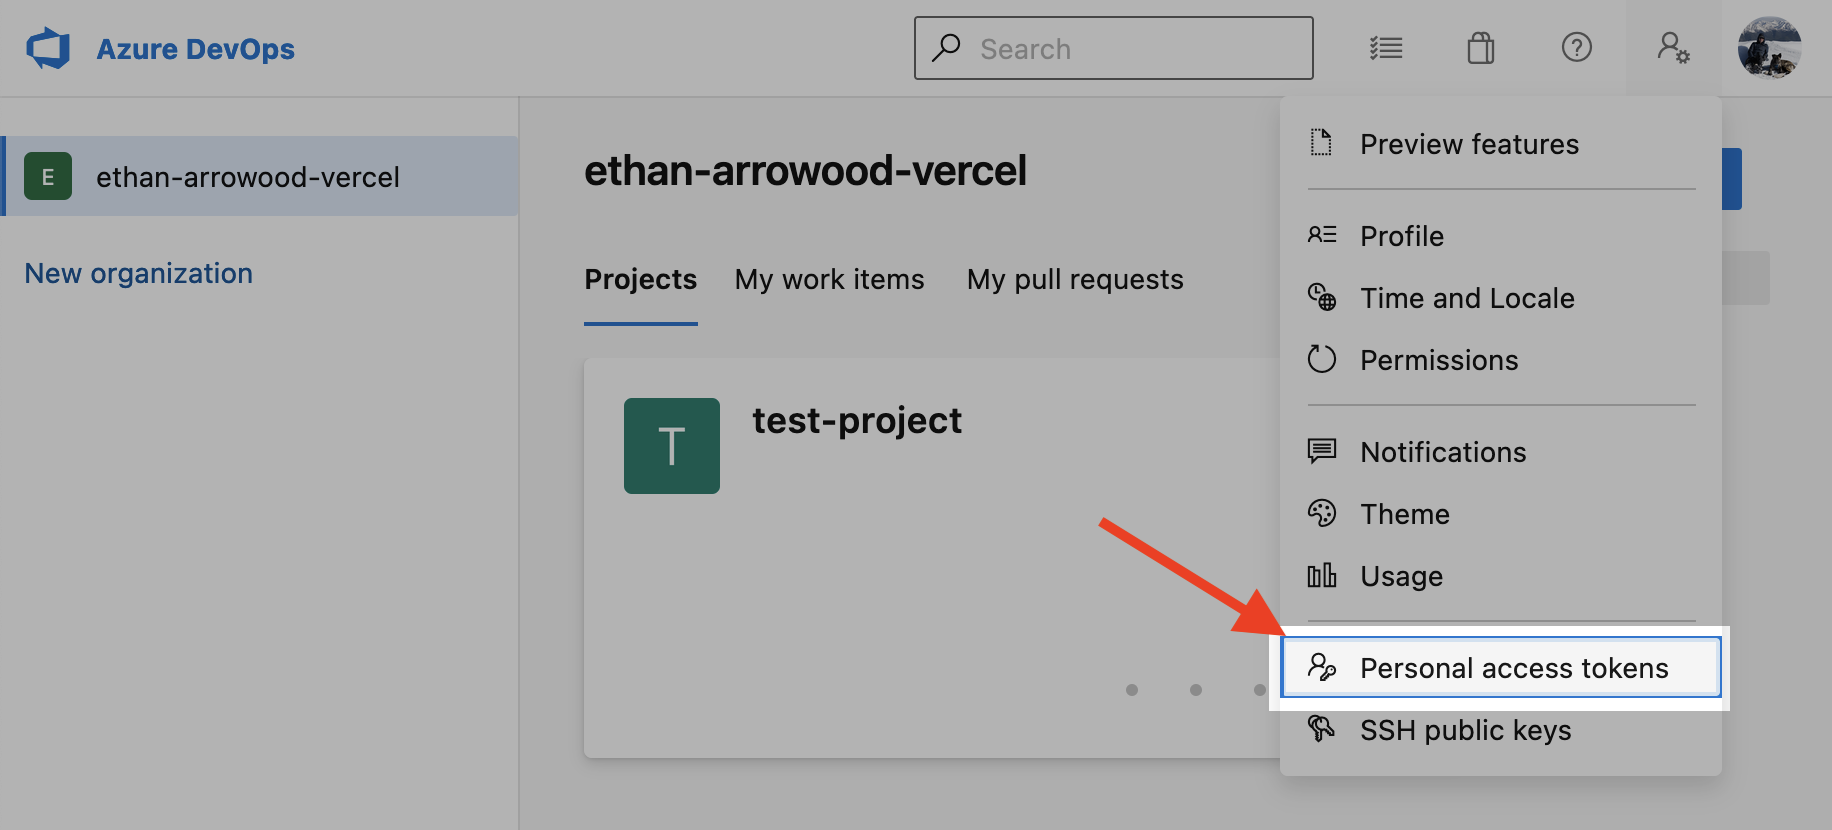
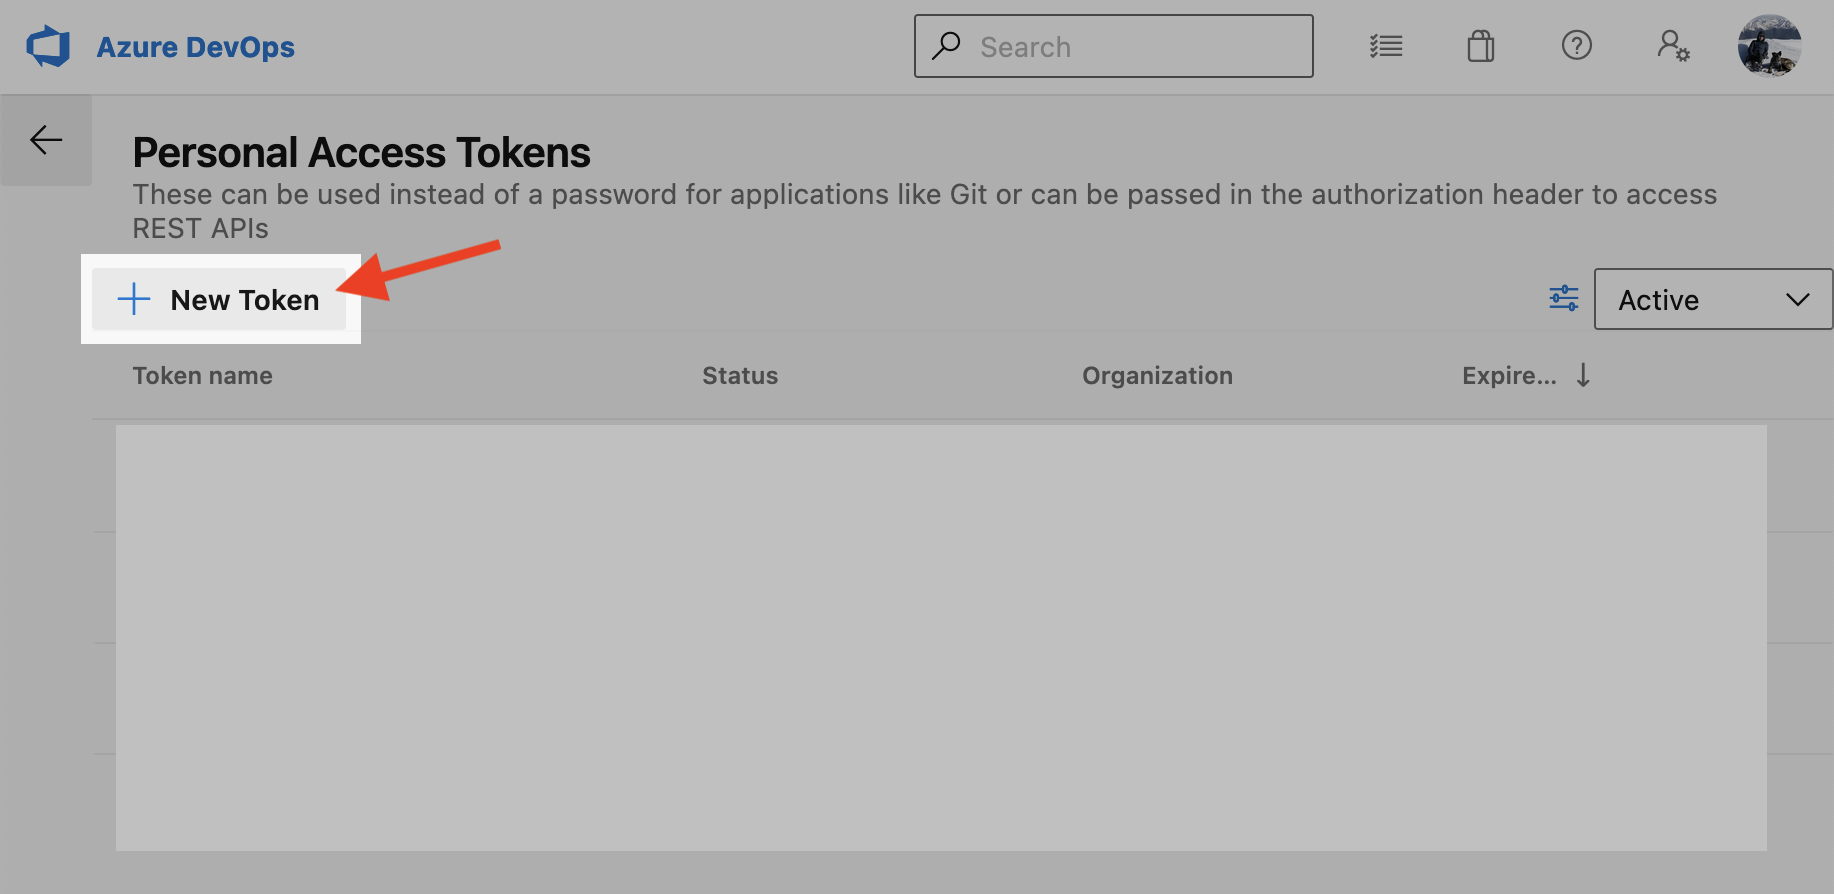
1. Go to https://dev.azure.com and click on the settings icon in the top right.
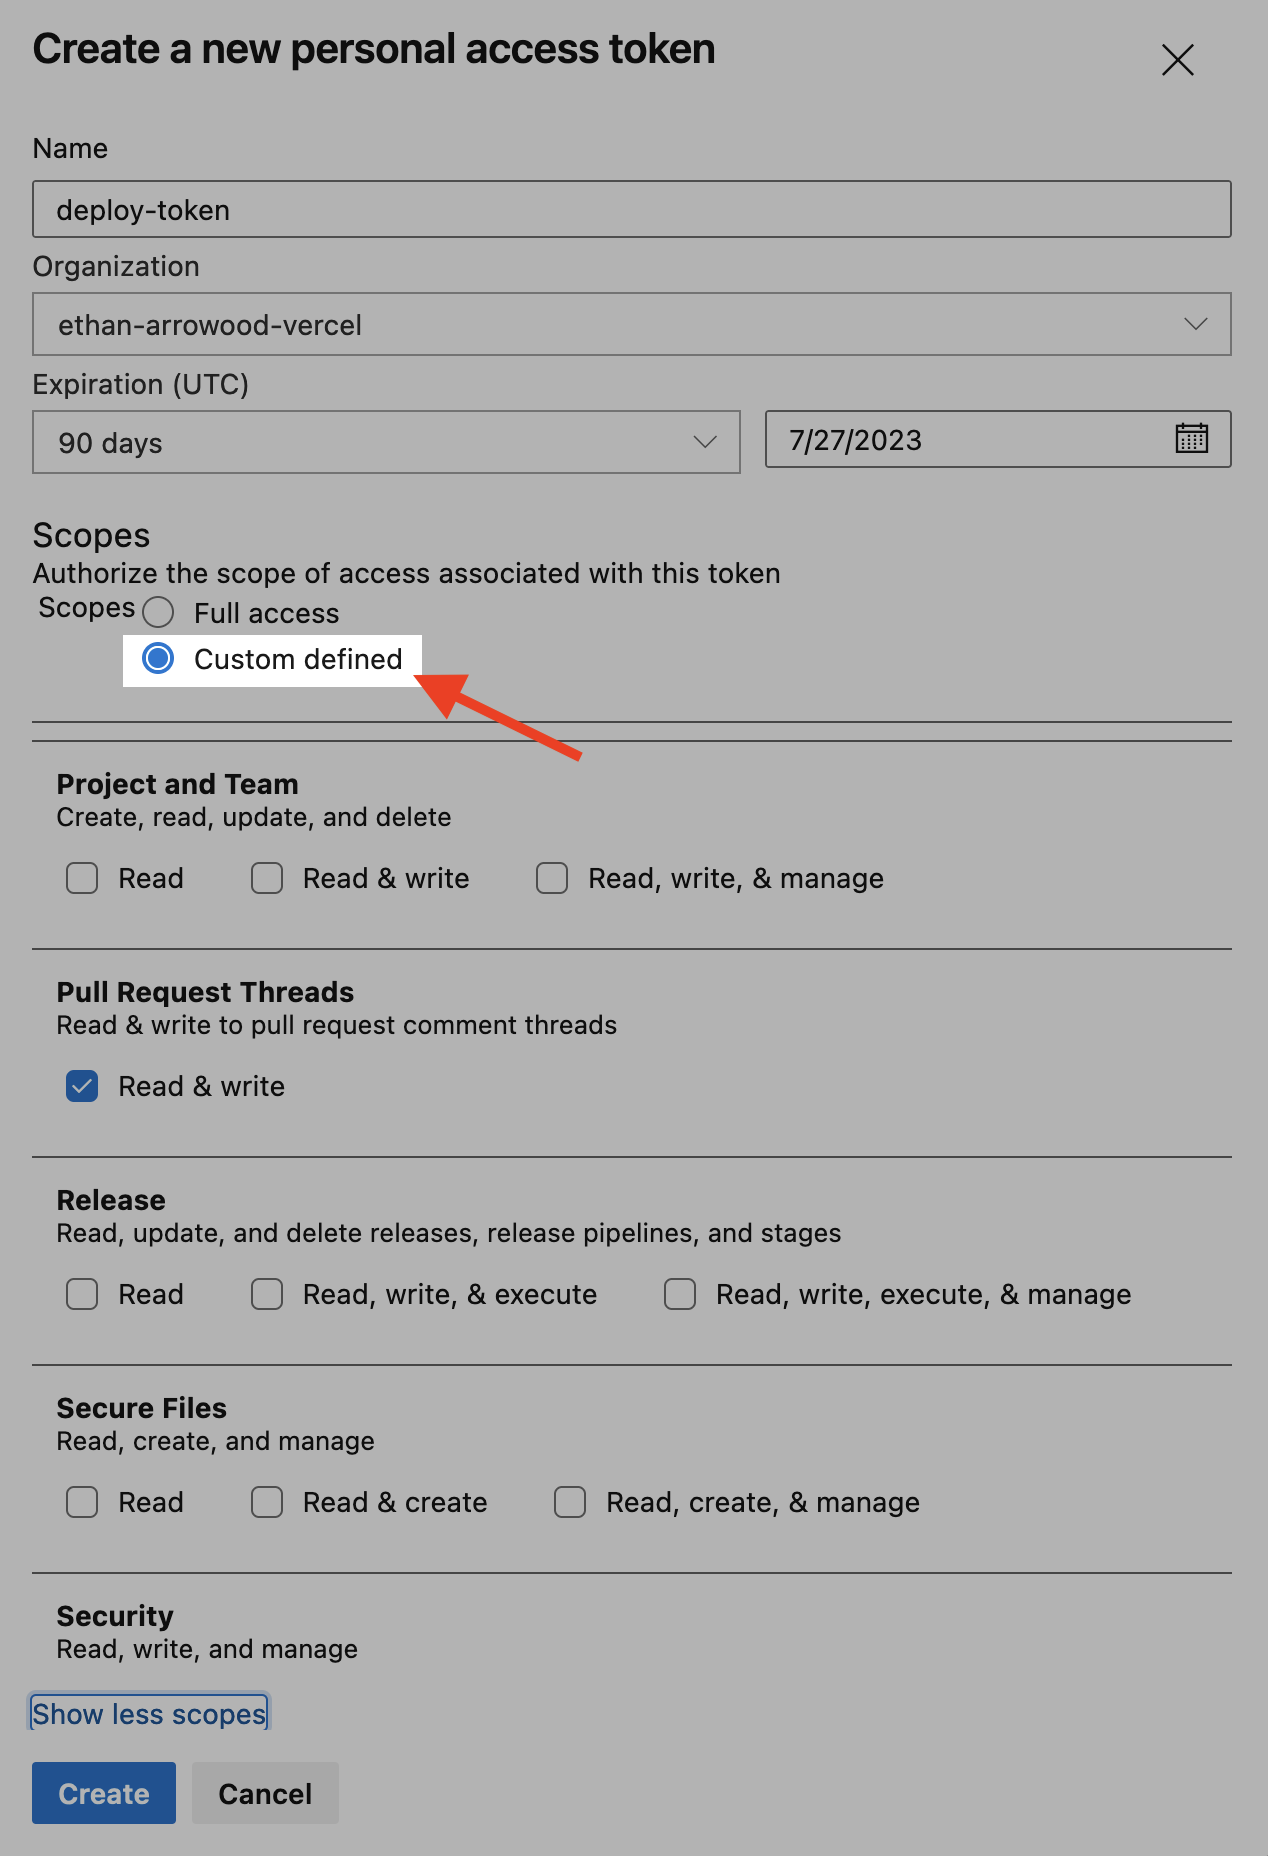
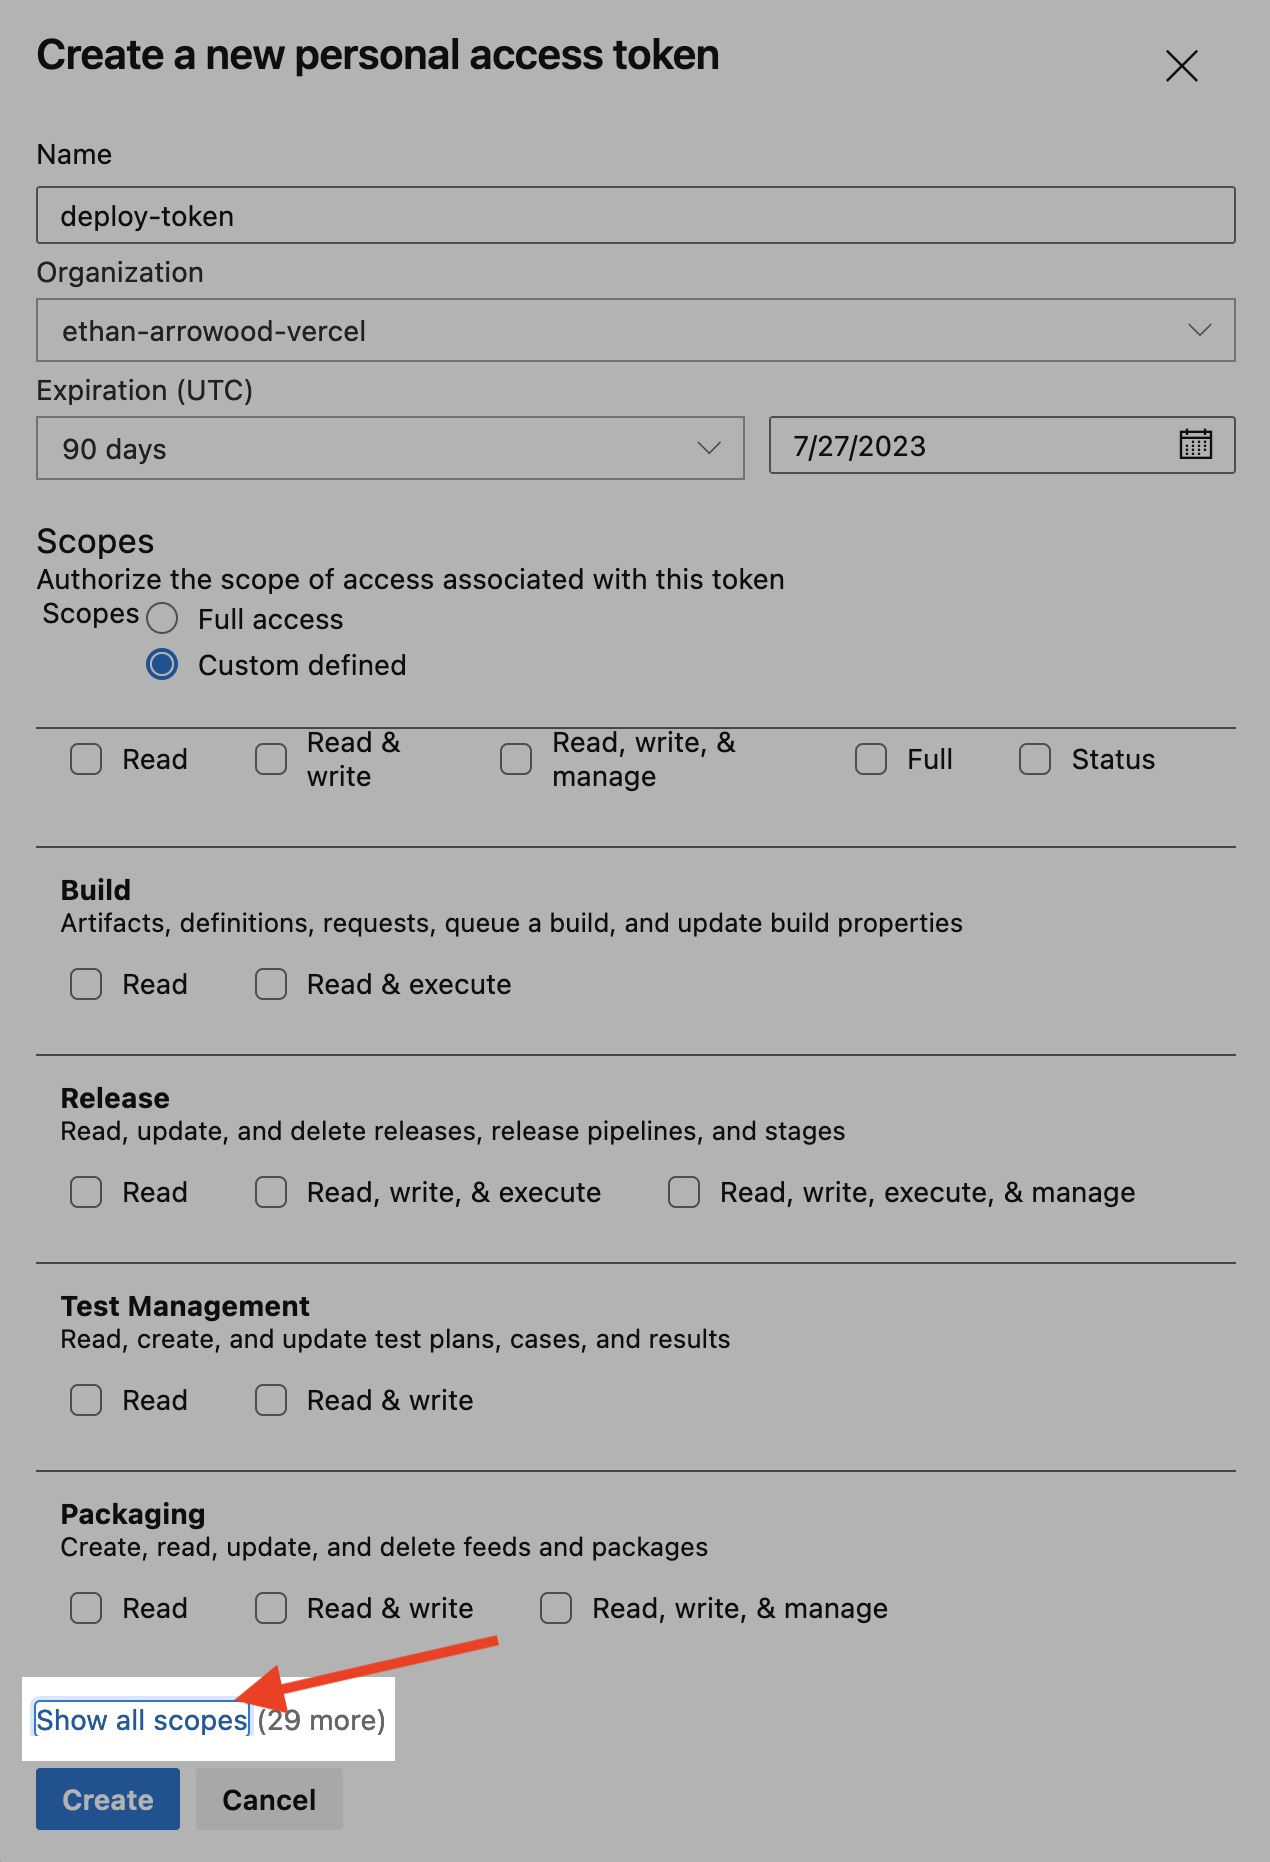
4. After filling in the basic token information like name, organization, and expiration, click on Custom Defined under Scopes
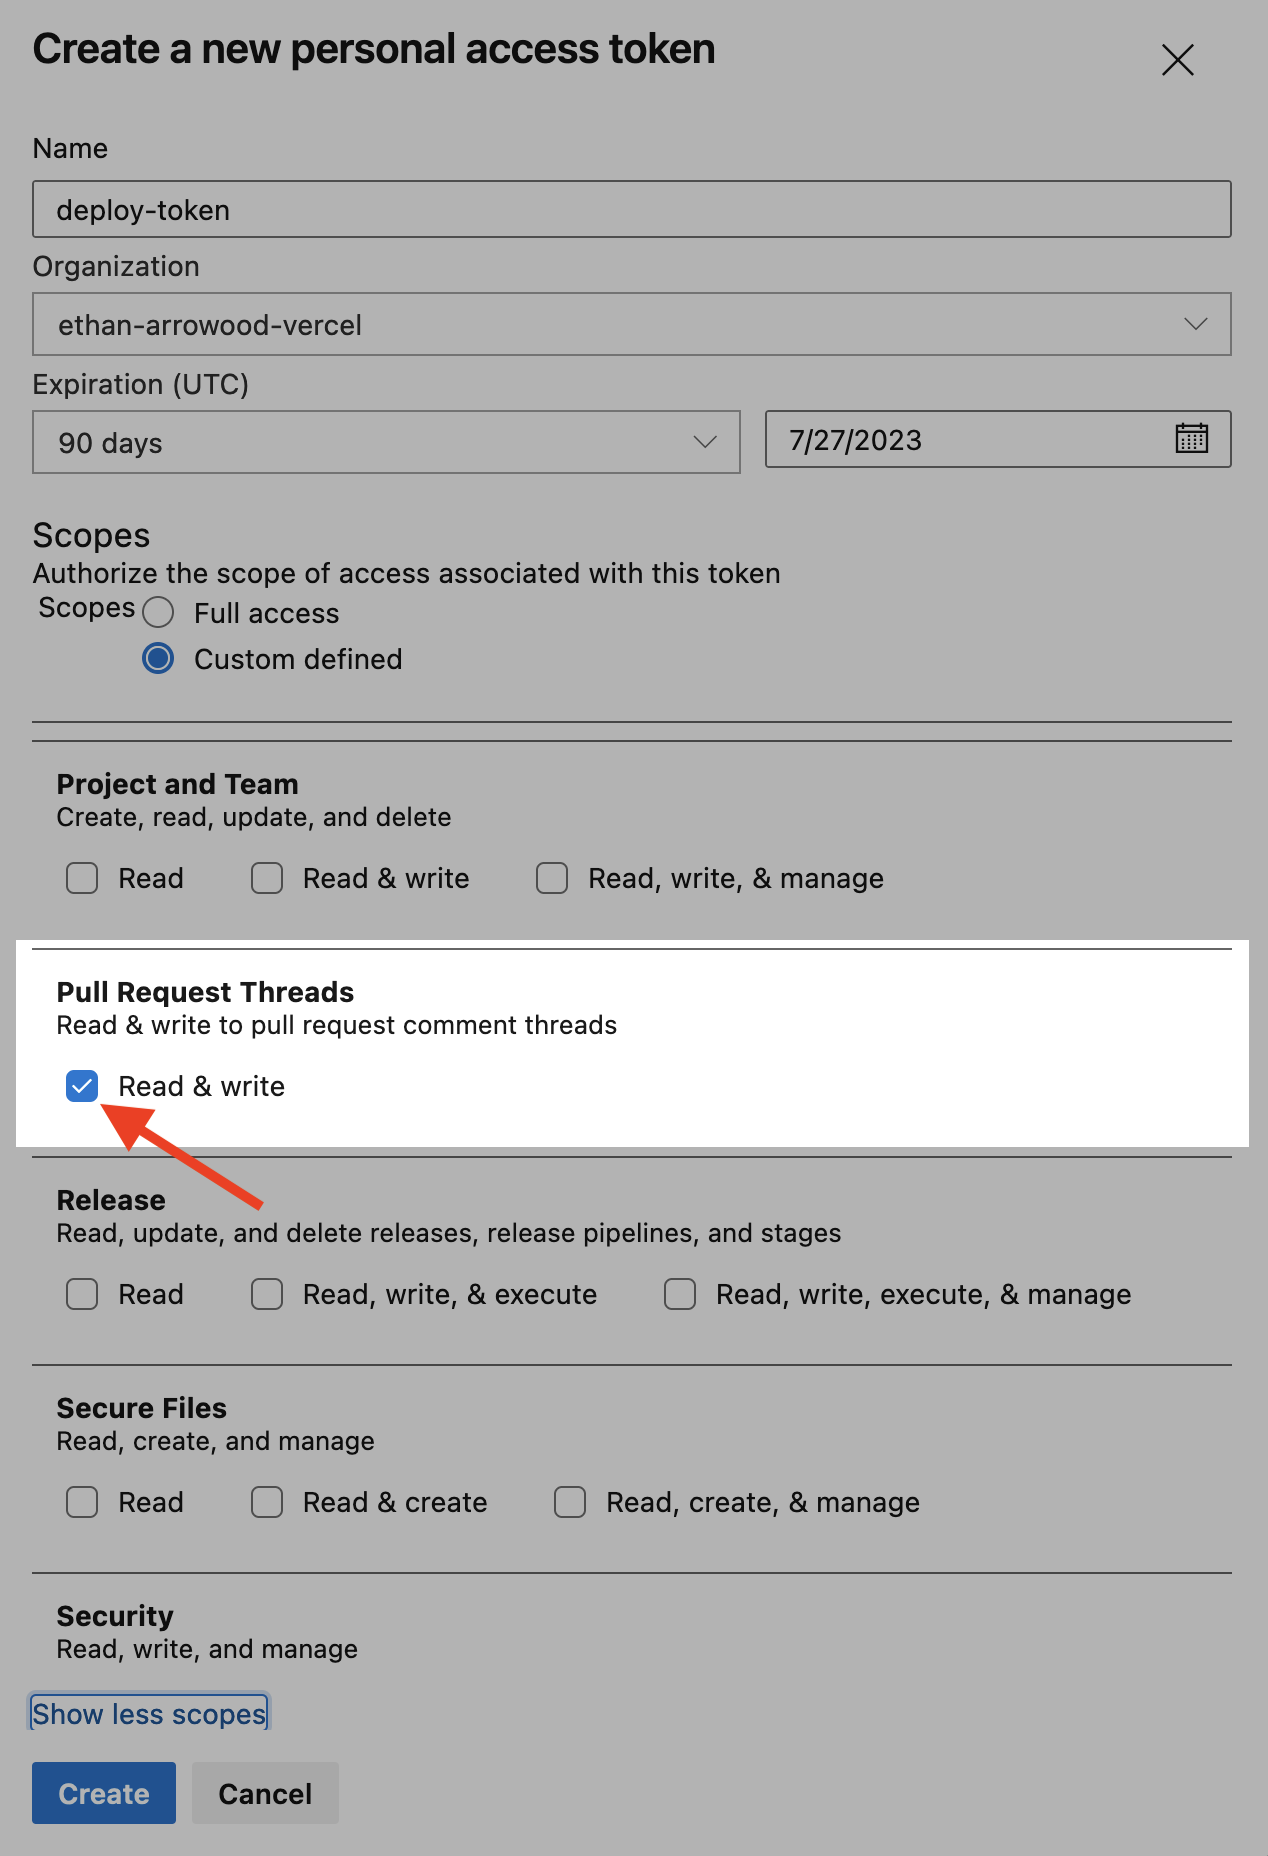
6. Then, within the scopes list, scroll until Pull Request Threads, and select the Read & Write toggle.
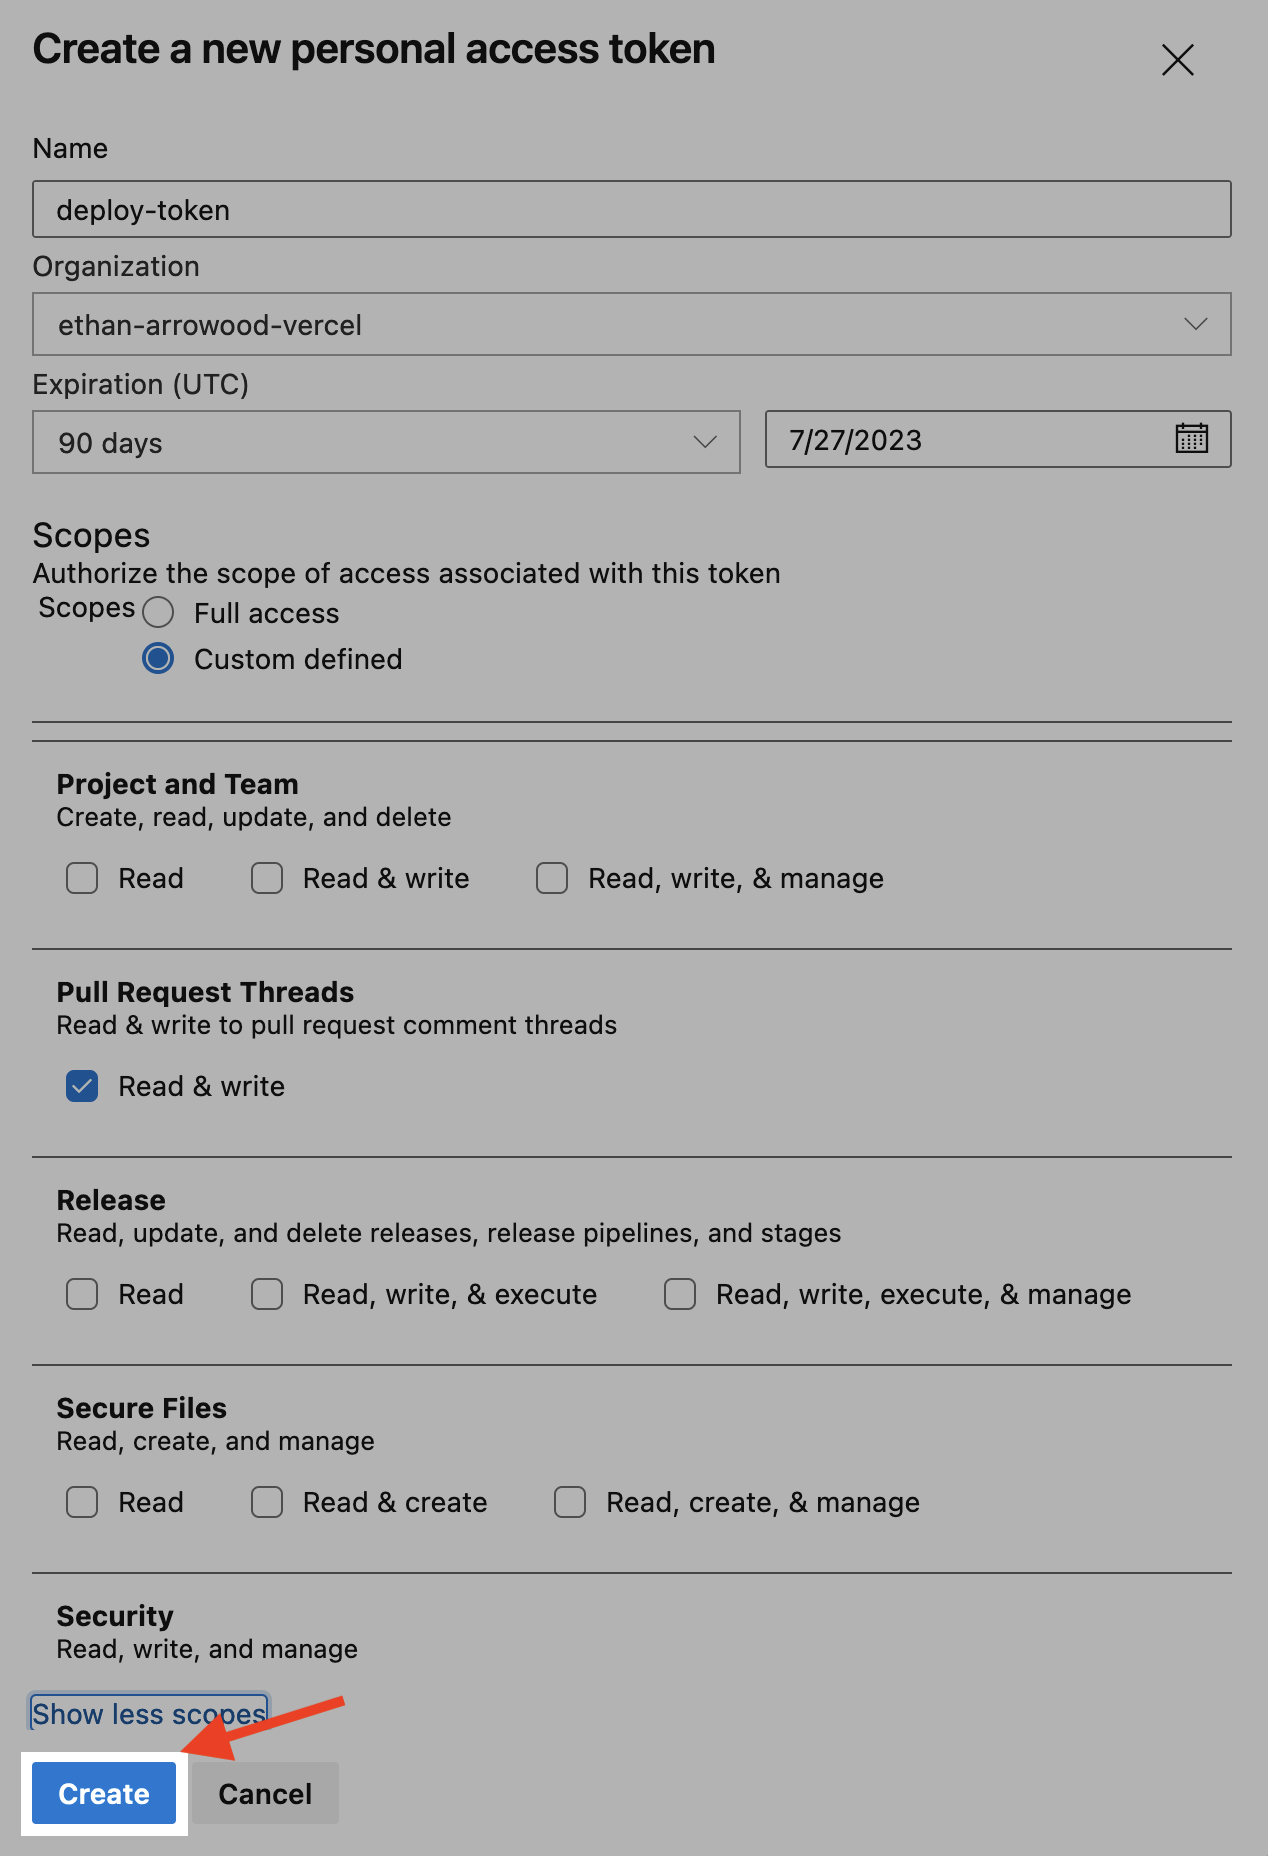
7. Click Create, and don't forget to copy the token as once you exit the prompt it will not be retrievable.
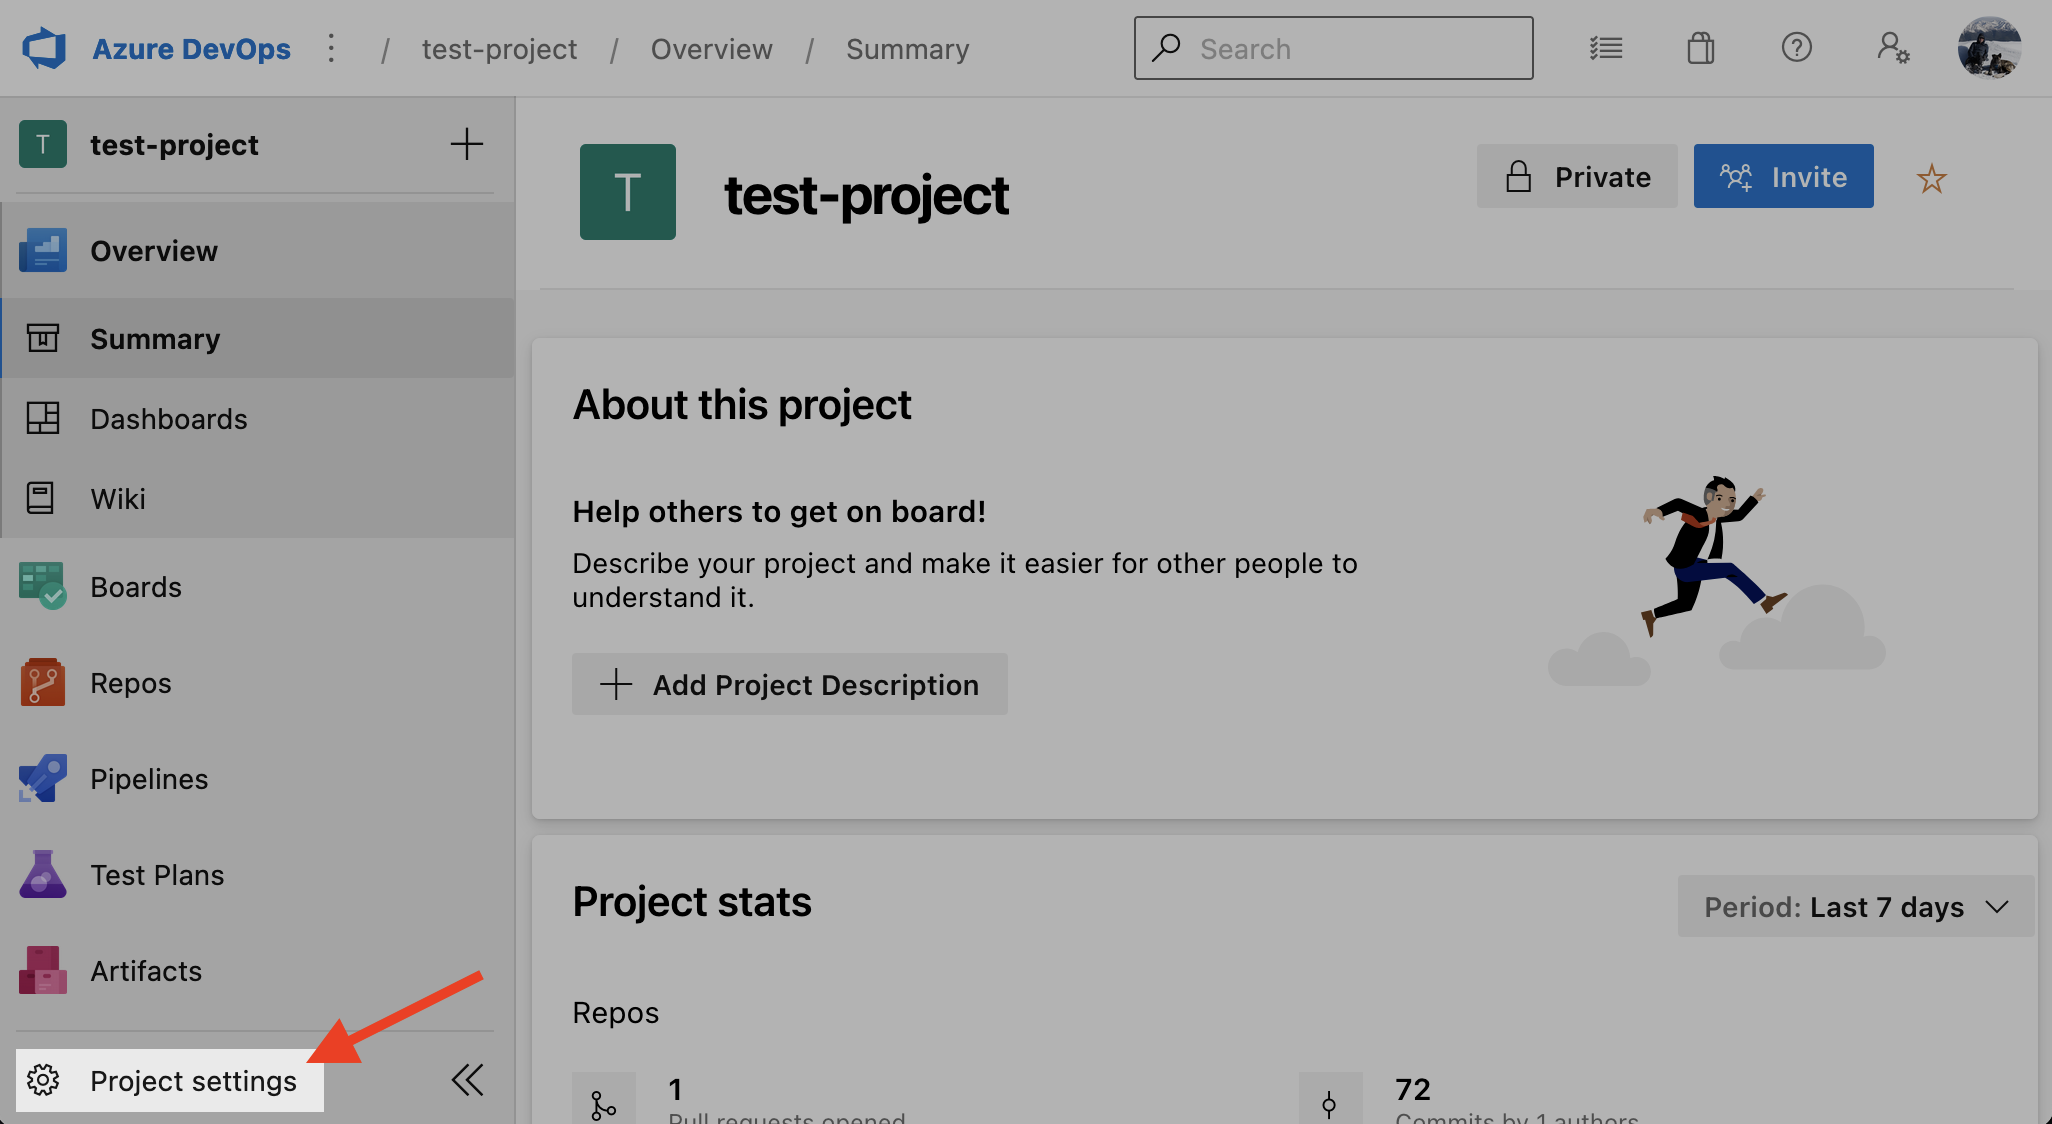
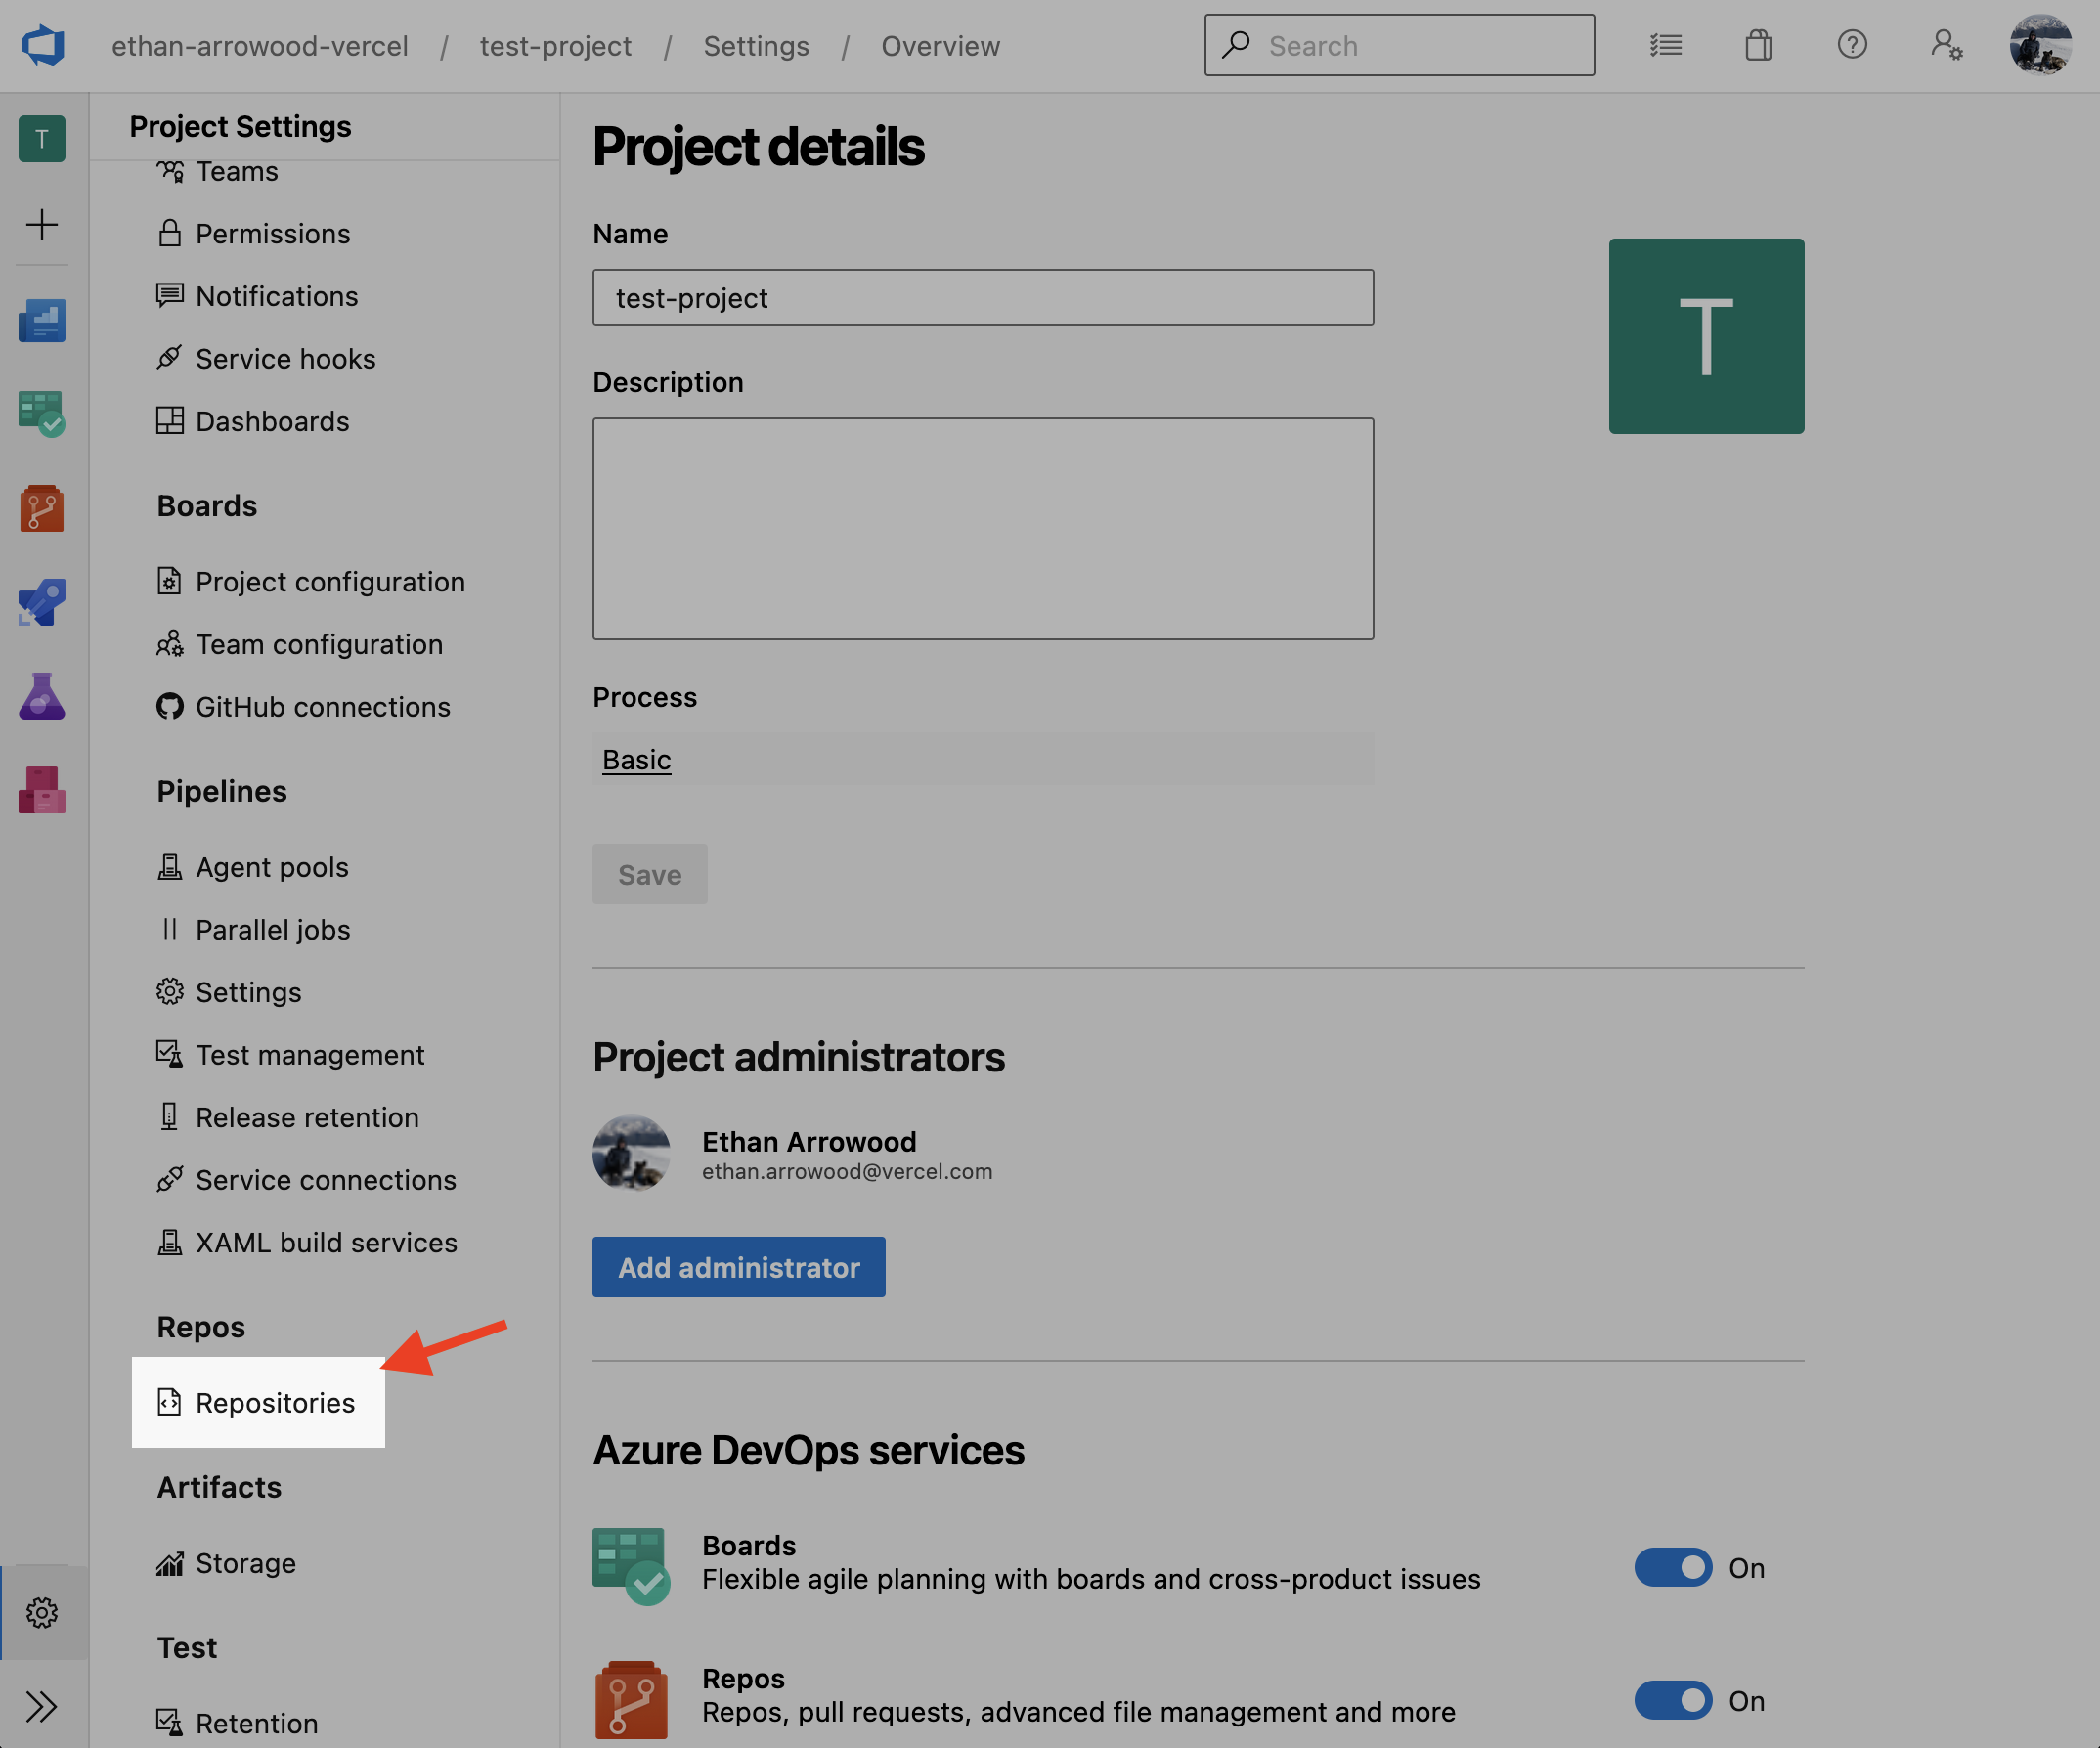
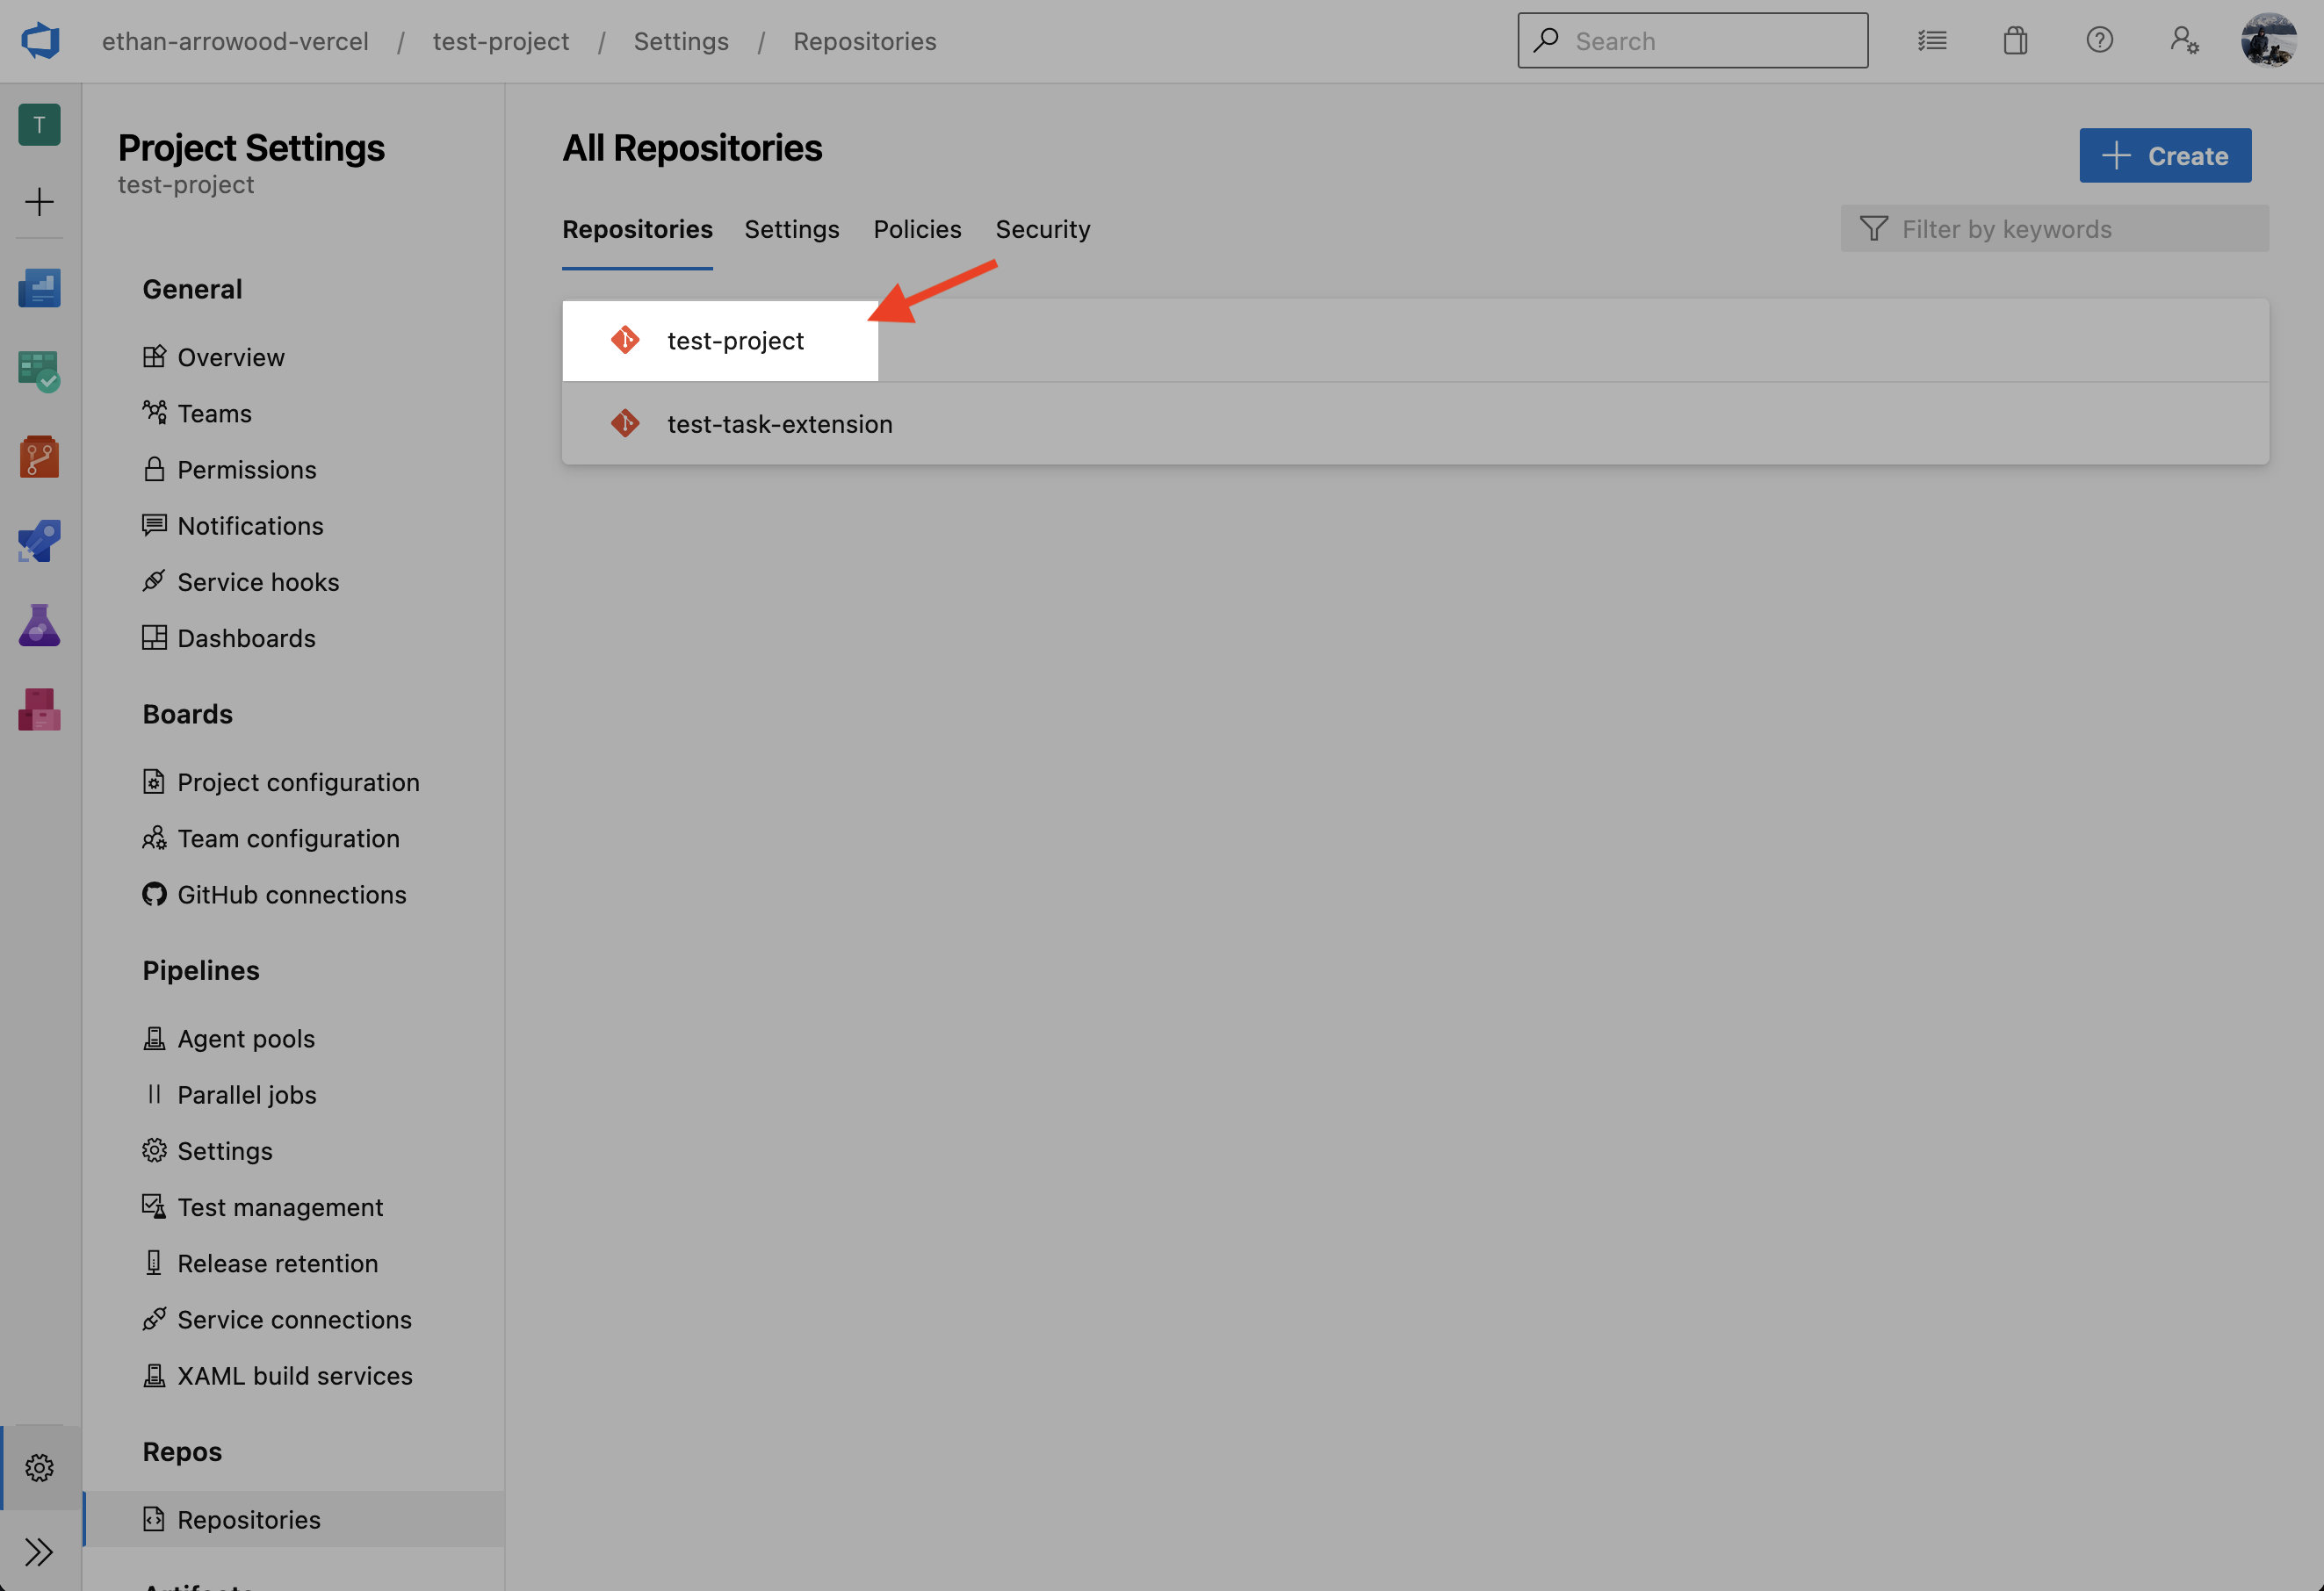
1. Navigate to the Azure DevOps organization Overview page. Click on Project Settings in the lower left corner.
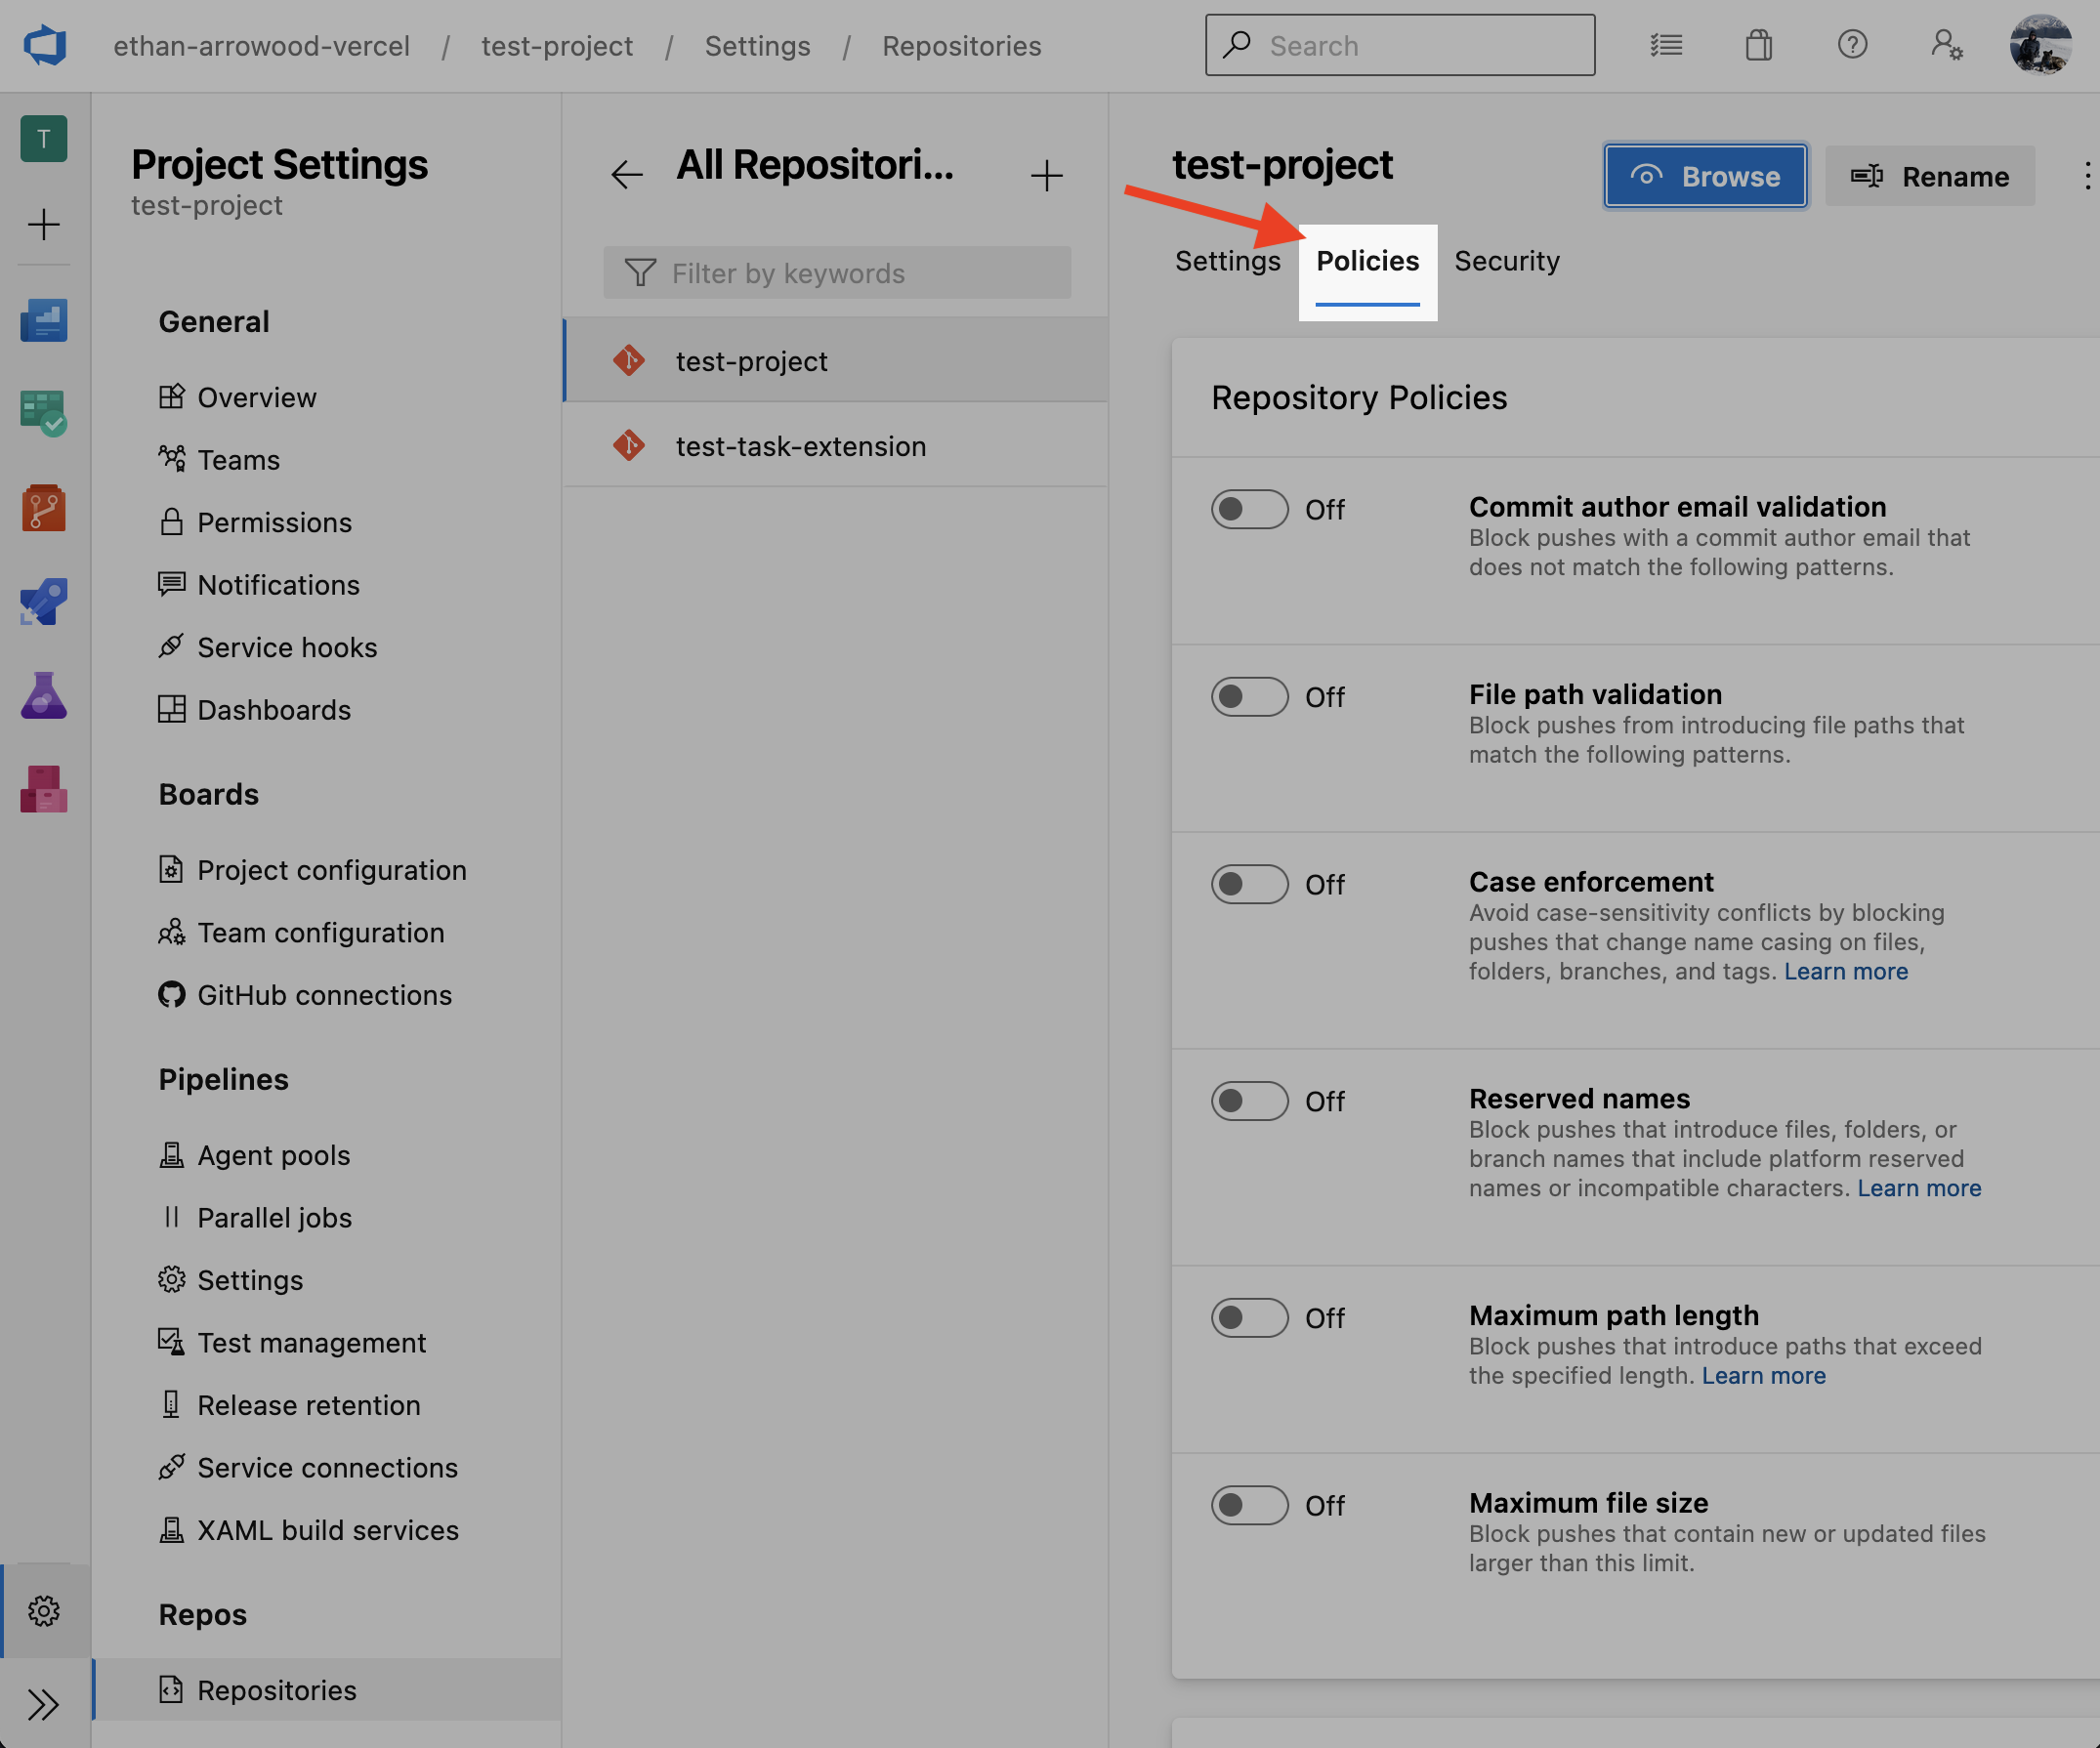
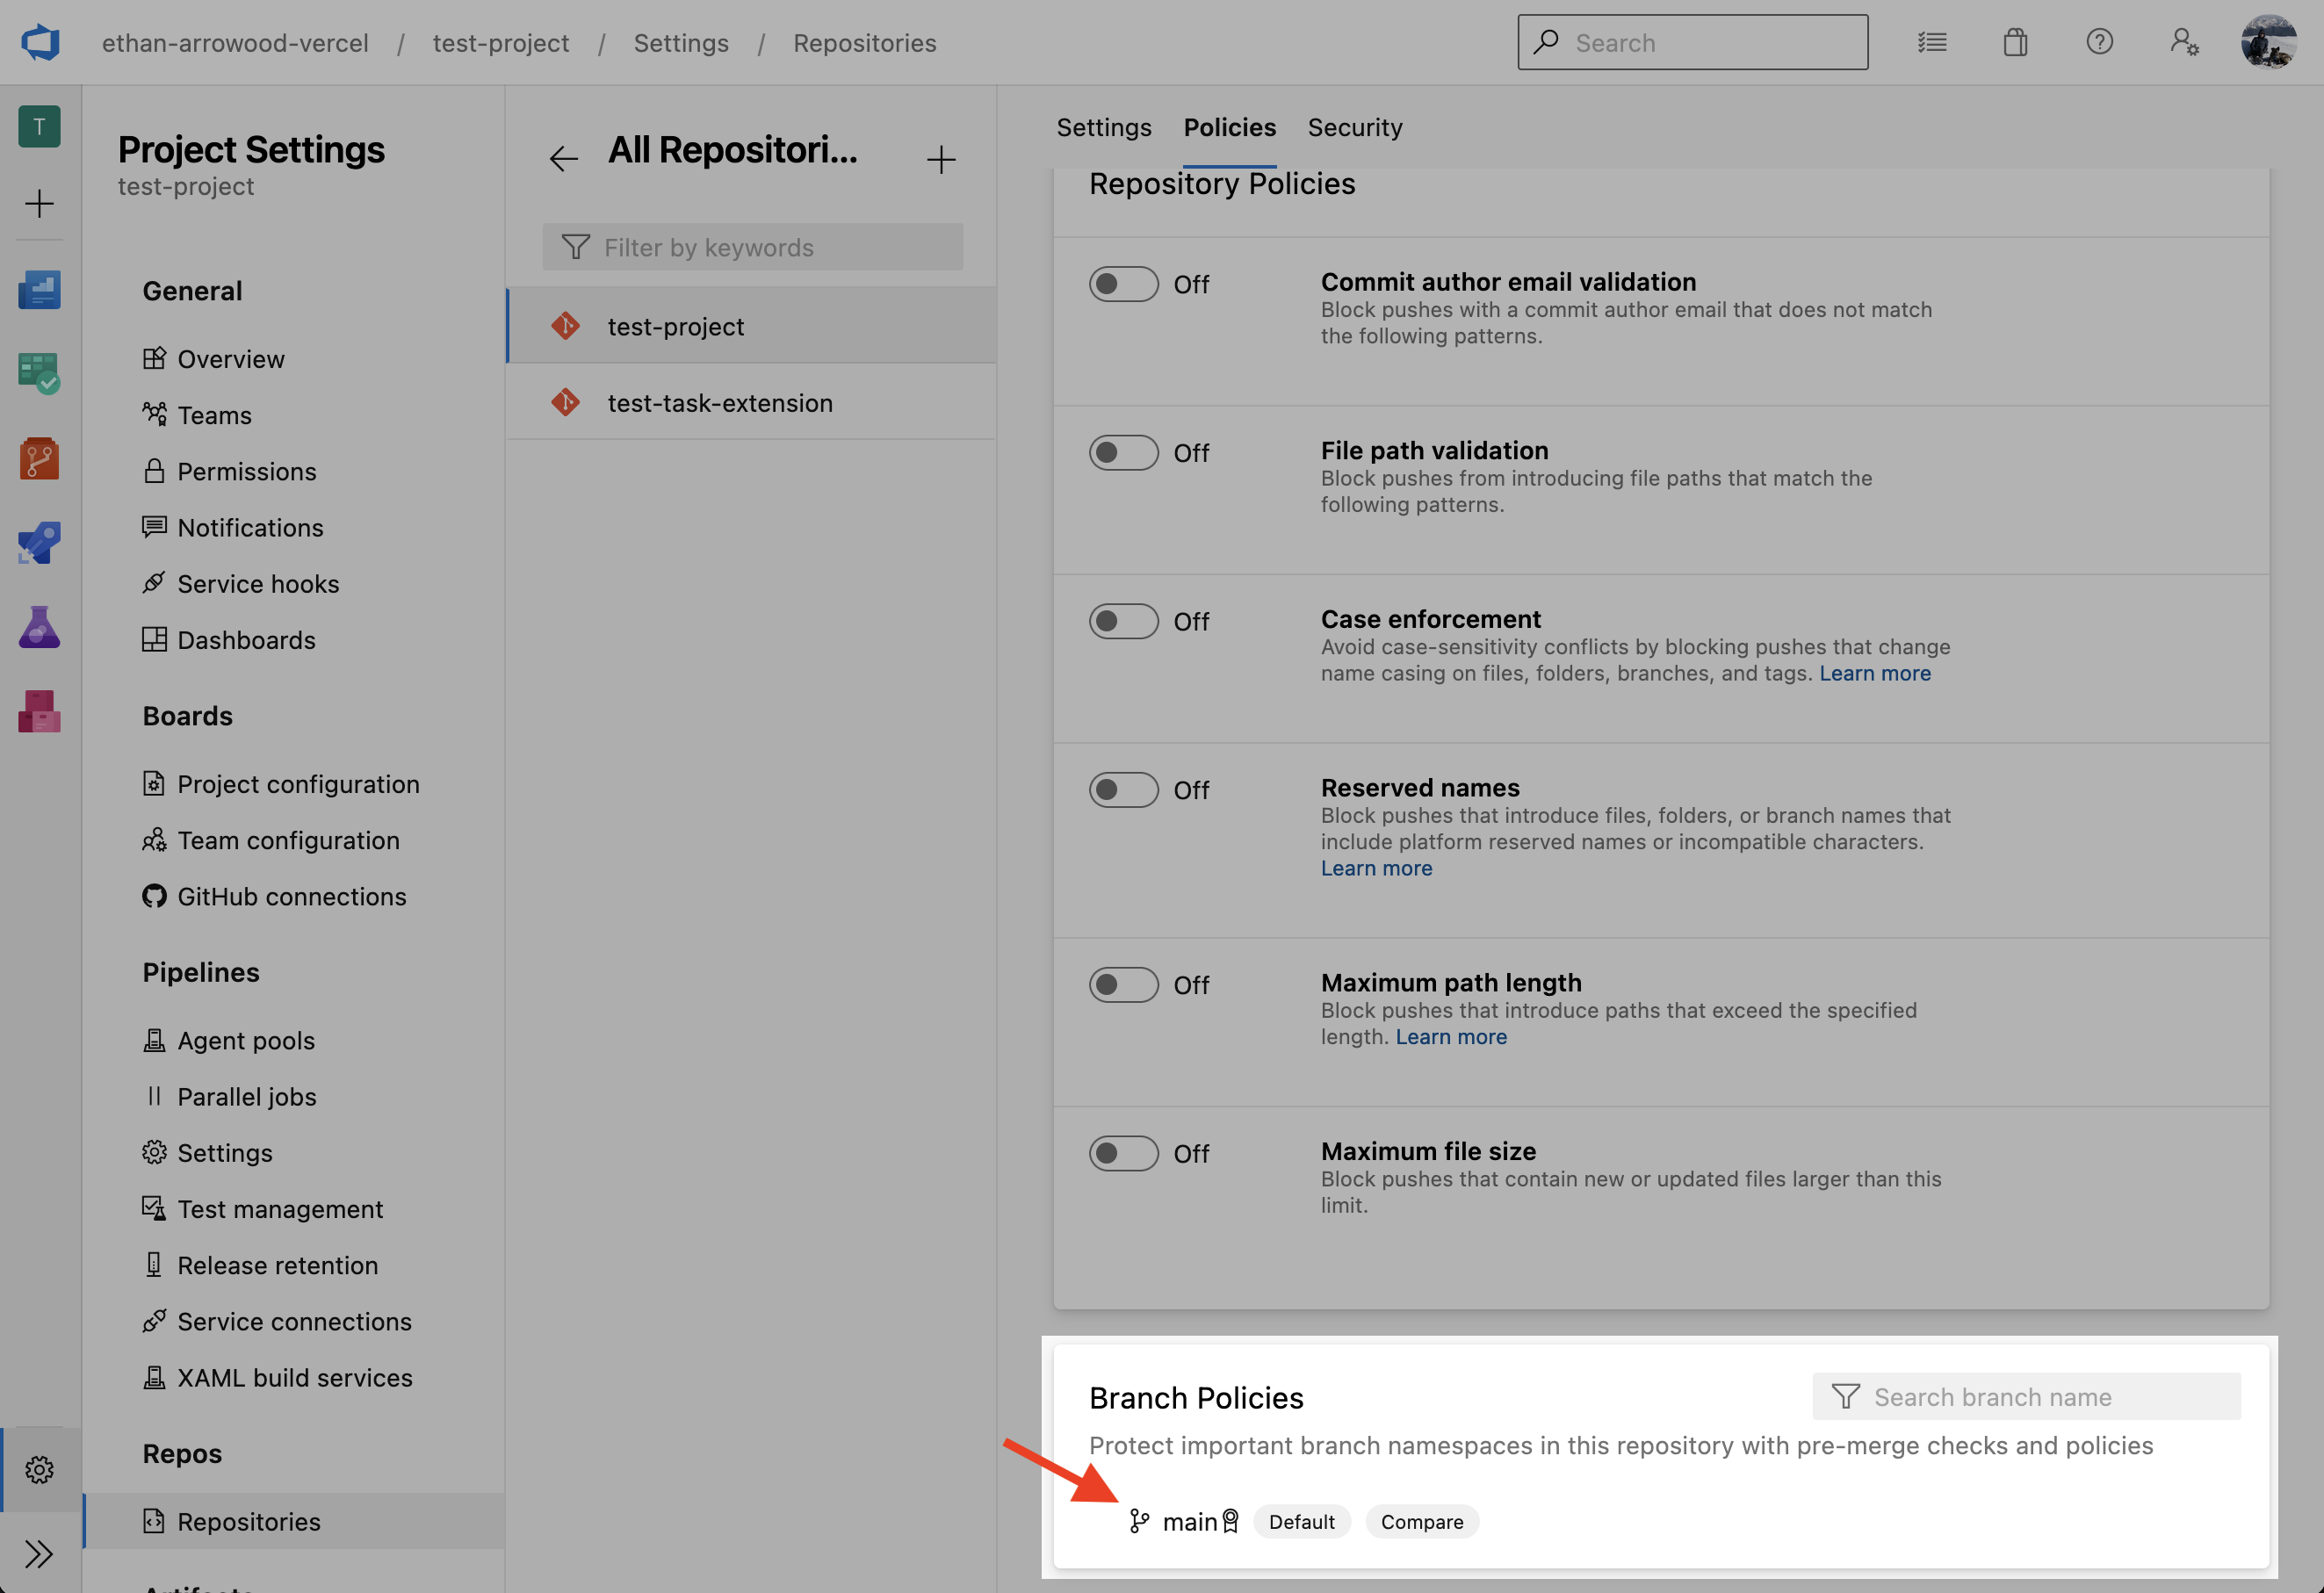
Keep the policy marked as Required so that commits directly to
mainare prevented.
